Handheld precision, developed and produced by ZEISS
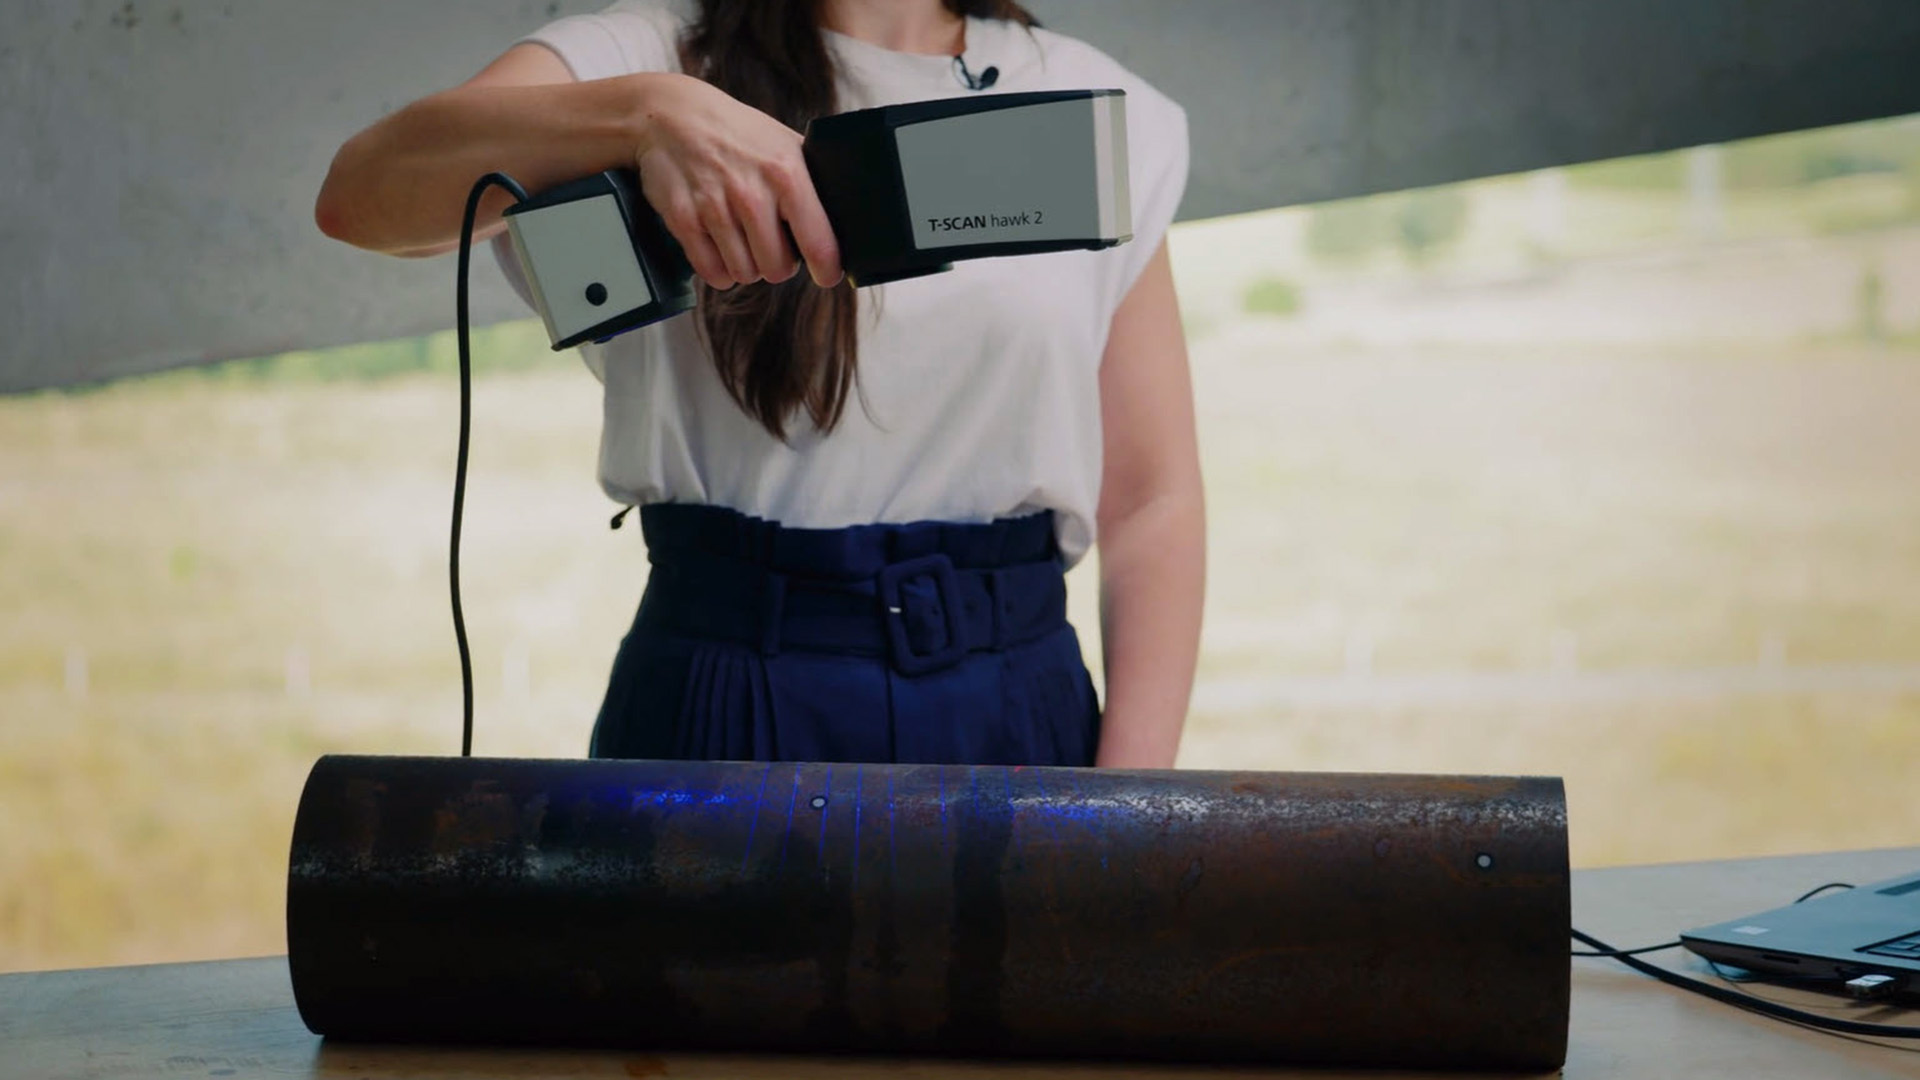
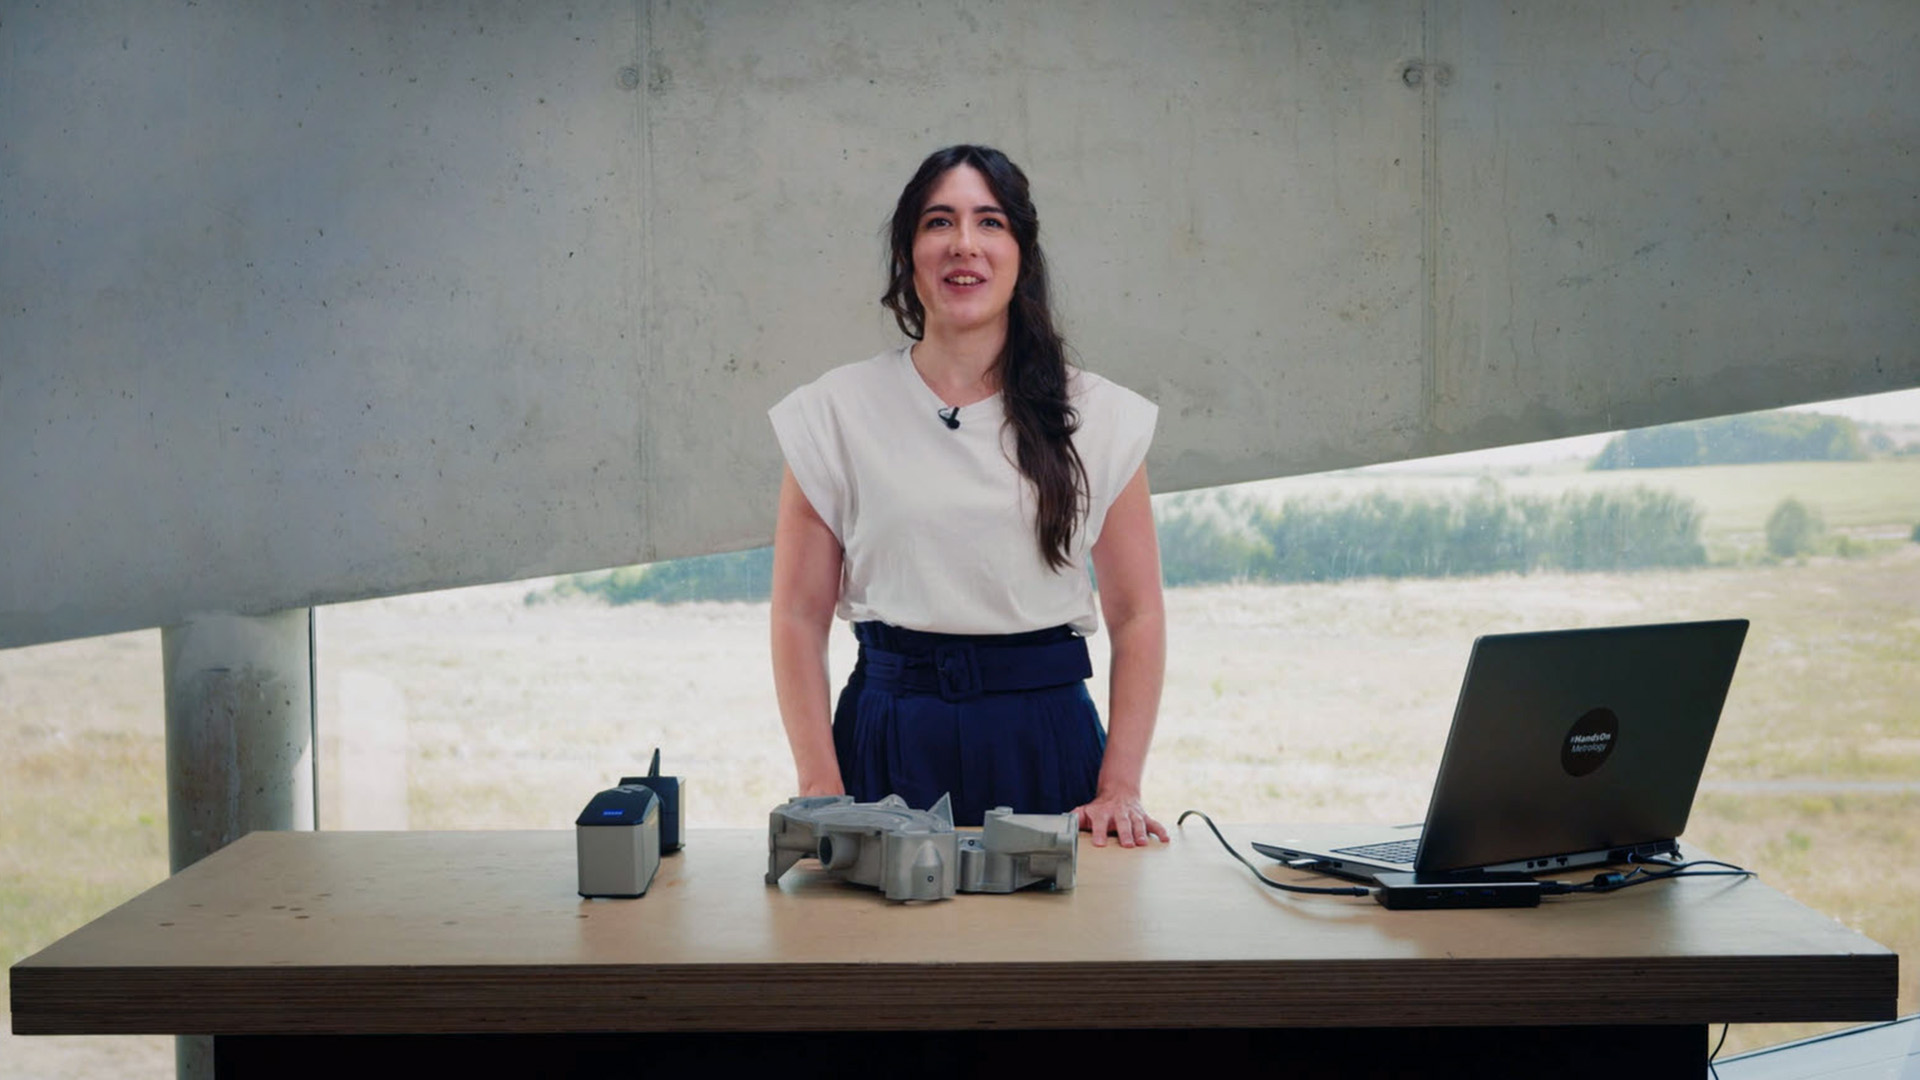
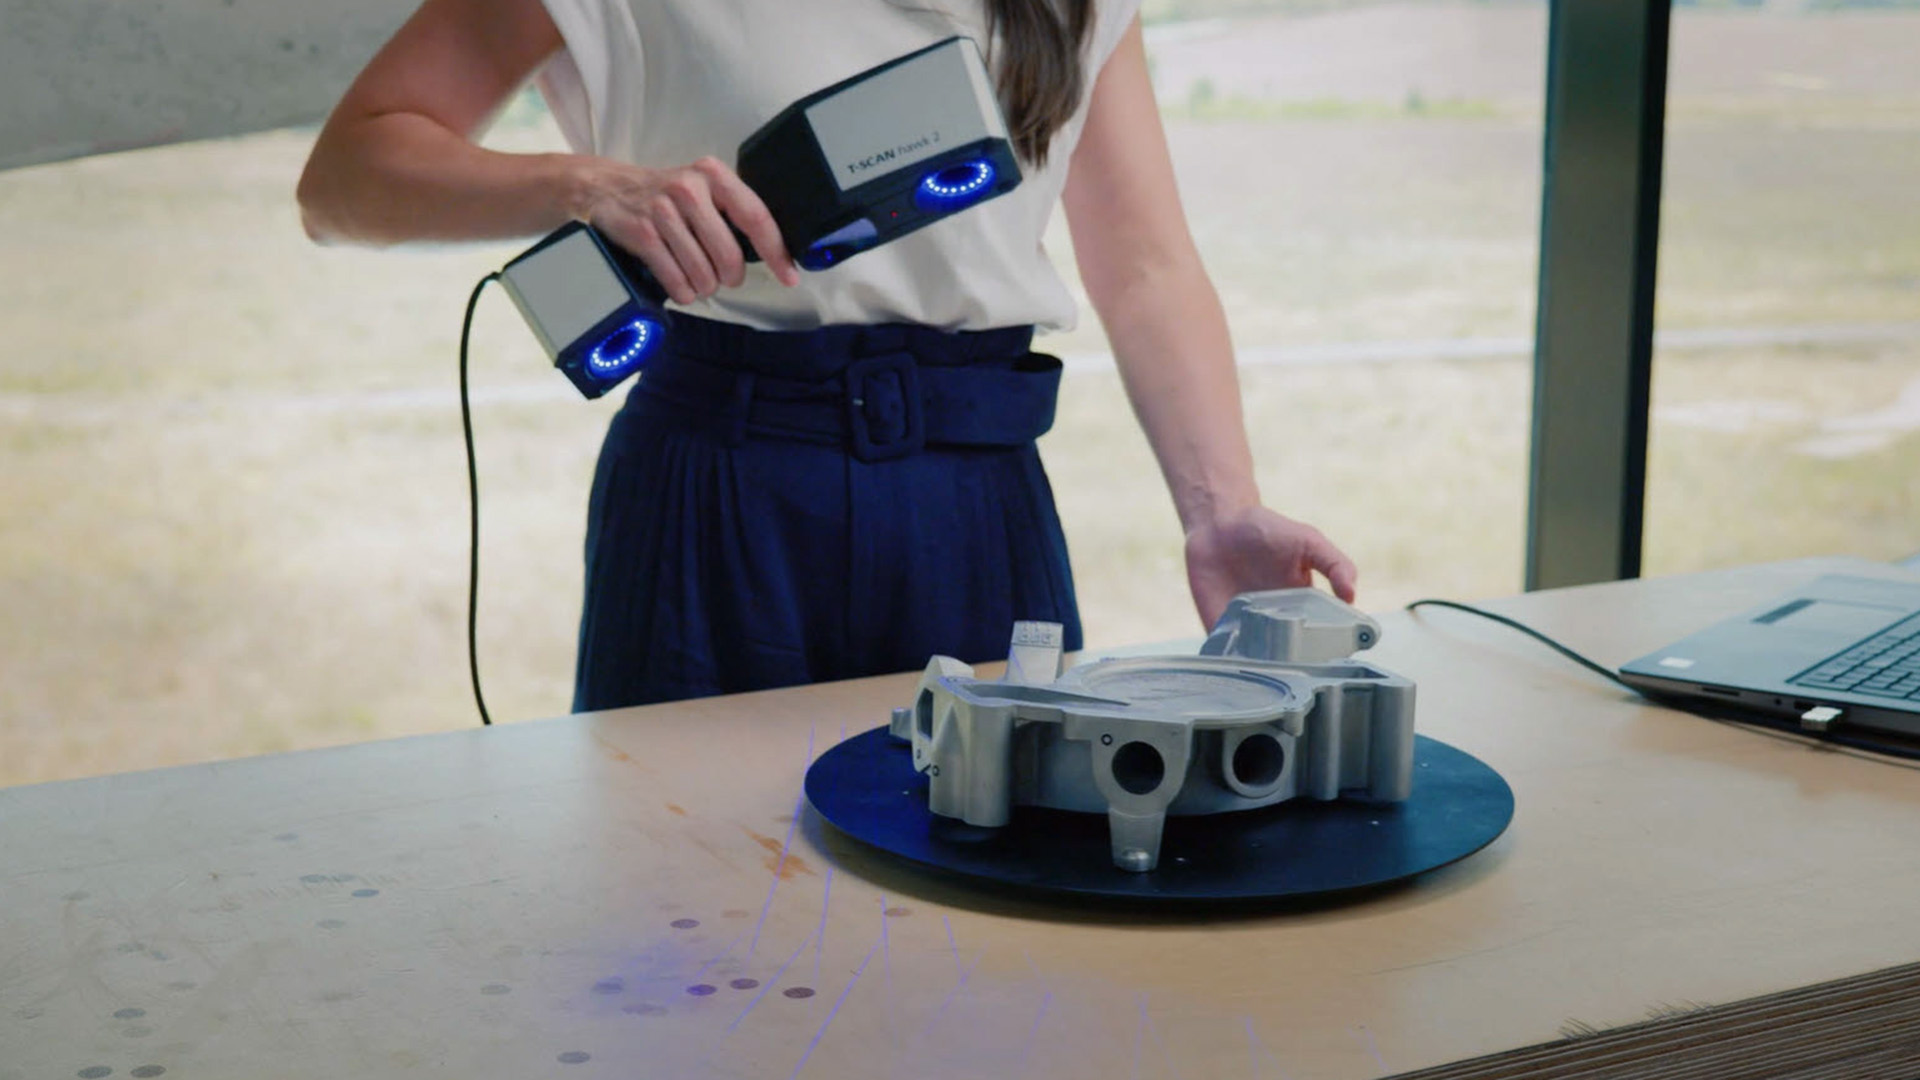
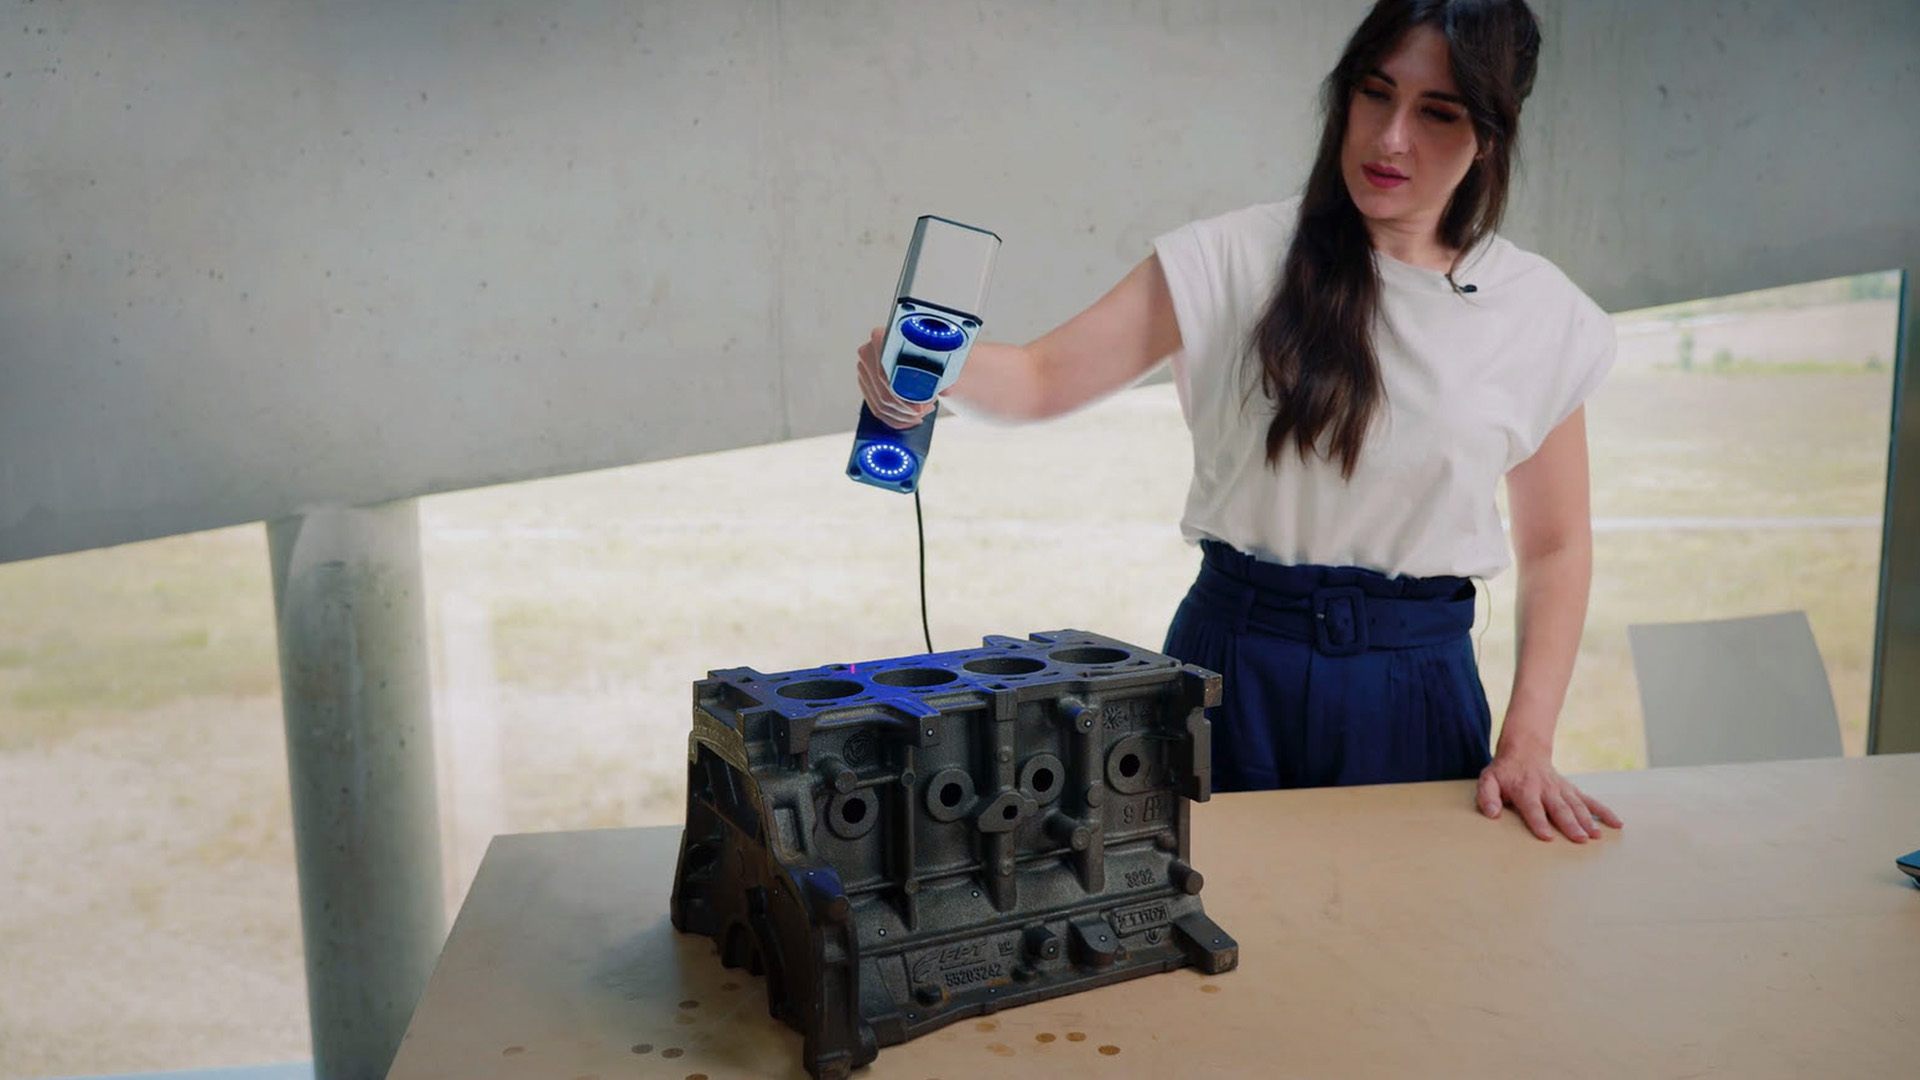
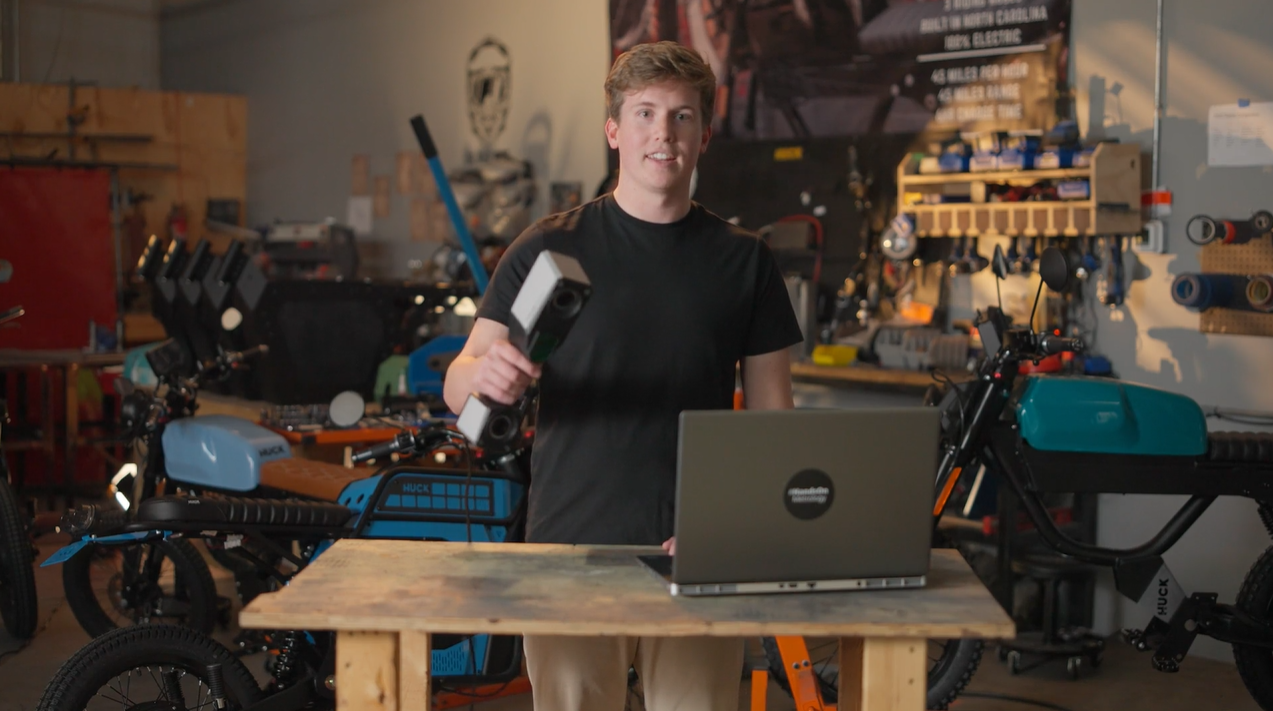
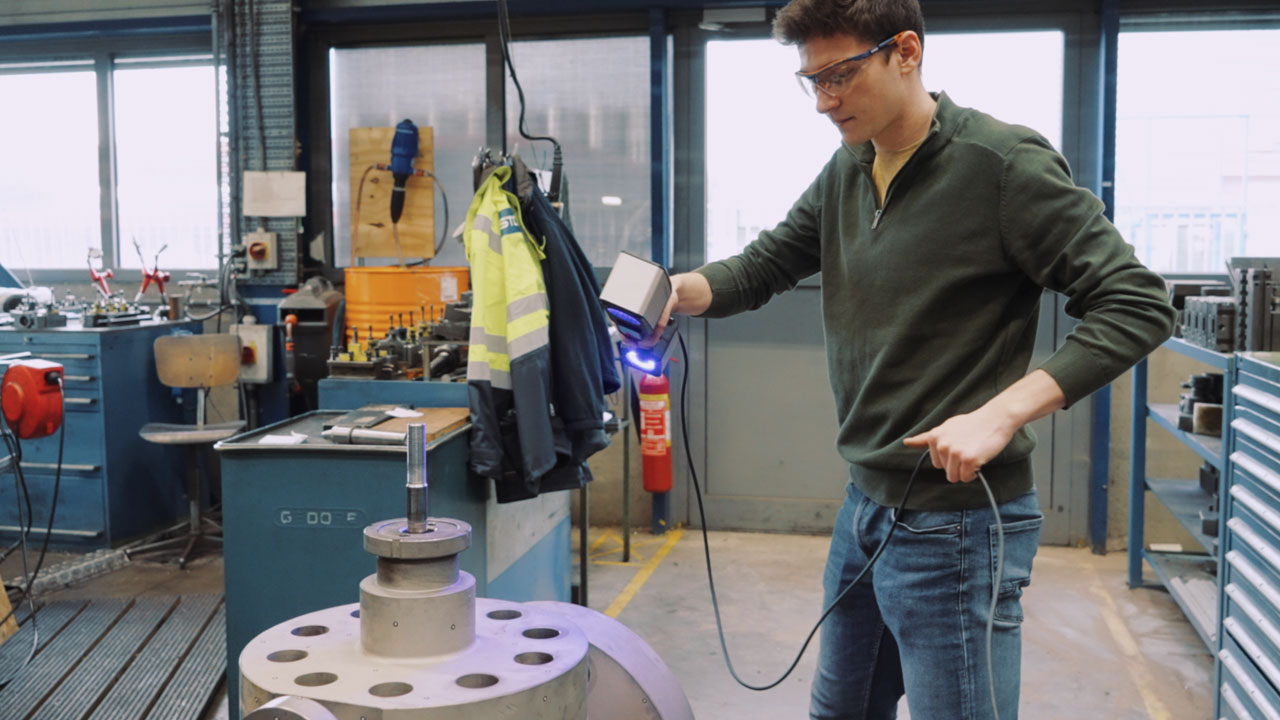
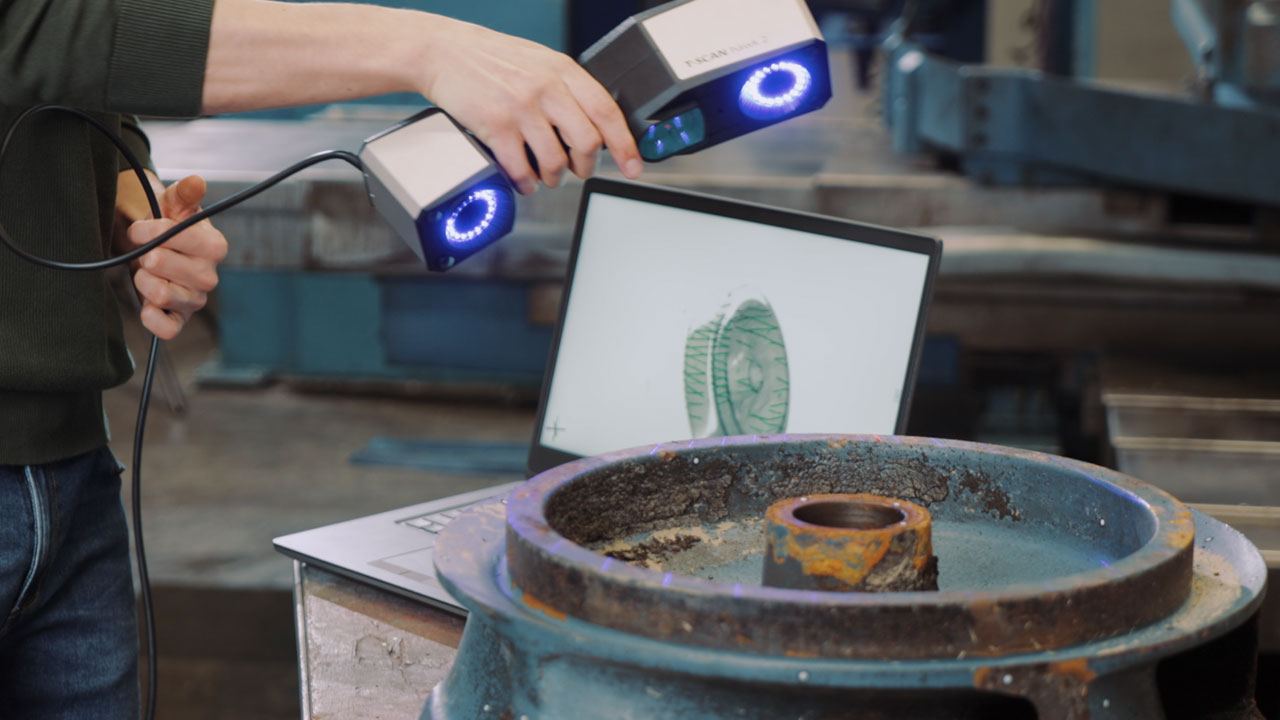
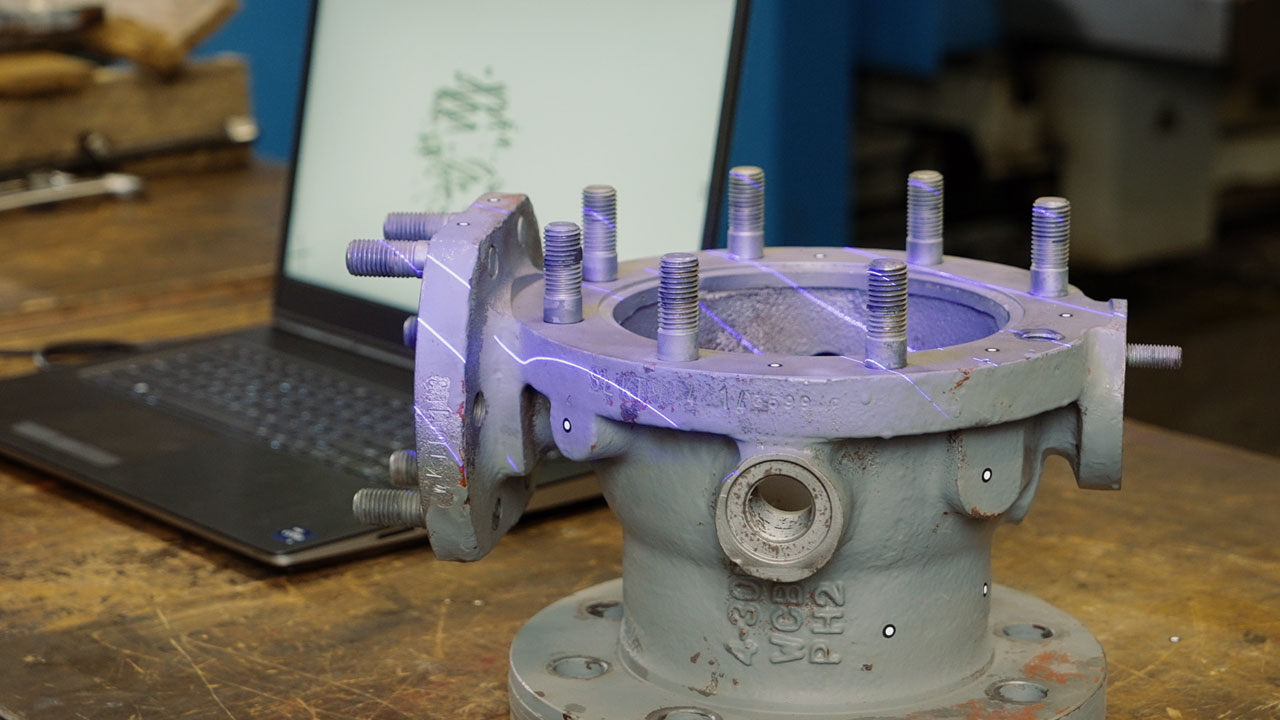
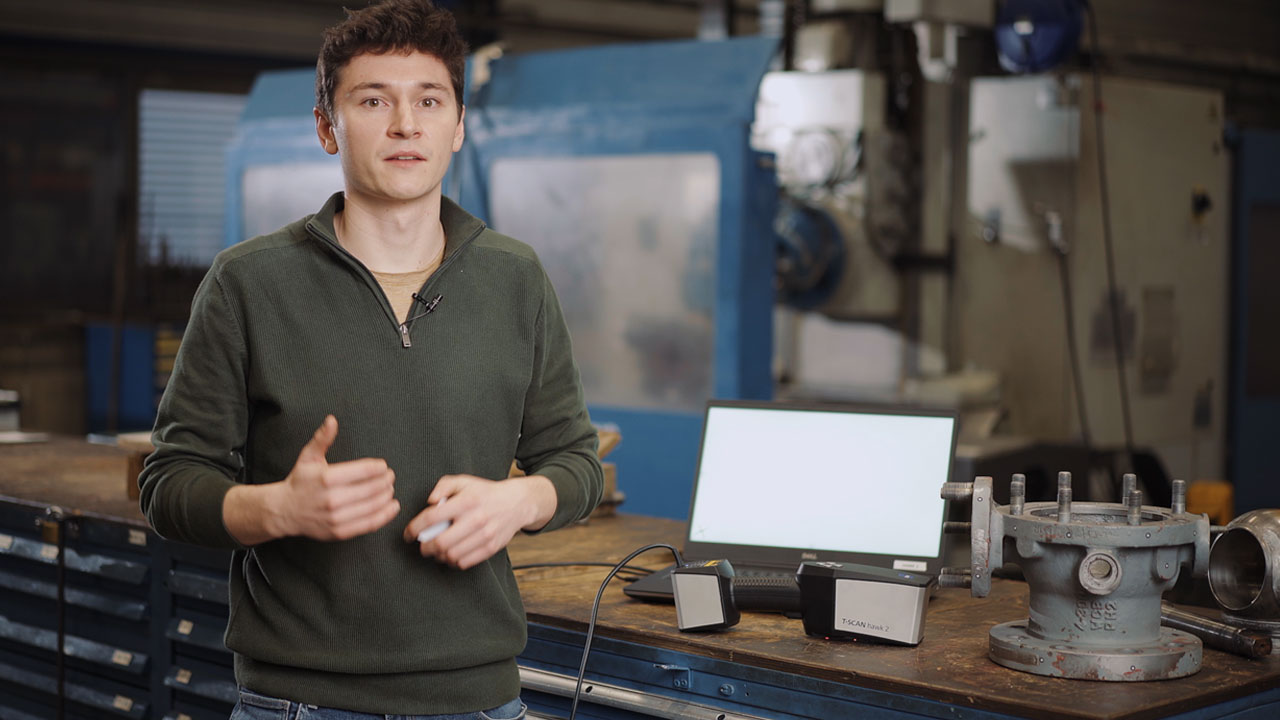
The portable T-SCAN hawk 2, the next-generation lightweight 3D laser scanner, comes with metrology-grade precision and remarkable ease of use. Whatever the task, wherever the job, this is a power tool that fits right in your hand.
Just take it and make it.

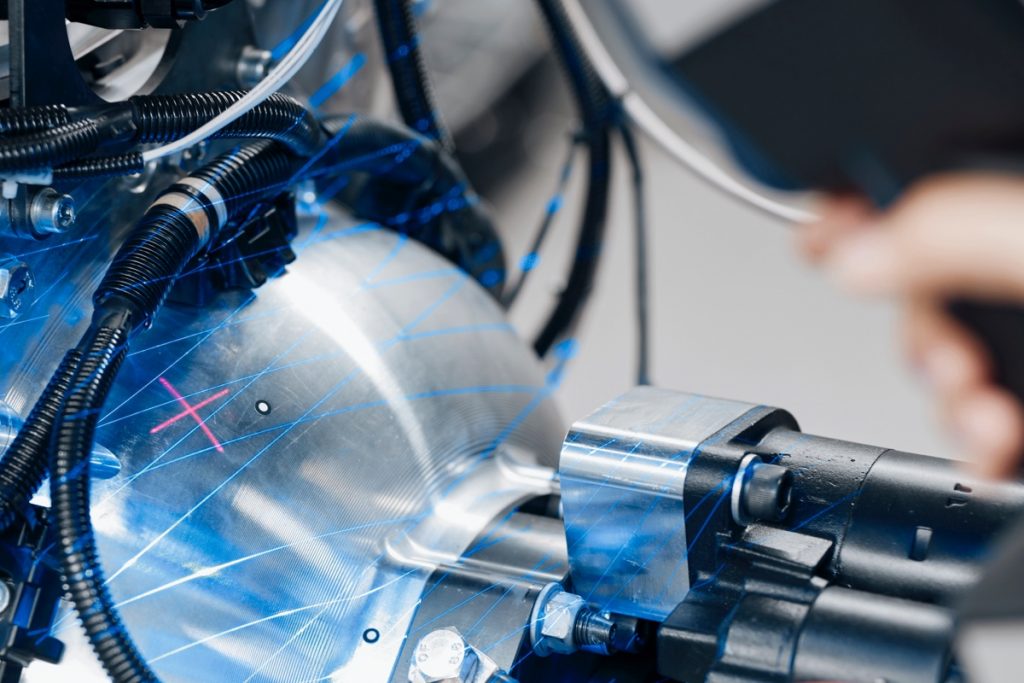
Your perfect working distance
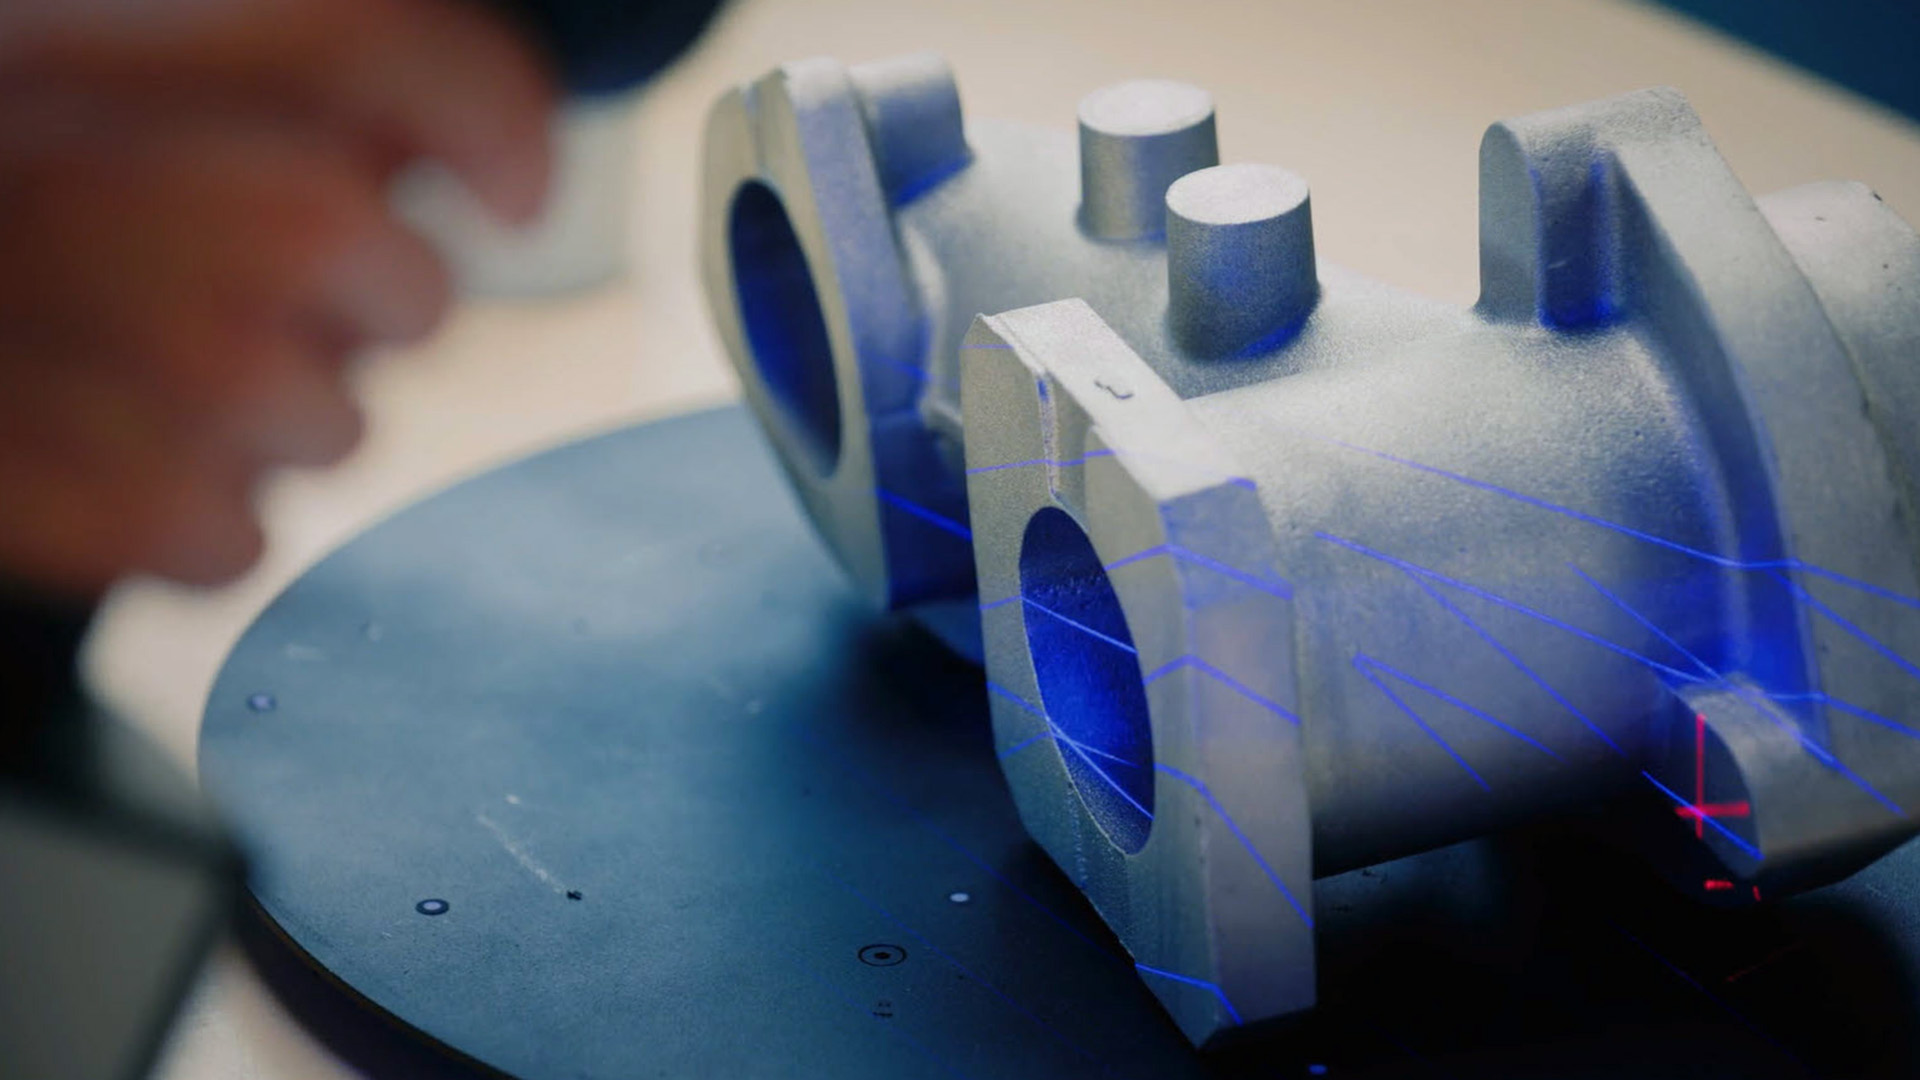
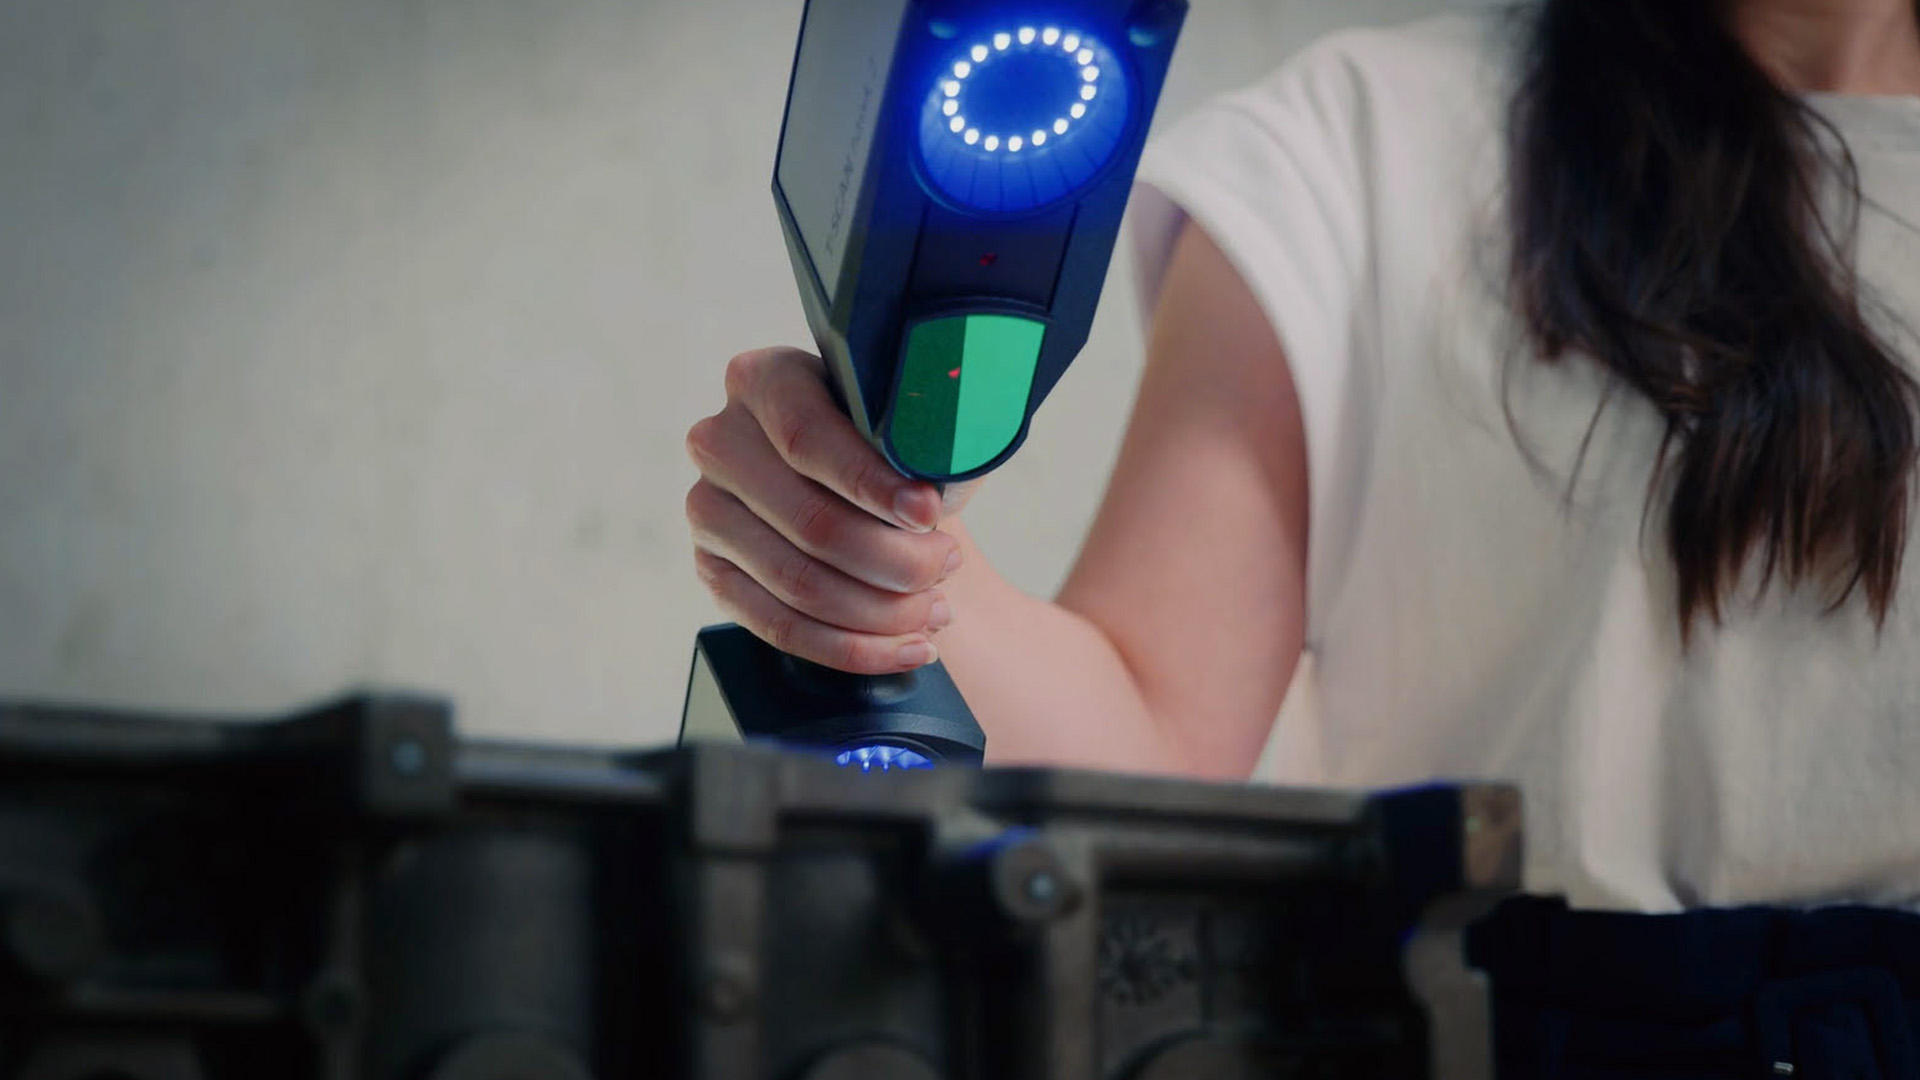
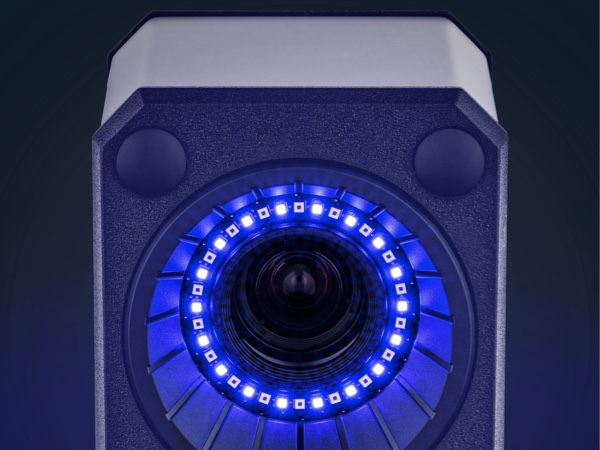
Control your working distance with a new projection mode – a red laser marker helps you to easily adjust for perfect scanning results.

A solution that adapts to your workflow
The flow is yours – T-SCAN hawk 2 is intuitive to operate and adapts easily to the movement of your hand.

Go big with the new satellite mode
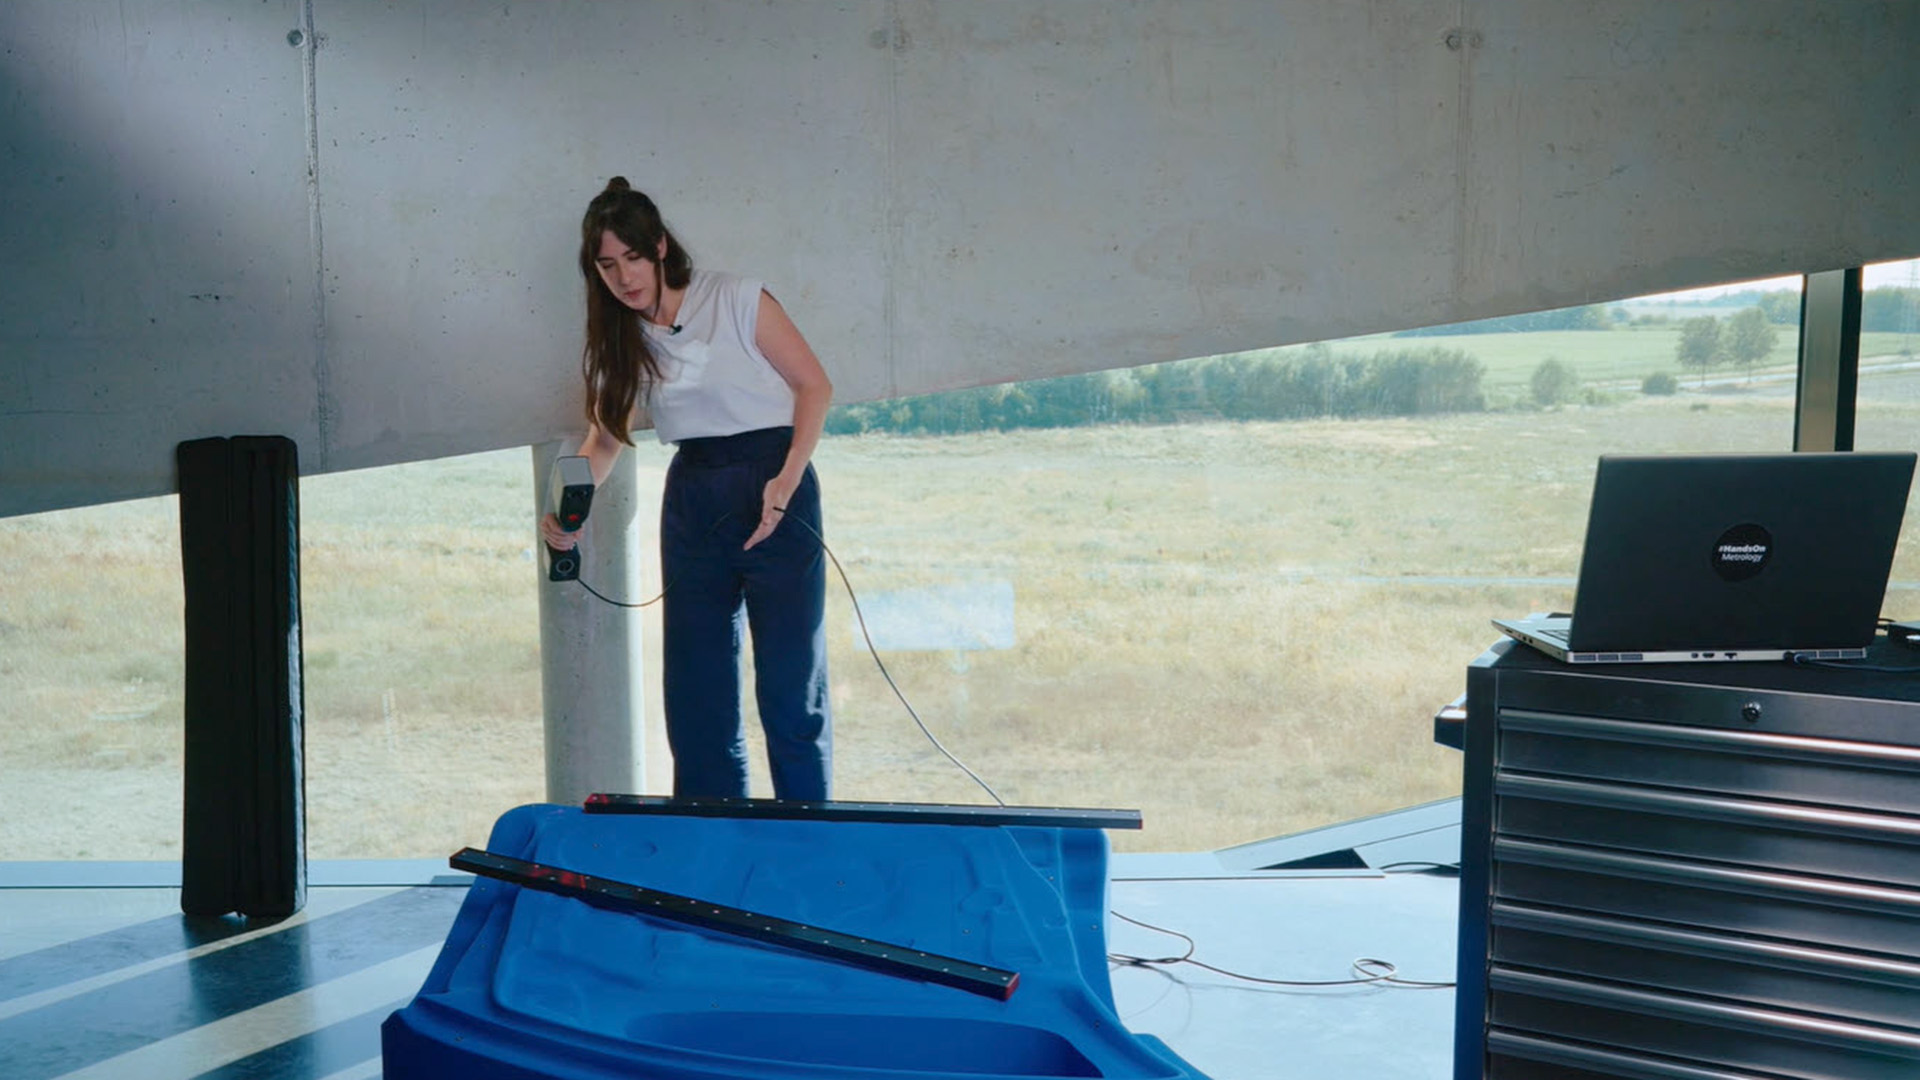
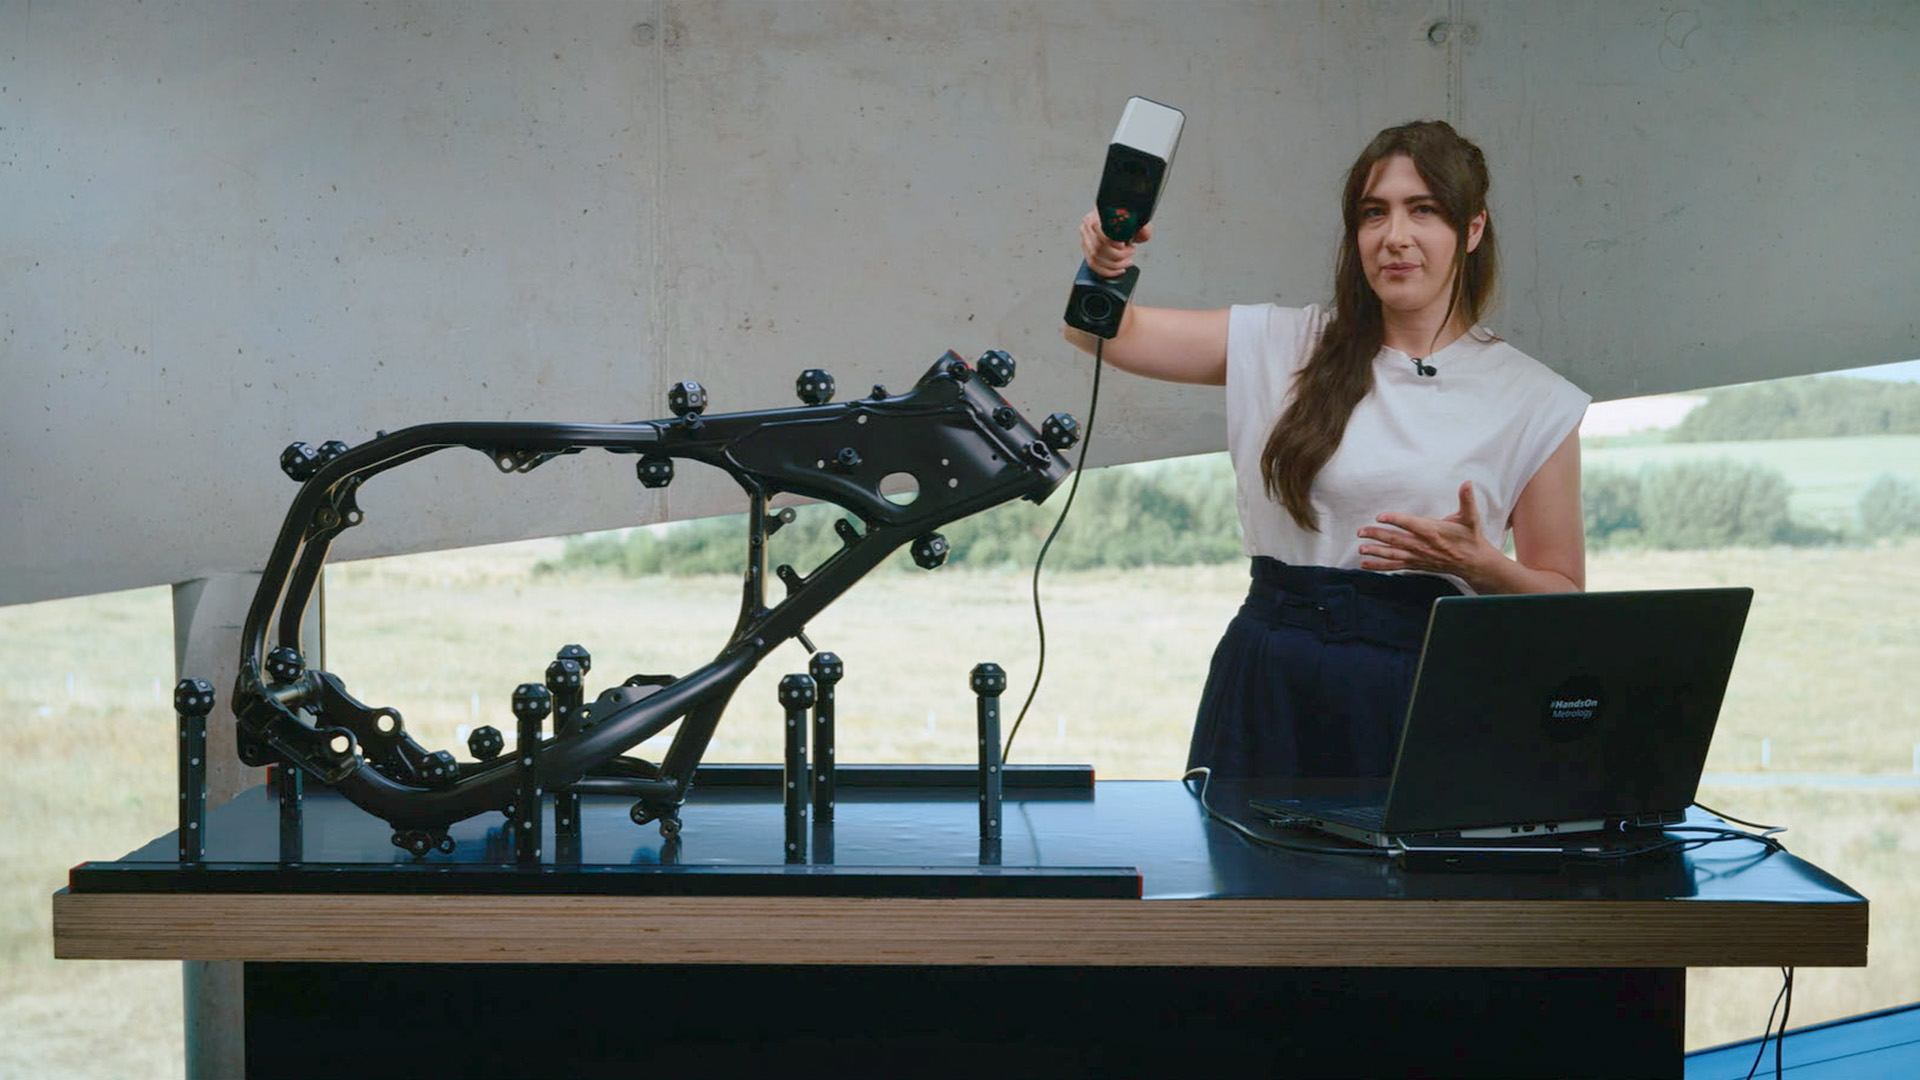
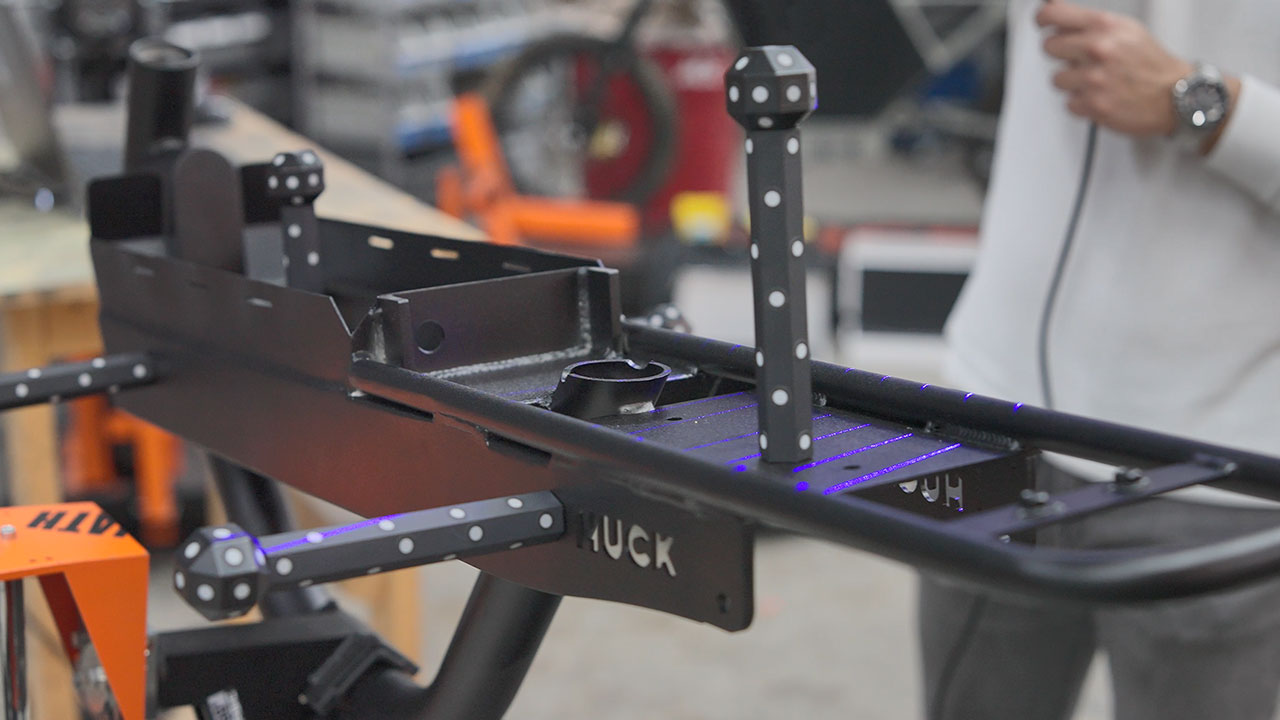
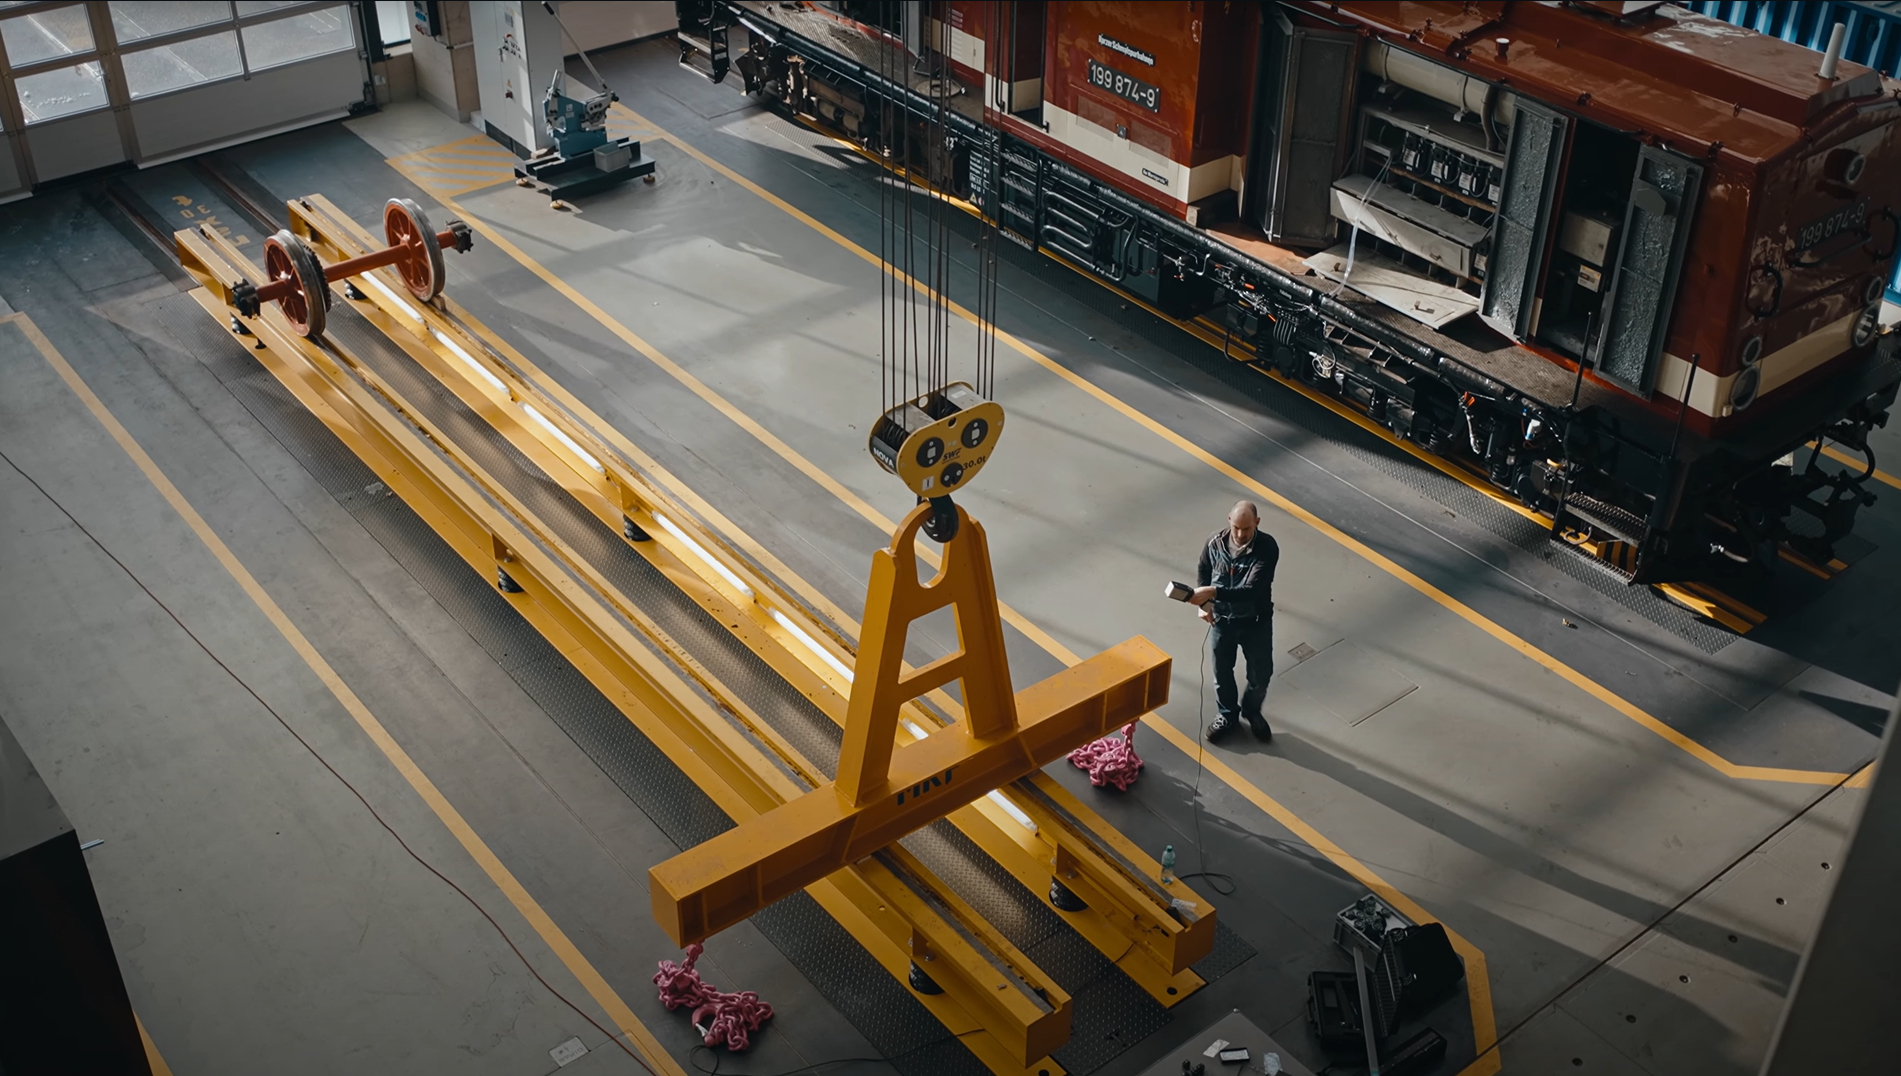
T-SCAN hawk 2 is the first portable laser scanner with the new satellite mode to scan up to multiple meters. No need for the classical built-in photogrammetry with coded markers. No compromise on accuracy.
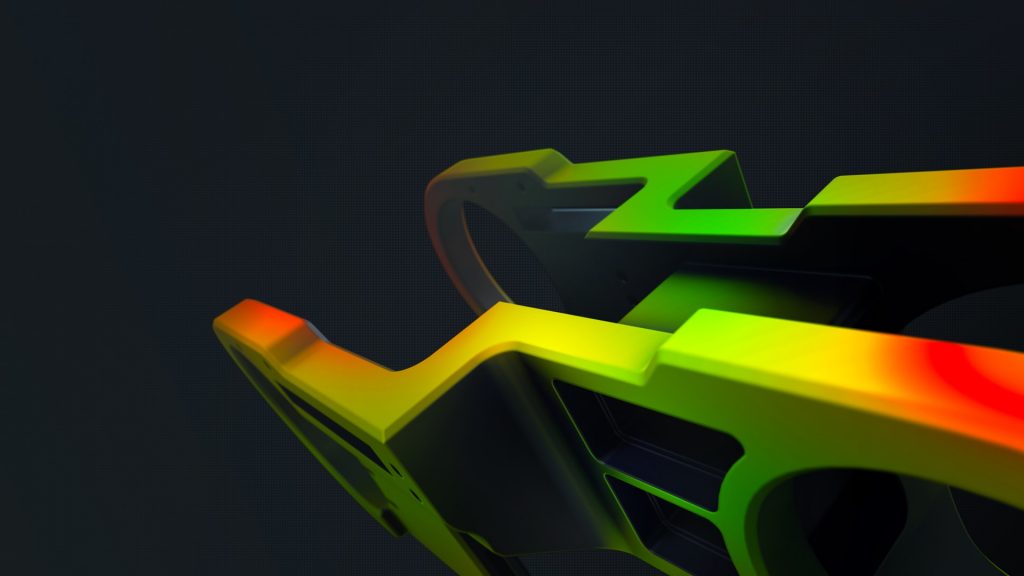
ZEISS INSPECT – The all-in-one software for 3D inspection
Features
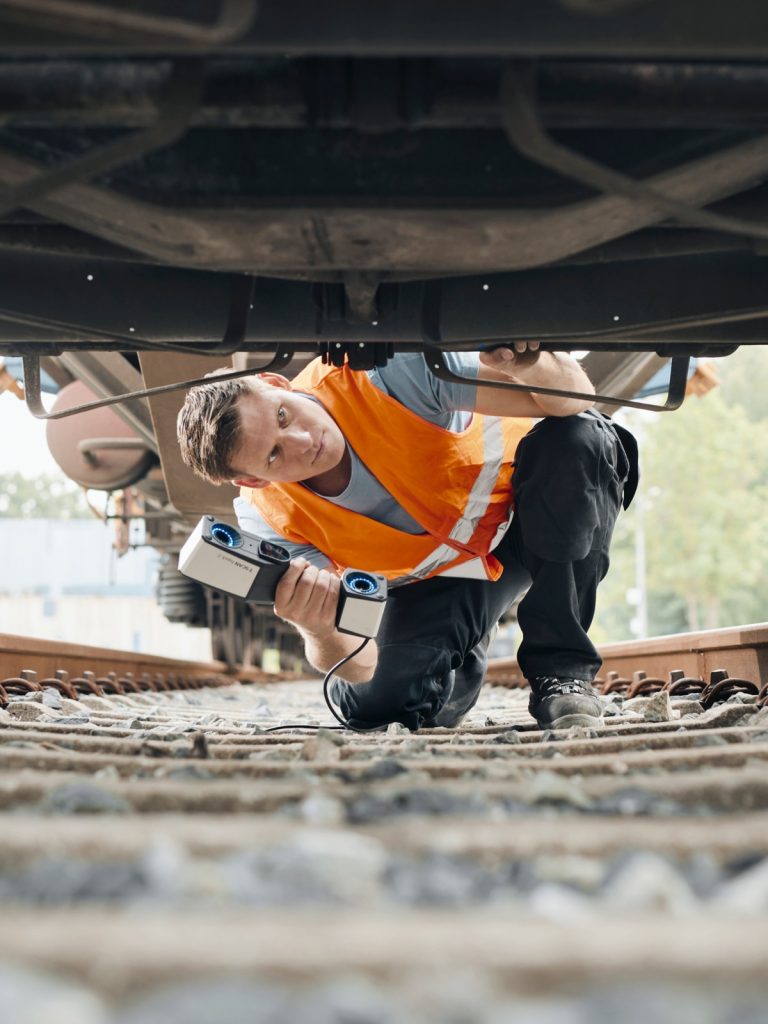
Switching between different tasks
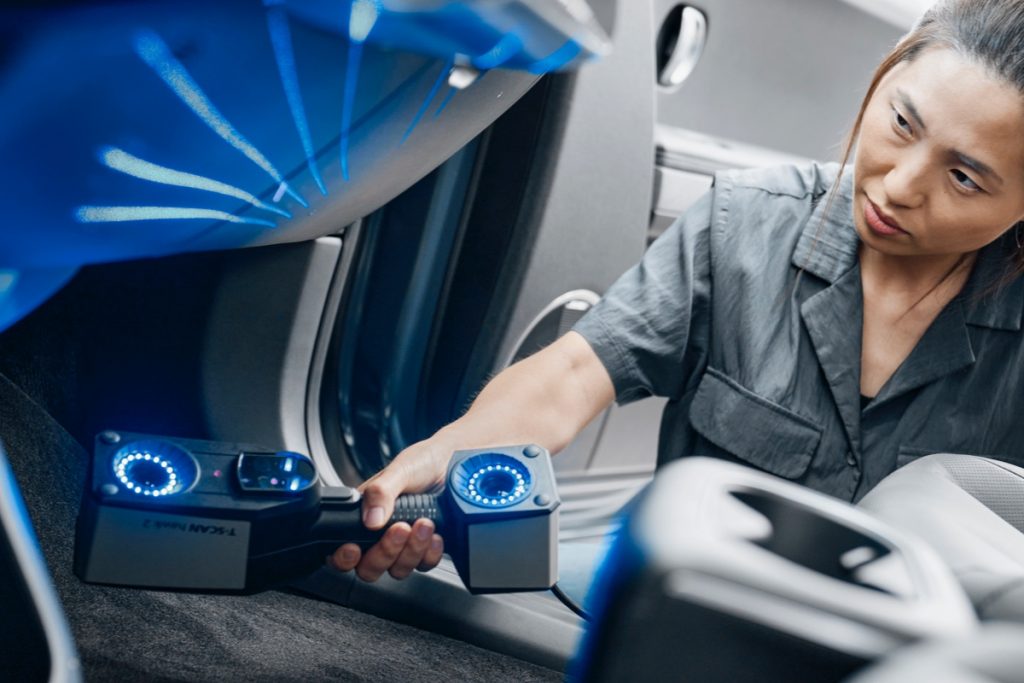
T-SCAN hawk 2 features seamless adjustments for resolution and field of view. Whether small parts, fine details, larger objects or deep pockets, confined spaces or hard-to-reach areas, this 3D laser scanner does the job.
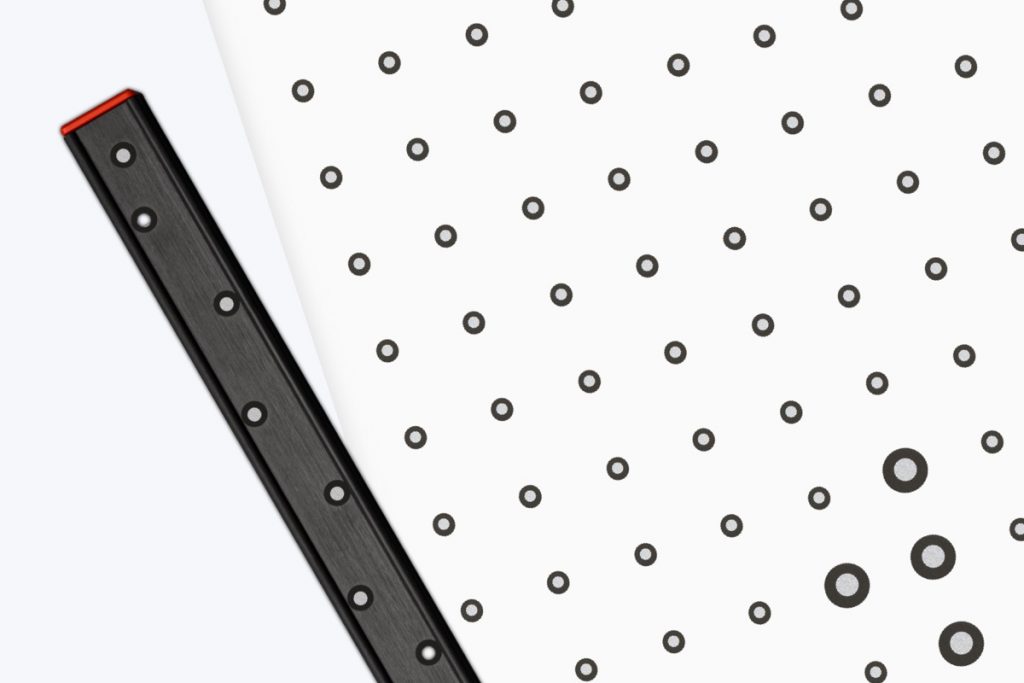
Getting started is easy
Carl Zeiss GOM Metrology GmbH is an accredited laboratory in the fields of calibration of length and coordinate standards for optical metrology.
Each T-SCAN hawk 2 system is delivered with three DAkkS-calibrated, traceable length standards and one DAkkS-calibrated, traceable coordinate standard which are used for system qualification.
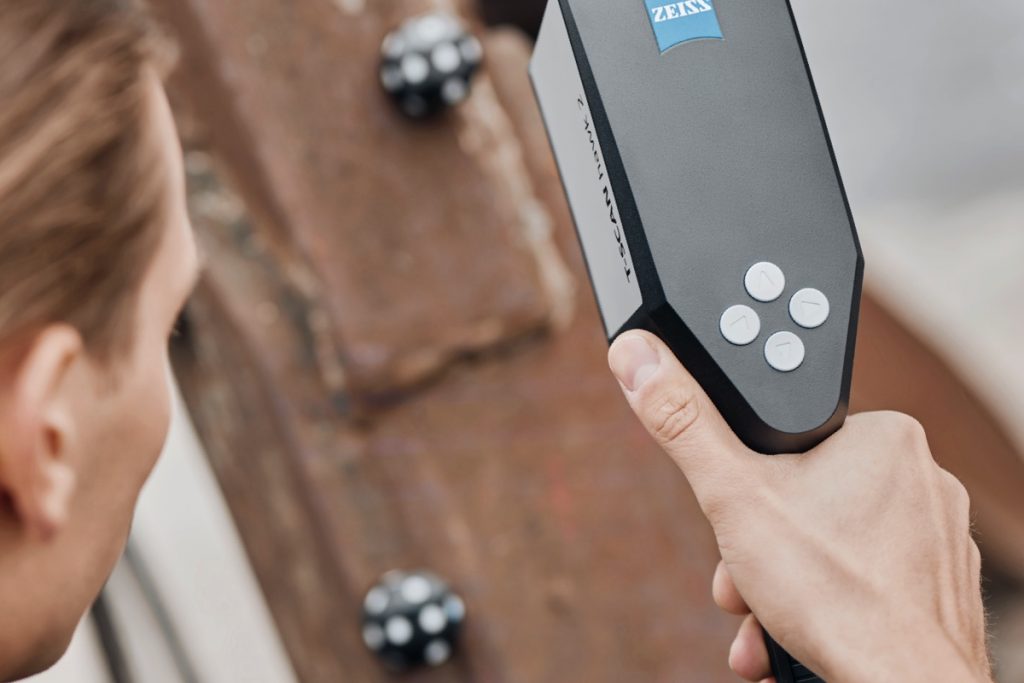
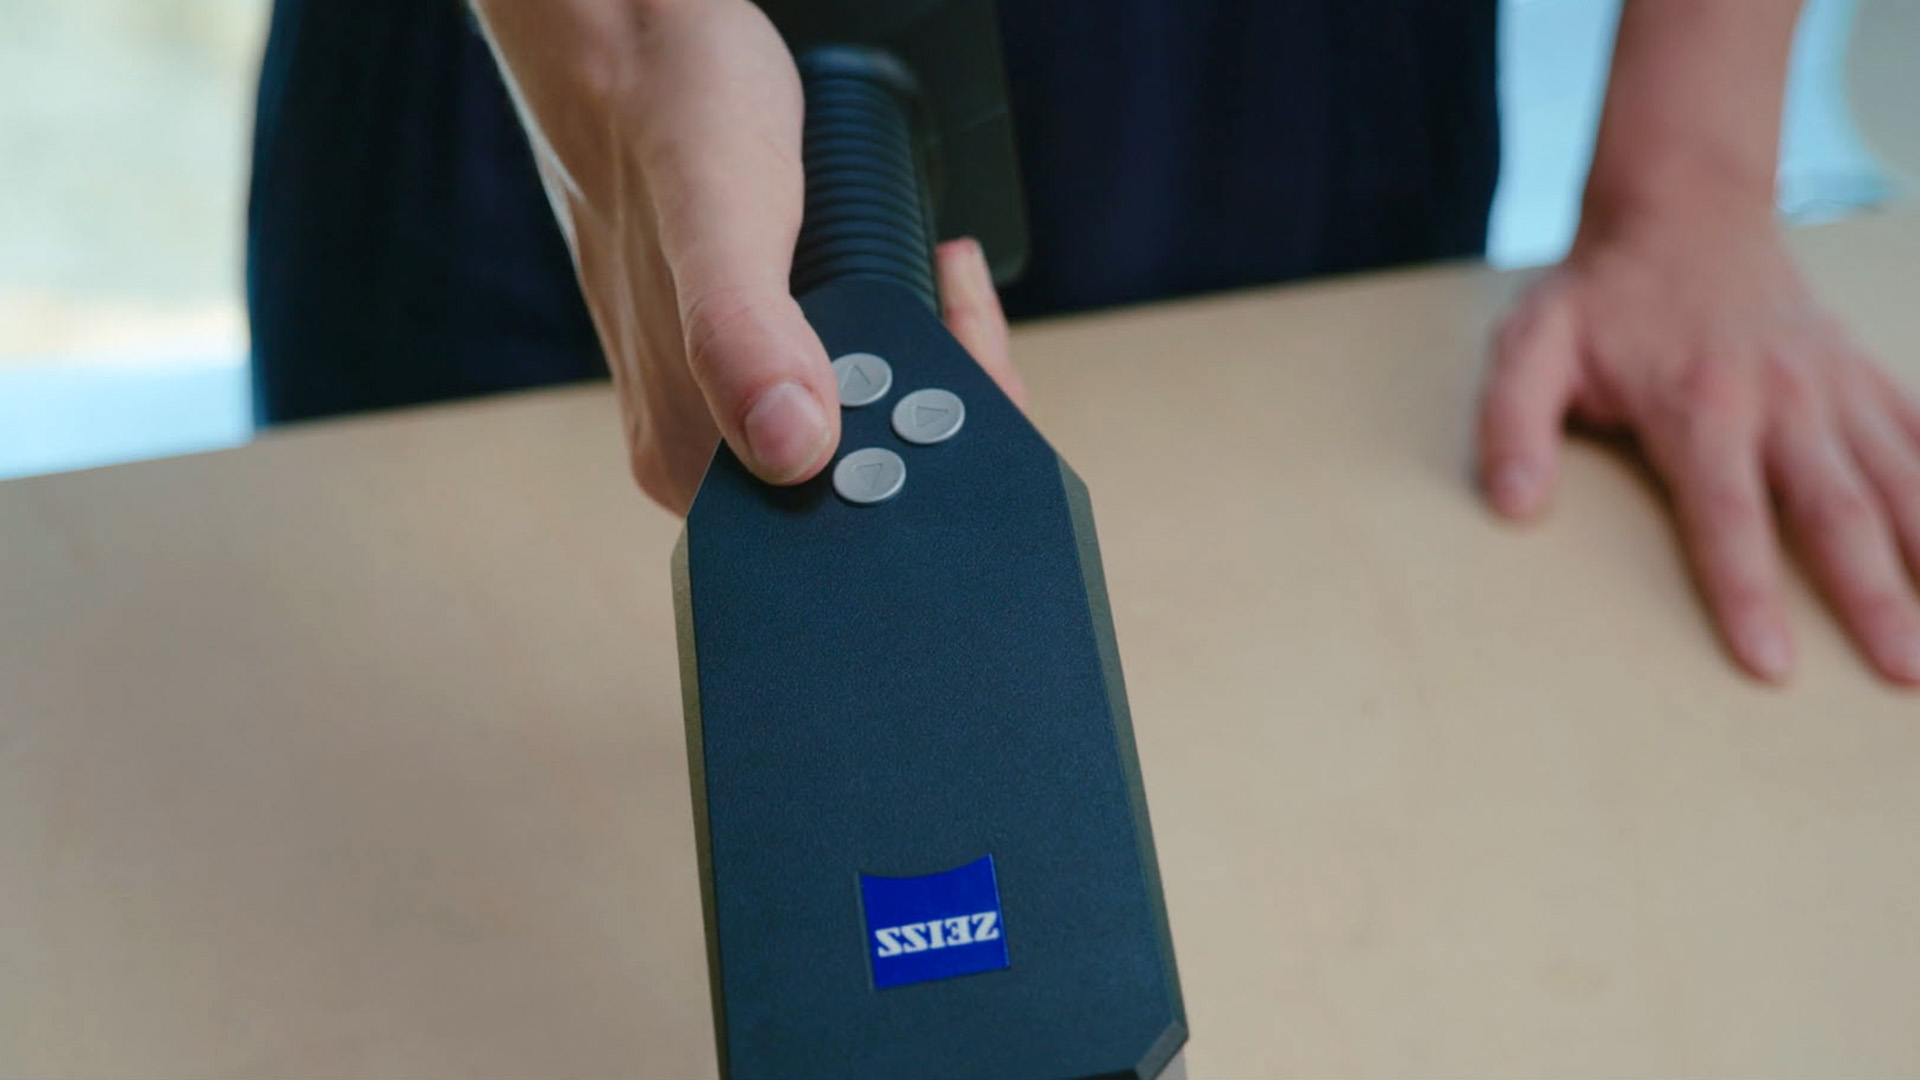
Operate with a push of a button
T-SCAN hawk 2 features four buttons to start and navigate your workflow directly. No need to operate the software separately on your laptop.

Strong on dark and shiny surfaces
T-SCAN hawk 2 supports scanning on a wide range of materials and surfaces, delivering 3D measurement data with the highest precision.
Accessories
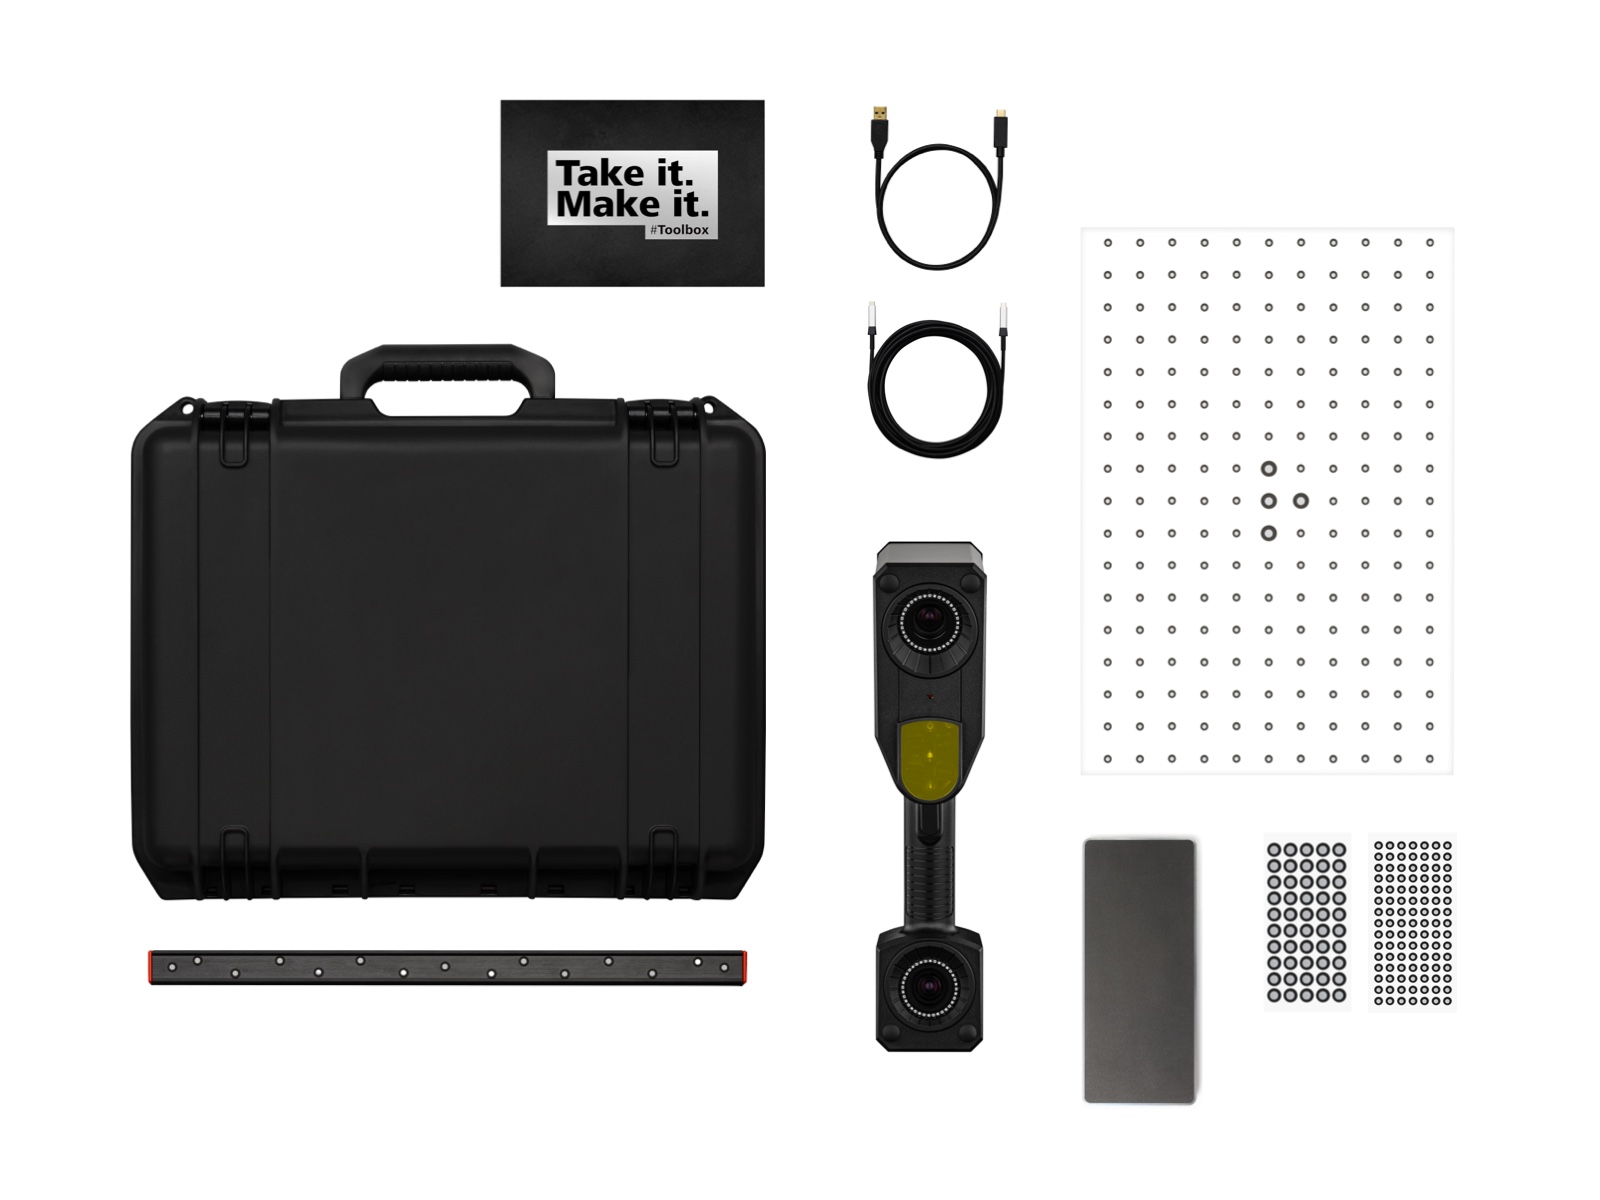
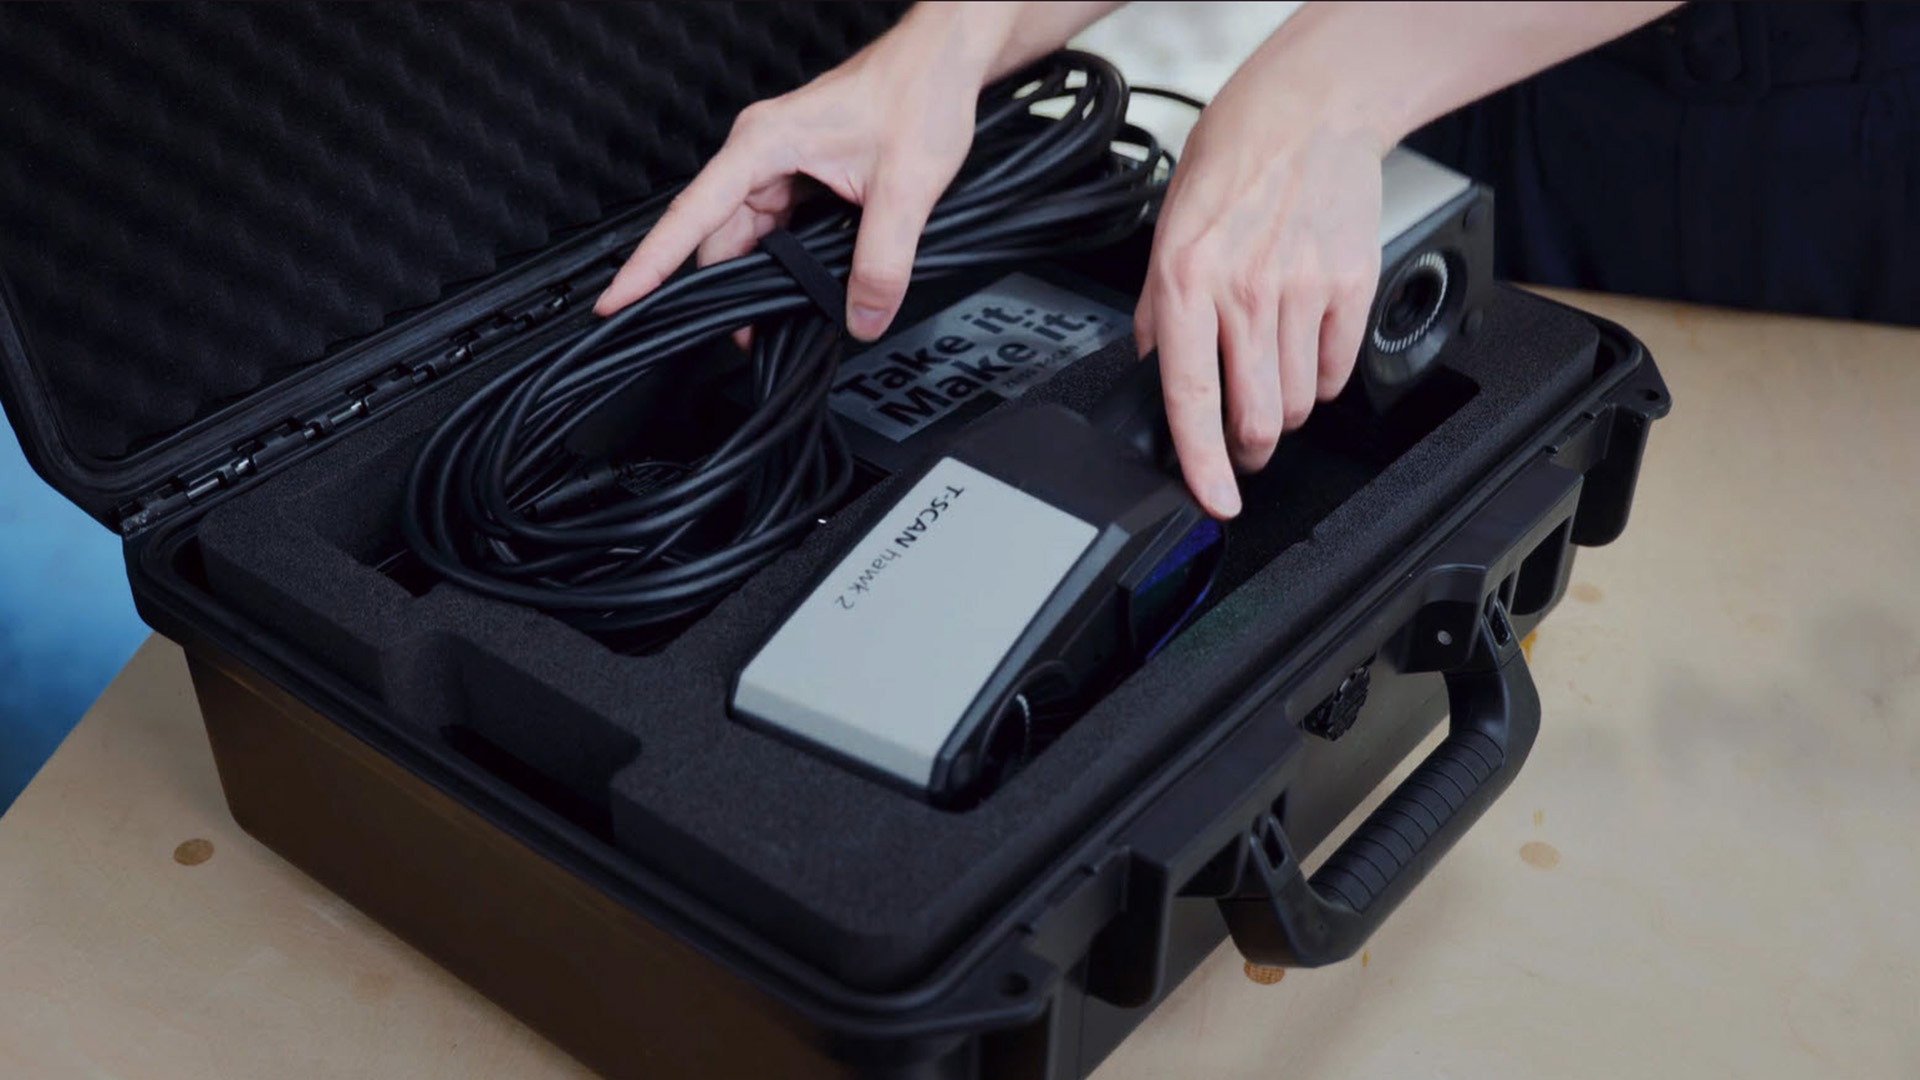
Everything at hand: Your case for travelling
Whether you take it to production or outside, the 3D laser scanner travels with you in just one case, containing additional tools.
- T-SCAN hawk 2
- Calibration panel
- Hyperscale
- Toolbox
- Reference points
- Power delivery hub
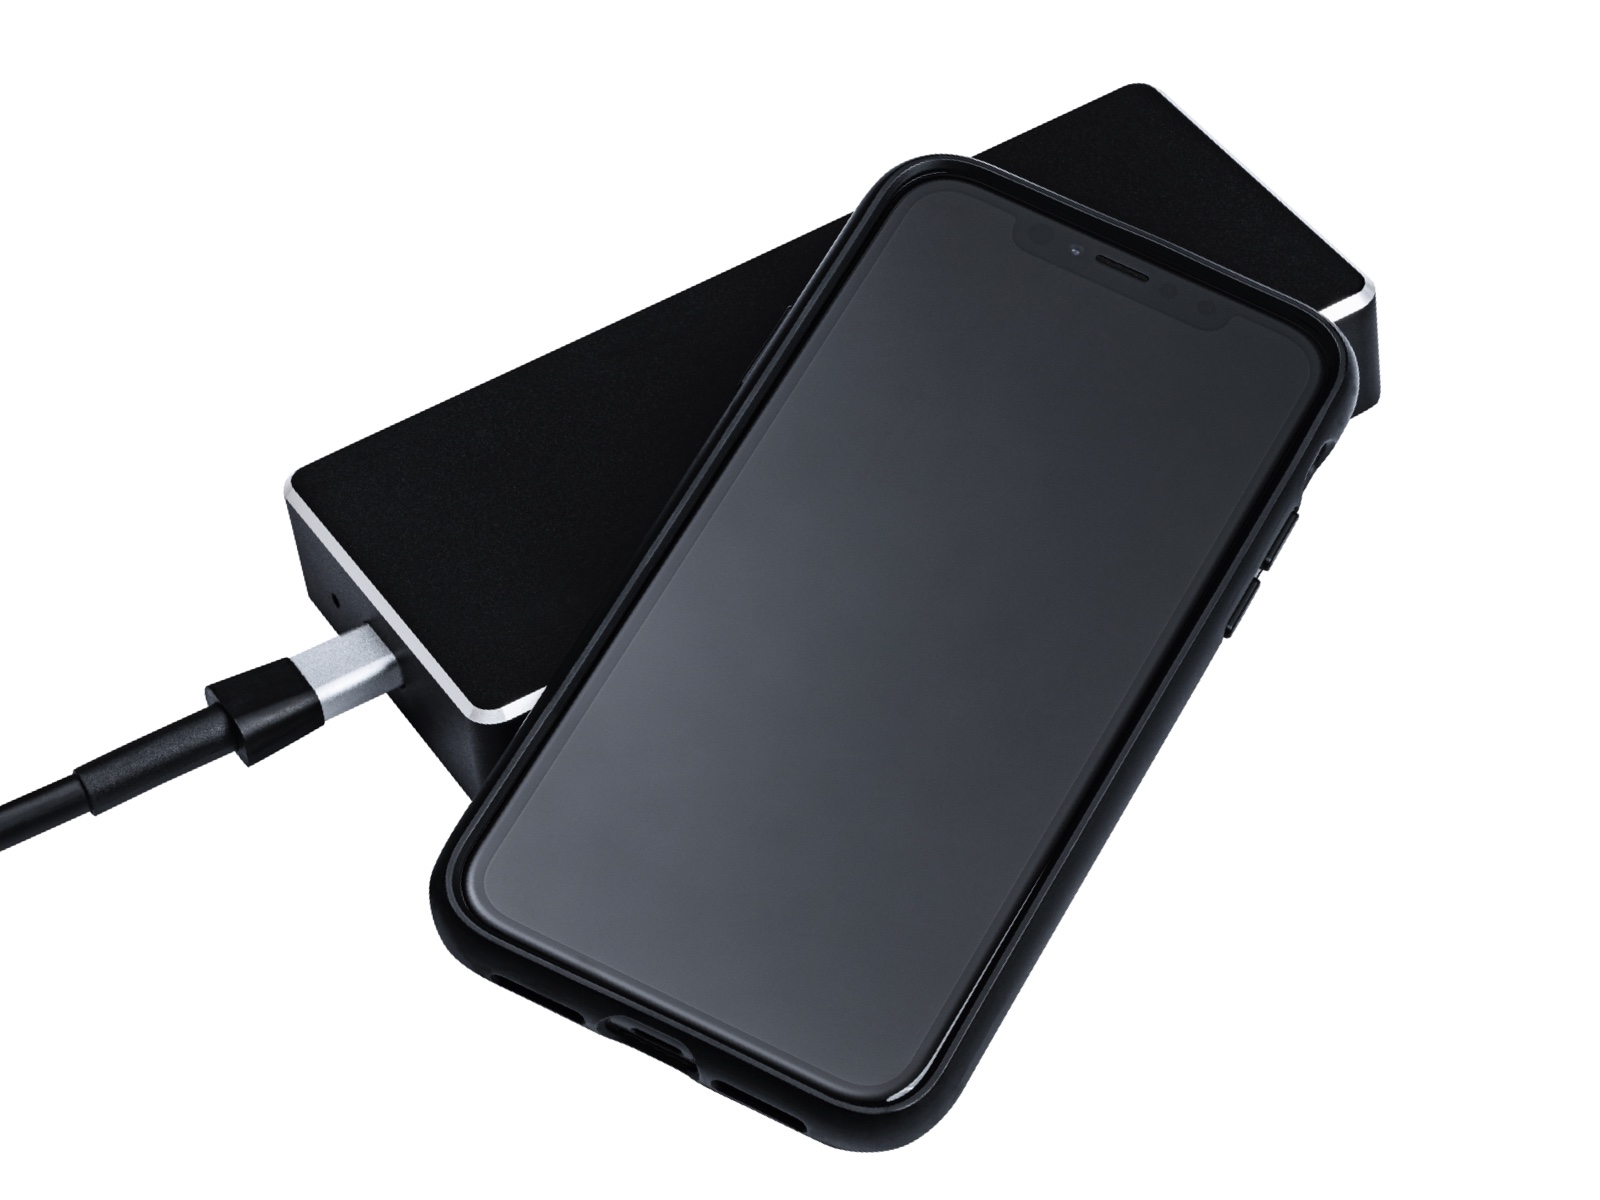
Stay plugged in and powered up
The handy power delivery hub doesn't take up much space and connects to your sensor, the power supply and your computer.

Cut out the unnecessary
The cards feature reference points to quickly define and cut out a background that you don't need.
Ready to take on many applications
Maintenance
- 3D inspection of dents, corrosion and damage
- 3D scanning and remanufacturing of legacy parts
- Indoor and outdoor, in rugged and harsh environments
- Wear monitoring

Reverse engineering
- From shape to CAD
- Archiving tools and cultural heritage
- Everything from small details to very large repairing of parts

Quality Control
- Actual comparison with CAD
- Functional dimensioning
- Shop floor inspection
- Reducing the number of iterations in your process

Design
- Digitize complex shapes and physical objects
- Design modification
- Interior design
- 3D visualisation
Industries
- Automotive, shipping, railway and aerospace
- Energy generation, oil and gas industry
- Agriculture, forestry and mining
- Heavy industry, mold and machine manufacturing


Technical Data
(1) D-K-21312-01-00 according to DIN EN ISO/IEC 17025:2018
(2) Acceptance Test based on ISO 10360
Do you want to find out more?
Discover more
i
Please select the topic you seek more information aboutHow to measure in production
Small and portable: the ZEISS T-SCAN hawk 2 is made for the use in production. See here how it supports your complete process chain from data collection for reverse engineering, different inspection tasks to the digital assembly of produced parts.
Do you want to find out more about the portable 3D laser scanner T-SCAN hawk 2? Visit HandsOnMetrology.com/sessions
How to scan large objects using a portable 3D scanner
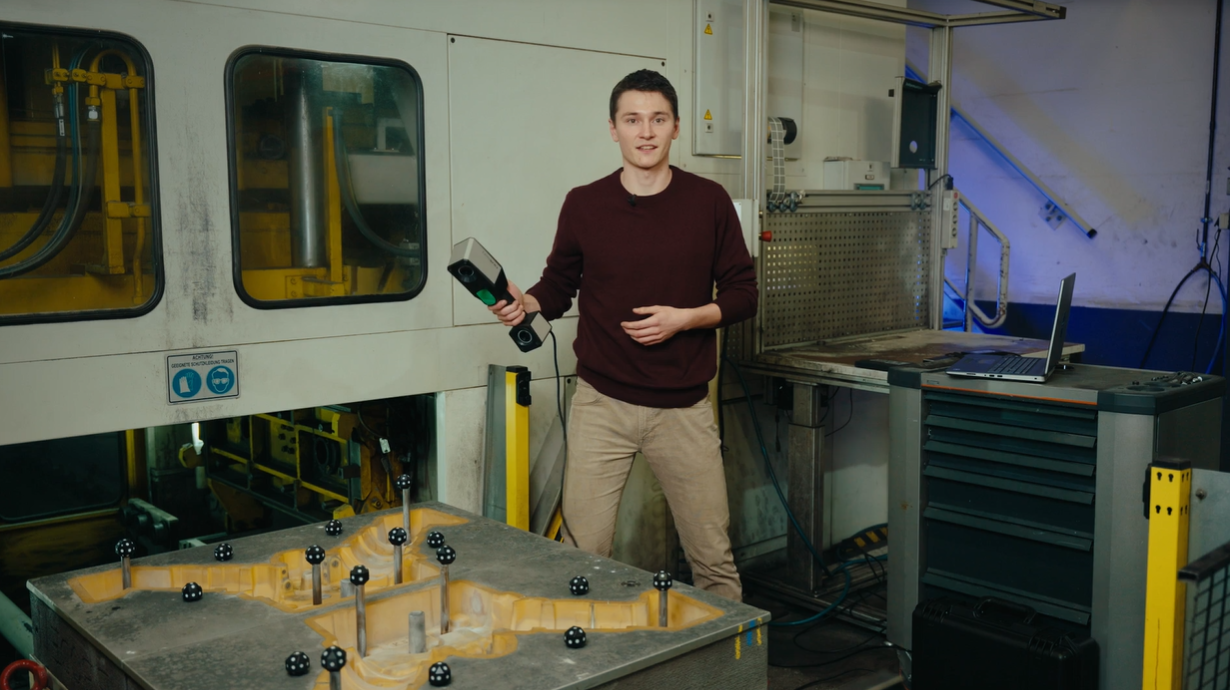
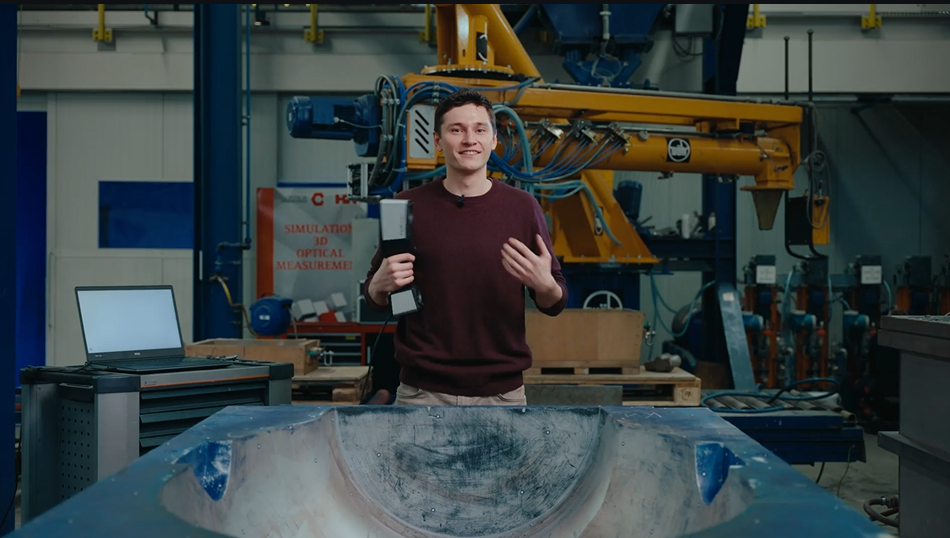
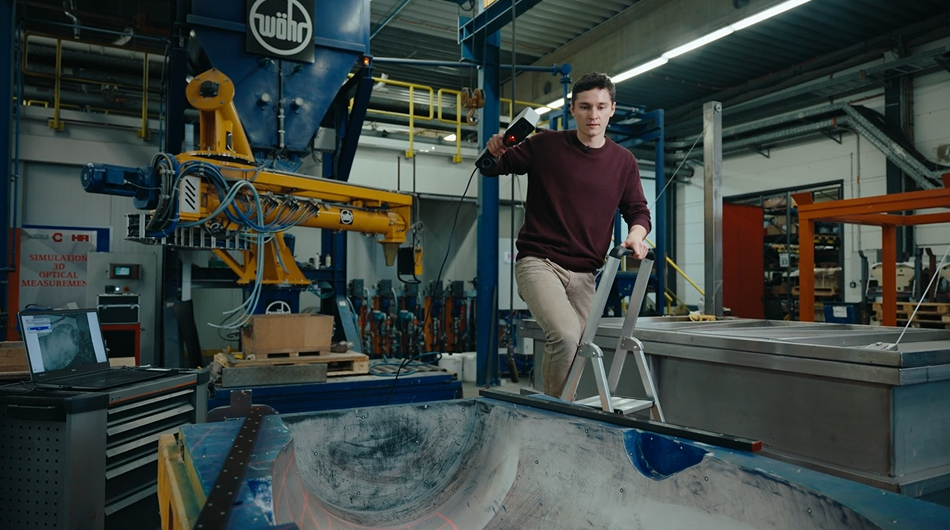
Learn how to measure big parts, like sand molds. Roel is using the new Satellite Mode of the ZEISS T-SCAN hawk 2 – replacing the built-in photogrammtry of the previous scanner generation. Together with scale bars, reference points and the big field of view of the handheld sensor, it is a powerful combination which ensures highly accurate data.
How does satellite mode work and why do you need it
Scanning larger parts can be challenging. We simplified the the process with the new satellite mode of the handheld laser scanner ZEISS T-SCAN hawk 2. It does without coded markers thus preparations are easy and fast. Learn more about the advanced way of photogrammetry here. Got any questions? Contact us via support@HandsOnMetrology.com.
How to use a 3D scanner for dent detection
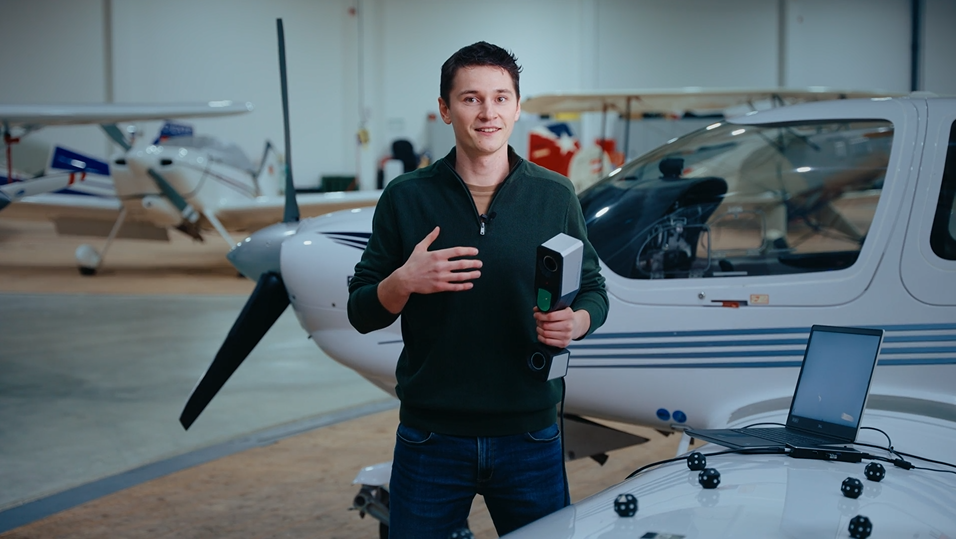
Looking for a way to speed up and refine your aircraft MRO? Let Roel show you how the ZEISS T-SCAN hawk 2 and the Inspect Software aid in various inspection tasks, like GD&T, CAD comparisons or defect maps. Got any questions on 3D scanning? Contact us via support@HandsOnMetrology.com
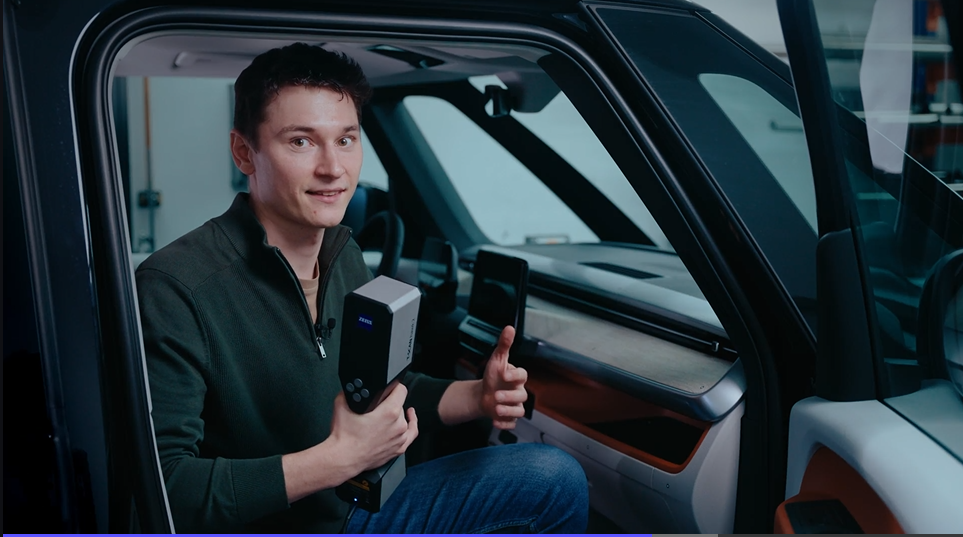
How to use a 3D scanner in confined spaces
In this How to Roel is scanning complex and hard to reach areas of a van interior. Whether for inspection or design purposes – the ZEISS T-SCAN hawk 2 is the perfect fit for extracting accurate and complete dimensions in confined spaces. Got any questions on 3D scanning? Contact us via support@HandsOnMetrology.com
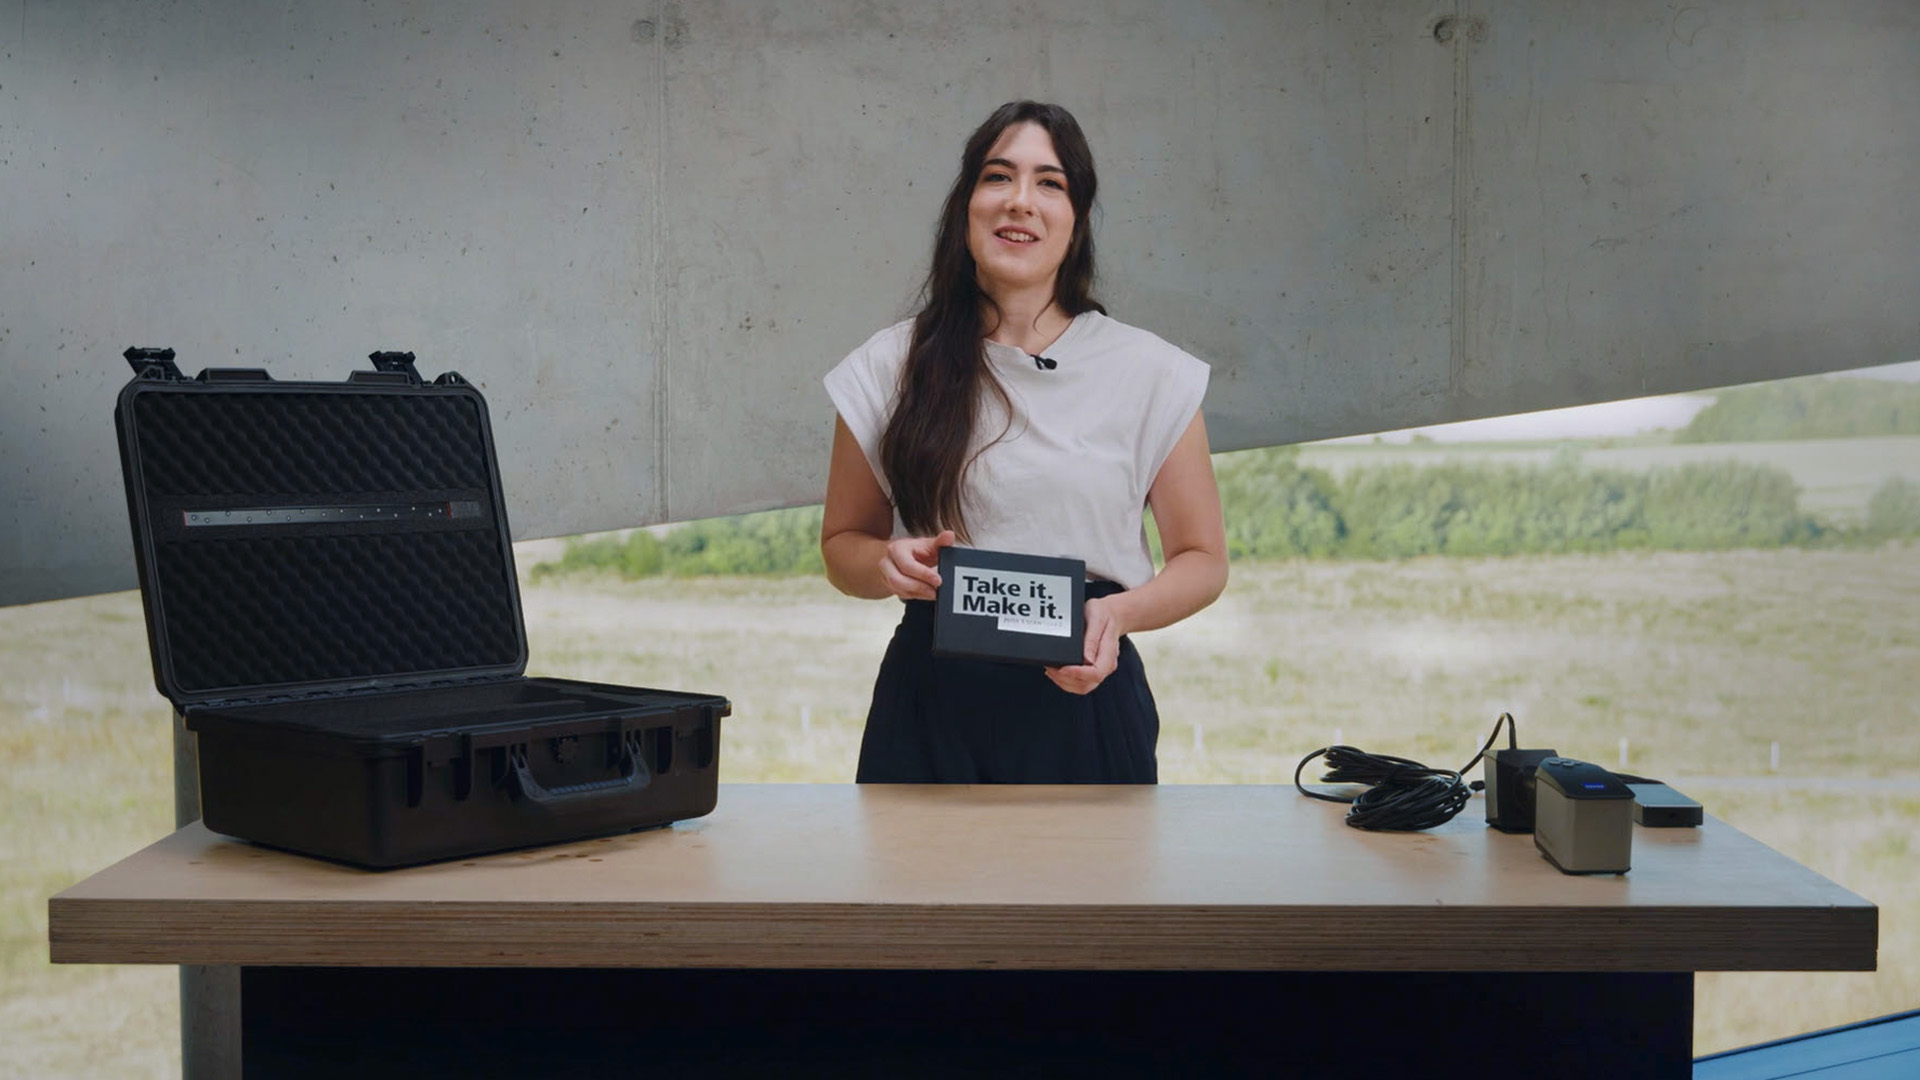
T-SCAN hawk 2: Unboxing your new 3D laser scanner
Get started with your T-SCAN hawk 2. In this first episode you get to unbox the new hand-held laser scanner together with Aysel. Whether the power cable, the calibration panel or reference points, we got you covered for easy, fast and precise 3D scanning. Have you got any questions about 3D scanning? Contact us via support@HandsOnMetrology.com
T-SCAN hawk 2: The setup
Want to know what to consider when setting up your new T-SCAN hawk 2? Let Aysel show you an easy step-by-step guide for starting your laptop as well as the system. Get ready for your first scan with the T-SCAN hawk 2! Have you got any questions about 3D scanning? Contact us via support@HandsOnMetrology.com
T-SCAN hawk 2: Your first use of ZEISS INSPECT
In our Getting Started we demonstrate how easy it is to start scanning with the T-SCAN hawk 2. Besides the calibration process, Aysel navigates you through the ZEISS INSPECT software and gives useful tips and tricks for your first scan.
All functions shown are available in the current software version.
Have you got any questions about 3D scanning? Contact us via support@HandsOnMetrology.com
T-SCAN hawk 2: Scanning in ZEISS INSPECT
Have a look at the remote workflow which guides you through different scanning task with ease. Aysel applies the common scanning strategy of scanning one side of the part only. The buttons on the backside of the scanner simplify the process, even when scanning deep pockets.
All functions shown are available in the current software version.
Got a question? Contact us via support@HandsOnMetrology.com
T-SCAN hawk 2: Scanning with reference points
Have a look at how to easily scan both sides of your part using reference points. With just a push of a button on the T-SCAN hawk 2, the guided workflow assists in the scan. The software optimizes the polygonization of the final mesh. Have you got any questions about 3D scanning? Contact us via support@HandsOnMetrology.com
T-SCAN hawk 2: Scanning without reference points
You are scanning a lot of 3D geometries? Then go ahead and try the scanning strategy Aysel presents in this Getting Started: Scanning without any reference points. Just select the right template in the software, define the background plane and start your 3D scan. Have you got any questions? Contact us via support@HandsOnMetrology.com
T-SCAN hawk 2: The new Satellite mode
In this Getting Started we demonstrate how to accurately scan large parts with photogrammetry. The new integrated satellite mode ensures precise pre-referencing. No other features, like coded markers, are necessary. Watch the video to see the T-SCAN hawk 2 unleash its full potential.
Do you want to find out more about the portable 3D laser scanner T-SCAN hawk 2? Visit HandsOnMetrology.com/sessions
T-SCAN hawk 2: Scanning fine details
Whether you are scanning large parts with local details or a completely detailed part, T-SCAN hawk 2 is the right solution. Let Aysel explain you, how to operate the scanner and get useful tips and tricks for both cases. Have you got any questions? Contact us via support@HandsOnMetrology.com
T-SCAN hawk 2: Scanning deep pockets
Your challenge is to scan deep pockets of a part? The single laser line mode of the T-SCAN hawk 2 allows you to scan even deeper into wholes. Watch the Getting Started to learn more about the detailed scan of hard to reach areas. Have you got any questions on 3D scanning? Contact us via support@HandsOnMetrology.com
T-SCAN hawk 2: All features of the remote control buttons
Let Aysel show you the different possibilities of the control buttons on the back of the T-SCAN hawk 2. It makes starting the remote workflow, zooming in and out, opening the menu and more as easy as a push of the button. Have you got any questions on 3D scanning? Contact us via support@HandsOnMetrology.com
T-SCAN hawk 2: Accessories
You want to scan your parts without sticking reference points on it? We have the right accessory for you: the magnetic reference pillars. Placing them around the part ensures easy, intuitive and accurate data collection. Have you got any questions on 3D scanning? Contact us via support@HandsOnMetrology.com
T-SCAN hawk 2: Get some useful tips & tricks
Need more tricks on the new T-SCAN hawk 2? Aysel is going to reveal useful tips that make your scanning process even more successful. Get more information on topics, like exposure modes, scanner orientation, defining background planes and customizing workflows. Have you got any questions on 3D scanning? Contact us via support@HandsOnMetrology.com
How to perform fast inspection in electric motorcycle assembly
Components with different tolerances, make building safe motorcycles a challenge. Let Alex show you how easy it can be to inspect single motorcycle components and the digital assembly with ZEISS T-SCAN hawk 2 and the inspection software of the ZEISS Quality Suite. Got any questions on 3D scanning? Contact us via support@HandsOnMetrology.com
How to weld check on electric motorcycle frames
The basic structure of a motorcycle is the welded frame. Weld inspection is therefore necessary not only to maintain quality of parts, but also for customer safety. With the ZEISS T-SCAN hawk 2 and the weld inspection package of the ZEISS Quality Suite, you can easily scan, classify and inspect welds. Let Juan show you how it’s done.
Got any questions on 3D scanning? Contact us via support@HandsOnMetrology.com
How to 3D scanning for wear control in MRO
Wear and tear of production equipment causes malfunctioning, delays, downtime. In this How to, Roel shows you how 3D scanning is used to implement predictive maintenance – and therefore keep production running efficiently.
Got any questions on 3D scanning? Contact us via support@HandsOnMetrology.com
How to reproduce unavailable spare parts in MRO
Currently facing the challenge of reproducing unavailable spare parts? 3D scanning might be the solution you need to minimize risky downtime. By capturing the dimensions of the equipment, a reproduction is possible in no time. Watch the How to to learn more about it. Got any questions on 3D scanning? Contact us via support@HandsOnMetrology.com
How to set up a digital warehouse with 3D scanning
3D scanning helps to create your digital warehouse in MRO. With the digital copy you have important information at hand in the event of a sudden defect. Reduce costs due to extended downtime or storage, and easily access your digital inventory where and when you need it. Got any questions on 3D scanning? Contact us via support@HandsOnMetrology.com
How to 3D scanning for fast and efficient incoming inspection in MRO
Keeping equipment in good condition is necessary for an efficient production process. 3D scanning helps to capture all dimensions of parts for a fast inspection. Roel shows you how reparation or modification of equipment can be done using hand-held solutions. Got any questions on 3D scanning? Contact us via support@HandsOnMetrology.com
How to scan large parts using ZEISS T-SCAN hawk 2
Looking for an easy and intuitive way to 3d scan large parts up to multiple meter? Then the 3D laser scanner ZEISS T-SCAN hawk 2 with the new satellite mode is the right solution for you. Let Matthias show you how it’s done.
Do you have any questions about ZEISS T-SCAN hawk 2? Contact us via support@HandsOnMetrology.com
