A small scanner for precise meshes and big ideas
Compact, mobile and versatile
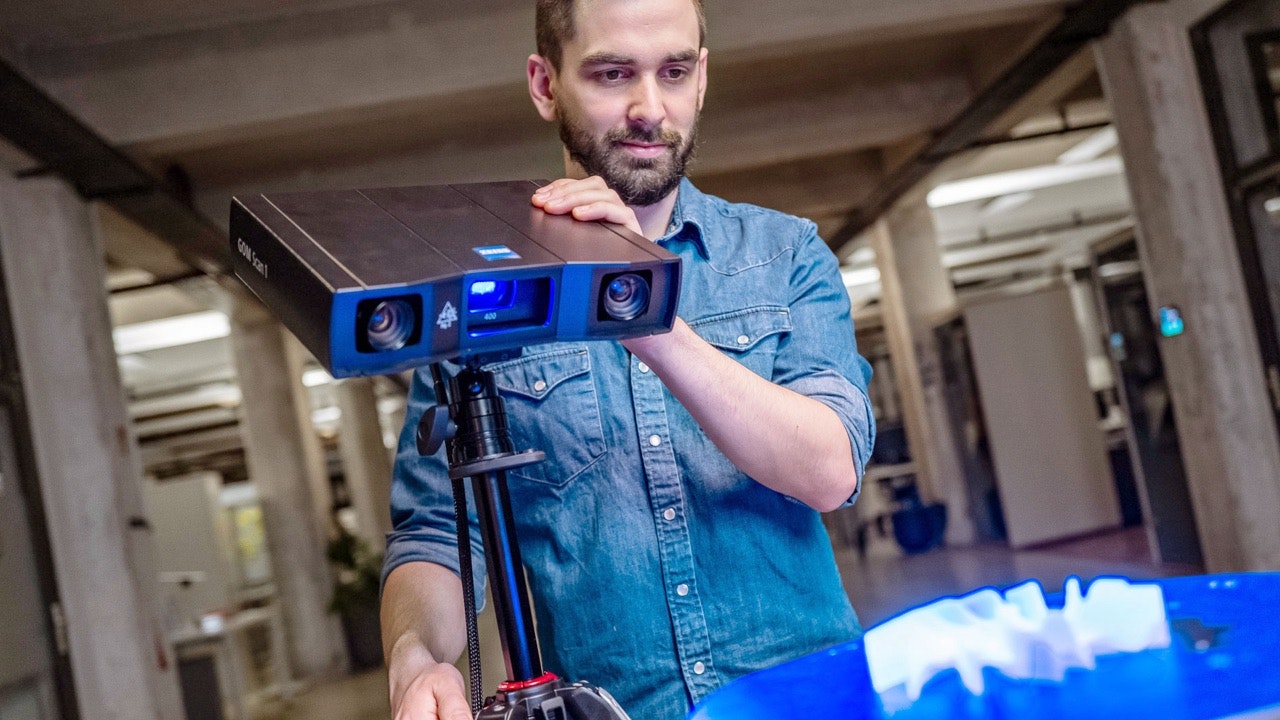
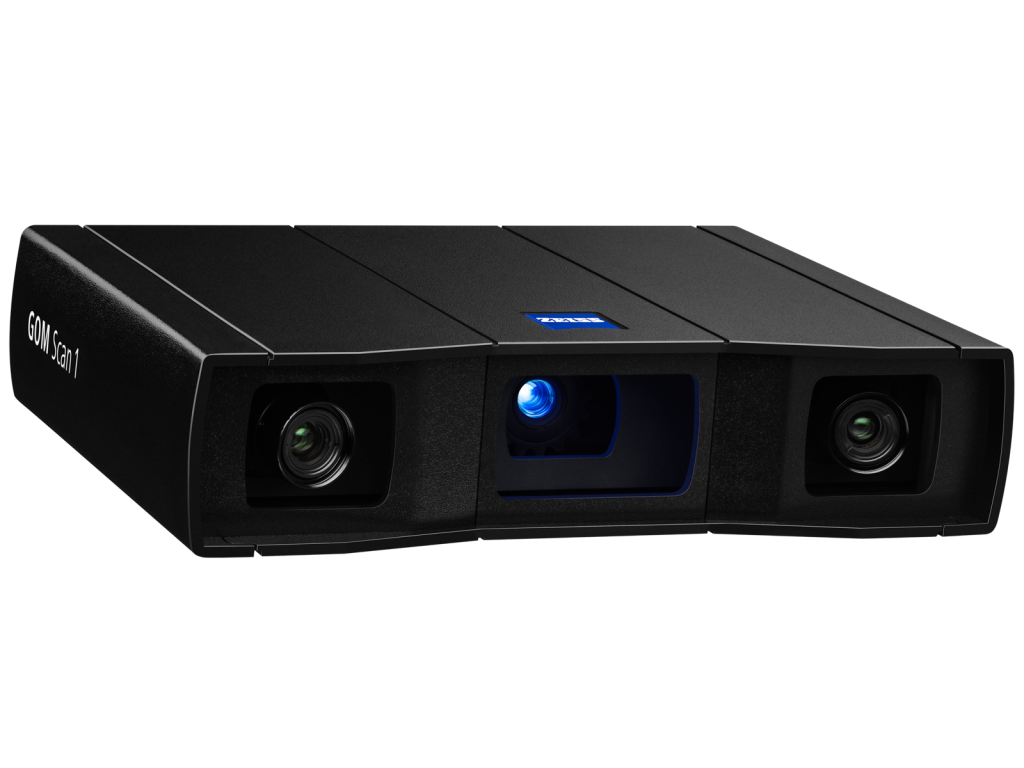
GOM Scan 1 is here to open up new possibilities. Industrial standards such as fringe projection technology and Blue Light Technology deliver the foundation for detailed and accurate 3D meshes. Meanwhile, the integrated software ZEISS INSPECT helps you apply the mesh to any project you want: 3D printing, reverse engineering or part inspection. So, go ahead and start something big.

A powerful 3D scanner
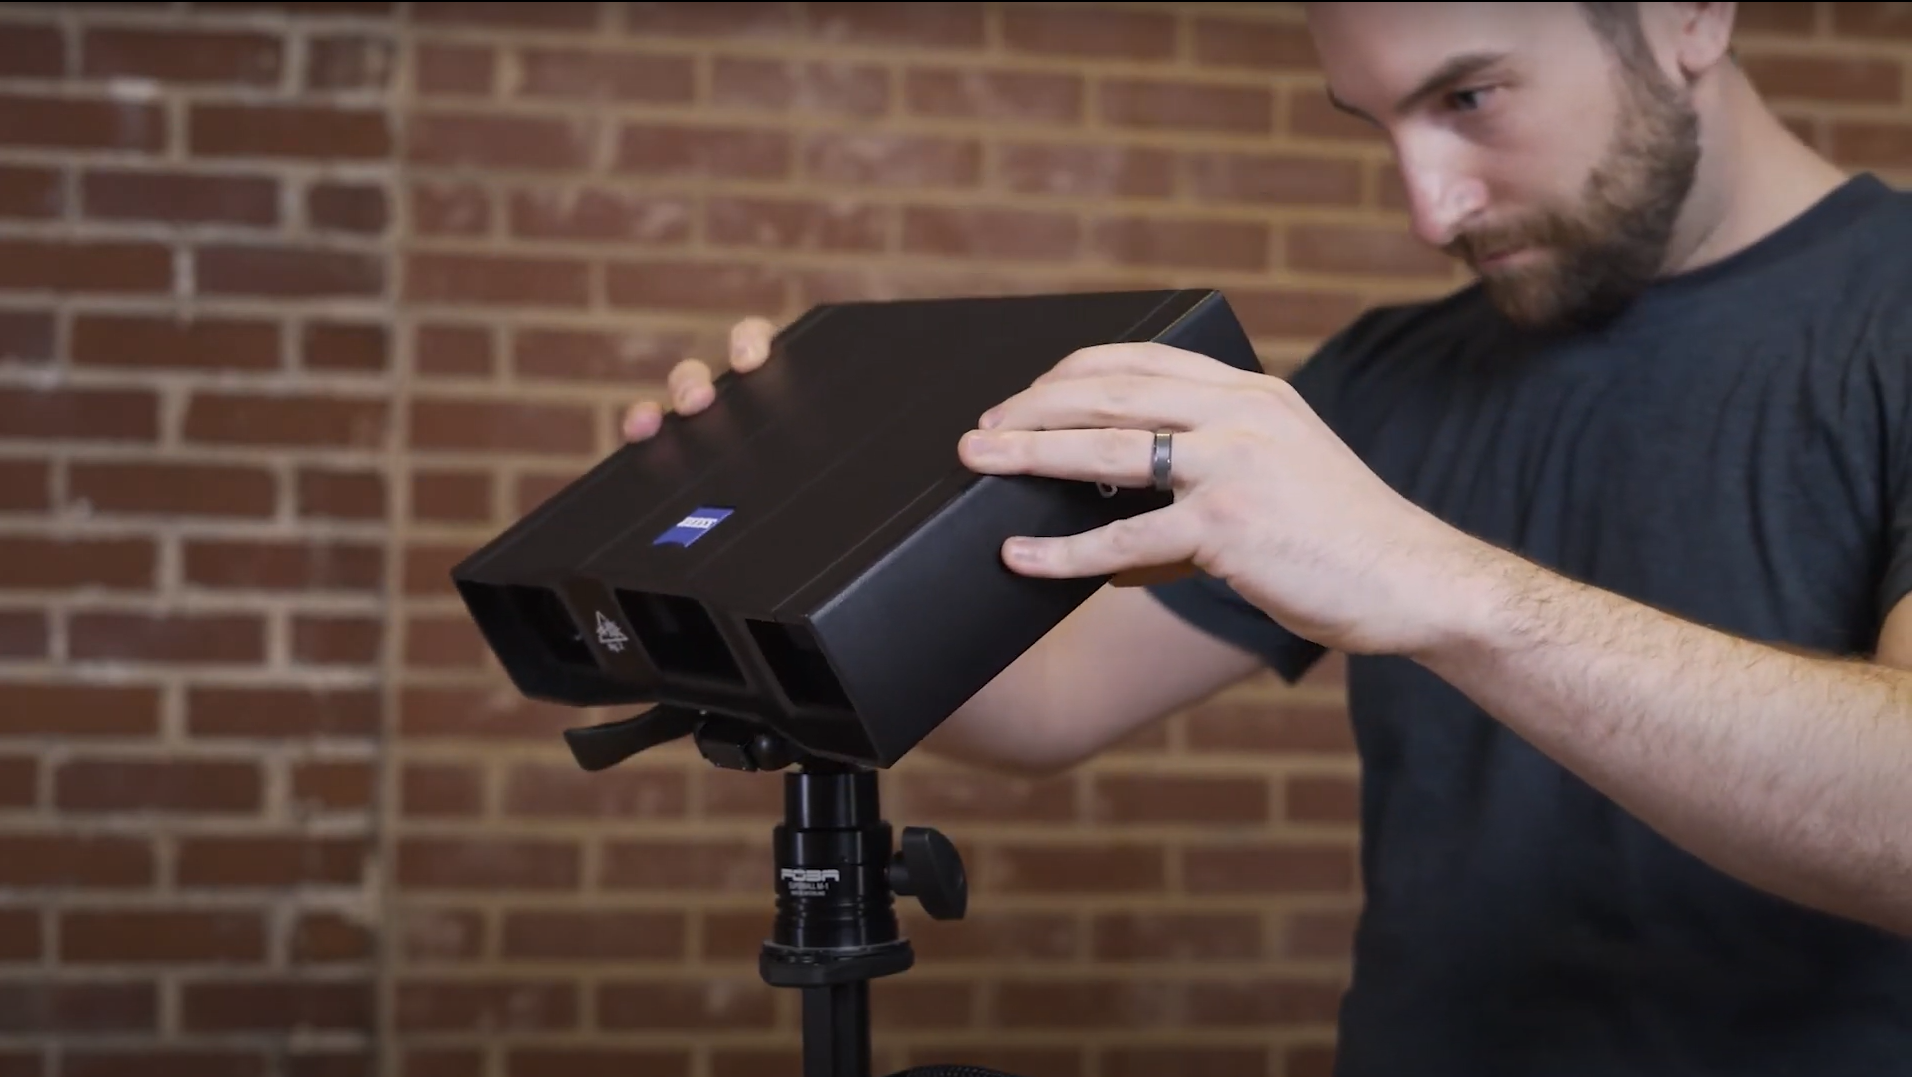
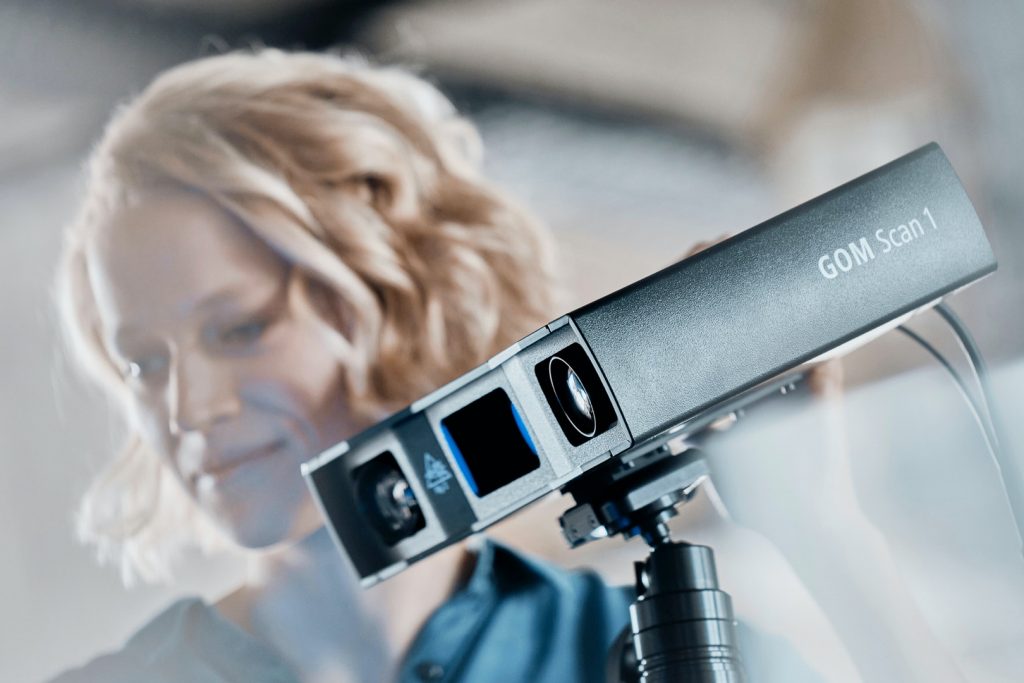
GOM Scan 1 features a compact shape and robust design filled with advanced technologies. From Blue Light Technology to the stereo camera principle, this sensor is built to deliver 3D data with high precision.
Small, mobile and super easy to use

Fast and precise
A software that guides you
Features
A self monitoring system for real life issues
Precision in all lighting conditions:
Blue Light Technology
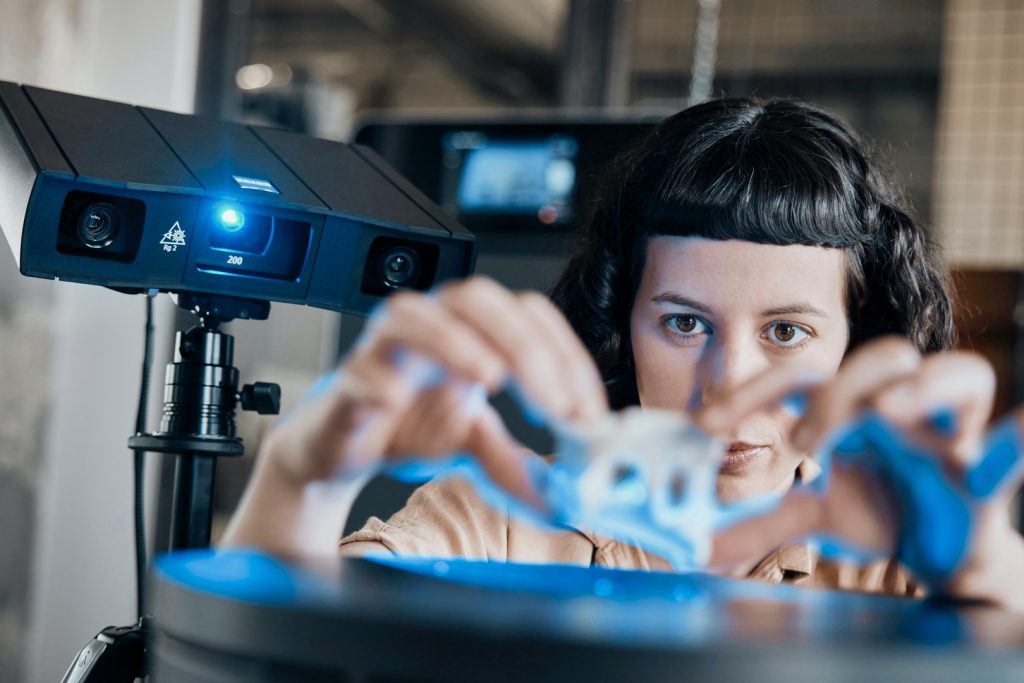
The projection unit of GOM Scan 1 is based on Blue Light Technology. Since the sensor works with narrowband blue light, interfering ambient light can be filtered during image acquisition. Due to its powerful light source, short measuring times can be achieved.

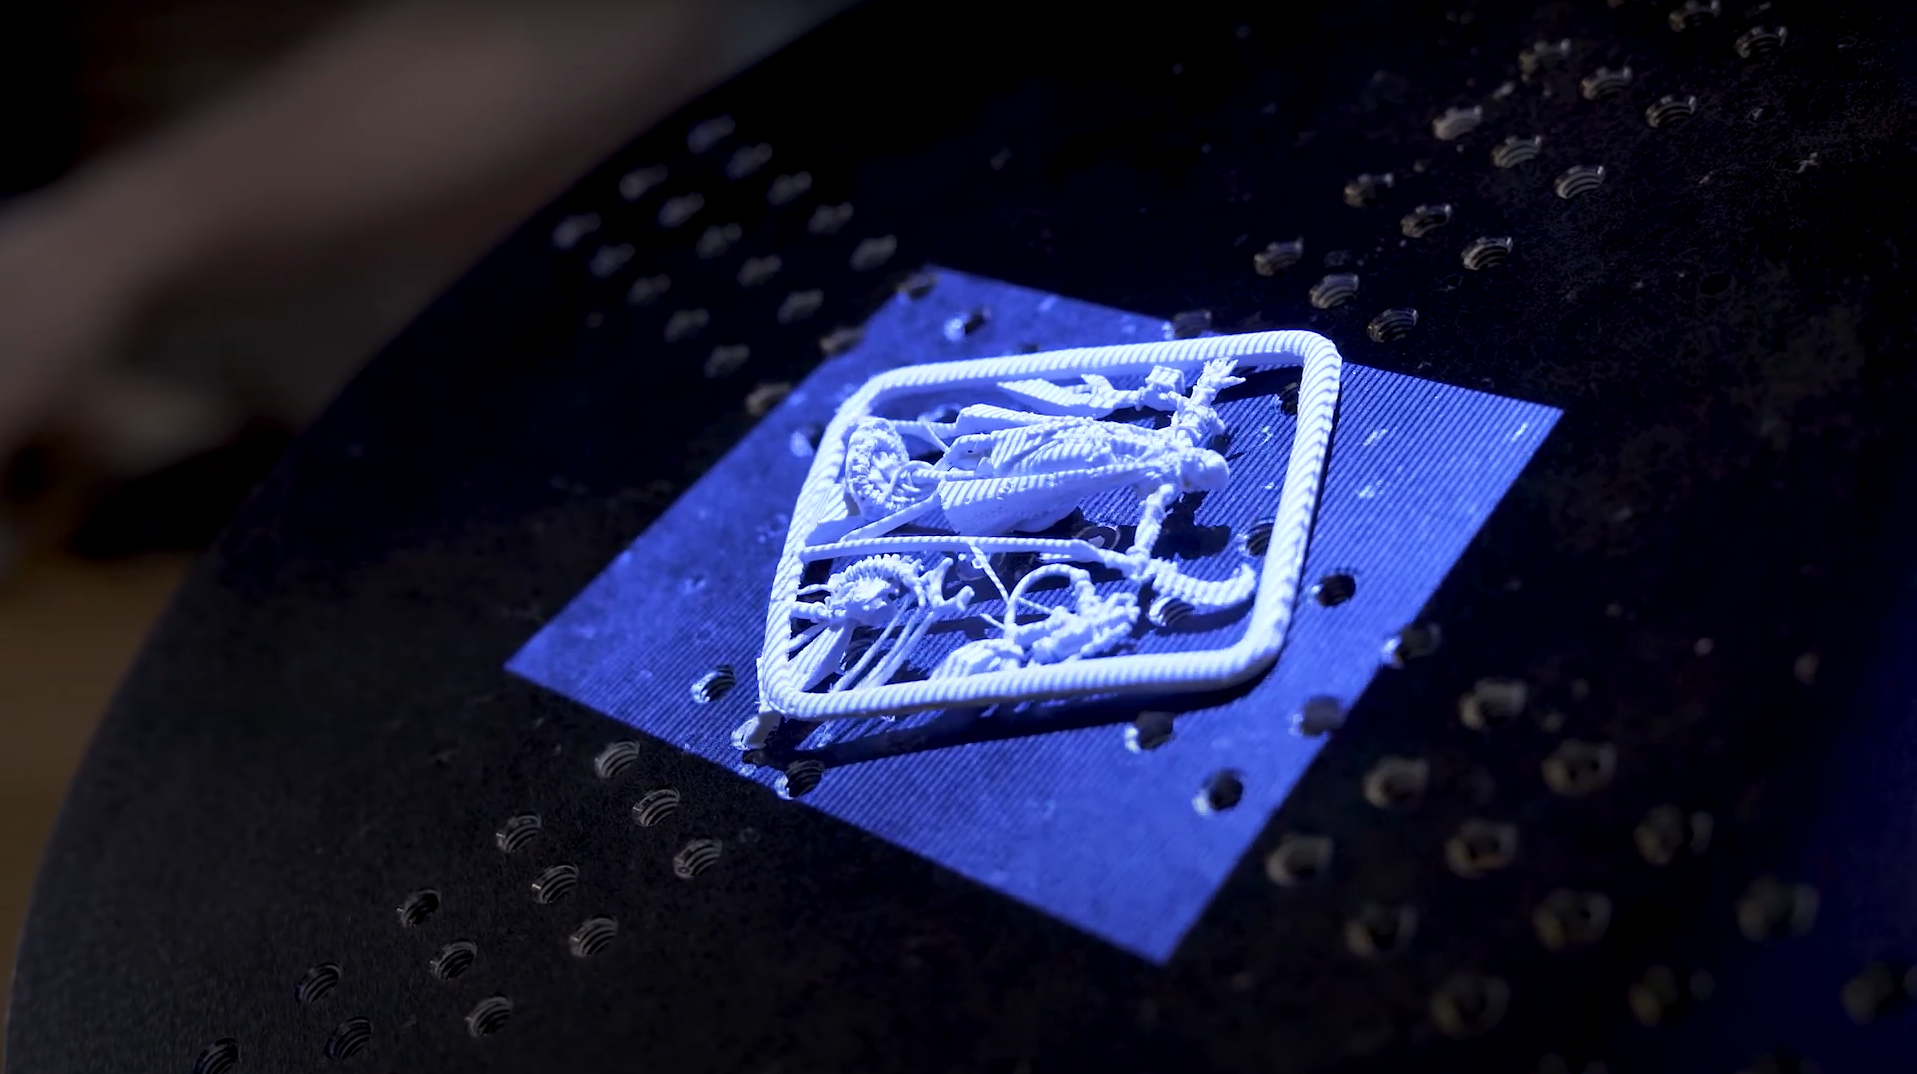
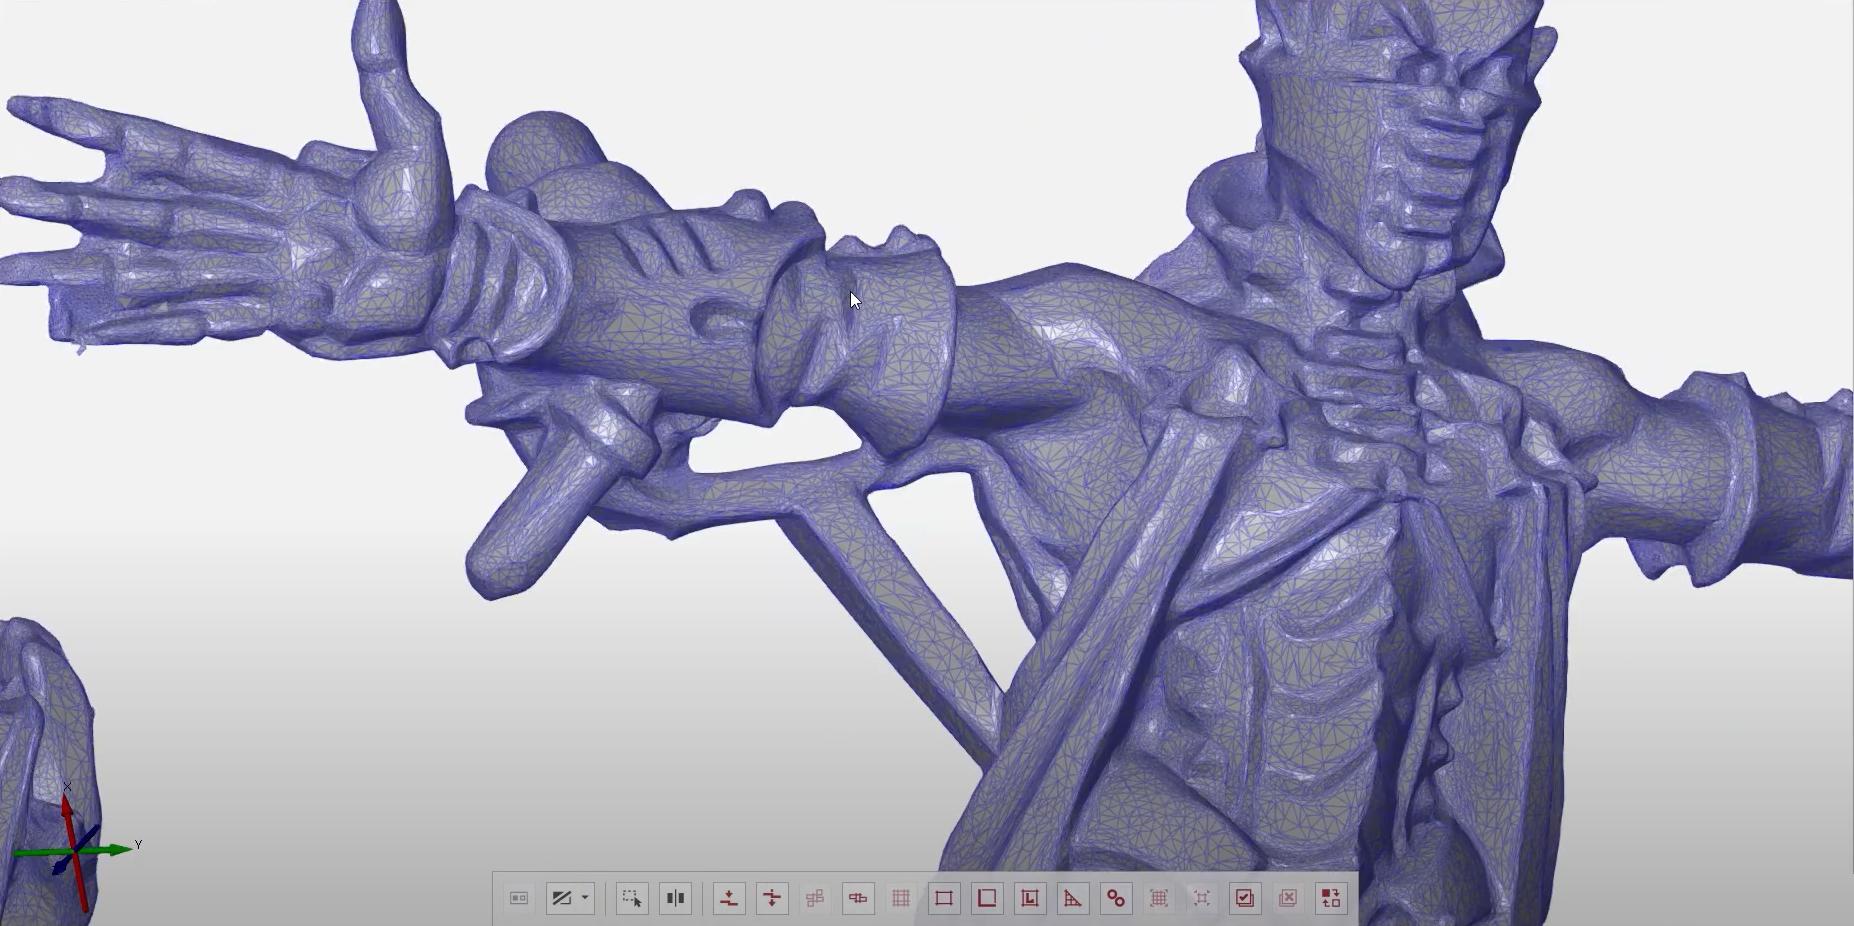
Prepare to print with intelligent mesh editing
Choose your measuring volume
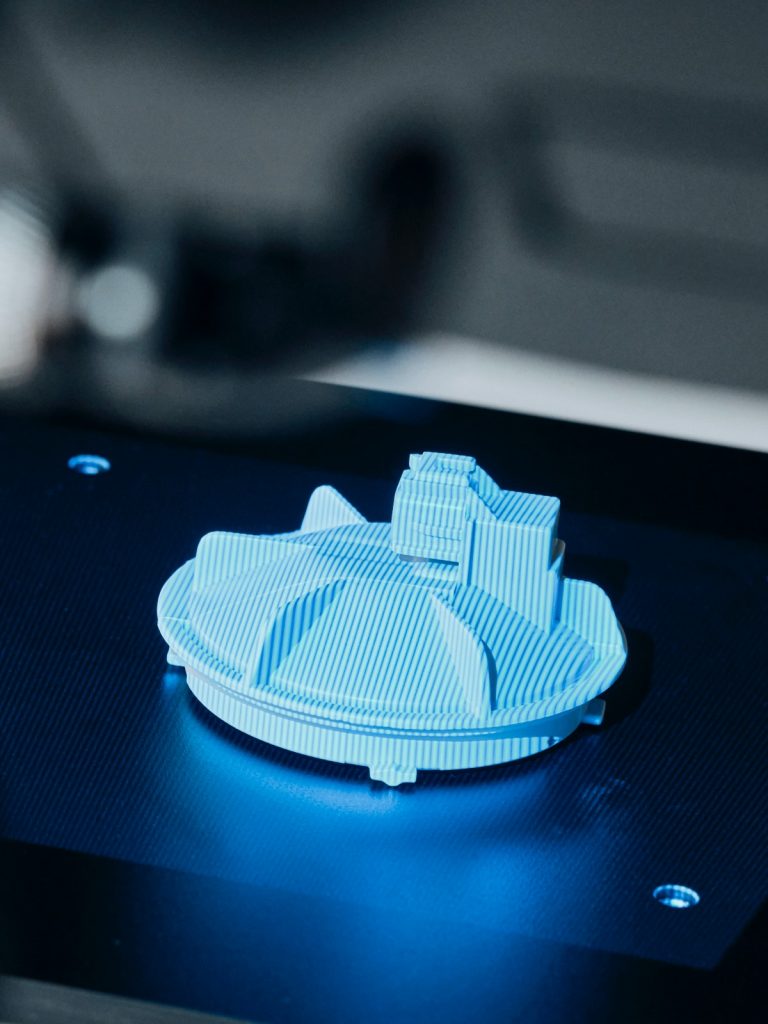
Get there fast with fringe projection

Capture and create your ideas
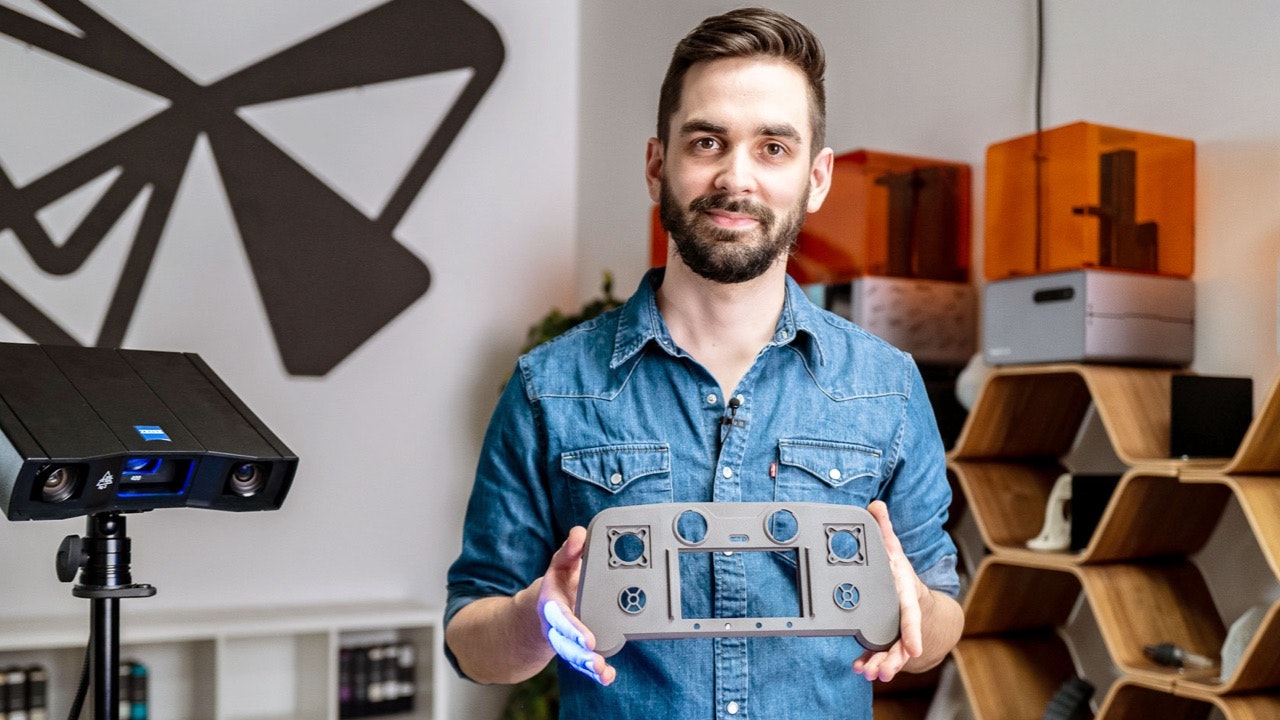
GOM Scan 1 with ZEISS INSPECT supports tasks such as 3D printing, 3D models of a part and reverse engineering. It captures high quality data in a short amount of time while the powerful mesh editing functions make it easy to replace parts, produce precise 3D models or develop new products. Whatever your idea, GOM Scan 1 meets professional and industrial standards to make it happen.
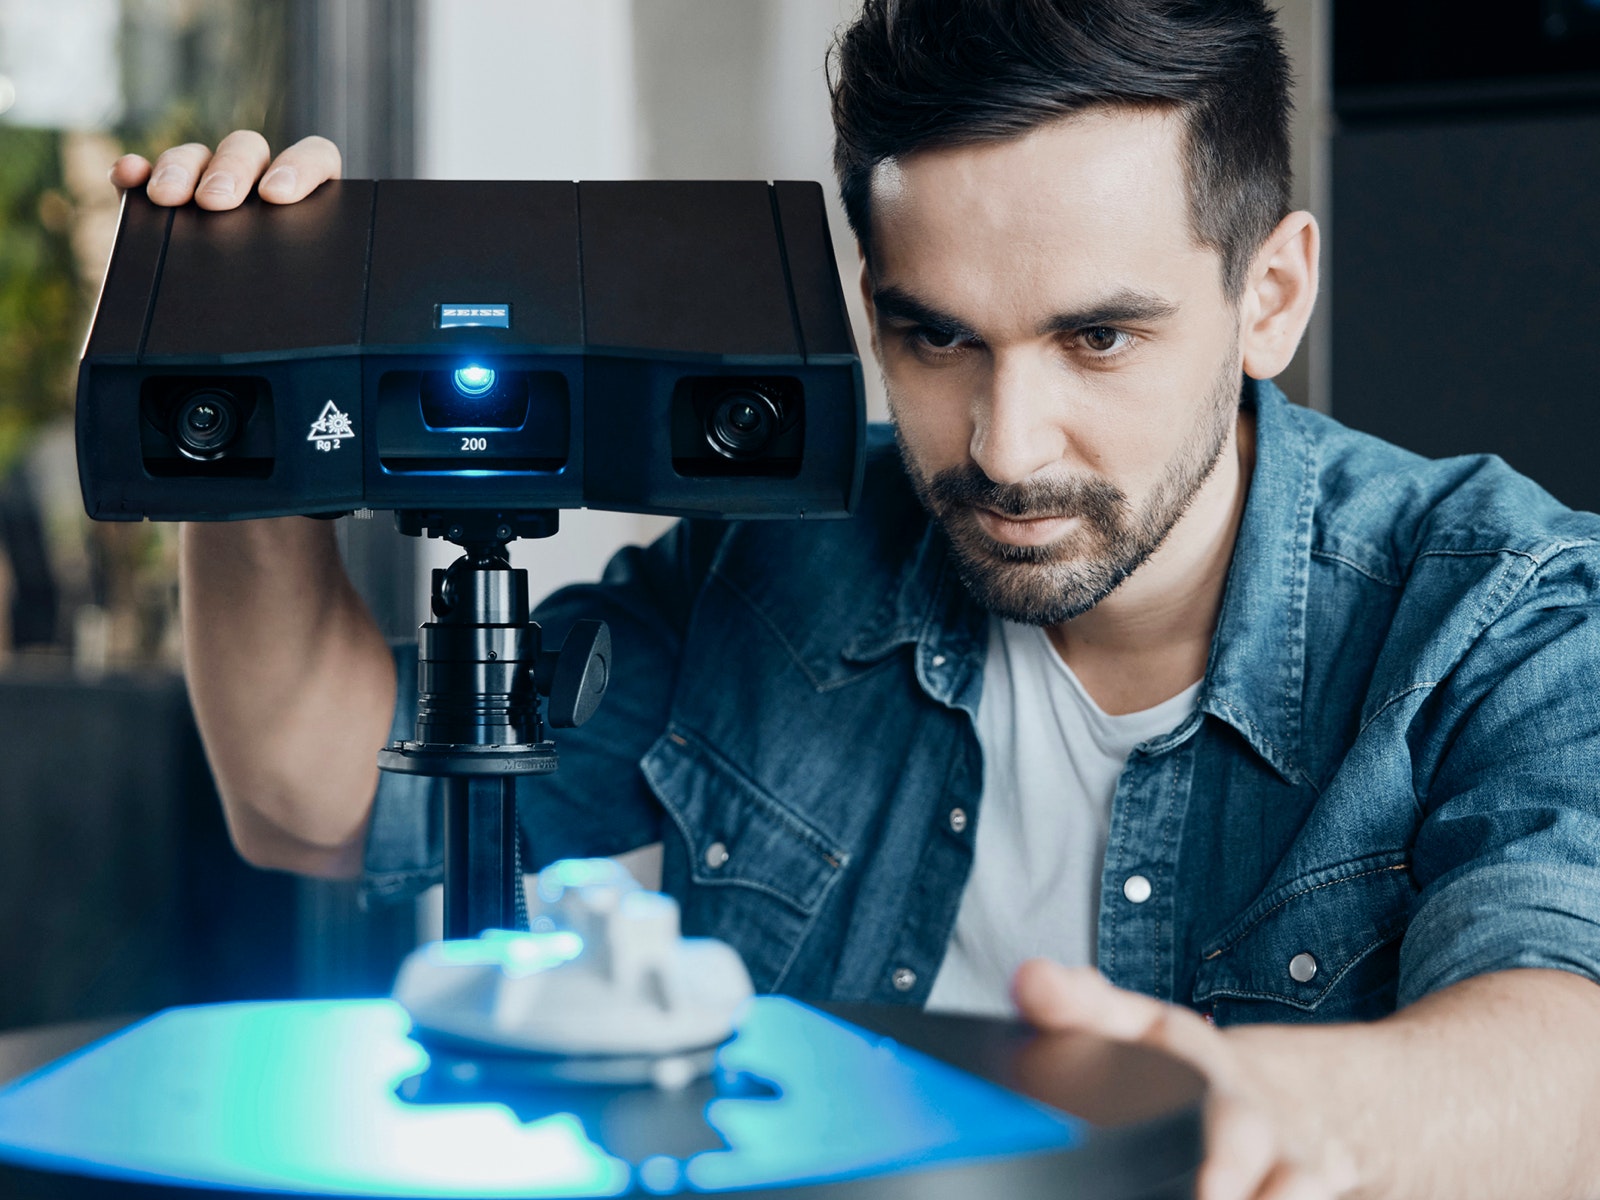
Measure and inspect your products
Use GOM Scan 1 for
• 3D printing
• Reverse engineering & manufacturing
• Virtual display or 3D models
• Research and education
• Art and heritage
• Design
• Healthcare
Accessories
Tools to support you
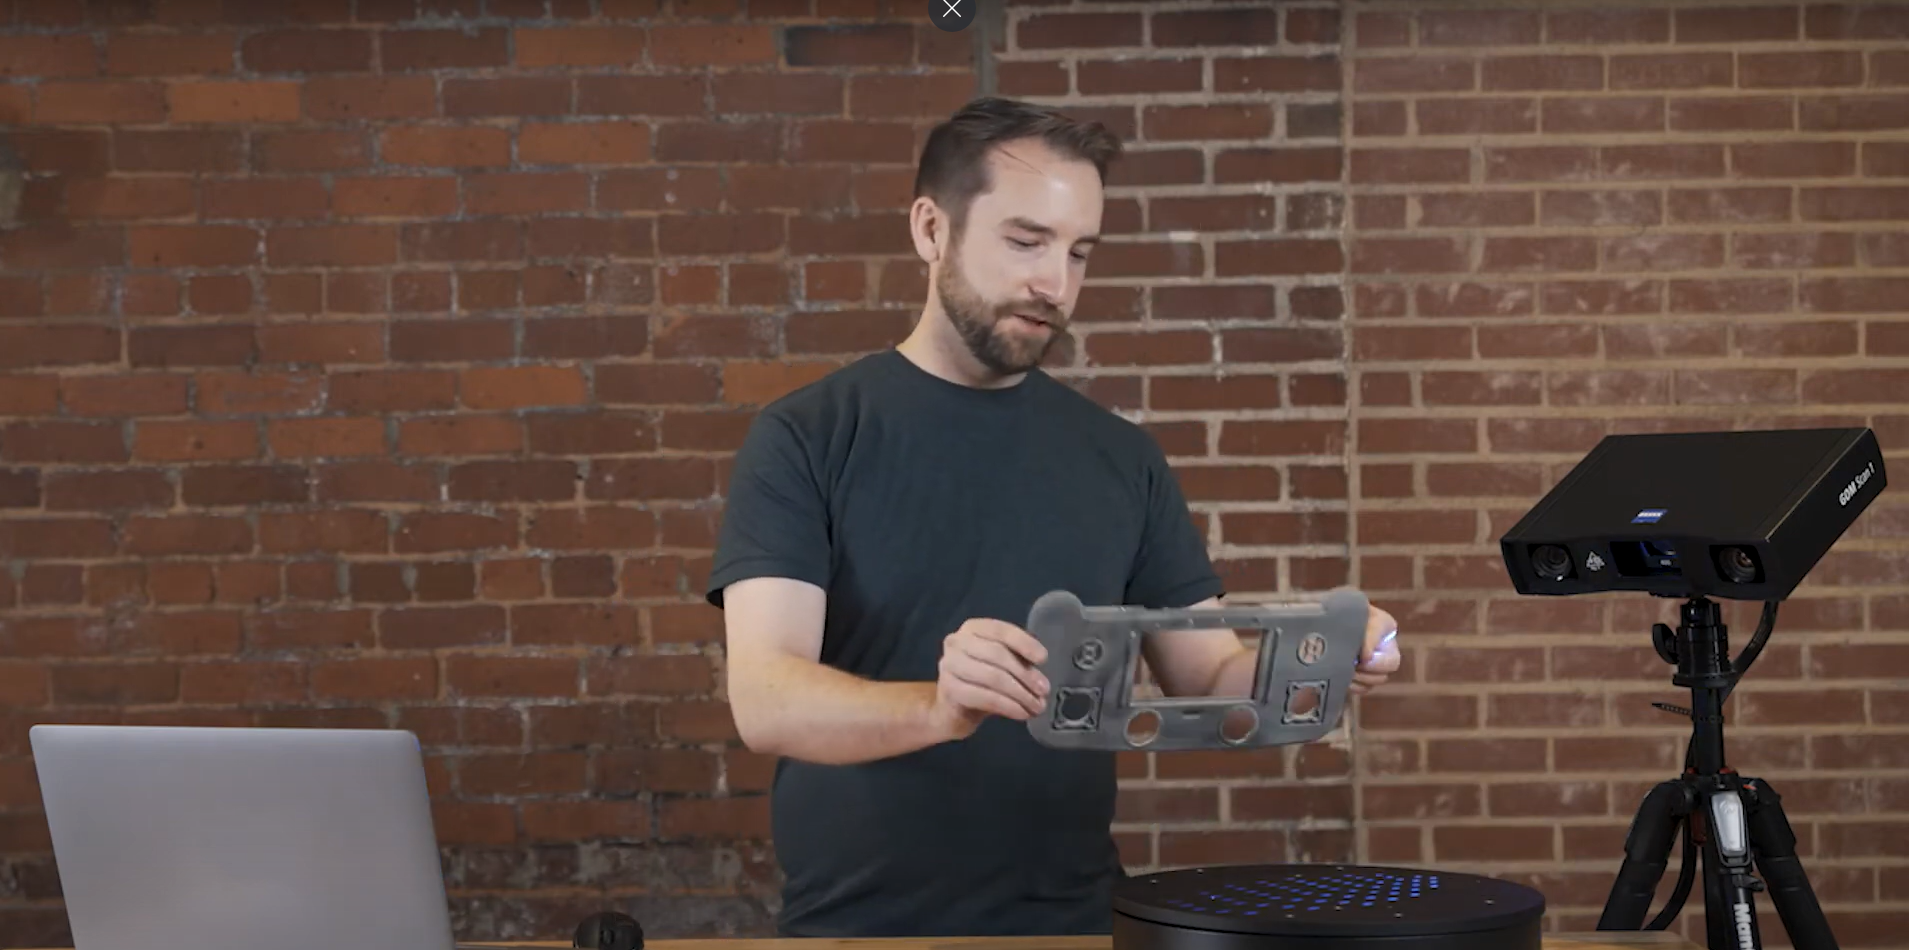
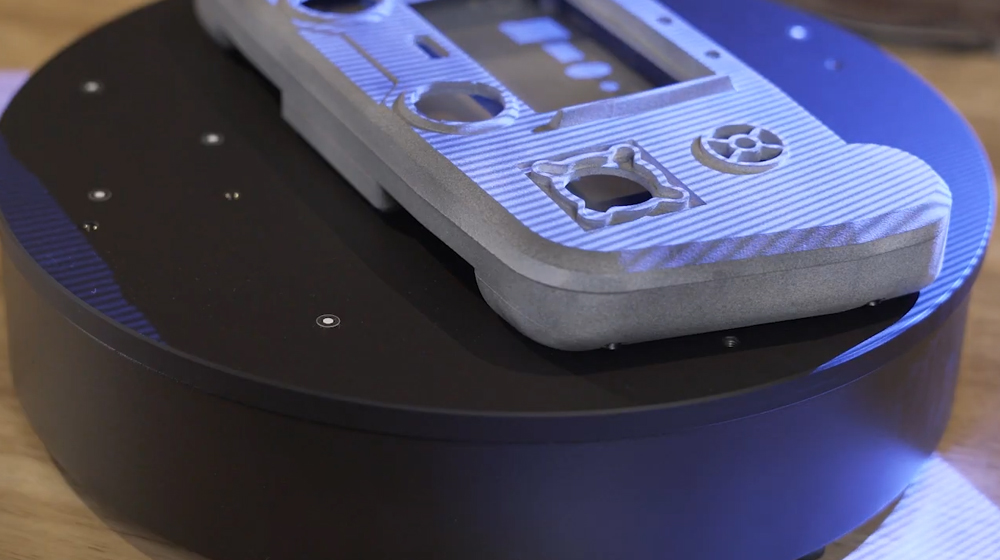
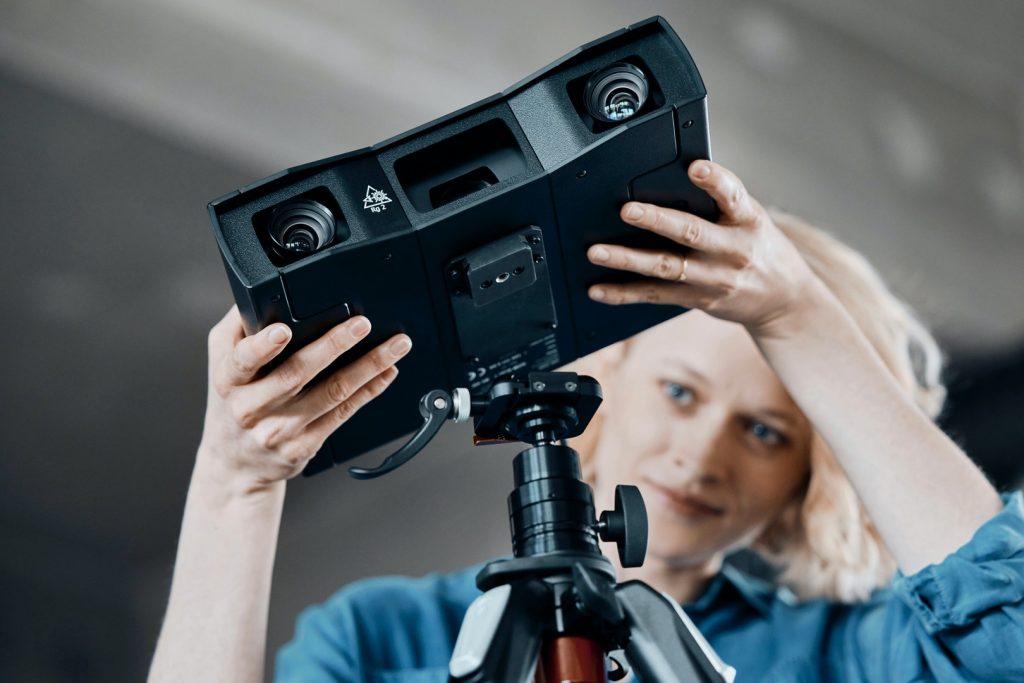
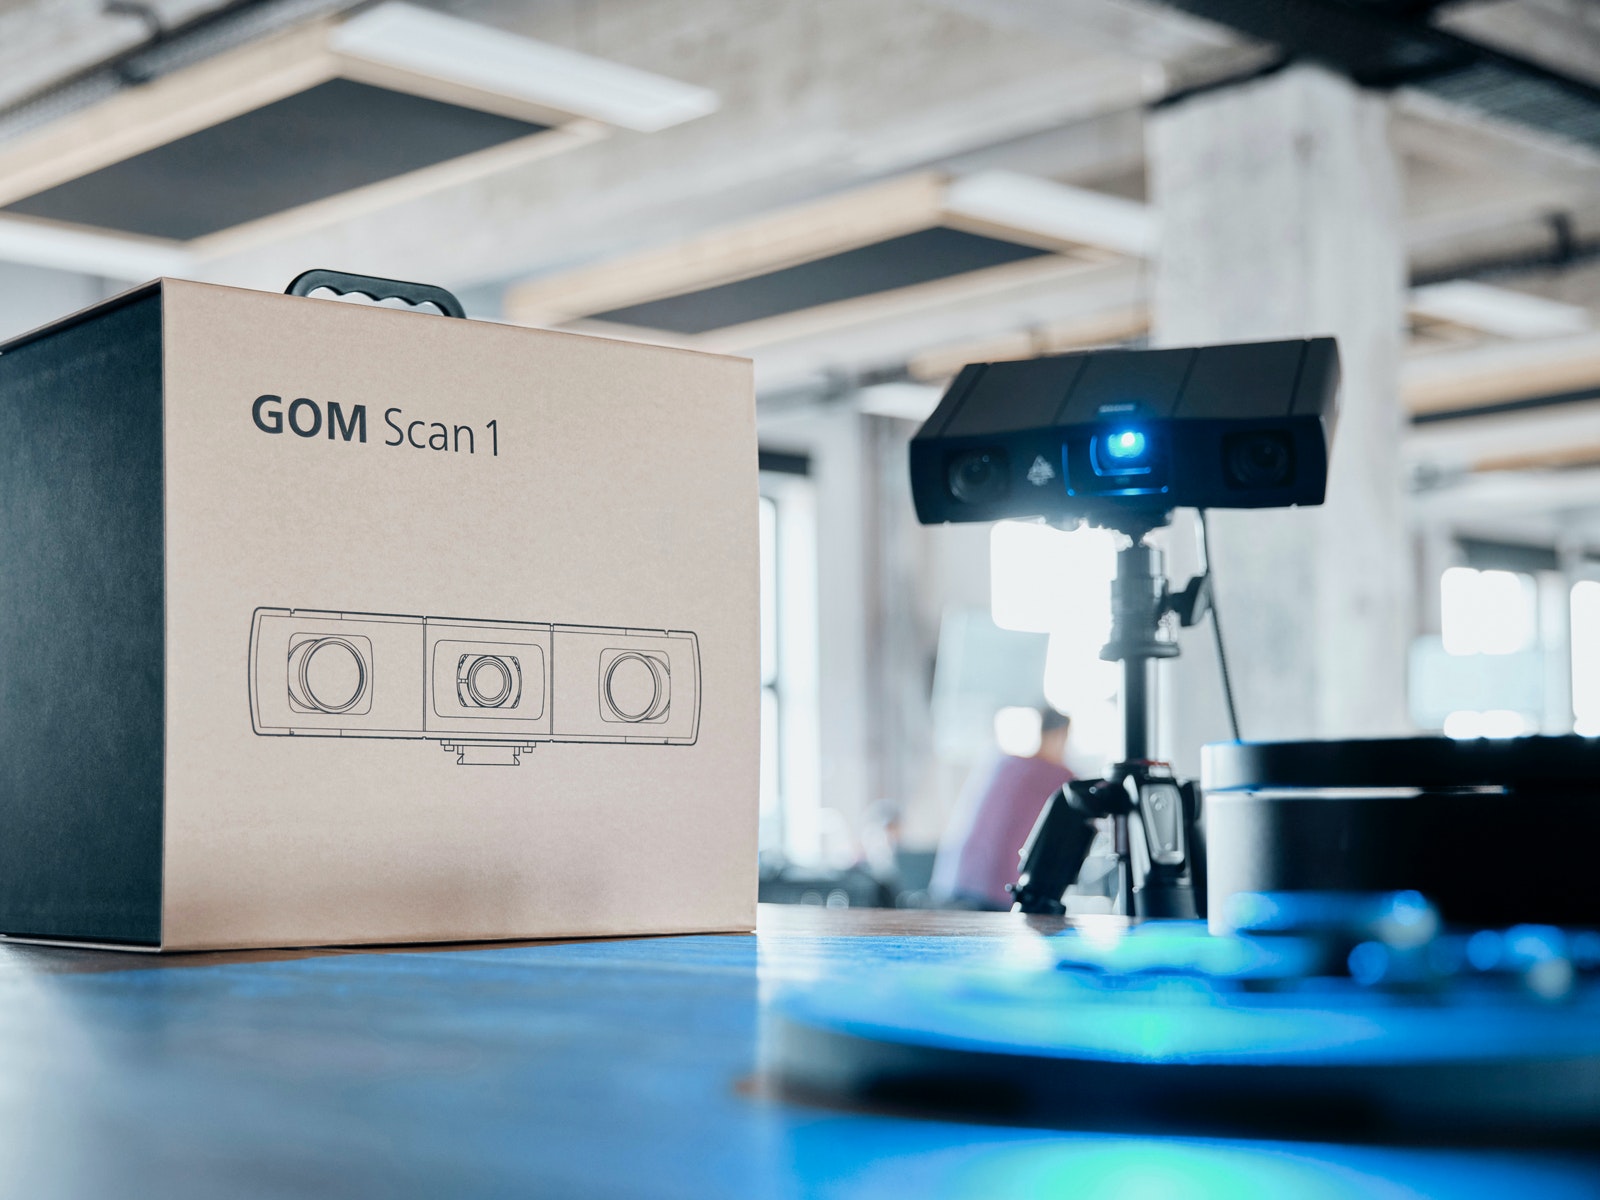
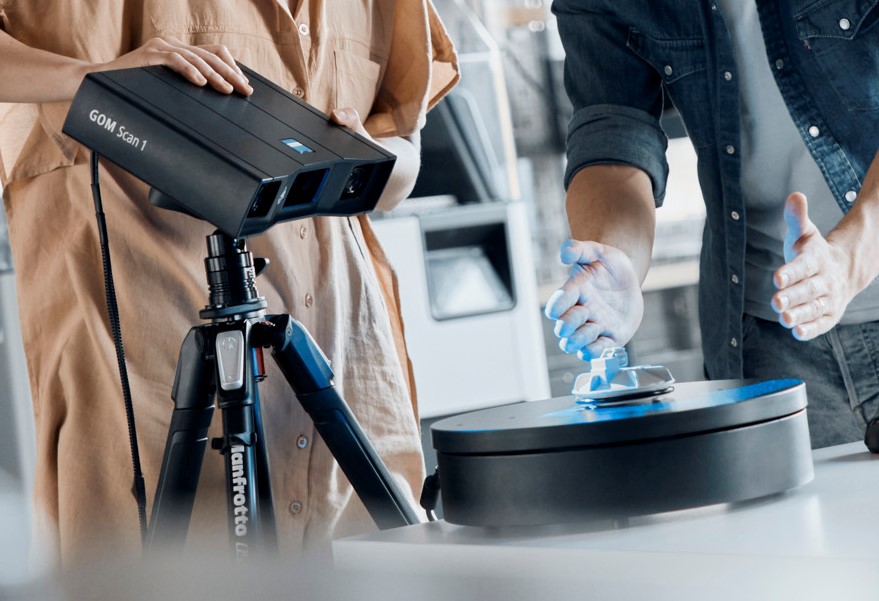
GOM Scan 1 comes with useful additional accessories to support your daily workflow. ROT 350 is an automated rotation table to facilitate your scanning process. Use the desk stand or tripod to mount the scanner. Pack everything in the travel case and carry it wherever it can help you to get things done.
Technical Data
Do you want to find out more?
Discover more
i
Please select the topic you seek more information aboutHow to 3D scan with the right distance to object
How to 3D scan different materials
How to find your perfect exposure time with ZEISS INSPECT
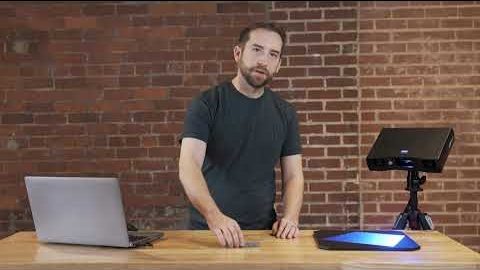
Let Norman show you how to find the perfect exposure time for your part. The live camera image in ZEISS INSPECT offers multiple options of automatic exposure times: automatic by matrix computes up to three different exposure times for the entire field of view – making it a good choice for parts that combine light and dark surfaces. Other options: automatic by spot, automatic for reference points and interactive. Take a pick and start scanning!
All functions shown are available in the current software version.
Got any questions on 3D scanning? Contact us via support@HandsOnMetrology.com
How to scan and reprint broken parts
Discover how to repair a broken part by simply 3D scanning and 3D printing it. Step 1: do a scan of the part with the new GOM Scan 1. Step 2: use GOM Inspect to repair the part digitally and create a working file for your 3D printer. All of it in roughly two minutes!
How to inspect your 3D print with metrology
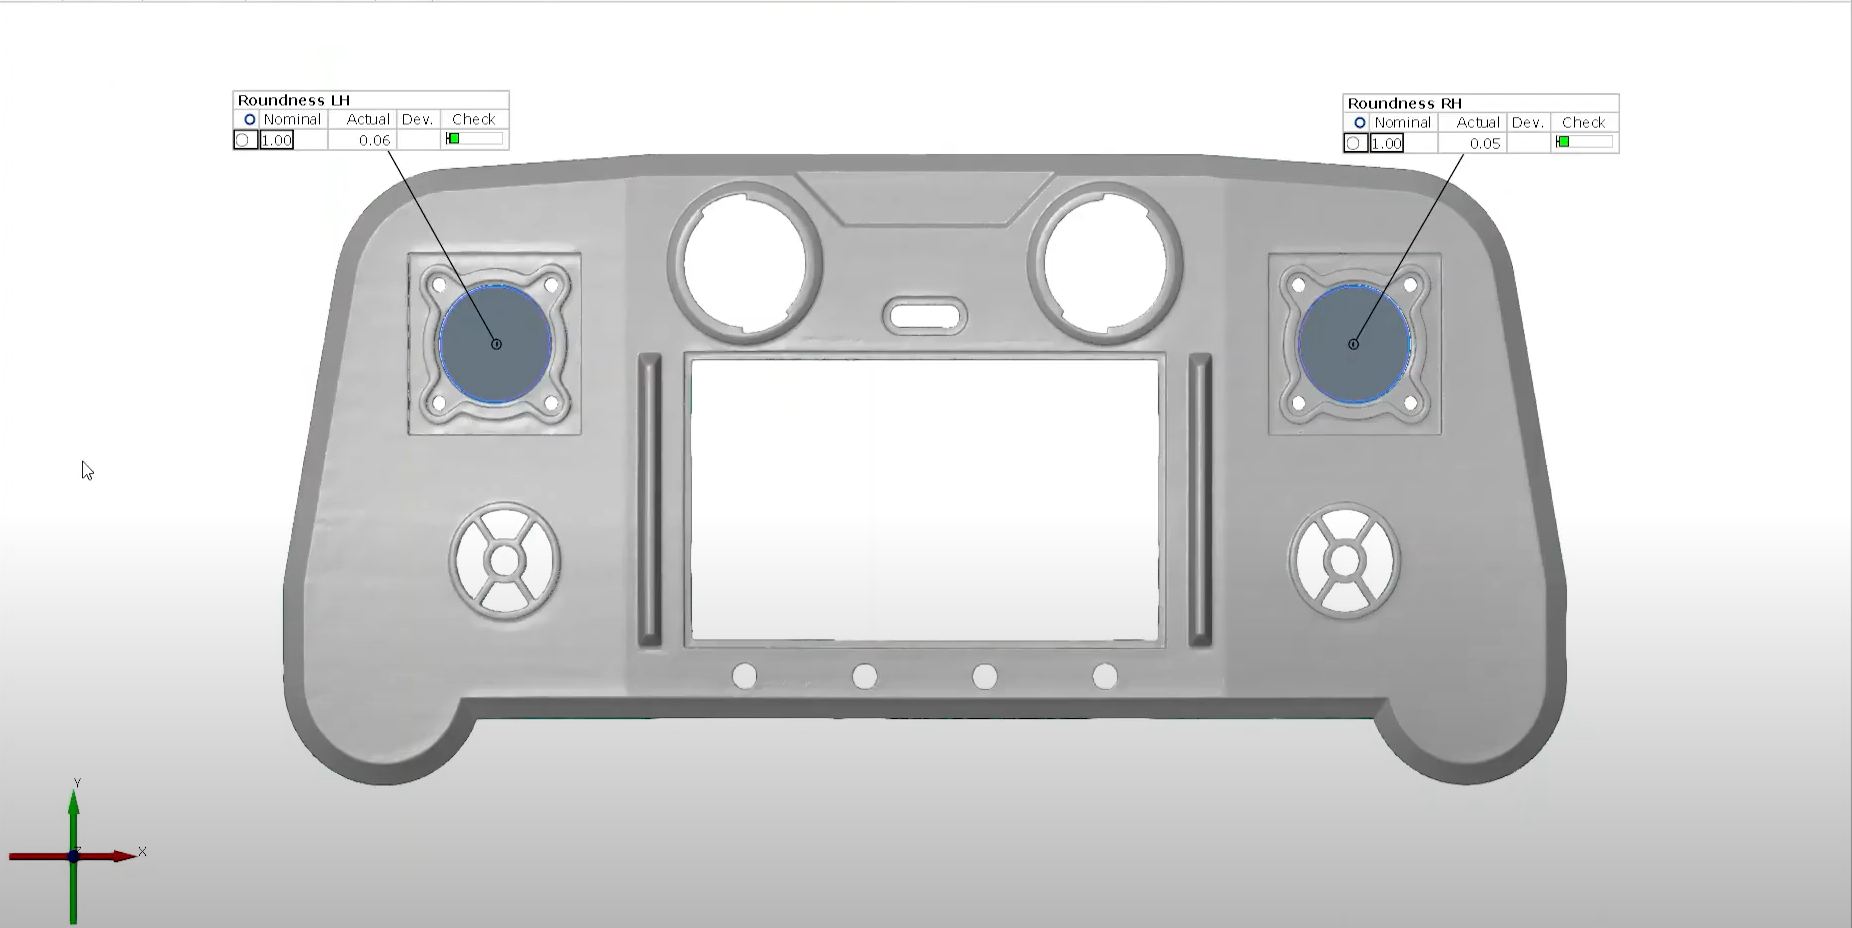
Watch Cornelius do a super easy inspection of a freshly printed prototype using the new GOM Scan 1. Is the part within tolerance of the original CAD reference? The results can be shared with the team: They’re a good foundation for creating the next CAD file version.
GOM Scan 1: Unboxing
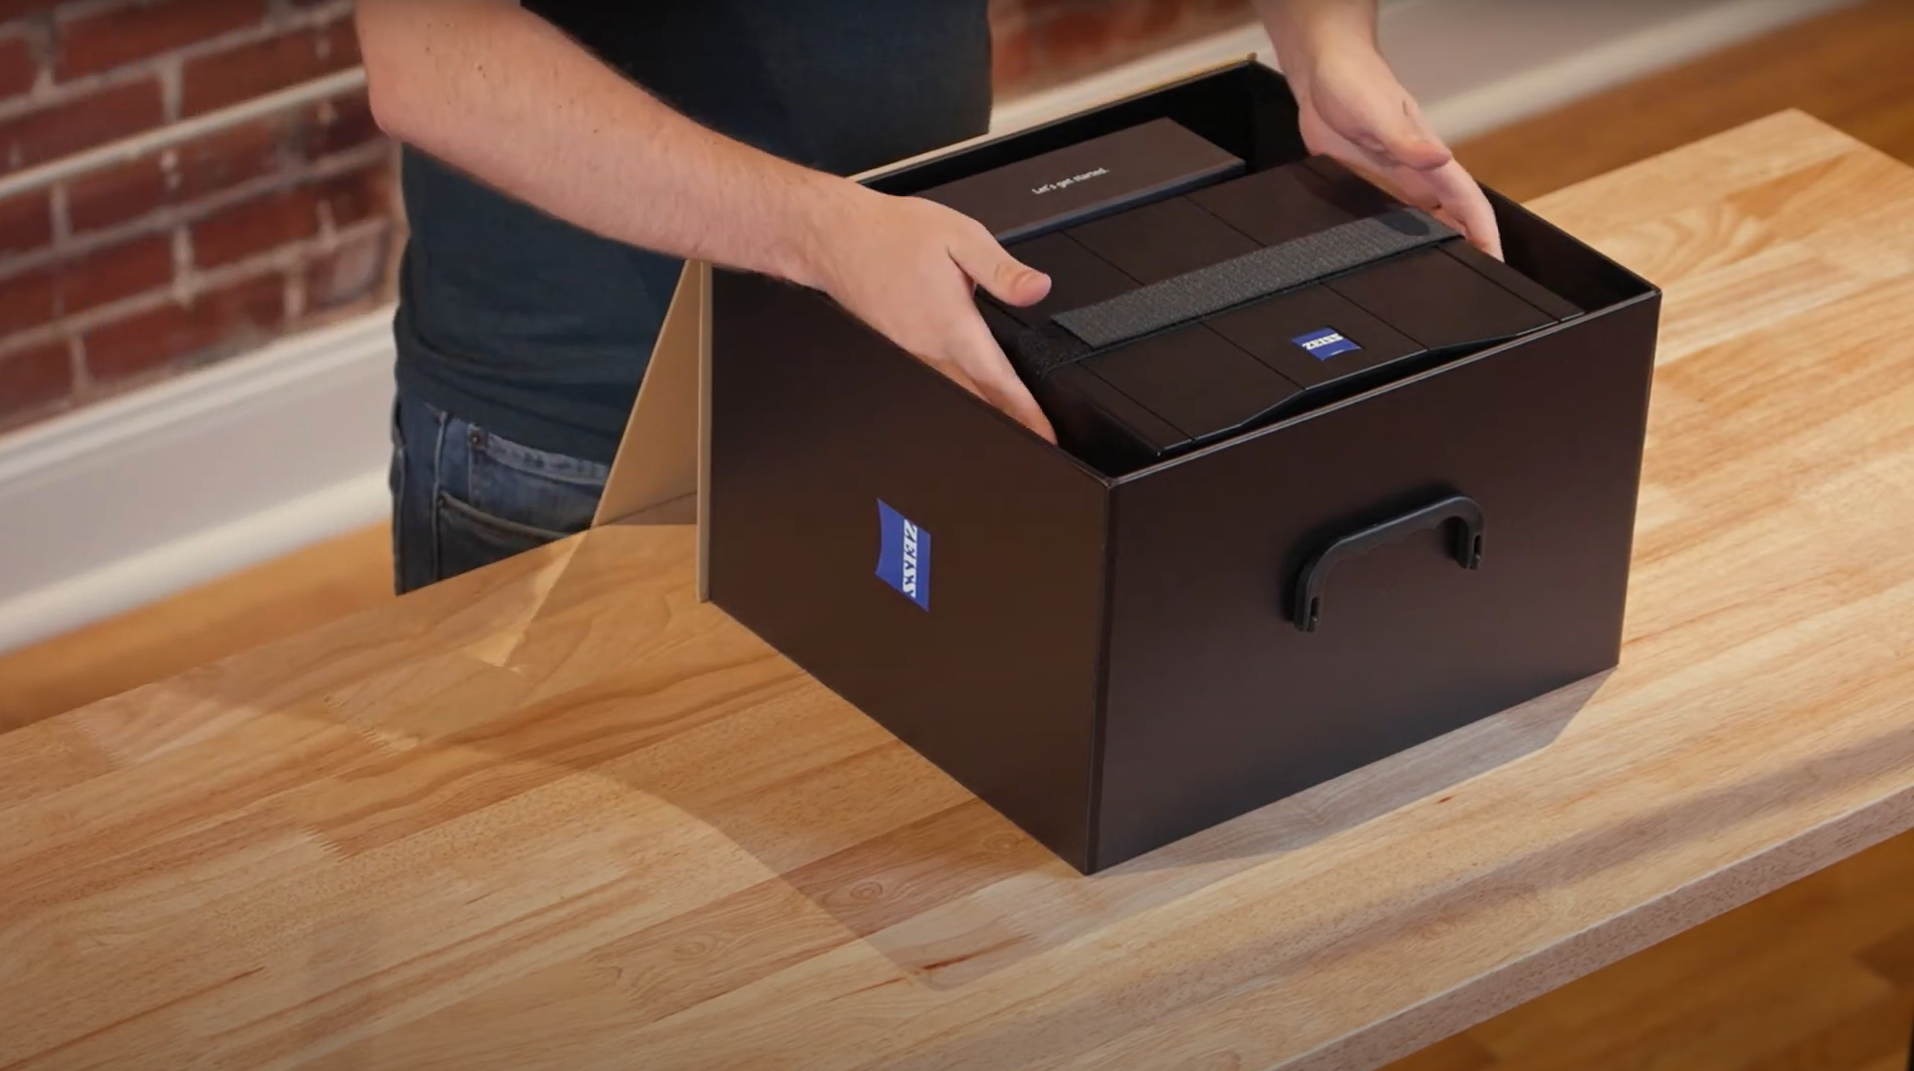
Watch Miles unbox the GOM Scan 1. What’s included: the sensor, a sensor cable, a power adapter and a measuring plate, a calibration object holder, a calibration panel and a useful accessories box. For those who travel a lot: a sturdy travel case is also available, with perfectly sized, padded compartments for all GOM Scan 1 elements, a tripod and an automatic rotation table.
GOM Scan 1: The setup
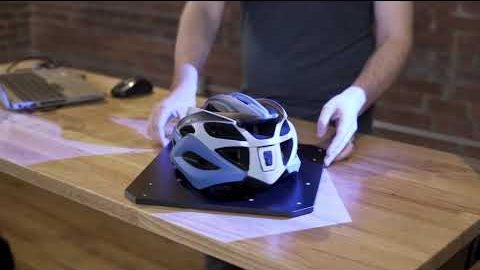
Discover how to scan a part with the new GOM Scan 1 using a manual measuring plate. The distance radar makes finding the correct stand-off distance super easy. Scanning can be done with or without reference points – either way, you get a precise mesh of the part.
GOM Scan 1: Calibration
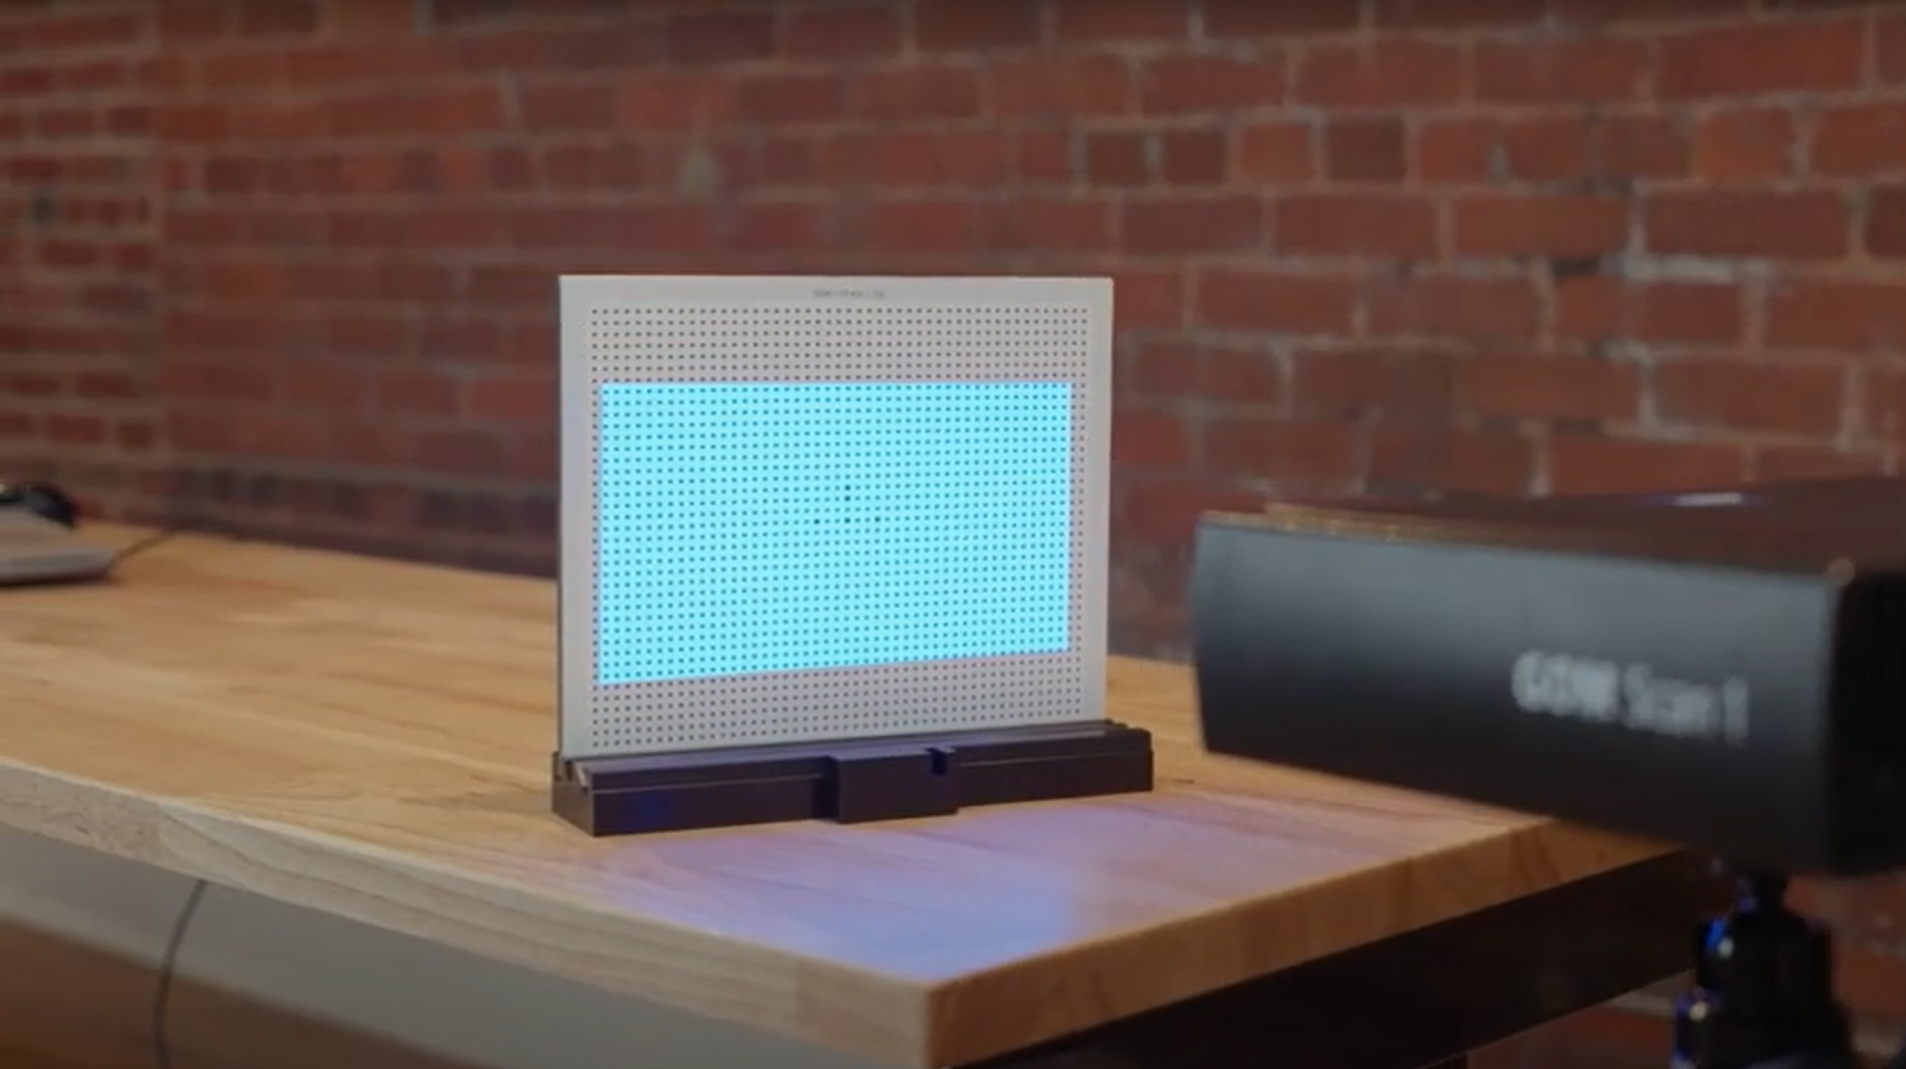
Calibrating your GOM Scan 1 is easy! Let Miles show you how it’s done. The GOM Scan 1 comes with all the accessories necessary for calibration – the software GOM Inspect guides you through the process and takes care of the rest. The best part: The sensor detects automatically, when it has to be recalibrated and informs you about it.
GOM Scan 1: Select the right sensor for your application
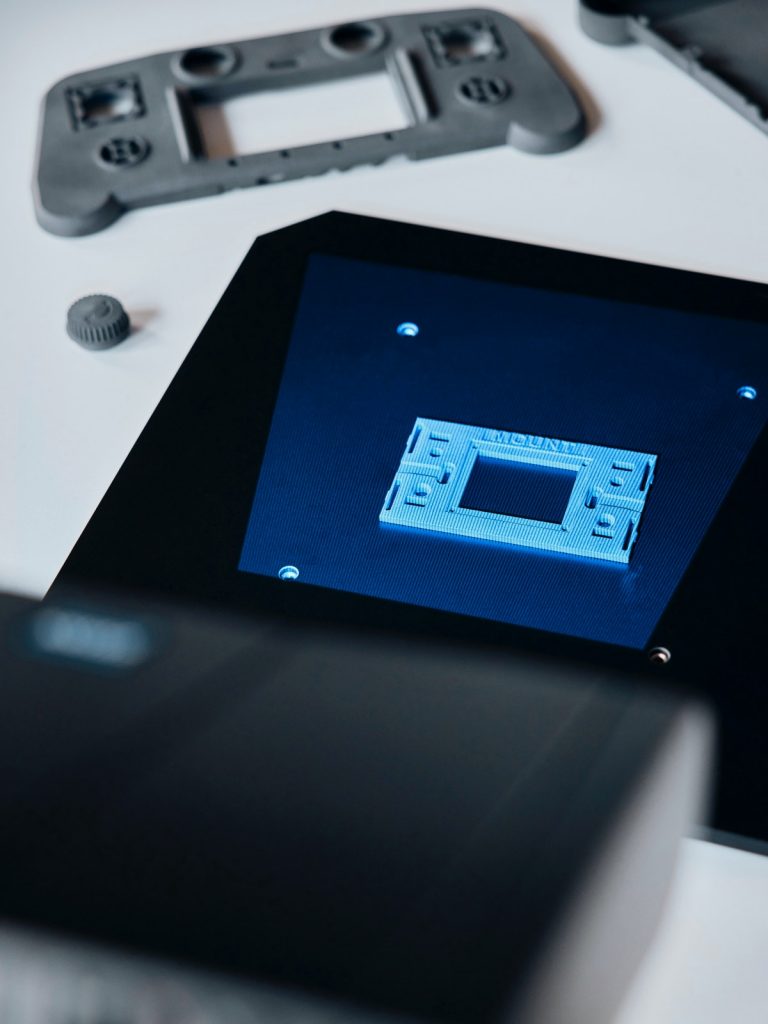
Let Miles show you how to select the GOM Scan 1 sensor with the perfect field of view for your scan job: Choose the 400 MV version for large parts with few details, 200 MV for smaller parts with greater detail or 100 MV for tiny parts with high levels of detail.
GOM Scan 1: Introduction to part inspection
Join Miles for a quick demonstration of how to do 3D part inspections with the new GOM Scan 1. In this video, he takes you through every step of the inspection process: from setting up to scanning and reporting – it’s a fast, smooth workflow.
GOM Scan 1: Scanning Multiple Parts
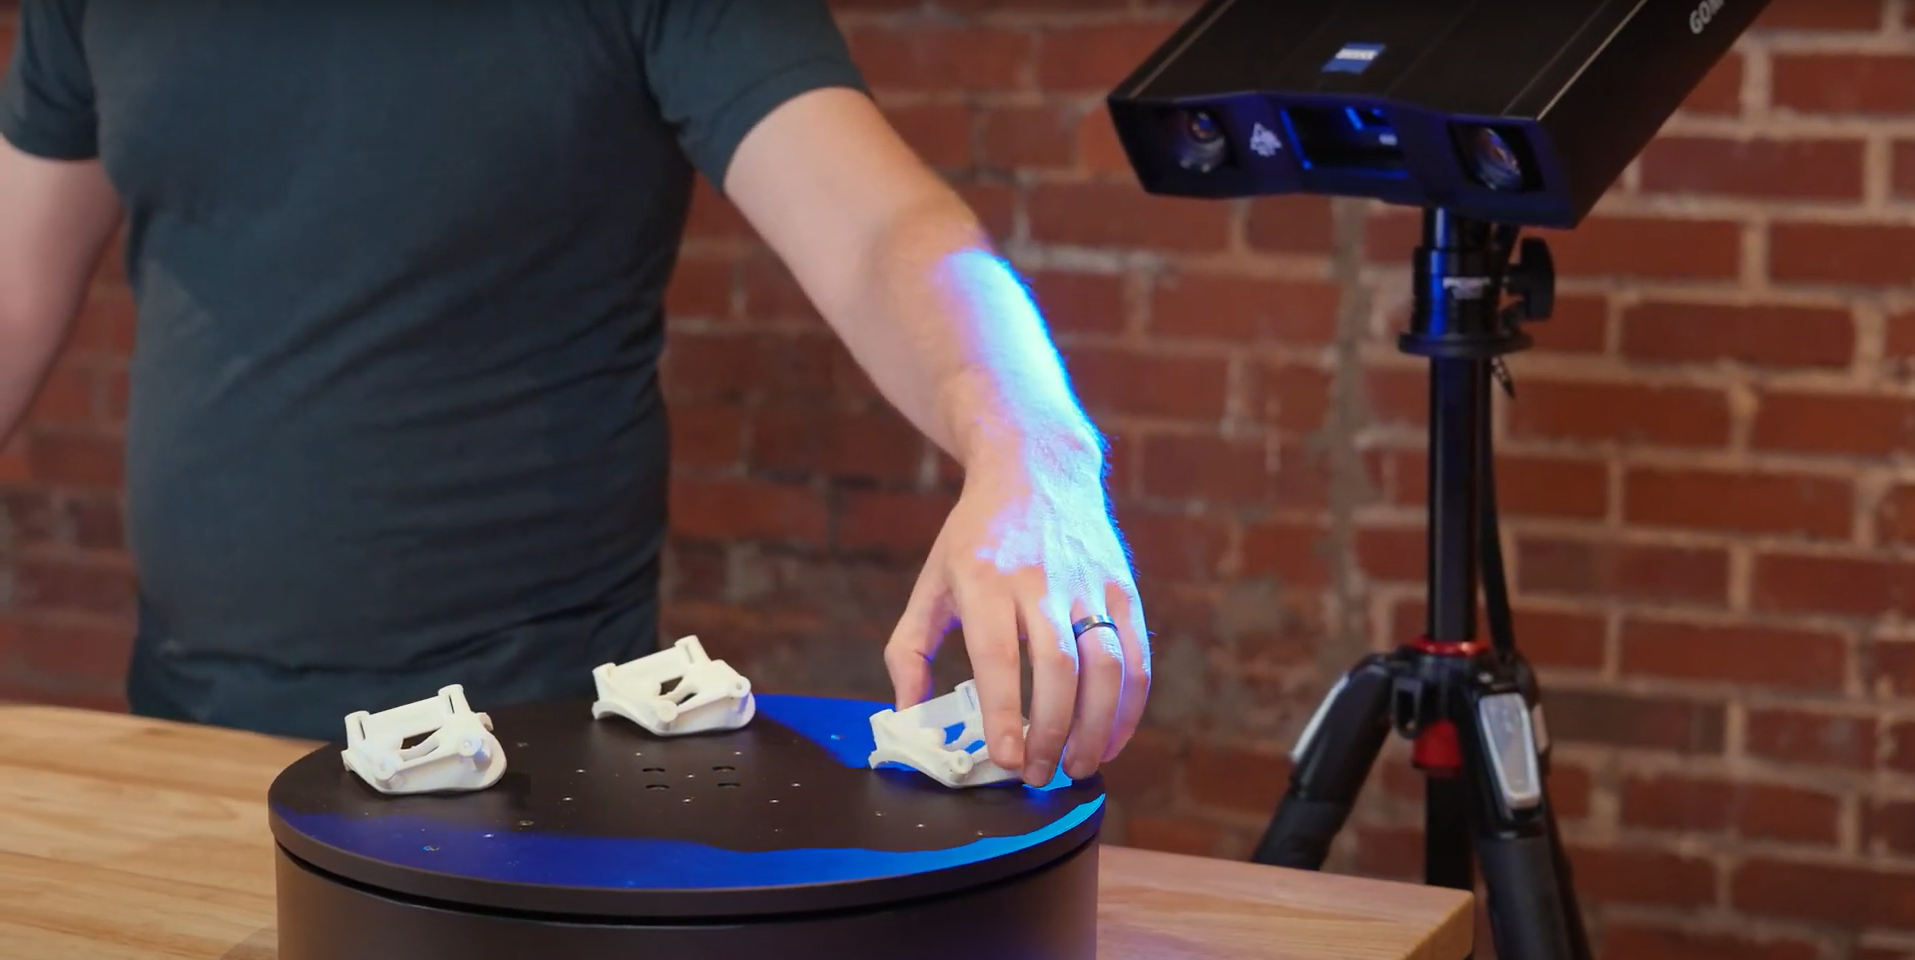
Let Miles show you how to scan multiple identical parts simultaneously using the GOM Scan 1 400 and the rotation table GOM Rot 350. Simply choose the workflow assistant for scanning multiple parts and follow the software as it guides you through the scanning process. Since the rotation table is marked with reference points, you can start scanning straight away. Partitioning the parts and aligning top and bottom scans is done with just a few clicks.
GOM Scan 1 for reverse engineering and 3D printing
Get a quick overview of the reverse engineering workflow using the new GOM Scan 1. Miles talks you through the key aspects: the selection of the right field of view, the scanning process, the 3D mesh creation and editing, the mesh alignment and data export.
GOM Scan 1: Scan a part with high levels of detail
Discover how to capture the highest possible detail with the GOM Scan 1, using a sensor with a 100 mm field of view. When scanning a small part, best results are achieved with a desk stand. The result: a detailed mesh that’s ready for 3D printing or reverse engineering.
GOM Scan 1: Measure both sides of an object
Capturing all sides of an object has never been easier. Let Miles show you how to measure a part from the top and from the bottom using a rotary table and the new GOM Scan 1. The result: a highly detailed mesh and perfect digital twin of the object you’ve scanned.
GOM Scan 1: Measure with a rotation table
Learn how easy and fast it is to scan a part with the new GOM Scan 1 using an automatic rotation table. Just choose the right template, define the number of rotations and start scanning – you can watch the data building up on the screen as you go along.
GOM Scan 1: Measure with a measuring plate
Discover how to scan a part with the new GOM Scan 1 using a manual measuring plate. The distance radar makes finding the correct stand-off distance super easy. Scanning can be done with or without reference points – either way, you get a precise mesh of the part.
GOM Scan 1: Your first use of ZEISS INSPECT
Let Miles guide you through your first use of ZEISS INSPECT with your new GOM Scan 1. It’s so easy to navigate the start screen and choose the correct workspace. Select the digitize workspace to can start scanning straight away – and get fast, precise results.
All functions shown are available in the current software version.
Got any questions on 3D scanning? Contact us via email: support@HandsOnMetrology.com
Discover our newest video sessions
Follow us
Sessions
Solutions
Digital Events
Subscribe to our newsletter
- Privacy Policy
- Imprint
- ©2023. All Rights Reserved
