3D scanner for car parts
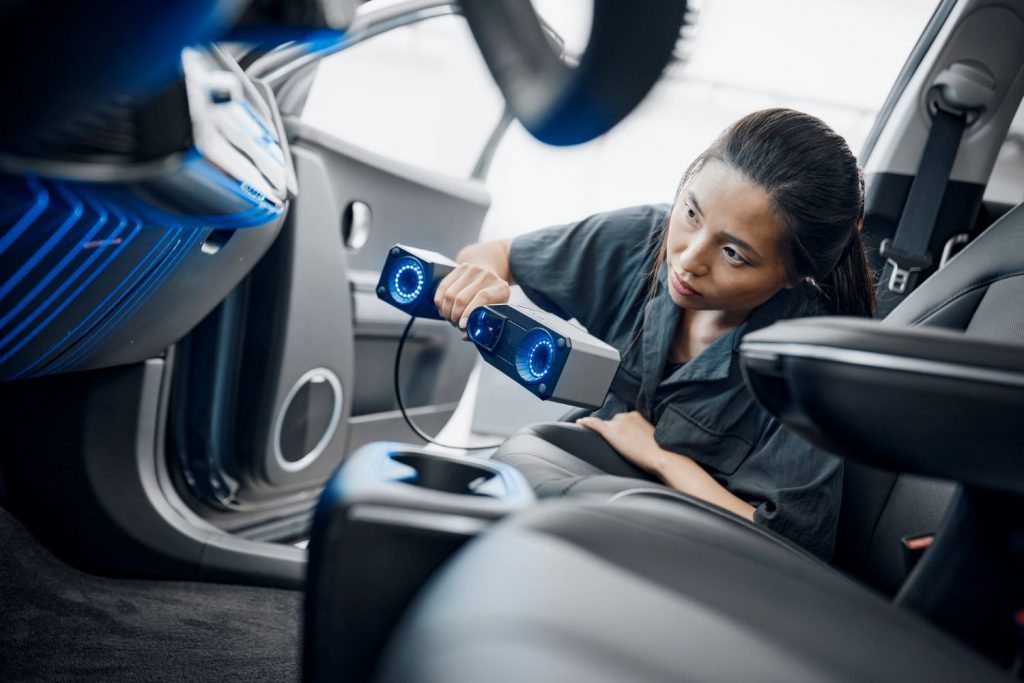
3D scanning technology has become an indispensable tool in the automotive industry. By using high-precision 3D scanners for car parts, manufacturers can create accurate models of vehicle components. This technology allows for fast and efficient capturing of parts, leading to a significant improvement in quality control and inspection.
3D scanning a car isn’t just for inspecting surfaces and fits – it’s also used in car design and the development of new vehicle models. This technology helps improve precision and efficiency in manufacturing, making it a key part of the automotive industry. With advanced software, the scanned data can be processed right away and integrated into the development process, allowing car manufacturers to tackle the challenges of the industry.
What is 3D scanning used for in the automotive industry?
In the automotive industry, manual inspection methods like calipers and coordinate measuring machines (CMMs) have traditionally been used to check quality. 3D scanners now offer an alternative, providing fast, accurate, and reliable data acquisition.
Rapid prototyping
3D scans can help to create precise digital models of physical prototypes, which can be used for further designs and testing. This speeds up the development process and allows errors to be detected early on.
Reverse engineering & aftermarket
The reverse engineering process is enhanced by 3D scanning, which helps reverse engineer existing parts. Complex geometries are converted into CAD files, creating accurate digital models that are used for replacing or adapting vehicle components. By capturing and storing 3D data with scanners, car parts can be reproduced at a lower cost. Fewer physical prototypes are needed, and there are fewer printing errors, which also helps reduce costs. Additionally, all vehicle components and models can be digitally archived, providing a secure and accessible database for future developments or post-production. Another benefit is that 3D scanning in the automotive industry allows for the creation of custom aftermarket parts. Components can be scanned, modified, and reproduced in an optimized form to meet the specific needs of the aftermarket or individual customer requests in automotive design.
Quality control
Optical 3D scanning can be used to check the accuracy of manufactured parts and assemblies, helping to detect defects and deviations from design specifications.
Virtual 3D models
Scanning can be used to create virtual 3D models of vehicles or components, allowing for simulations, tests, and planning without the need for physical prototypes.
How does 3D scanning of a car work?
To create an accurate virtual 3D model of a car, 3D scanners are used to capture surface data from both the inside and outside. This process involves scanning the entire surface of the vehicle, capturing even the tiniest changes in shape and structure. The result is a highly precise virtual 3D model that mirrors the real vehicle exactly. Technologies such as laser triangulation, stripe light projection, and photogrammetry are often used in this scanning process.
In vehicle production, everything must be measured with extreme precision. The car parts need to be shaped exactly to ensure they fit together correctly in the final assembly. This is the only way to guarantee road safety. Precision is also crucial when making design adjustments or fulfilling custom requests so that the parts align perfectly with the vehicle. A good example of this is the new rims for the Ferrari 12 Berlinetta, created for JP Performance, a German automotive web video producer. Jean Pierre, aka JP, wanted larger, sportier rims for his sports car. Working with our customer mbDesign and using the ZEISS T-SCAN hawk 2 handheld 3D laser scanner, JP’s request was brought to life.
ZEISS T-SCAN hawk 2.’
What happens to the car data after the 3D scan?
The data captured by the 3D scanner for car parts is saved and automatically sent to a software program, creating a digital twin of the scanned vehicle or component. ZEISS’s specialized inspection software can be used for this process. The component details can then be accessed through ZEISS INSPECT software, providing a precise foundation for further design work.
How is 3D scanning used for quality control in the automotive industry?
The different components and materials used in the automotive industry must be checked for quality to ensure maximum safety. With 3D scanning, quality control is streamlined into just a few steps:
1. Planning
The first step is to identify the parts or assemblies that need to be inspected and create a plan for the scanning process. This involves choosing the right scanning technology, determining the required level of accuracy, and identifying any potential issues that could arise during the scanning process.
2. Scanning
Once the plan is in place, the scanning process begins. Depending on the part or assembly being scanned, different scanning technologies may be used, such as structured light or laser scanning. The scanning process involves capturing a series of images or data points, which are then combined to create a 3D model of the object or assembly.
3. Analysis
Once the 3D model is created, it’s compared to the design specifications to spot any defects or discrepancies. This analysis can usually be done with specialized software, which highlights areas of the model that need further review or adjustments.
4. Reporting
The final step is to create a report based on the analysis. This report can help identify areas where the manufacturing process can be improved or highlight defective parts that need to be replaced or repaired.
With the ZEISS T-SCAN hawk 2 and ZEISS INSPECT inspection software, the process is quick and easy. Together, they provide the perfect foundation for a wide range of 3D scanning applications in the automotive sector. Want to see how it works? Check out our How-to video to learn more:
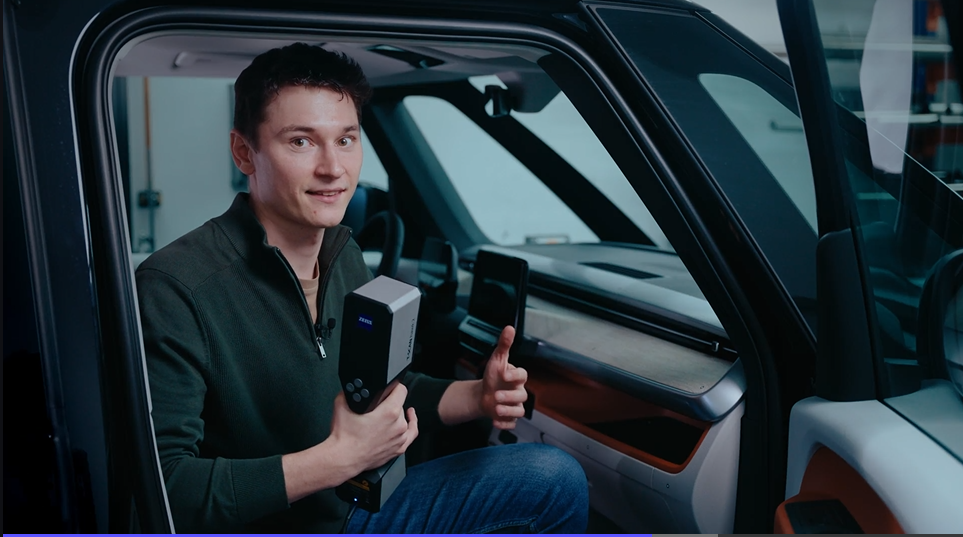
How to use a 3D scanner in confined spaces
In this How to Roel is scanning complex and hard to reach areas of a van interior. Whether for inspection or design purposes – the ZEISS T-SCAN hawk 2 is the perfect fit for extracting accurate and complete dimensions in confined spaces. Got any questions on 3D scanning? Contact us via support@HandsOnMetrology.com
Addressing quality control challenges in the automotive industry with 3D scanning
The latest cars feature an increasing number of small details, complex shapes, and technical innovations. To accurately capture the growing complexity of components, flexible and powerful quality control methods are essential. 3D scanning in the automotive industry provides the perfect solution.
Scanners can capture multiple dimensions of an object simultaneously, delivering both speed and accuracy. The high-resolution 3D models created from this data can be compared with reference parts to check both geometry and structure. This makes it easy to spot any deviations or defects.
As a result, 3D scanning in the automotive industry helps optimize the production process, leading to fewer faulty components. This not only lowers production costs but also ensures a more efficient manufacturing process.
Advantages of using 3D scanning for quality control in the automotive industry
One of the main benefits of 3D scanning in the automotive industry is its improved accuracy. This method delivers more precise data compared to traditional manual techniques. It also speeds up inspection times with quick setup and easy operation. 3D scanning of cars or components is much faster than manual inspections, helping to cut down on production time and costs.
One of the key benefits of optical measurement methods is improved visualization. Scanning creates a detailed 3D model of the part or assembly being inspected, which can be viewed from any angle. This makes it easier to identify defects that might be missed with traditional inspection methods.
Additionally, 3D scanning is a non-destructive testing method, meaning the part or assembly remains undamaged throughout the inspection process.
Which 3D scanners are suitable for cars?
Structured light scanners or laser triangulation scanners are commonly used to scan cars and vehicle parts. Structured light scanning is especially well-suited for capturing complex vehicle details, offering extremely high precision. For larger components, like car bodies, laser triangulation is used to capture the geometry of the parts.
ZEISS offers a range of 3D scanners that you can use to scan and customize your car design. These 3D scanners are also widely used in automotive manufacturing.
ZEISS T-SCAN hawk 2
A lightweight, hand-held 3D laser scanner that’s the perfect tool for a wide range of applications, whether you’re working with large or small objects.
ATOS Q
A compact scanner built to meet high metrological standards, even in challenging production environments.
GOM Scan 1
A small, portable 3D scanner that makes it easy to generate detailed, accurate 3D data.
ZEISS METROTOM 1
This CT scanner lets you measure multiple plastic components at once in a protected measurement room. Quickly capture precise 3D data of both external and internal structures — no component preparation required.

