How does CT metrology work?
CT metrology works on the basic principal of computed tomography: using x-rays to get detailed views and/or measurements of an object’s internal structures without cutting or disassembling the object (non-destructive testing). X-rays penetrate the workpiece are then collected and converted into a 3D format. This allows the objects to be inspected in detail.
A CT scanner consists of several components that work precisely together. The x-ray source emits rays that pass through the object being examined. The object is placed on a rotary table between the x-ray source and detector. It moves in a rotating motion to provide a full 360-degree view. This rotation allows the scanner to examine the workpiece from all angles, creating a detailed representation of the object. On the opposite side, the detector captures the x-rays that pass through.
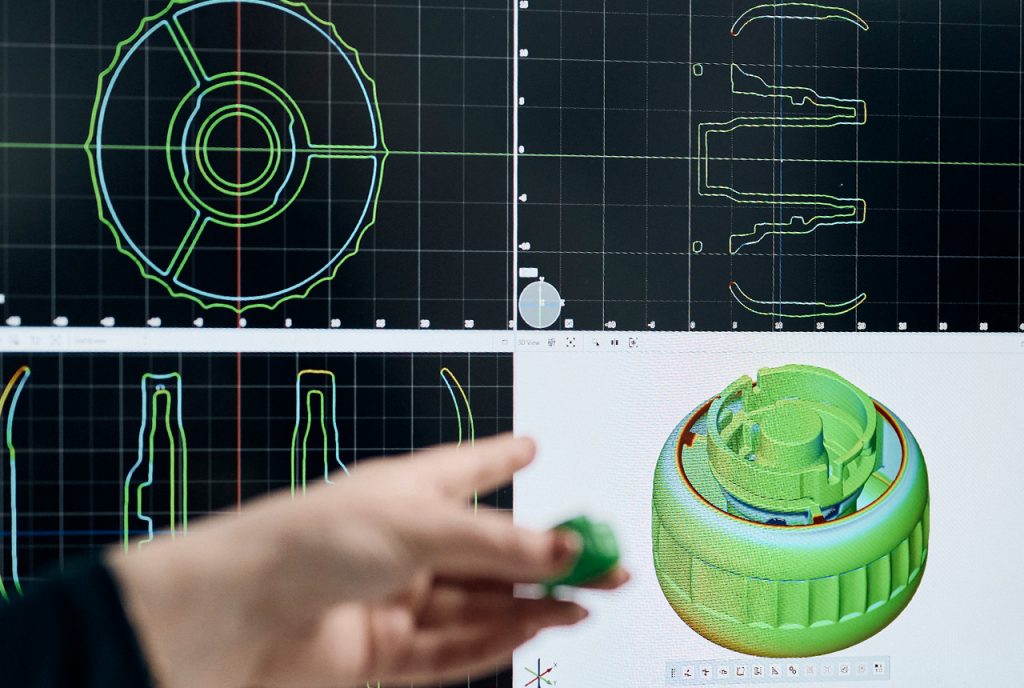
The captured rays are converted into digital data, which is then processed with specialized algorithms to generate a three-dimensional representation of the object. This reconstruction is a complex process, requiring advanced software tools. In industrial applications, ZEISS INSPECT X-RAY software is commonly used to generate highly accurate 3D volumes that are essential for analysis and quality assurance. With ZEISS INSPECT, you can efficiently analyze volume data and examine components right down to their core. The software is compatible with a wide range of computed tomography hardware, making it ready for your needs.

What are the different types of CT metrology?
Computed-tomography machines can be categorized in several different ways, depending on the dimensions, size of the object, level of detail, and technical variations.
Distinction based on dimensions
2D X-Ray
This variant primarily produces flat, two-dimensional images, similar to traditional x-rays. It’s used when a straightforward image of objects without spatial depth is all that’s needed.
3D CT
This involves creating three-dimensional volumes by combining multiple 2D images taken from different angles as the object is rotated. This technique gives a full spatial view of the object and produces detailed insights into its internal structures.
Specialization based on the object’s size and level of detail
Nano CT
Nano CT specializes in extremely small objects with the highest resolution in the nanometer range.
Micro CT
This method is used for very small objects that require a high level of detail. It’s ideal for examining tiny mechanical components, electronic or medical parts. The resolution can reach the micrometer range, allowing for incredibly precise analysis.
Macro CT
This type is used for larger objects such as automotive components and castings. A slightly lower resolution is perfectly acceptable in this case, since the focus is on analyzing large-scale structures.
Technical variations
Helix CT (Spiral CT)
With this type, the object is not only rotated but is also moved along its longitudinal axis. This is particularly useful for elongated workpieces and leads to faster scanning times because the object is scanned.
Fan beam CT
With this method, a fan-shaped beam is used to capture the object in a series of layer-by-layer images. It’s especially suitable for situations that require detailed cross-sectional imaging.
Cone beam CT
This technology uses a cone-shaped x-ray beam to provide broader coverage of the object in less time. It’s especially useful in industrial settings where quick scans are essential.
Computer-aided laminography
This measurement method is specially designed for flat or large-area objects. The object doesn’t need to be fully rotated around its axis anymore. Instead, the x-ray tube and detector move on either side of the object, allowing it to be measured from different angles.
Medical vs. industrial CT
Medical CT scanners are mainly designed to examine human tissue, which is why they use a lower radiation dose to protect the patient. Industrial CT scanners, on the other hand, operate at higher energies to penetrate more dense materials such as metal or ceramic. These scanners are built specially for industrial uses, such as analyzing components for defects or air pockets as well as for assembly analysis and unseen dimensional analysis. With CT metrology by ZEISS, you can streamline your industrial measurement processes and achieve accurate results. Backed by decades of experience as a leading manufacturer of metrology, we’re the perfect partner for all your measurement projects.
High-speed CT
High-speed CT is becoming increasingly important in industrial production and quality assurance. These systems can scan extremely quickly, allowing for real-time inspection and dynamic testing of components. This is especially valuable in mass production, where quick and accurate measurements are key to ensuring product quality, while saving time and costs.
What is CT metrology used for in industry?
Detection of internal defects
CT metrology makes it easy to spot internal issues like air pockets, cracks, or defects in components. This is especially important for quality assurance during production.
Comparison of actual vs. target data
CT scanning metrology allows component data to be compared directly with CAD models. This helps it quickly identify and correct production deviations.
Verification of assembly and fit
CT technology can confirm the proper fit of parts and ensure they meet functional requirements. This helps guarantee that assemblies work as intended – without the need for disassembly.
Structural analysis of materials
Computed tomography is used to examine the microstructure of materials, identifying defects and evaluating fiber orientation in composite materials.
Optimization of prototypes
During the development process, CT scan metrology helps analyze prototypes and fine-tune designs. Both external and internal measurement data can be factored in with precision.
Analysis of damage and service life
CT plays a crucial role in preventive maintenance, assessing the structural integrity of critical components in industries like aerospace and automotive.
Recreation of CAD models
(reverse engineering)
Computed tomography is used to convert physical objects into precise 3D CAD models, making it valuable for product development and reproducing components.

Benefits of CT metrology compared to traditional methods
Non-destructive testing
CT scan metrology allows for components to be measured and tested without causing any damage, making it possible to detect defects during production. This helps cut costs, because there’s no need to replace any of the destroyed test specimens.
Comprehensive evaluation
Computed tomography provides detailed 3D images of an object’s interior – something other measurement methods like x-rays or ultrasound can’t achieve. It also reveals even the smallest internal structures, which is essential for precise quality control.
Efficiency in analysis and data utilization
CT scan metrology makes it possible to quickly collect and analyze large amounts of data, dramatically reducing inspection times. The scanned data can be stored digitally for use in simulations or as digital backups when needed.
Versatile
CT systems are versatile, working with a wide range of materials and part sizes, from small implants to large industrial components. They can be customized for specific needs, such as adjusting the x-ray energy levels or scanning
Automation and integration into digital workflows
Modern CT systems come with advanced software that automates data analysis and report generation, minimizing human error and improving process efficiency.
Powerful CT solution by ZEISS
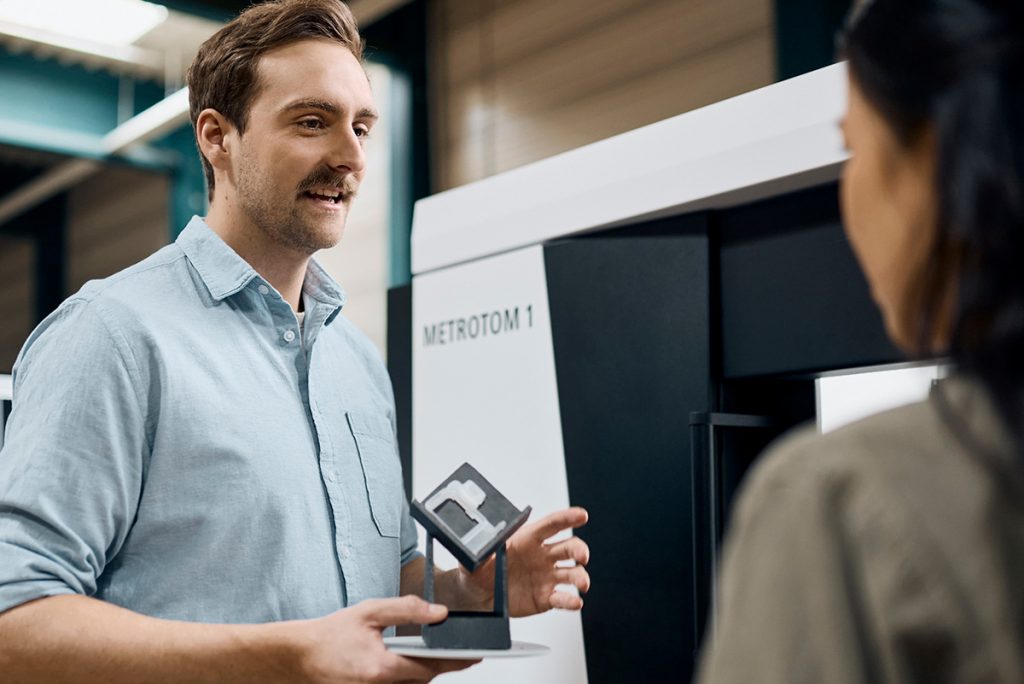
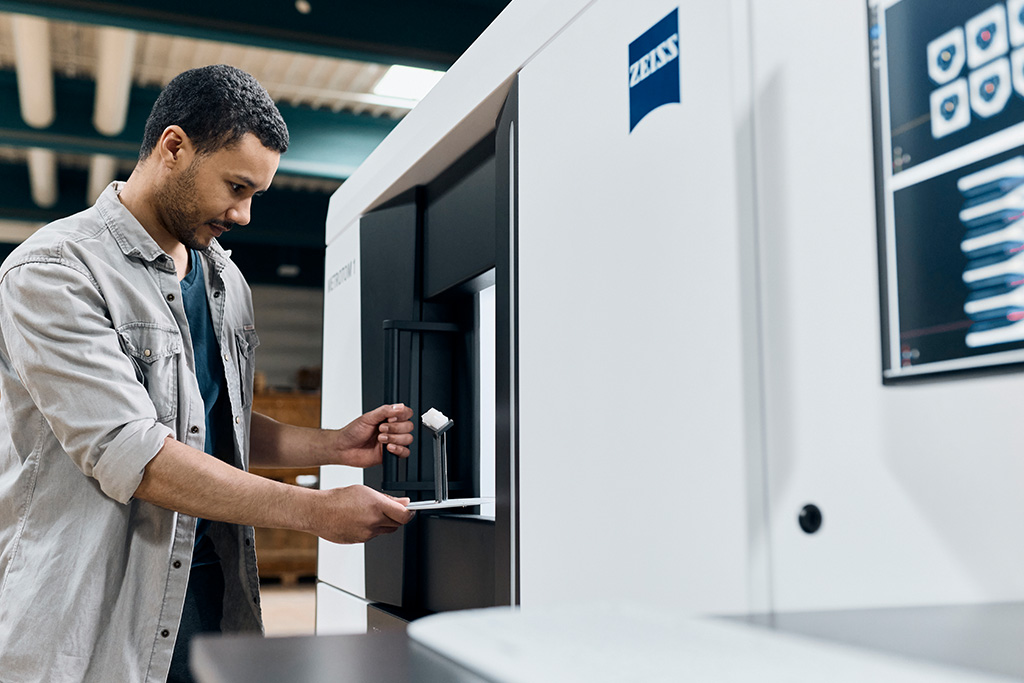
ZEISS METROTOM 1 is your fast way forward: Capture precise 3D data without any part preparation. Powered with computed tomography technology, you can scan parts non-destructively and look inside. Measure, analyze and inspect hidden defects and inner structures. In combination with the software ZEISS INSPECT, it reaches a new dimension to simplify your quality control.
Learn more about the ZEISS METROTOM 1 – our compact all-in-one solution for industrial CT applications.

