HSB: Mantenimiento de locomotoras de vapor históricas
Descubra lo que nos impulsa
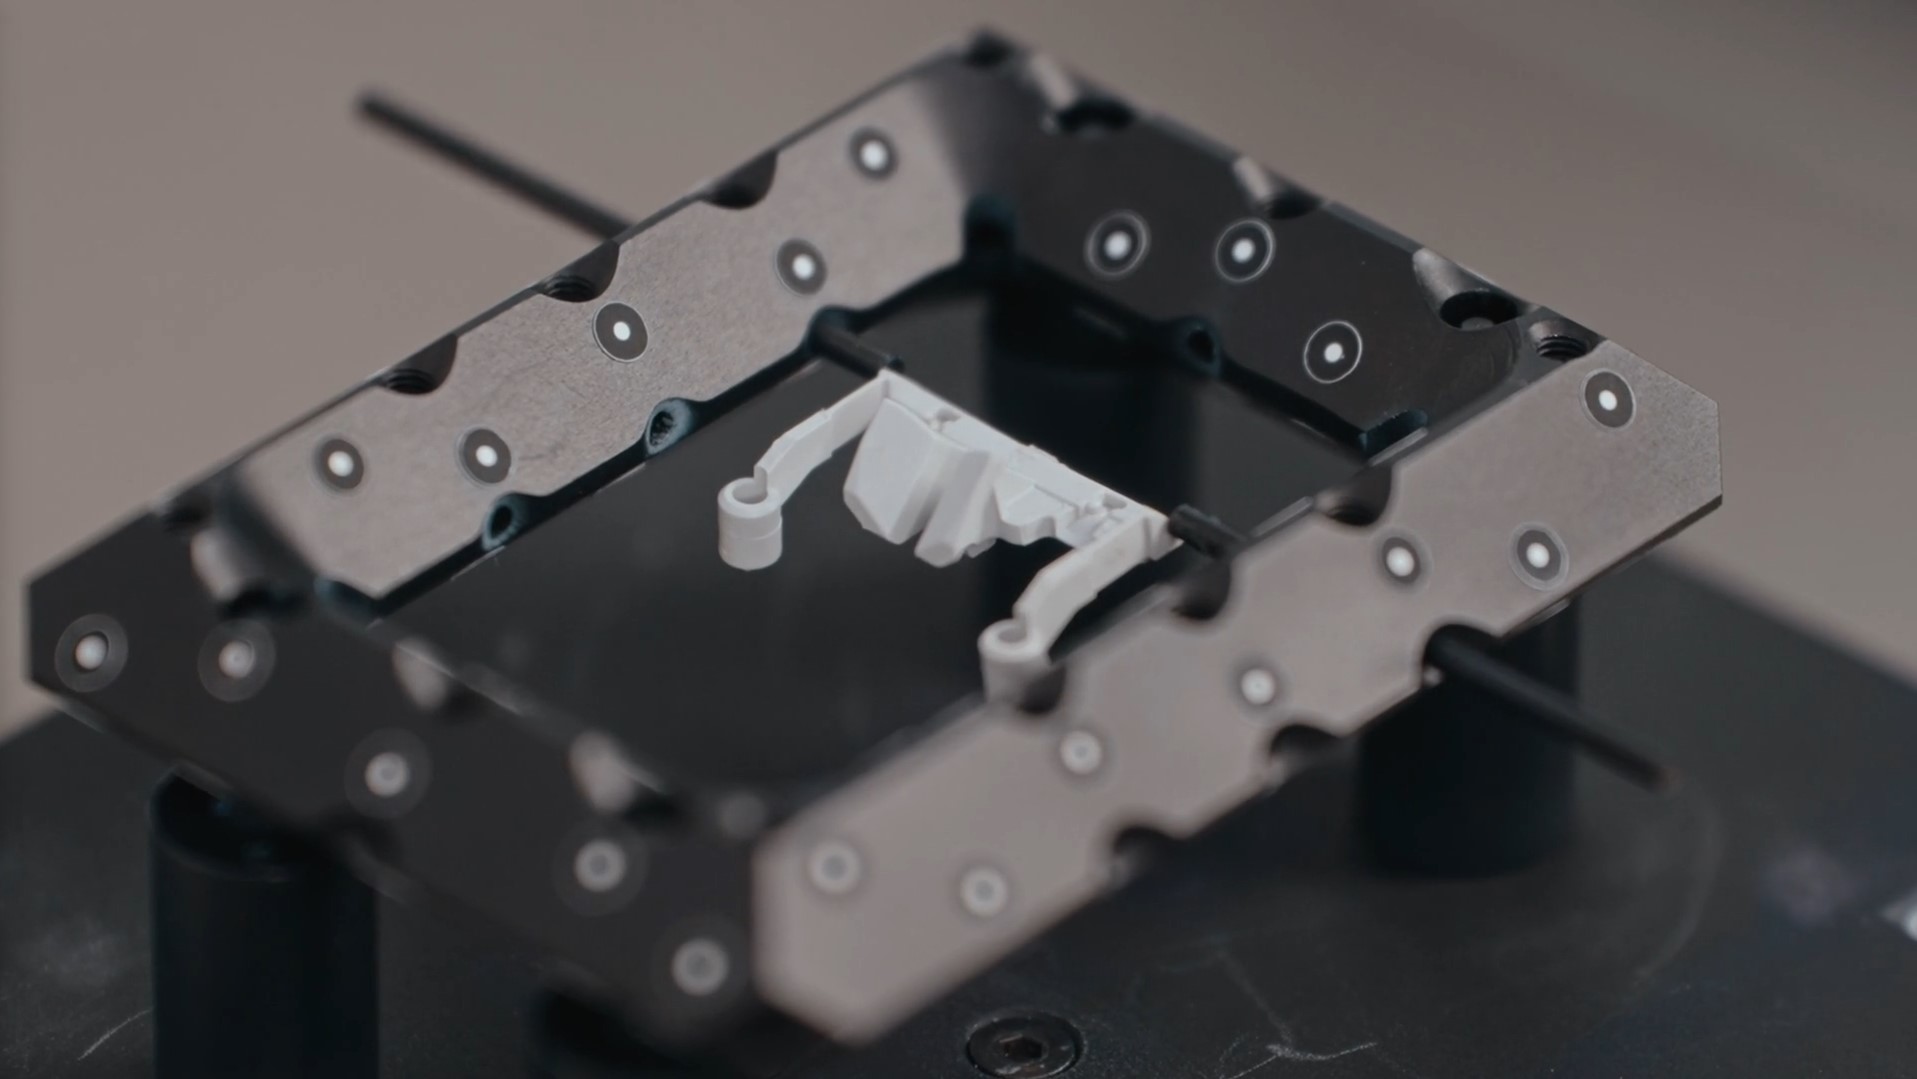
Ossiform: Control de calidad de implantes óseos impresos en 3D
HSB: Maintenance of historic steam locomotives
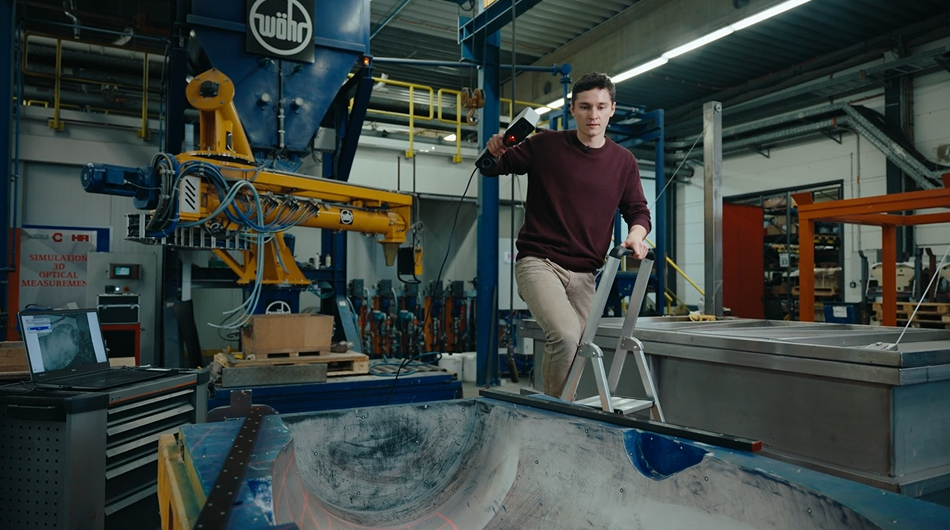
HSB is the largest service provider for public transportation in eastern Germany. They use the state-of-the-art 3D scanning technology of the ZEISS T-SCAN hawk 2 to ensure that their steam locomotives run non-stop and that their traditional drives are preserved for the future. Accurate 3D models of the machines support the maintenance, repair and overhaul – keeping a part of German history alive in the Harz mountains.
Want to learn more about HSB? Visit https://www.hsb-wr.de/startseite/
HandsOnMetrology: Dedicated to 3D metrology
Welcome to HandsOnMetrology. We are dedicated to 3D scanning and 3D inspection. We want to excite you about 3D metrology. We want to share knowledge. We want to entertain you with stories about makers. All to support your story. Be part of it.
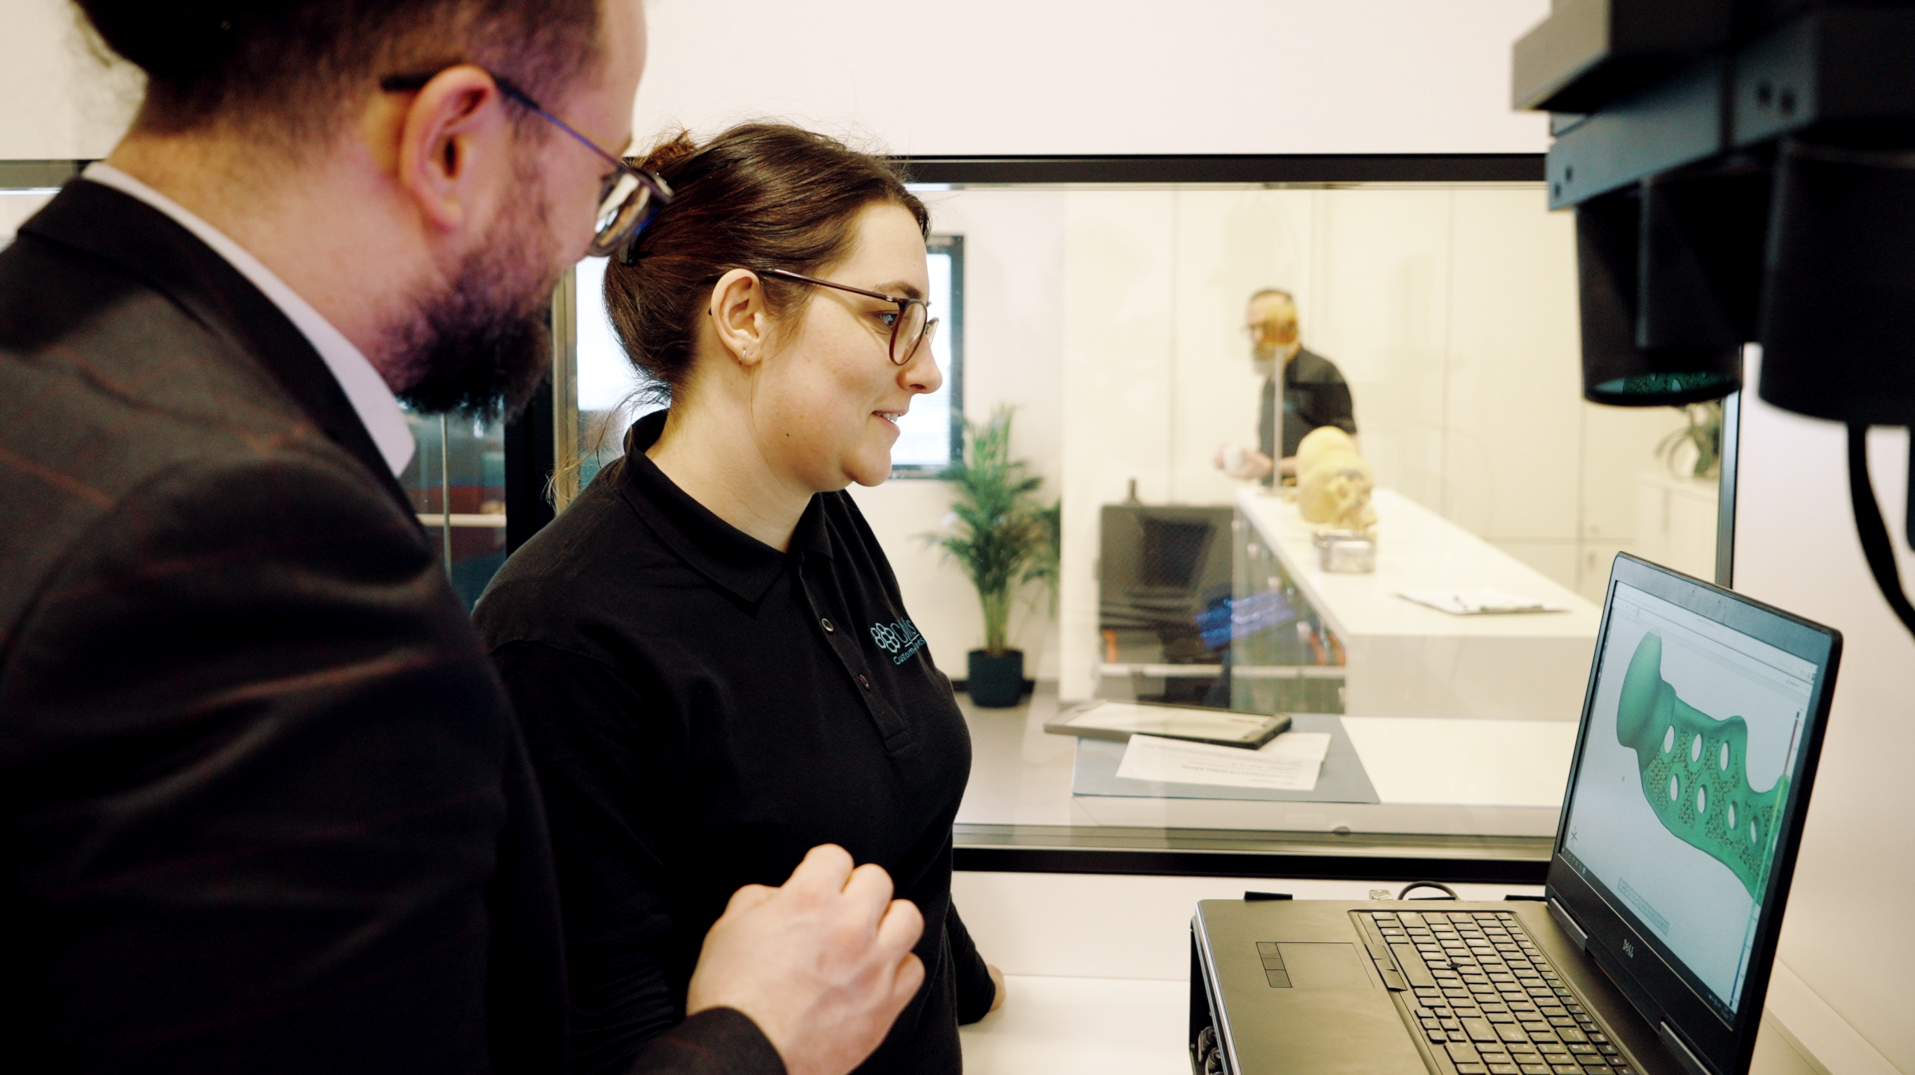
Ossiform: Quality control of 3D printed bone implants
Hola
Encuentre inspiración, infórmese sobre el escaneado 3D y la inspección 3D
Sesiones más recientes
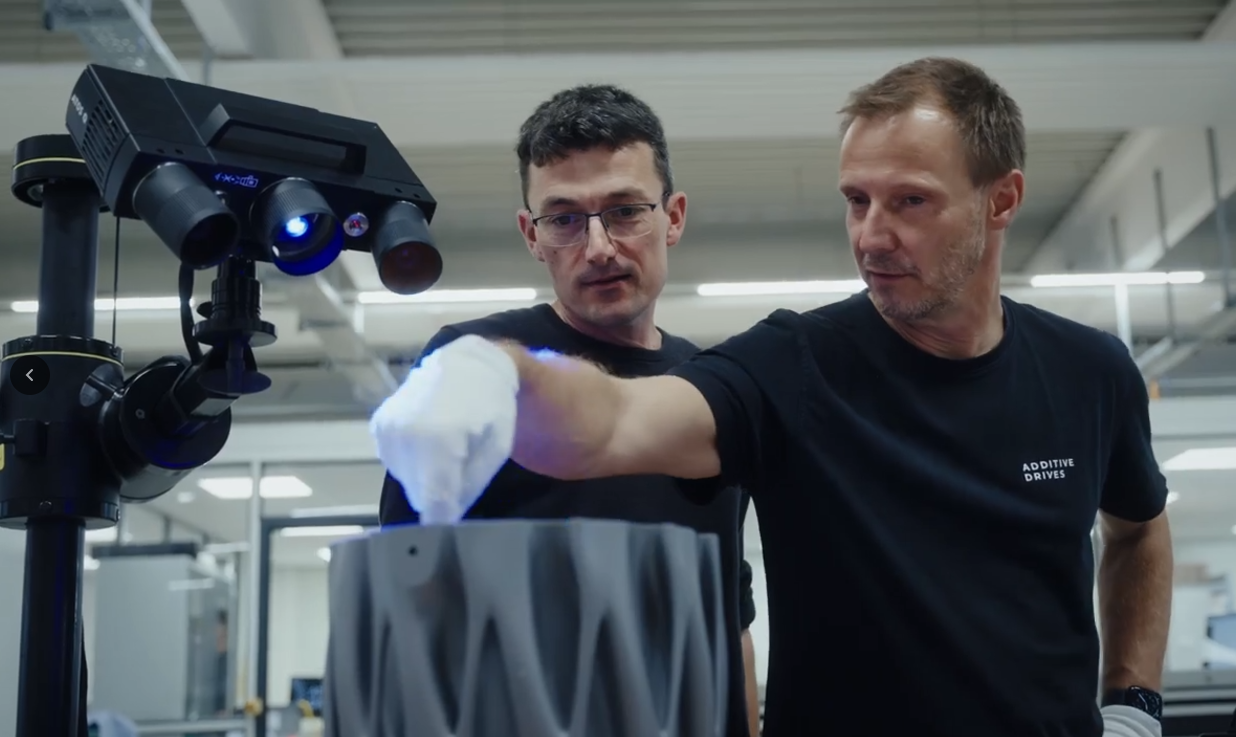
Additive Drives: Development of highly efficient e-motors
At Additive Drives they thrive for highly innovative and efficient e-motors. Their secret? Using 3D printing for individual e-drives based on customers requirements. The 3D scanner ATOS Q offers them quick yet accurate quality assurance of their tools and components during and after the development phase. Want to learn more about Additive Drives? Visit https://www.additive-drives.de/en/
Vudrag Industries: Preserving metal artwork using 3D scanning
Using 3D scanning in the creation of artwork is everyday business at Vudrag Industries. Preserving the metal sculptures, scaling art and making the invisible seen is all possible via a simple 3D scan with ATOS Q and ZEISS T-SCAN hawk 2. Want to learn more about Vudrag Industries? Visit https://vudrag.com/
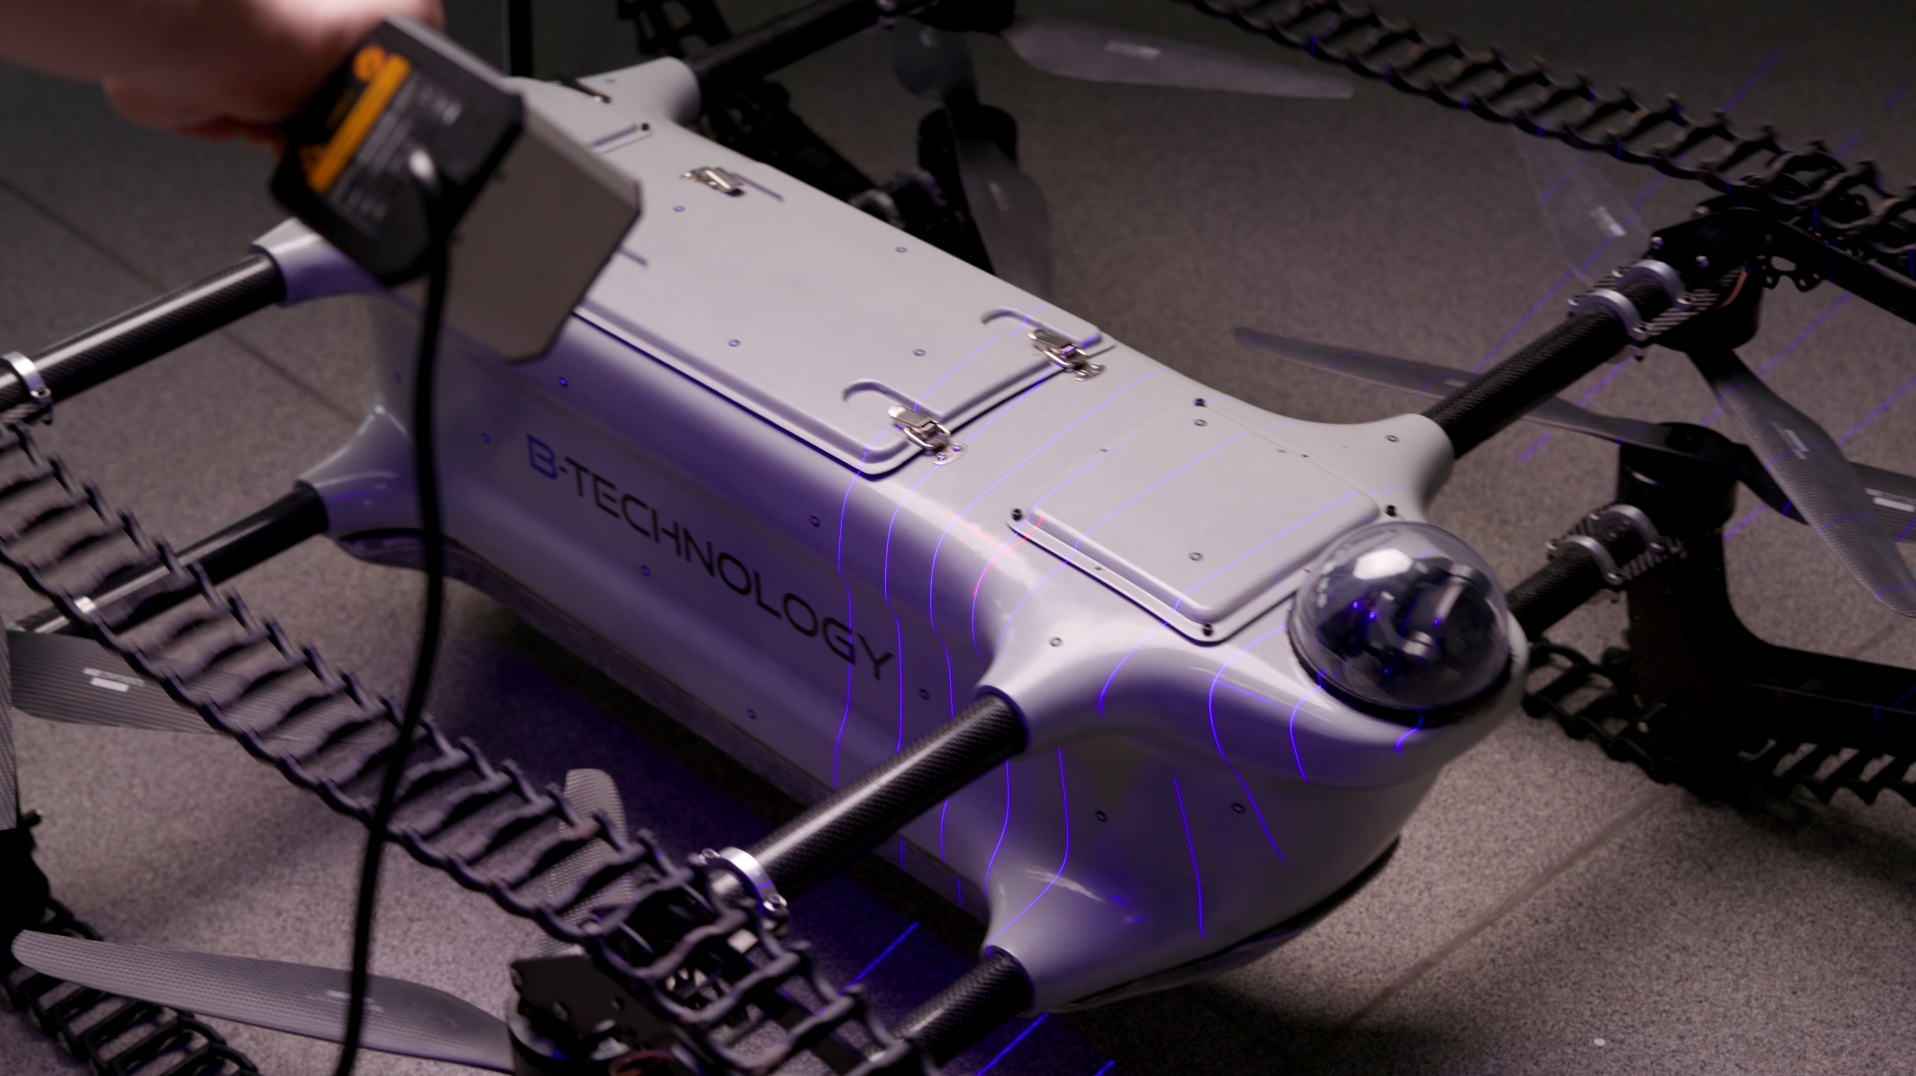
B-TECHNOLOGY: Controlling quality of drones
Are you ready for exciting insights into the future of transportation? In our new Maker Portrait, our customer B-TECHNOLOGY in Poland tells us all about the development of state-of-the-art drones, both for security operations and for locomotion. The 3D scanner T-SCAN hawk 2 is an important part of quality control here for maximum safety on land, on the water and in the air.
Want to learn more about B-TECHNOLOGY? Visit https://b-technology.eu/
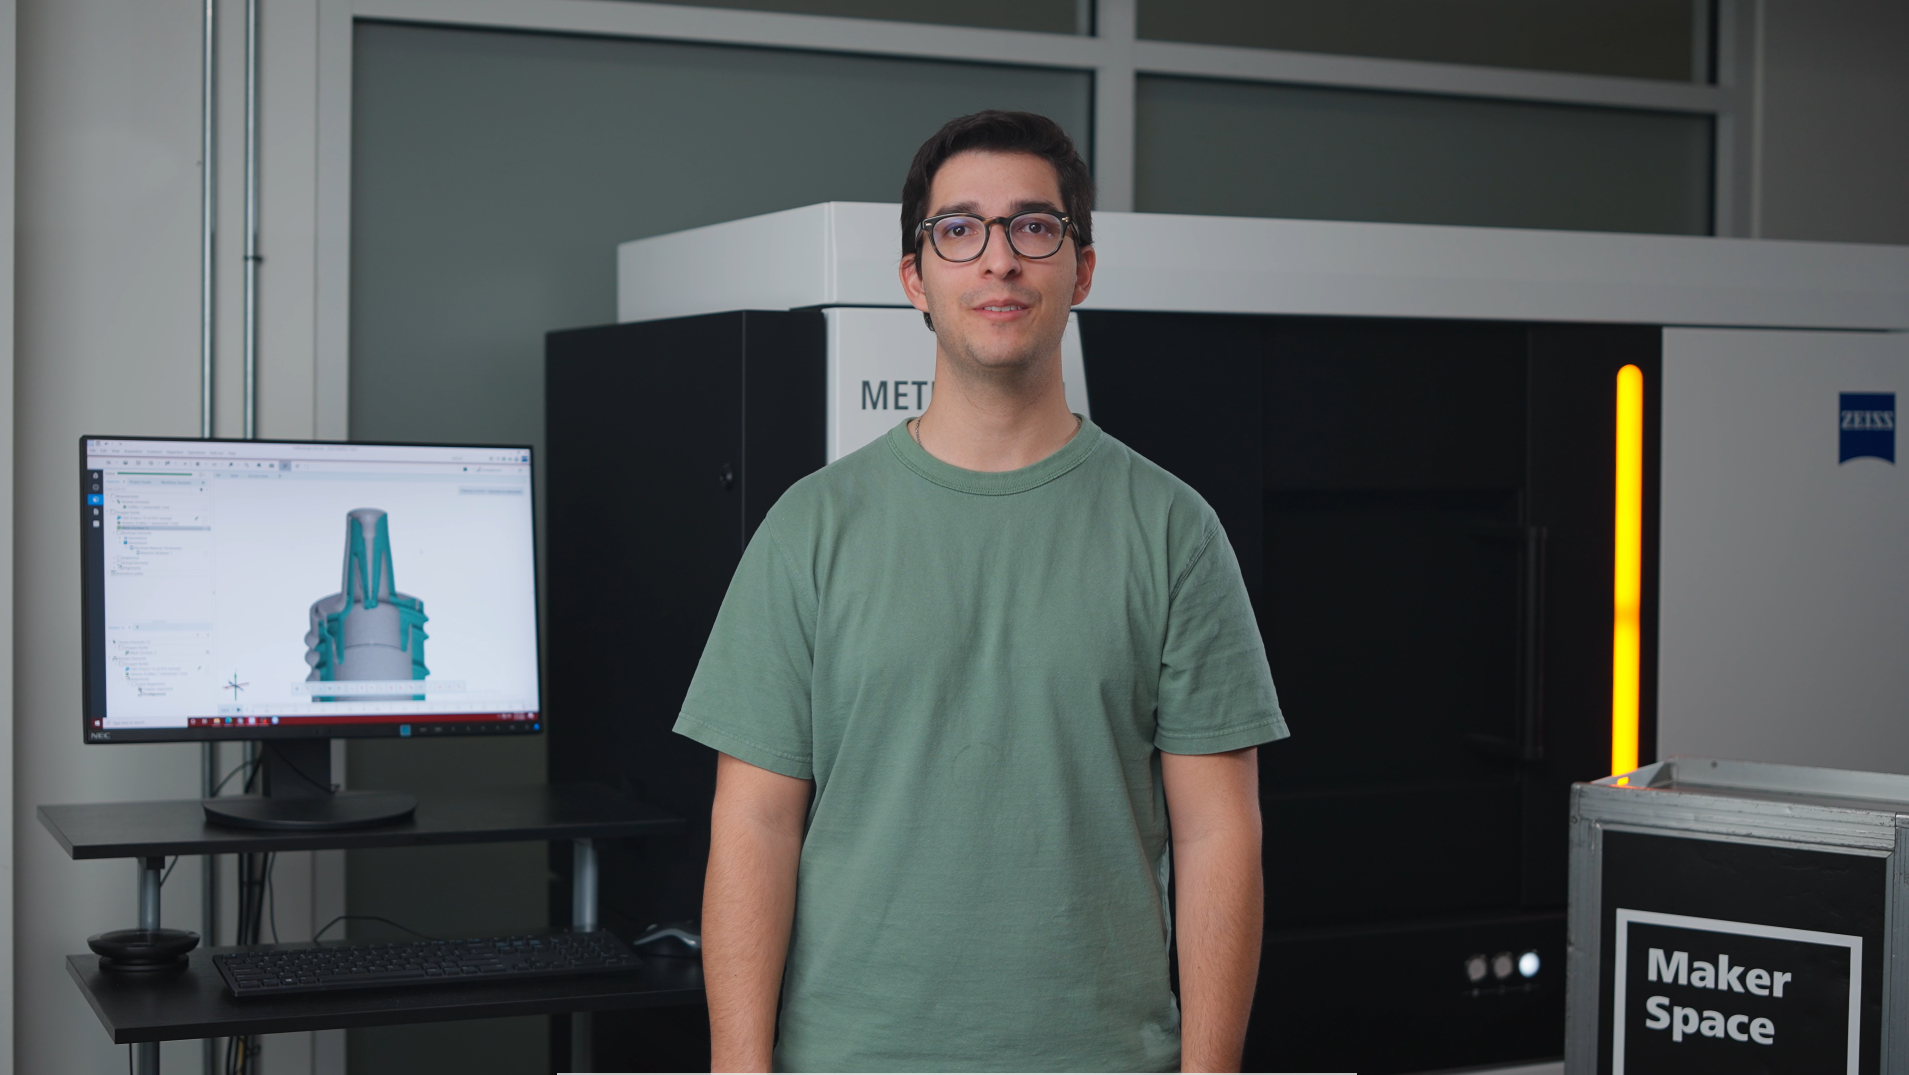
METROTOM 1: How to inspect the inside of medical plastic parts
Plastic parts from the medical industry are often complex assemblies or even transparent and can’t be measured optically or tactilely. Let Juan show you how to use the METROTOM 1 to get all the information with just one scan and even inspect the inside of your parts to guarantee the best functionality.
Do you have any question on our 3D scanners? Contact us via support@HandsOnMetrology.com
How to scan small parts using compact 3D scanners
3D scanning of small parts and fine details is often a challenge that can take a lot of time. In this How-to, Matthias shows you how you can take the 3D scanning process to a new level with the help of ATOS Q, GOM Scan 1 and the Motorization Kit.
Do you have any question on our 3D scanners? Contact us via support@HandsOnMetrology.com
Büchner: CT technology for plastic manufacturing
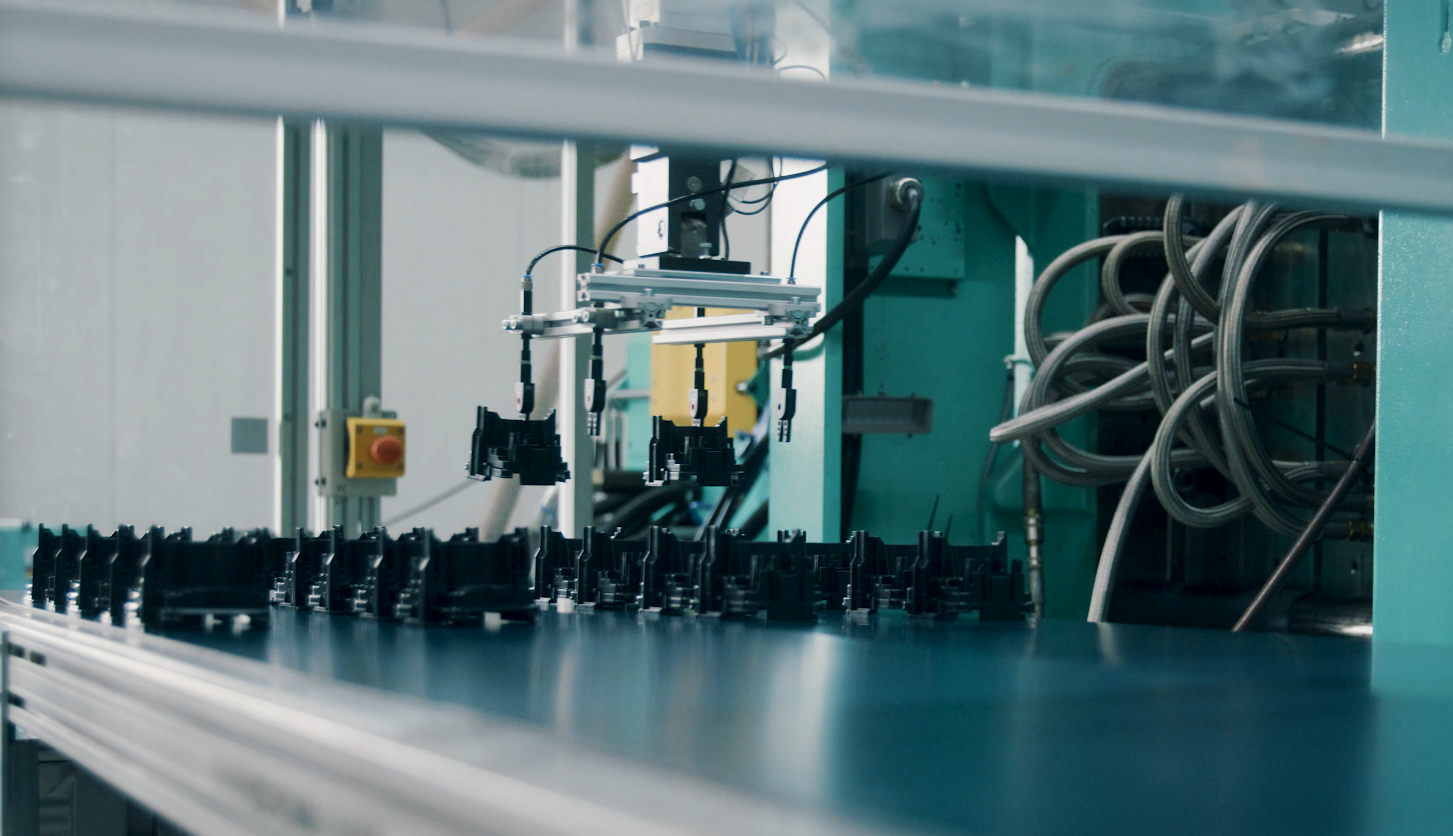
Follow the complex injection molding process of plastic parts at our German customer Büchner. The traditional family business relies on intuitive and modern inspection with the 3D scanner METROTOM 1. Powered by CT technology, the company can make meaningful statements about each individual plastic product. Find out more in our Maker Portrait.
Want to learn more about Büchner? Visit https://www.buechner-kunststoffprodukte.de/?lang=en
New videos: One-Minute Insight
Use the Clipping Cube function to get a perfect view
Need to look at a project with a lot of details and obstructed parts? Nanno shows you a trick to get a clear view of just the details you are interested in – by using the Clipping Cube function in ZEISS INSPECT.
All functions shown are available in the current software version.
Have you got any questions about ZEISS INSPECT? Then contact us via email: support@HandsOnMetrology.com
How to save time with Quick GD&T
Get a One Minute Insight from Christine, Carl Zeiss GOM Metrology Braunschweig. She shows you how to save many mouse miles with a single click on “Quick GD&T” to get an extra fast tolerance check. All functions shown are available in the current software version.
Have you got any questions about ZEISS INSPECT? Then contact us via email: support@HandsOnMetrology.com
Data imports from 3rd party scanners
Working with different types of scanners? Well, you only need one software to evaluate your data. In this video, Kai shows you how easy it is to import point cloud data into ZEISS INSPECT, to create a mesh and to start your inspection.
All functions shown are available in the current software version.
Have you got any questions about ZEISS INSPECT? Then contact us via email: support@HandsOnMetrology.com
Le damos la bienvenida al nuevo hogar del escaneado 3D
#HandsOnMetrology es el nuevo recurso para todo lo relacionado con el escaneado 3D. Desde instrucciones de configuración paso a paso hasta tutoriales más avanzados y hacks de expertos: Esta plataforma está hecha para aprender. Para encontrar inspiración. Y para encontrar el apoyo que necesita para ofrecer la excelencia en la digitalización 3D. Esta plataforma se ha creado para usted.
¿Está buscando una
solución de escaneado 3D?
Tema central: Condiciones de escaneado exigentes
Cómo usar un escáner
3D portátil en
producción
How to measure in production
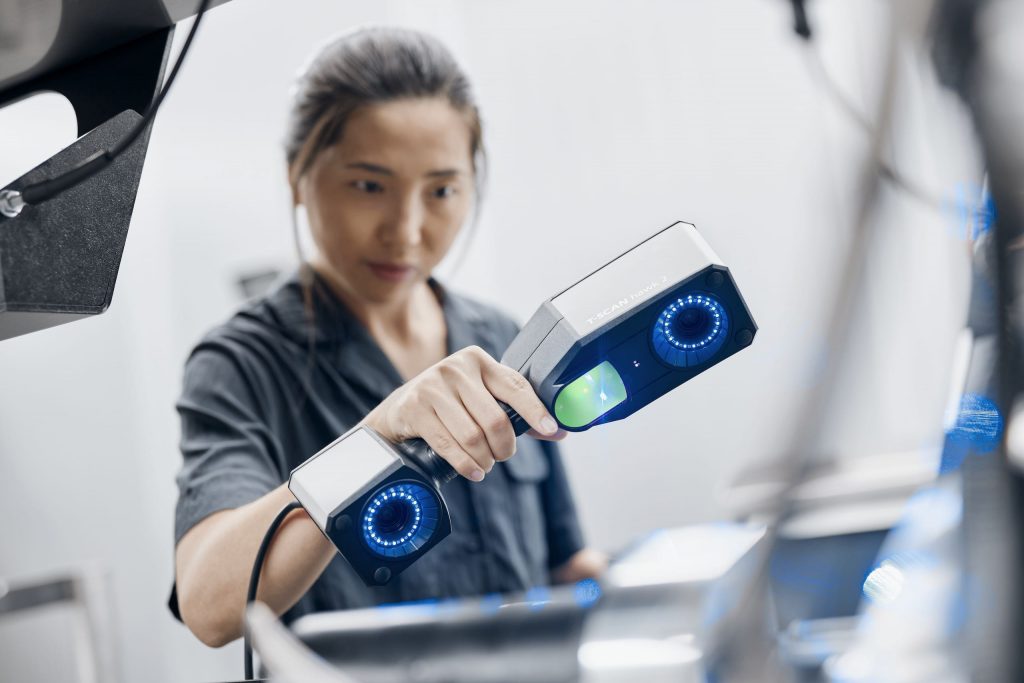
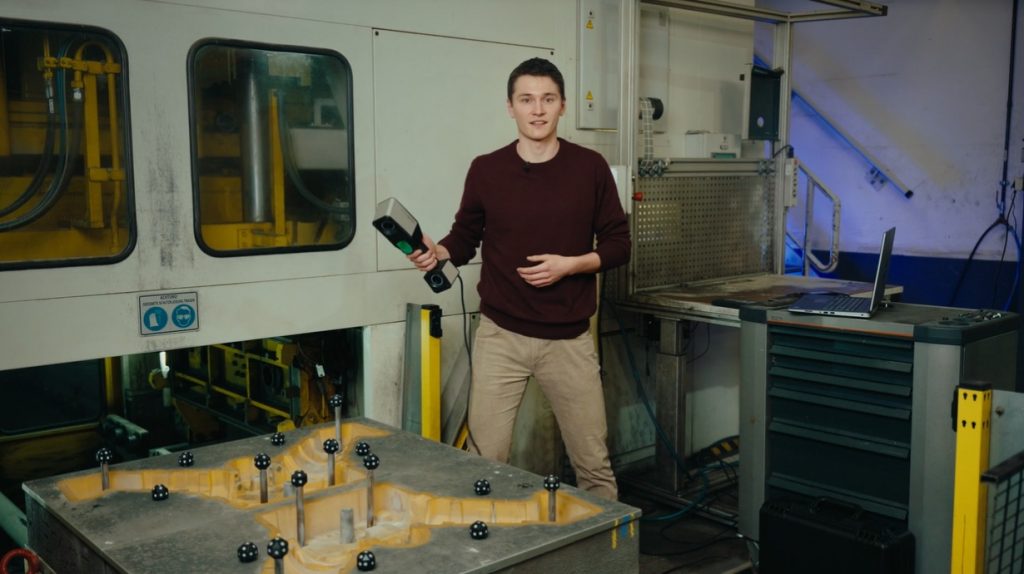
Small and portable: the ZEISS T-SCAN hawk 2 is made for the use in production. See here how it supports your complete process chain from data collection for reverse engineering, different inspection tasks to the digital assembly of produced parts.
Do you want to find out more about the portable 3D laser scanner T-SCAN hawk 2? Visit HandsOnMetrology.com/sessions
Más sesiones
Additive Drives: Development of highly efficient e-motors
At Additive Drives they thrive for highly innovative and efficient e-motors. Their secret? Using 3D printing for individual e-drives based on customers requirements. The 3D scanner ATOS Q offers them quick yet accurate quality assurance of their tools and components during and after the development phase. Want to learn more about Additive Drives? Visit https://www.additive-drives.de/en/
CADskills: Improving patient specific implants
At CADskills it’s all about custom made implant solutions. Based on CT data, the company designs and develops biofunctionalized implantable devices for dysfunctional joints and bones. To further improve the quality control of their products they use ATOS Q. Have a look at the work of our customer in Belgium to get all the details.
Want to learn more about CADskills? Visit https://www.cadskills.be/en/
METROTOM 1: Scanning multiple parts
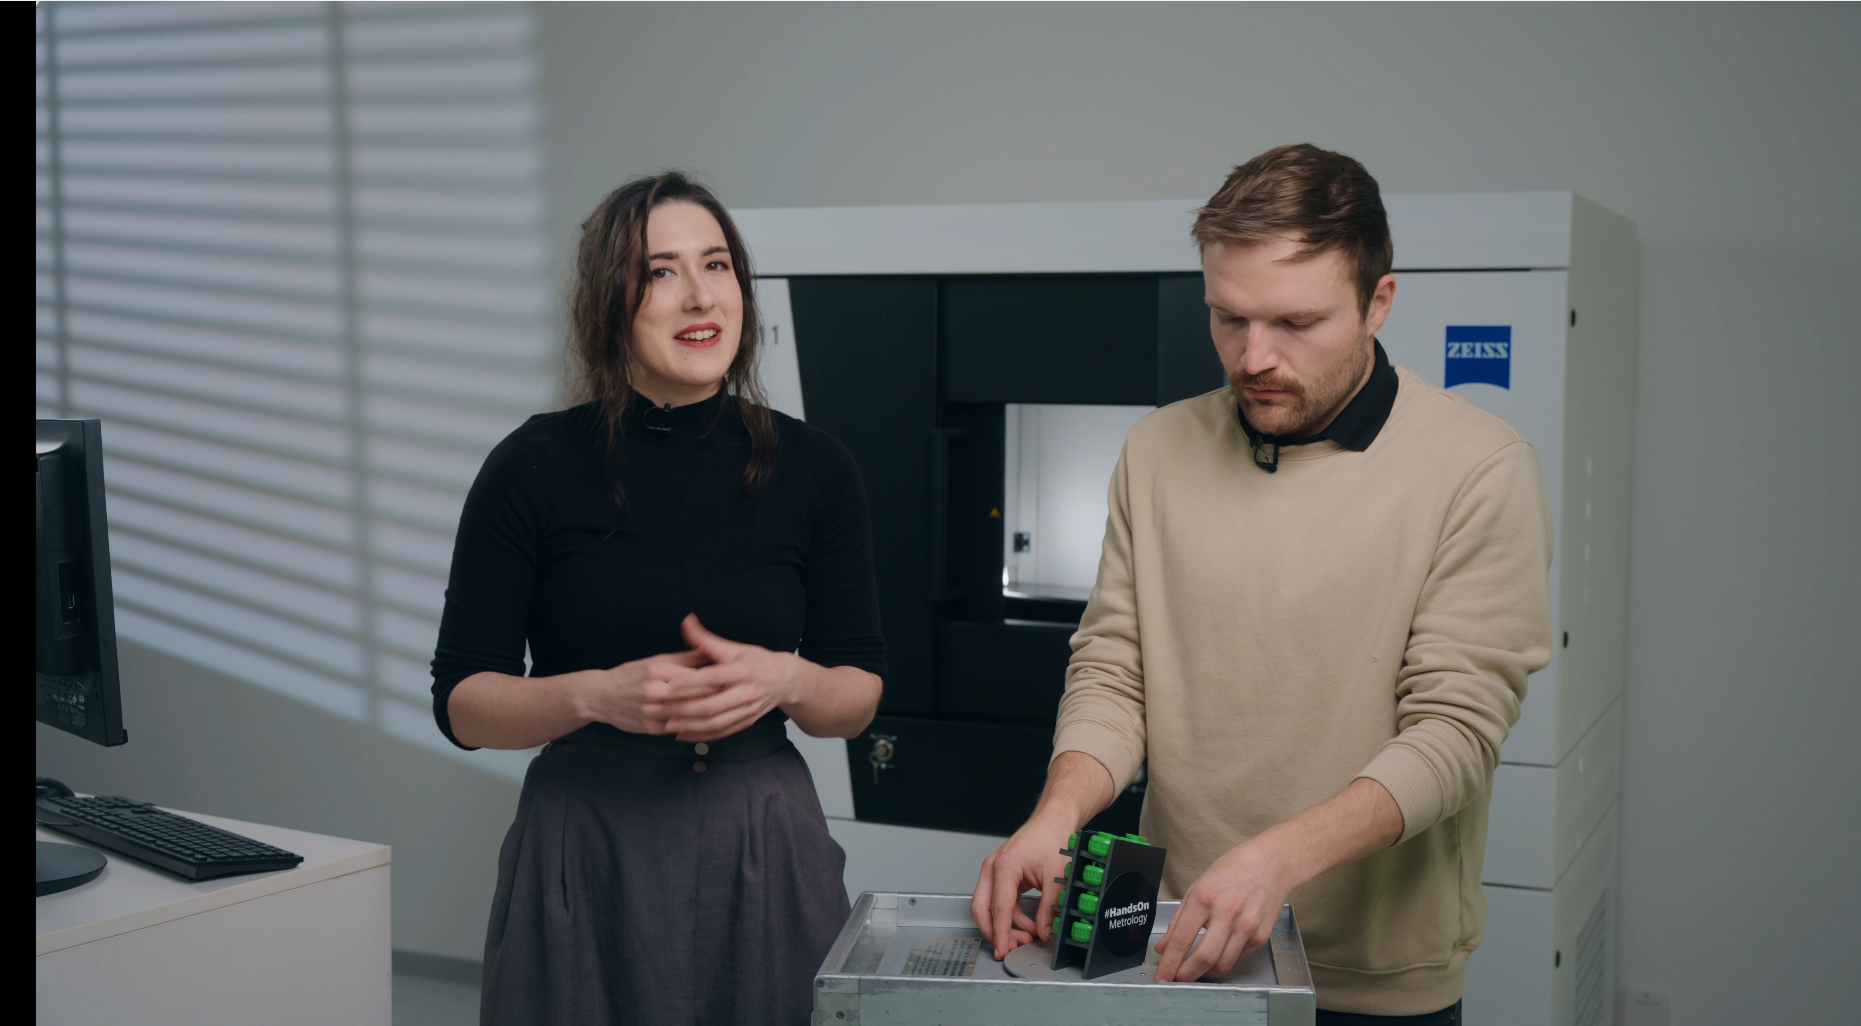
The 3D scanner ZEISS METROTOM 1 – powered by CT technology – is perfect for scanning multiple parts at once, as it seriously reduces scan times. Interested? Then watch Aysel and John’s tutorial. Learn how to prepare the parts for 3D scanning, discover how to set up the software – and experience its simple, built-in separation tool: for separating out the batch volume into smaller volumes for each individual part.
Have you got any questions on 3D scanning?
Contact us via support@HandsOnMetrology.com
How to 3D scan with the right distance to object
How does satellite mode work and why do you need it
Scanning larger parts can be challenging. We simplified the the process with the new satellite mode of the handheld laser scanner ZEISS T-SCAN hawk 2. It does without coded markers thus preparations are easy and fast. Learn more about the advanced way of photogrammetry here. Got any questions? Contact us via support@HandsOnMetrology.com.
How to use a 3D scanner for dent detection
Looking for a way to speed up and refine your aircraft MRO? Let Roel show you how the ZEISS T-SCAN hawk 2 and the Inspect Software aid in various inspection tasks, like GD&T, CAD comparisons or defect maps. Got any questions on 3D scanning? Contact us via support@HandsOnMetrology.com
Suscríbase a nuestra lista de correo
Sea el primero en conocer las novedades
¿Qué solución de escaneado 3D es la más adecuada para usted?
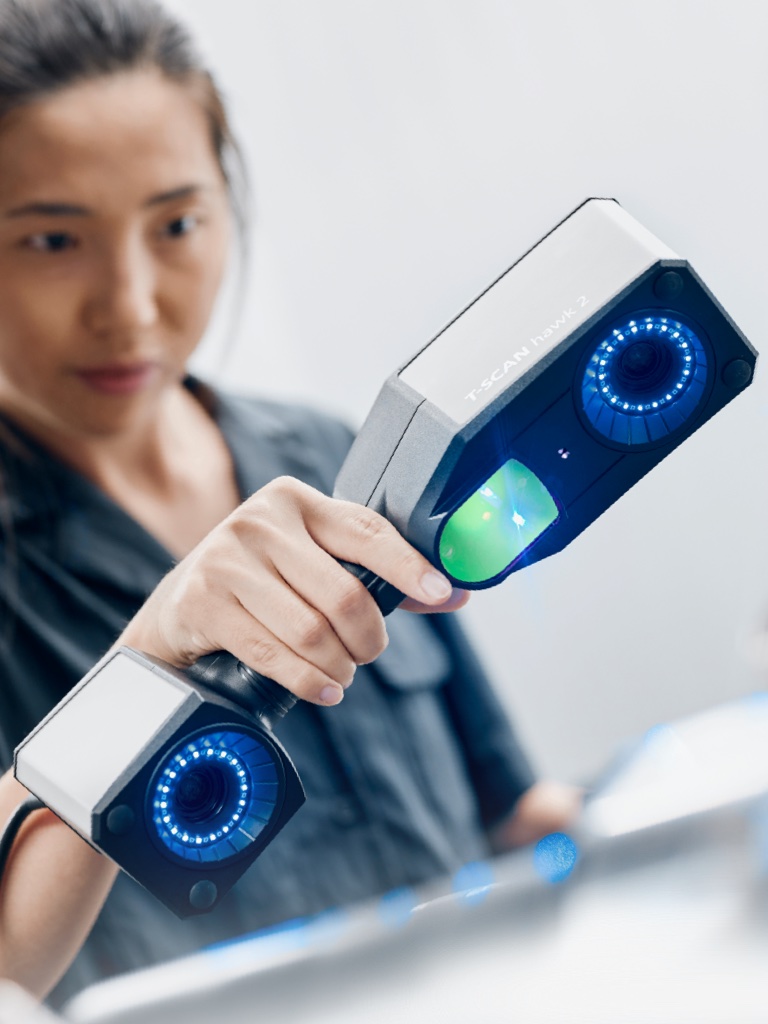
ZEISS T-SCAN hawk 2
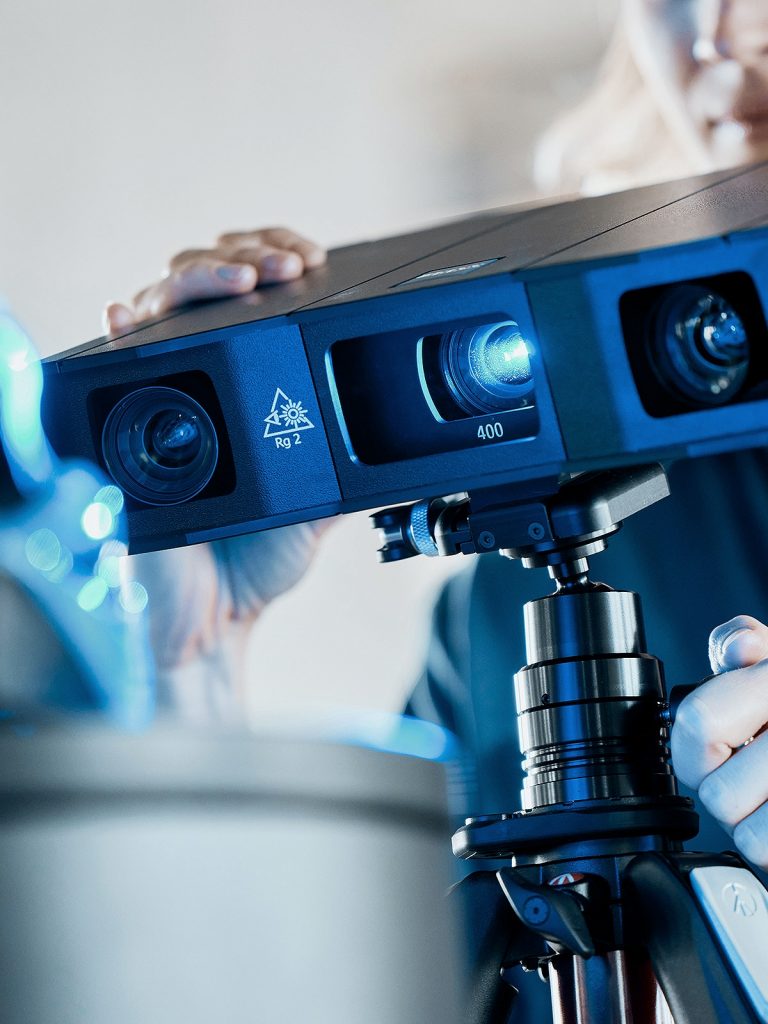
Ligero y extraordinariamente fácil de manejar: Su solución portátil para la precisión metrológica en el escaneado 3D y la inspección 3D.
¿Necesita una
solución de
escaneado 3D?
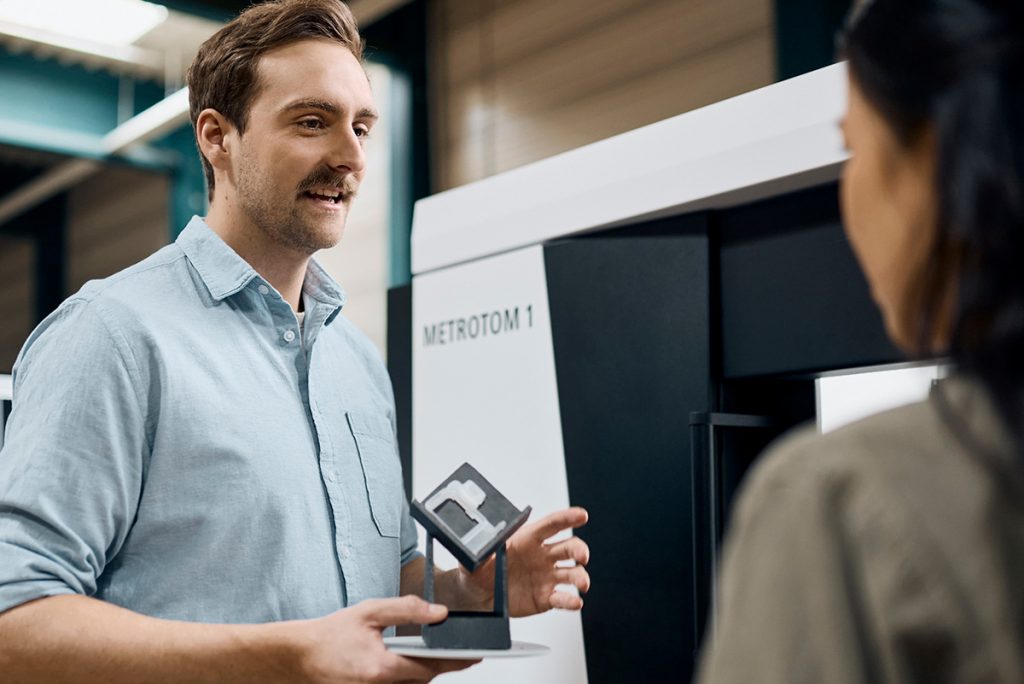
ZEISS METROTOM 1
ZEISS METROTOM 1 es sinónimo de facilidad de uso, datos 3D precisos y control de calidad desde afuera hacia adentro.
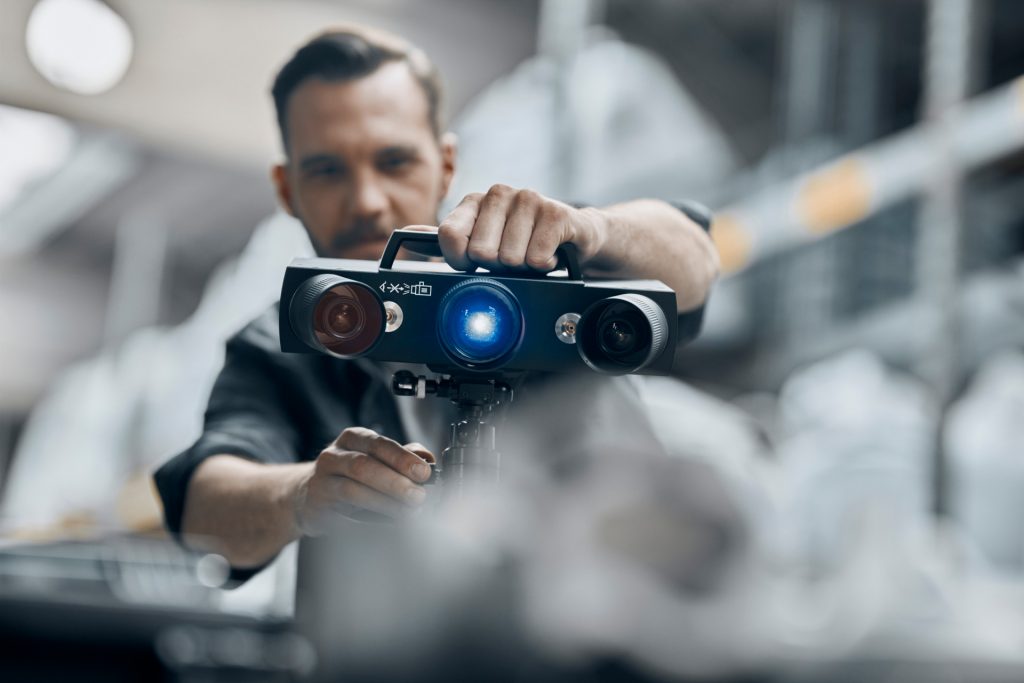
ATOS Q
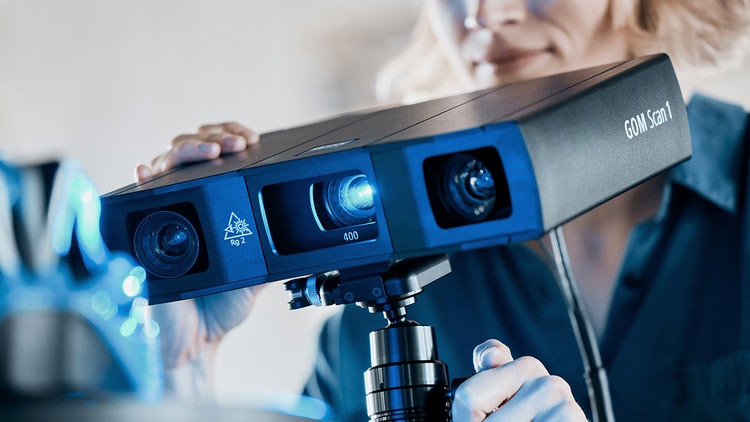
GOM Scan 1
GOM Scan 1
Se abren nuevas posibilidades: un escáner 3D compacto, móvil y versátil para mallas precisas y grandes ideas.
ZEISS INSPECT
Haciendo visible la calidad
Sencillo, intuitivo y con un amplio conjunto de funciones de
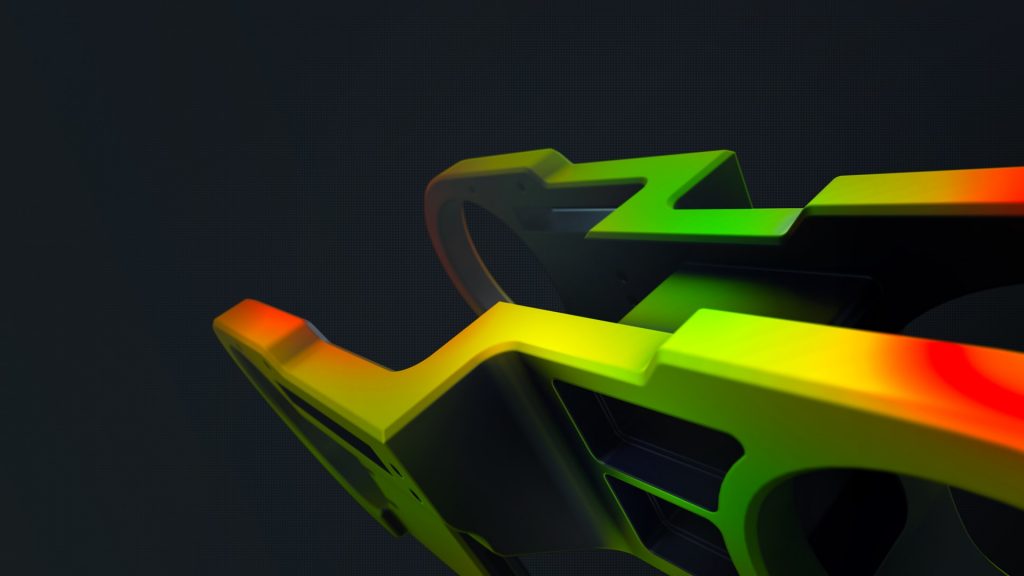
inspección: descargue el estándar en software de metrología 3D
gratis.
¿Desea más información?
Póngase en contacto con su socio local de #HandsOnMetrology.
