La calidad se escribe con Q
ATOS Q: el equipo de alto rendimiento para el escaneado 3D industrial
Una solución de escaneado 3D para tareas complejas de medición e inspección
Fiable, versátil y compacto
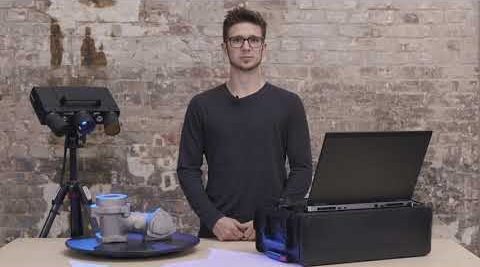
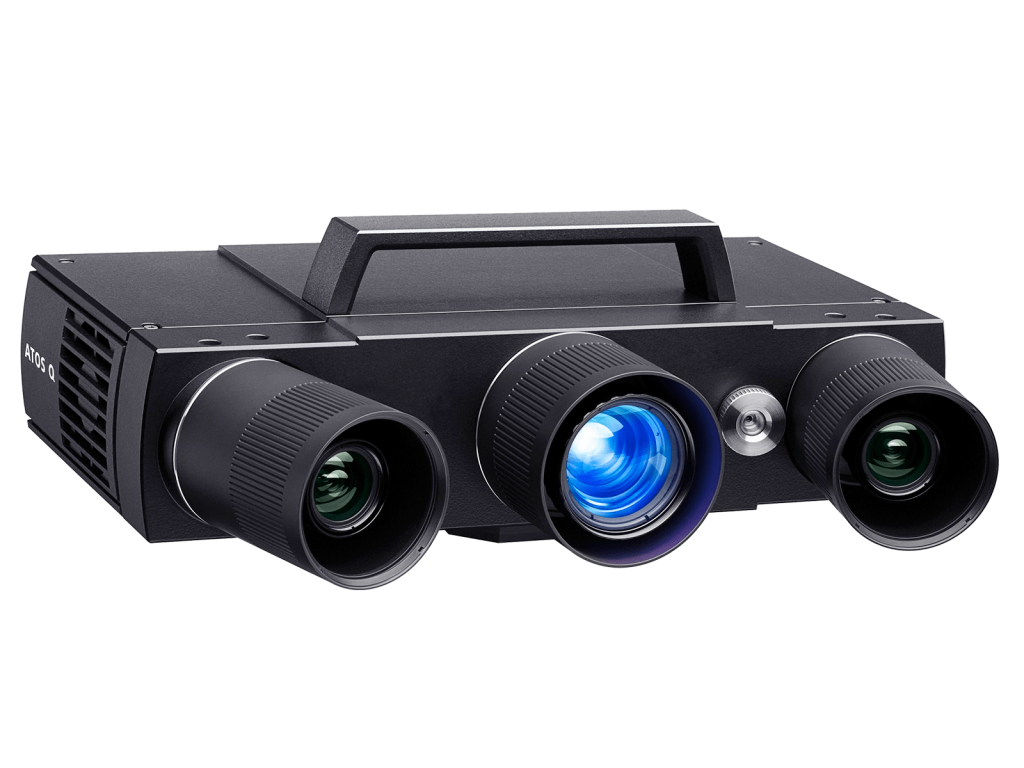
Móvil, versátil y preciso: ATOS Q está listo para su taller. Diseñado como un escáner 3D flexible para tareas de medición e inspección complejas, cumple con las altas exigencias metrológicas de muchas industrias. En combinación con ZEISS INSPECT, constituye un sistema de medición óptico 3D rápido, compacto y fácil de manejar con el ADN auténtico de ATOS.
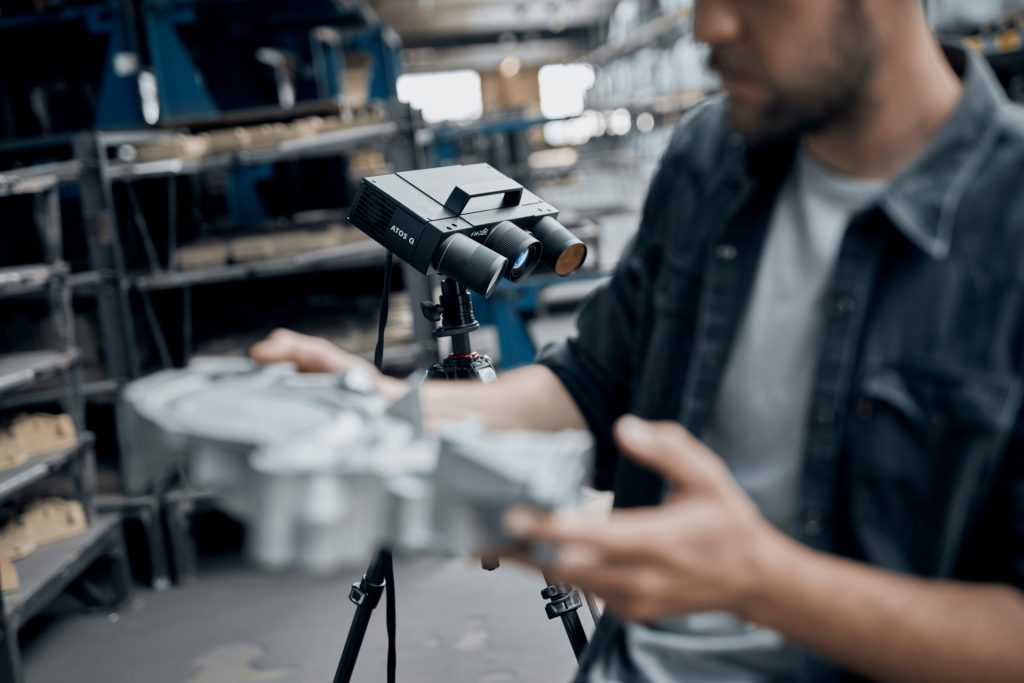
Diseñado para un uso industrial

Equipado con tecnología de vanguardia

Resultados rápidos, rendimiento excepcional
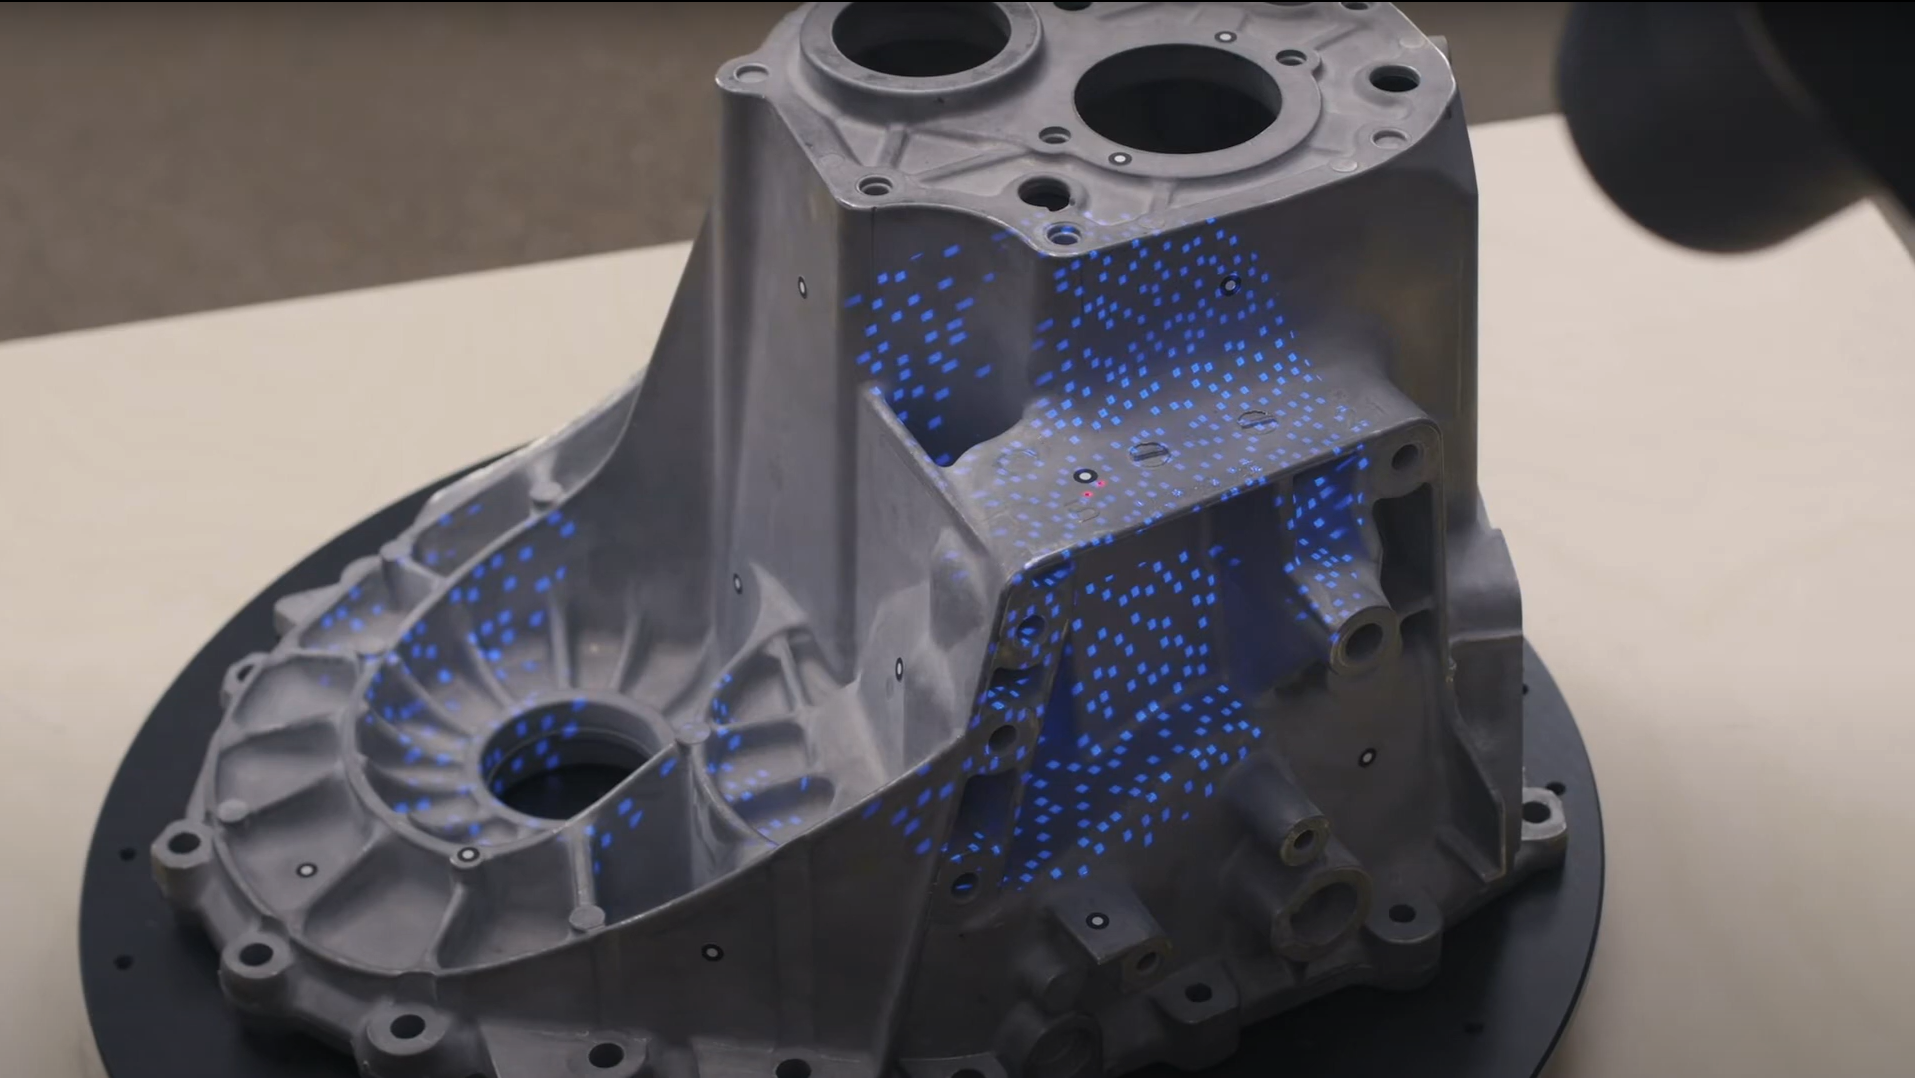
Precisión de alta velocidad con la tecnología de luz azul
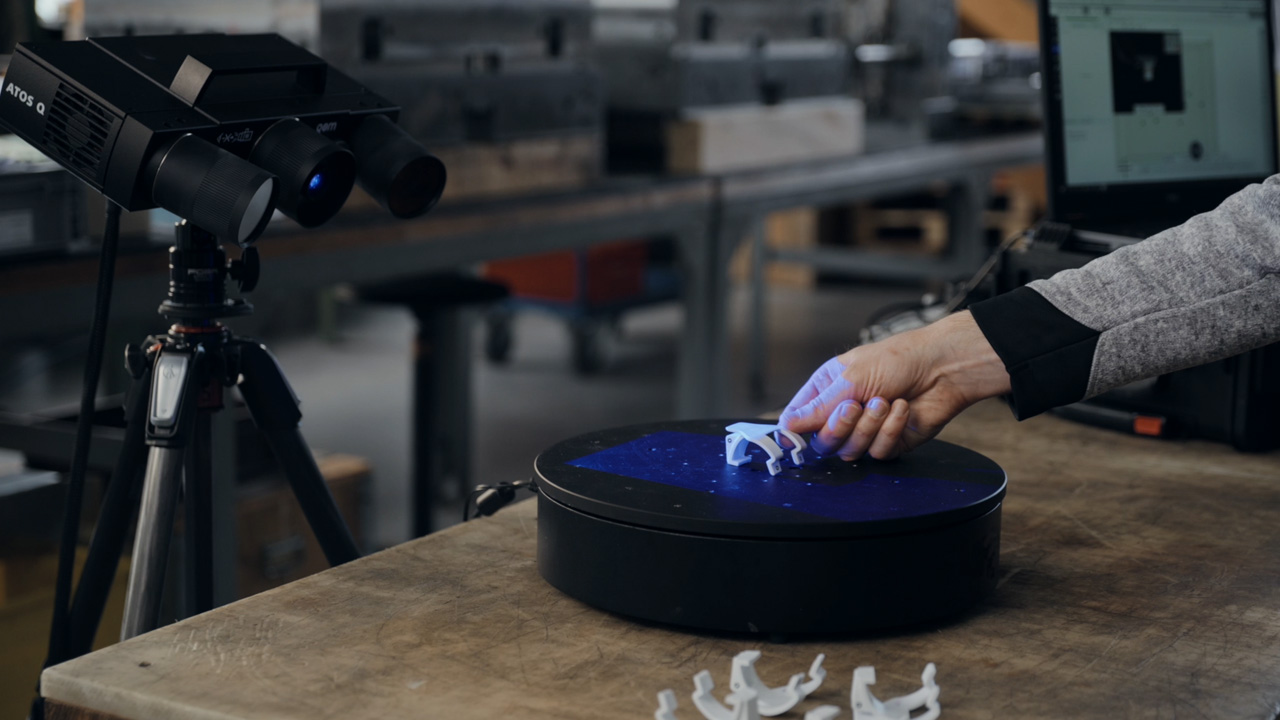
Los patrones de franjas precisos se proyectan sobre la superficie del objeto y son captados por dos cámaras basadas en el principio de la cámara estereoscópica. La tecnología de proyección funciona con luz azul de banda estrecha, lo que significa que la luz ambiental que interfiere puede filtrarse durante la adquisición de imágenes.
Extremadamente versátil y preparado para cualquier reto
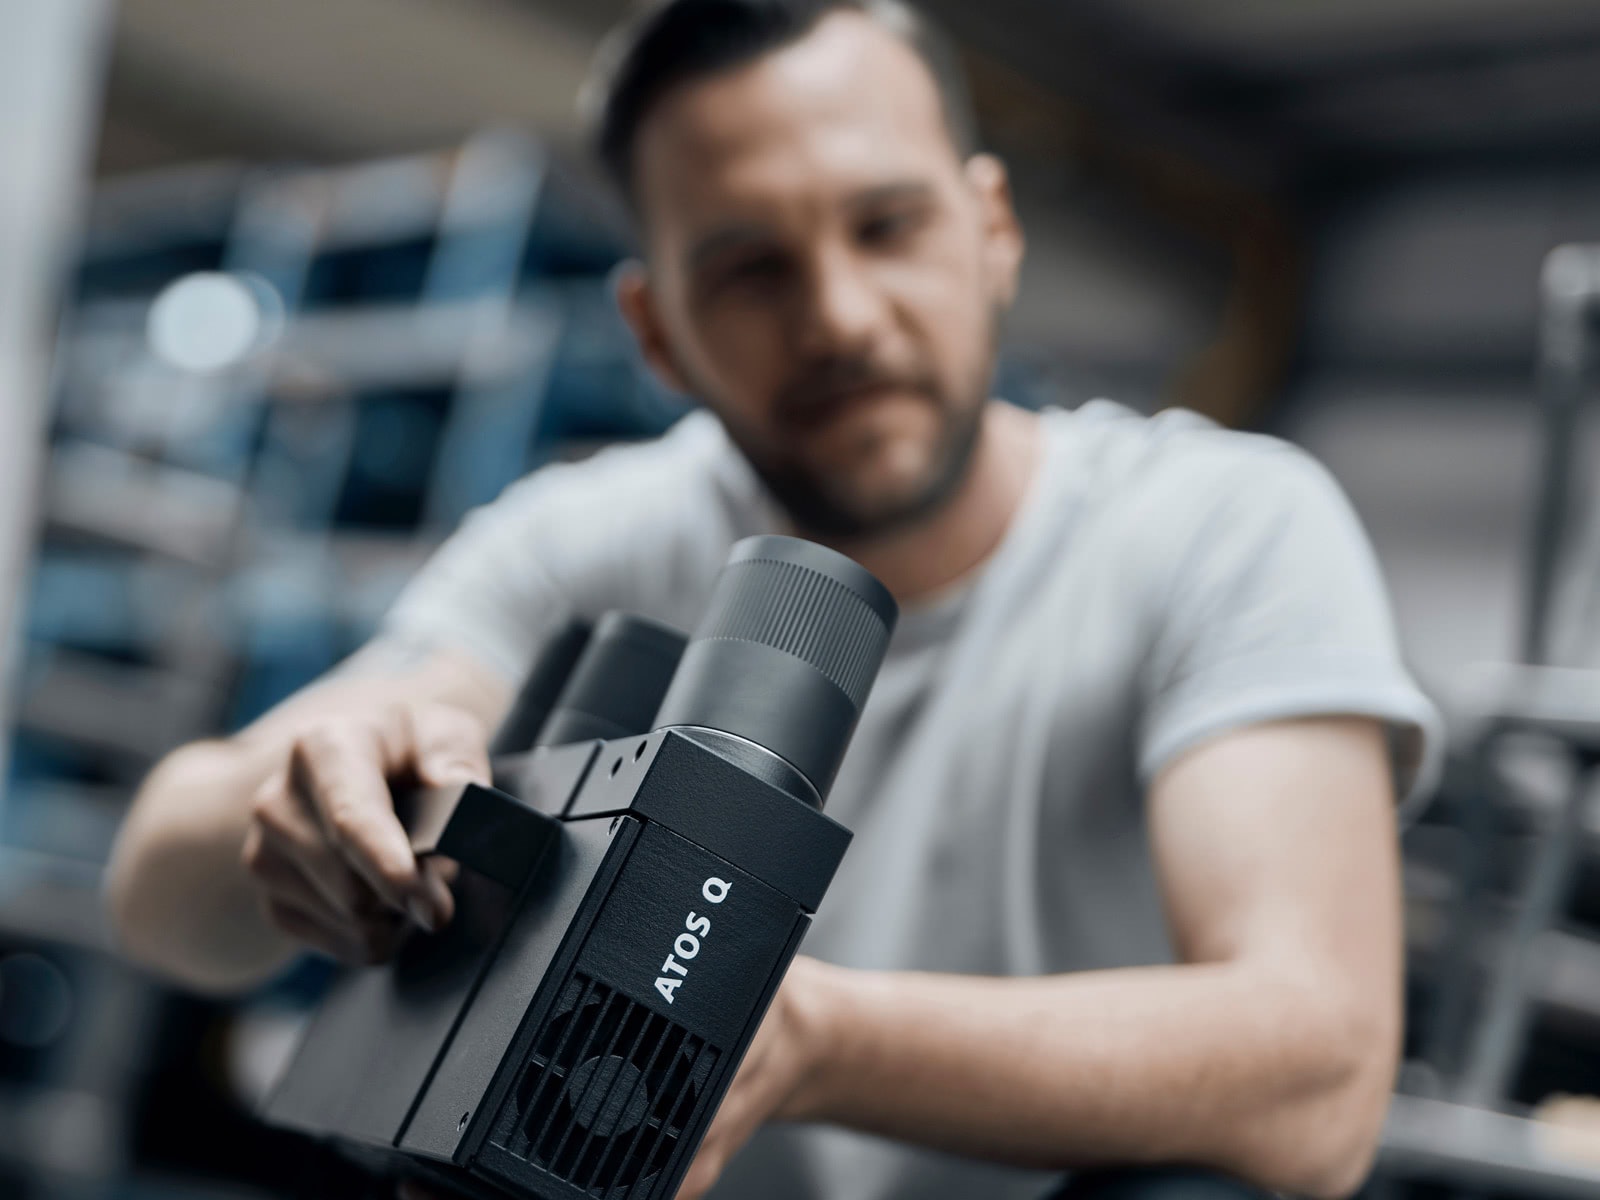
Manual
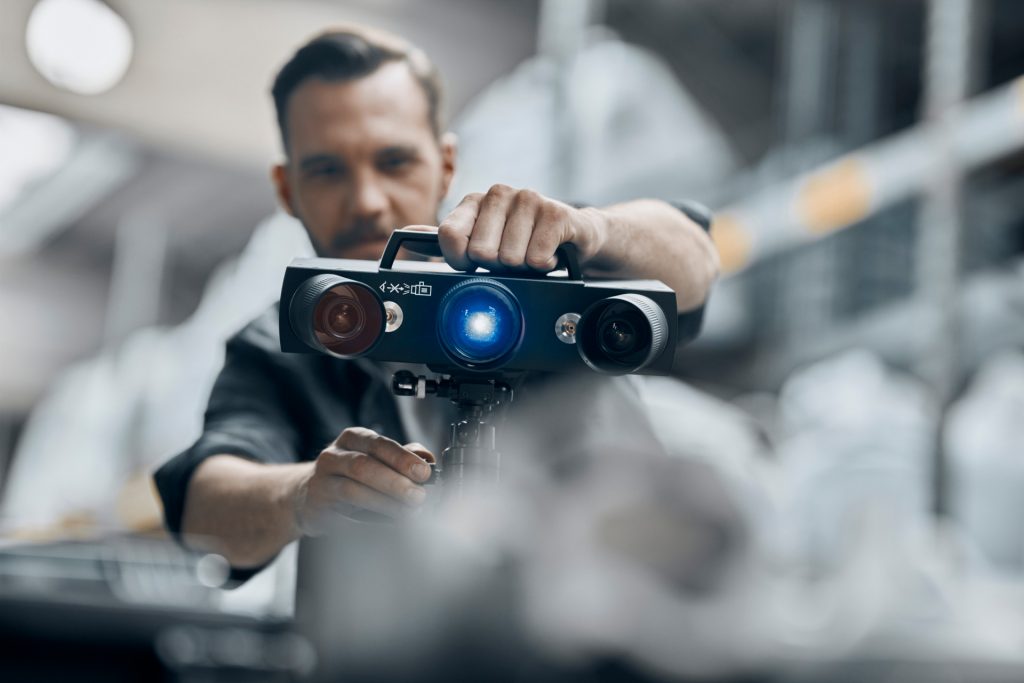
Gracias a su peso de tan solo 4 kg y a su diseño compacto, el escáner 3D ATOS Q puede trasladarse fácilmente. Montado sobre un trípode, es adecuado para la sala de medición y para su uso móvil en la producción.

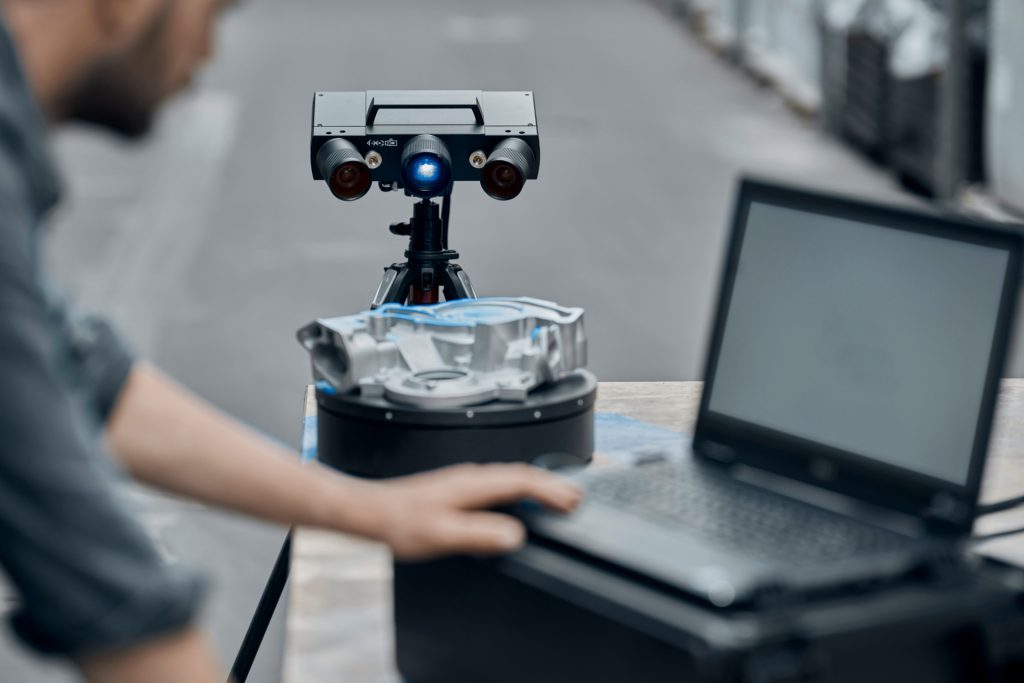
Semiautomático
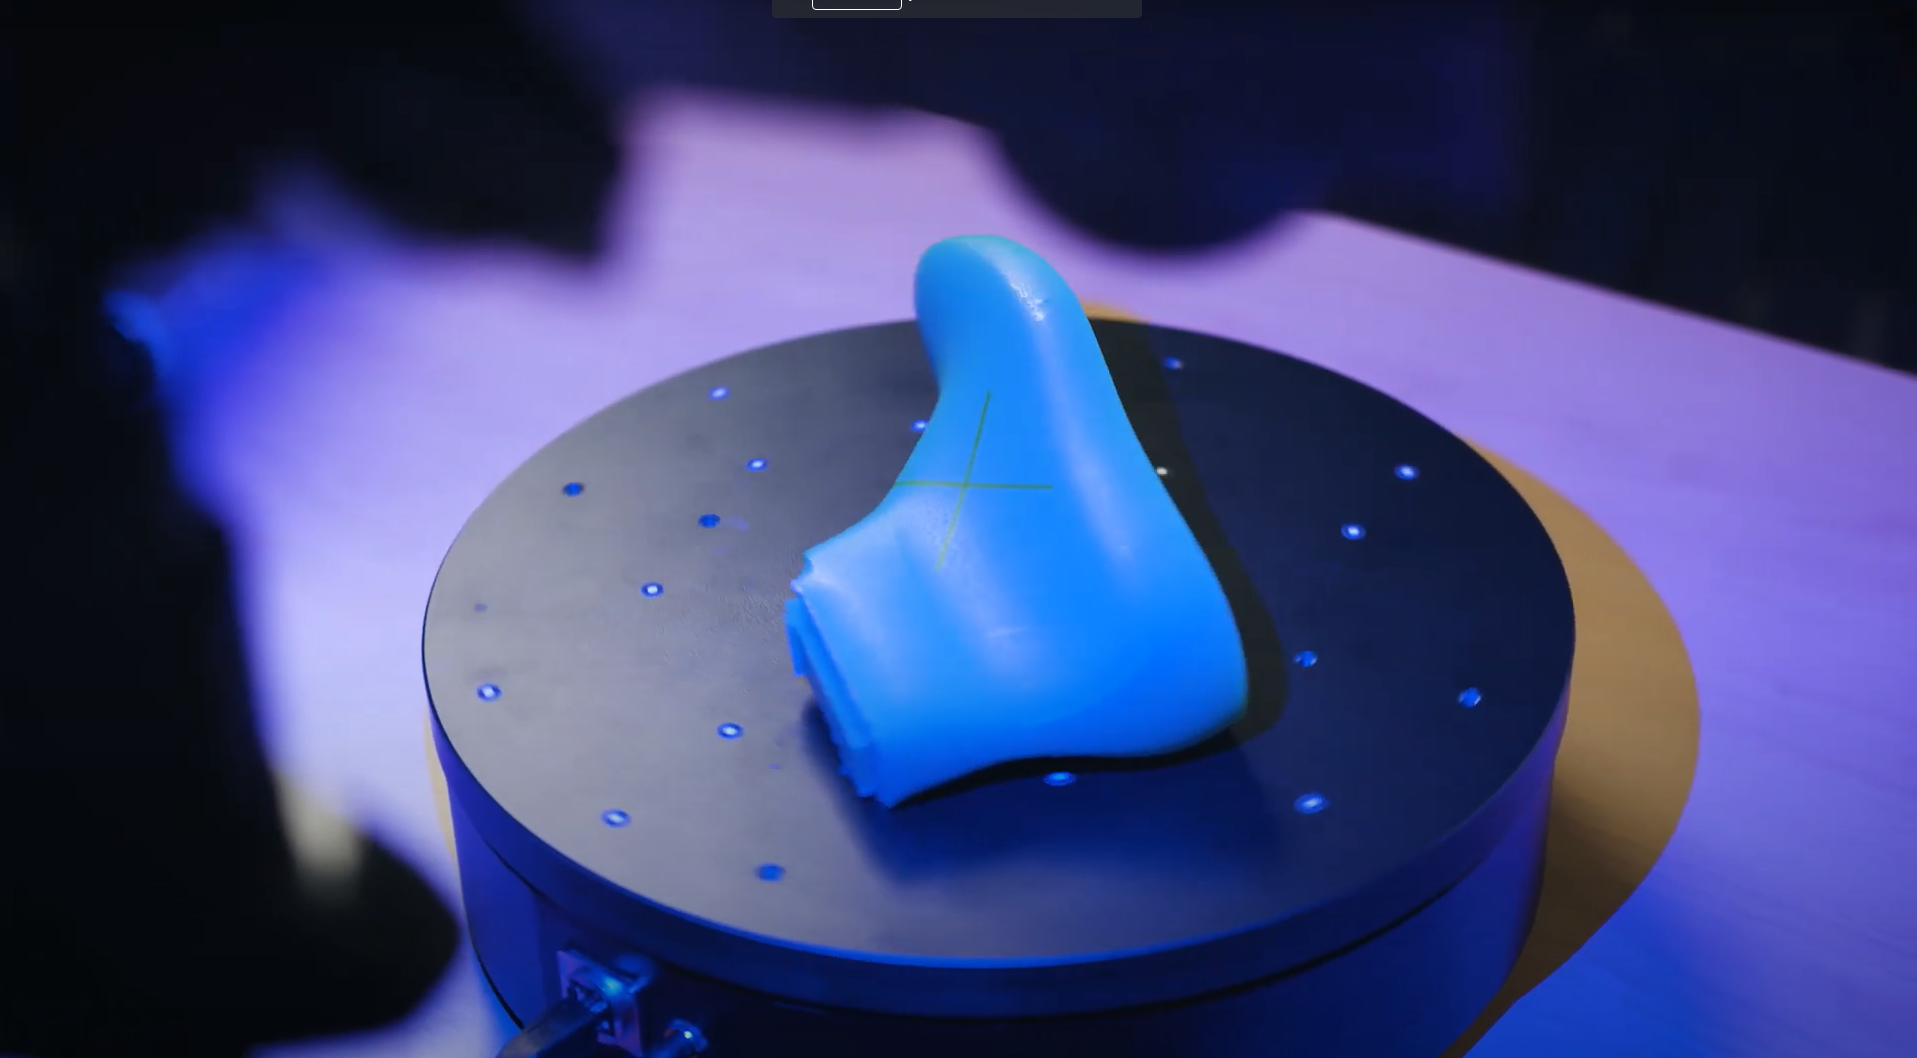
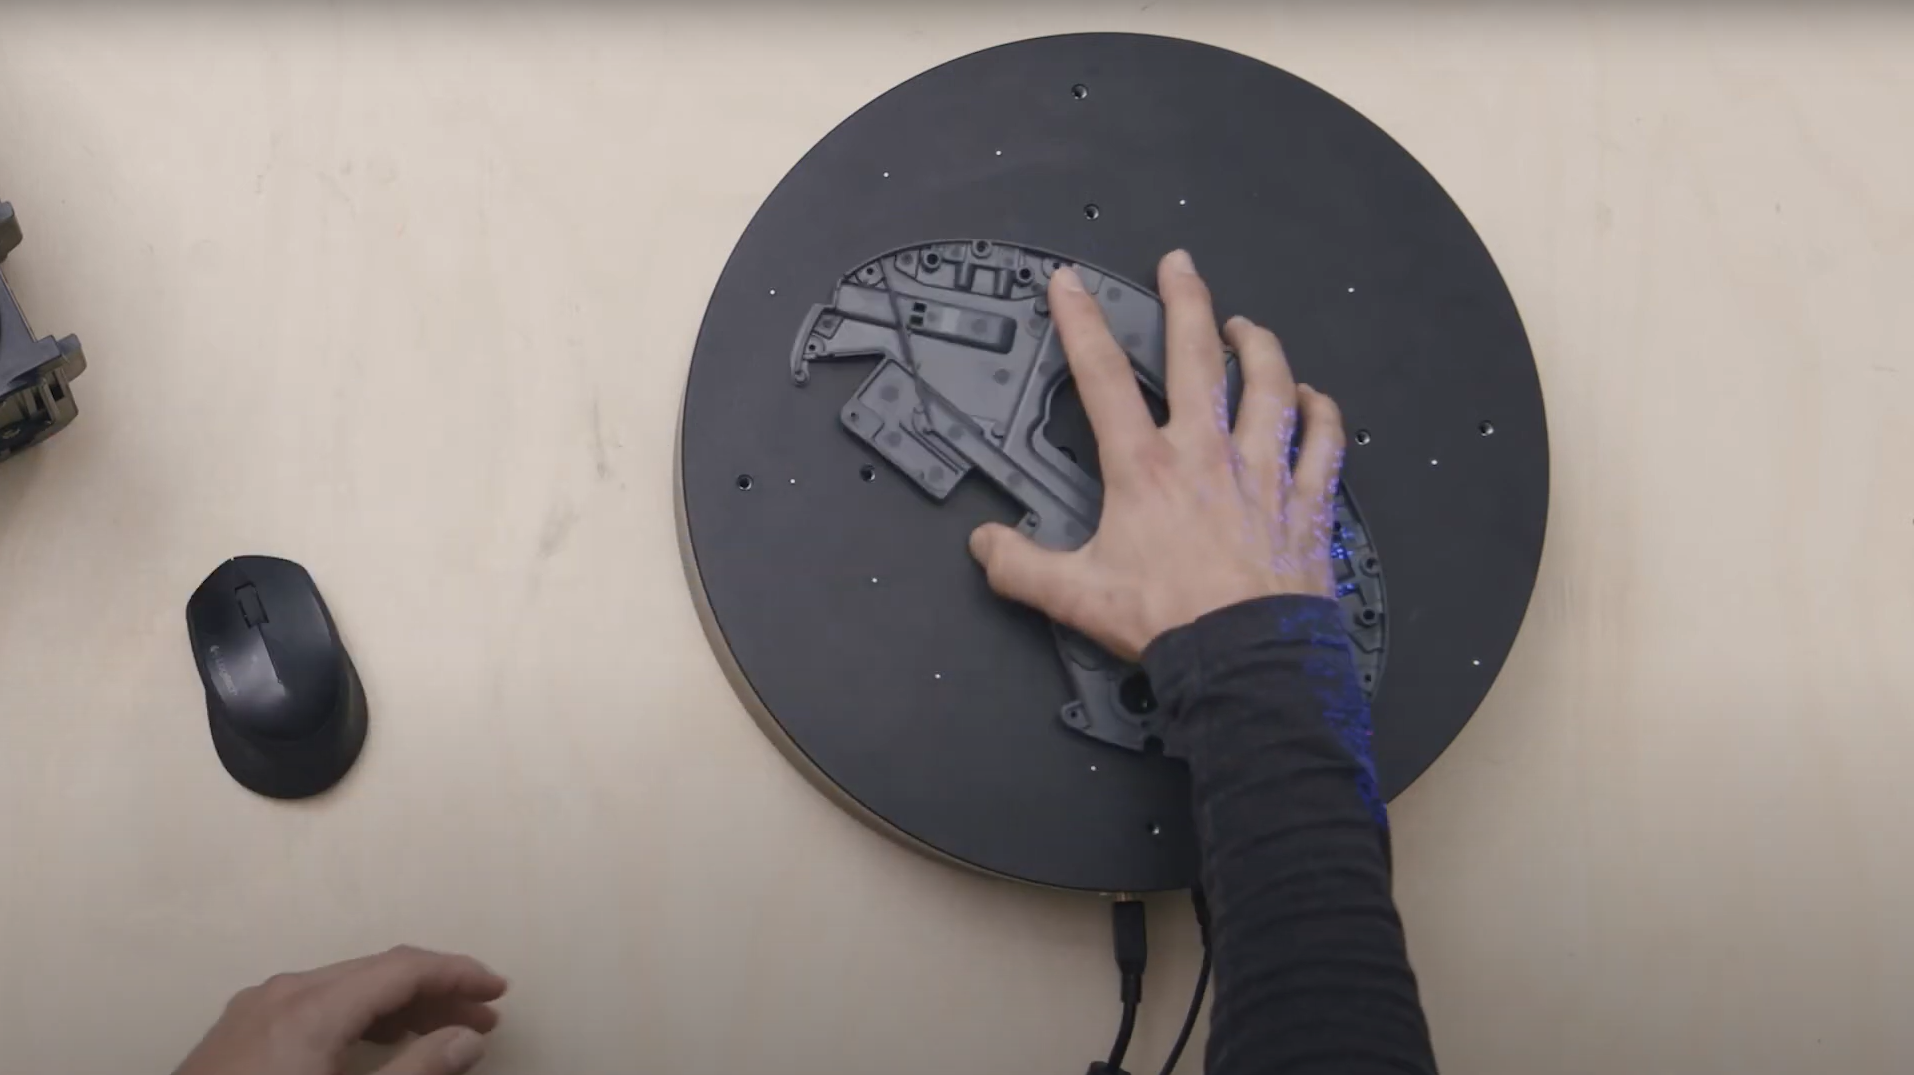
En combinación con un trípode o un soporte de sobremesa y la mesa giratoria de escaneado ROT 350 o un kit de motorización, el escáner 3D ATOS Q también puede utilizarse para un funcionamiento semiautomático.
Modelado de la calidad con múltiples volúmenes de medición
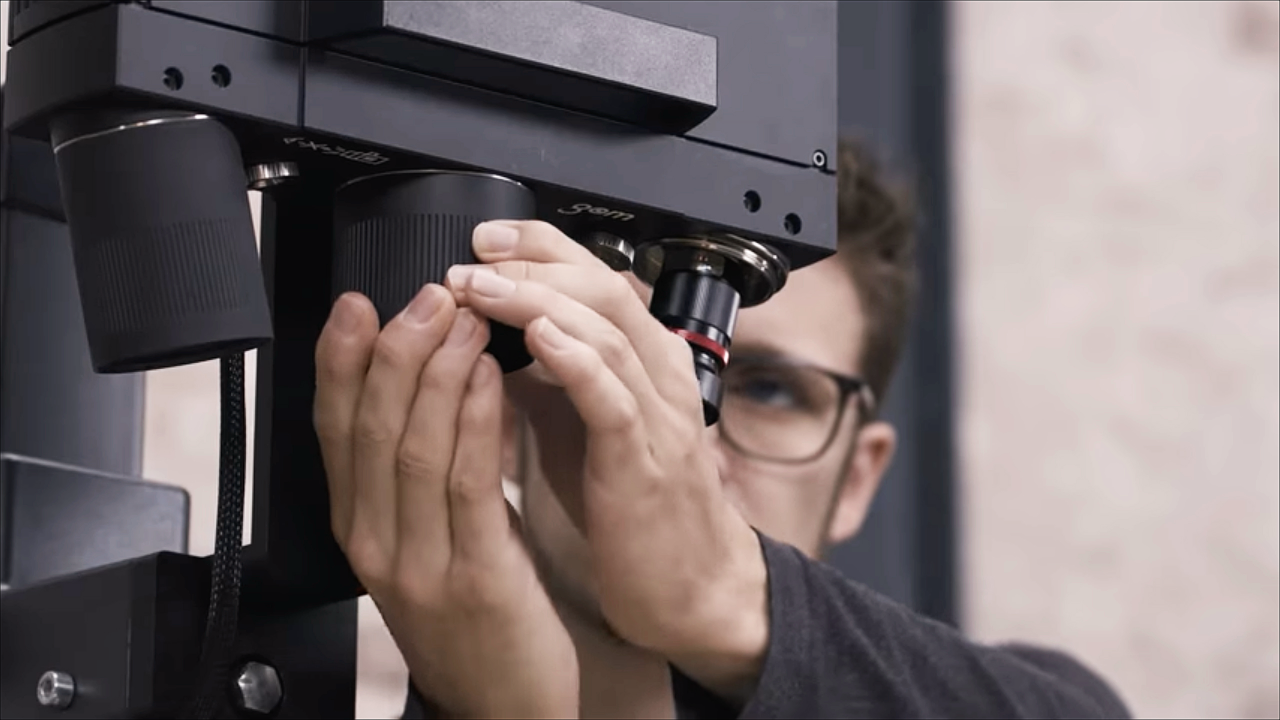
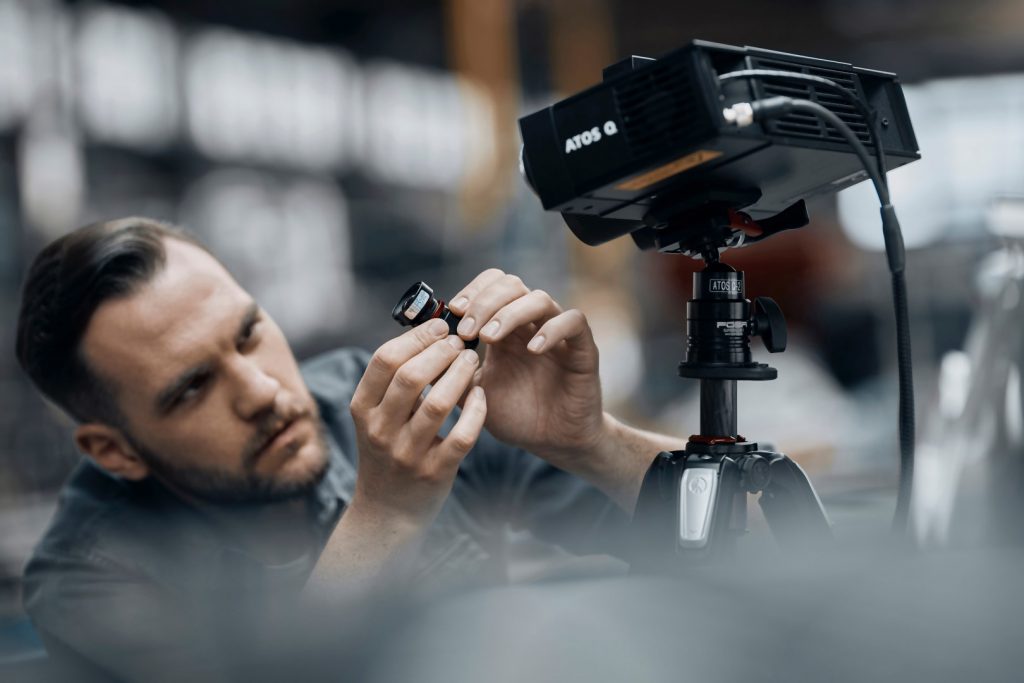
Las lentes intercambiables de ATOS Q garantizan mediciones de alta precisión de piezas pequeñas y medianas. Cambiar el volumen de medición del más pequeño al más grande resulta una tarea fácil gracias a la posición fija de la cámara.
ATOS Q garantiza la calidad
- para piezas de fabricación aditiva
- para piezas de plástico y moldeadas por inyección
- en los procesos de fundición en arena, fundición a presión y fundición a la cera perdida
- en las cadenas de procesos de punzonado, doblado, estirado, prensado y conformado
Datos técnicos
Descubra ZEISS INSPECT - Pro Line para ATOS Q
¿Desea más información?
Póngase en contacto con su socio local de #HandsOnMetrology.
Discover more
i
Please select the topic you seek more information aboutHow to save time with ZEISS INSPECT
Let Matt show how quality control becomes more efficient using the full version of ZEISS INSPECT. Whether inspecting one or multiple parts, templates transfer pre-made inspection steps in one click. Trend project function furthermore helps when all parts need to be checked at once – making evaluation fast, easy and intuitive.
All functions shown are available in the current software version.
Got any questions on 3D scanning? Contact us via support@HandsOnMetrology.com
How to scan small parts using compact 3D scanners
3D scanning of small parts and fine details is often a challenge that can take a lot of time. In this How-to, Matthias shows you how you can take the 3D scanning process to a new level with the help of ATOS Q, GOM Scan 1 and the Motorization Kit.
Do you have any question on our 3D scanners? Contact us via support@HandsOnMetrology.com
How to 3D scan multiple parts with ATOS Q
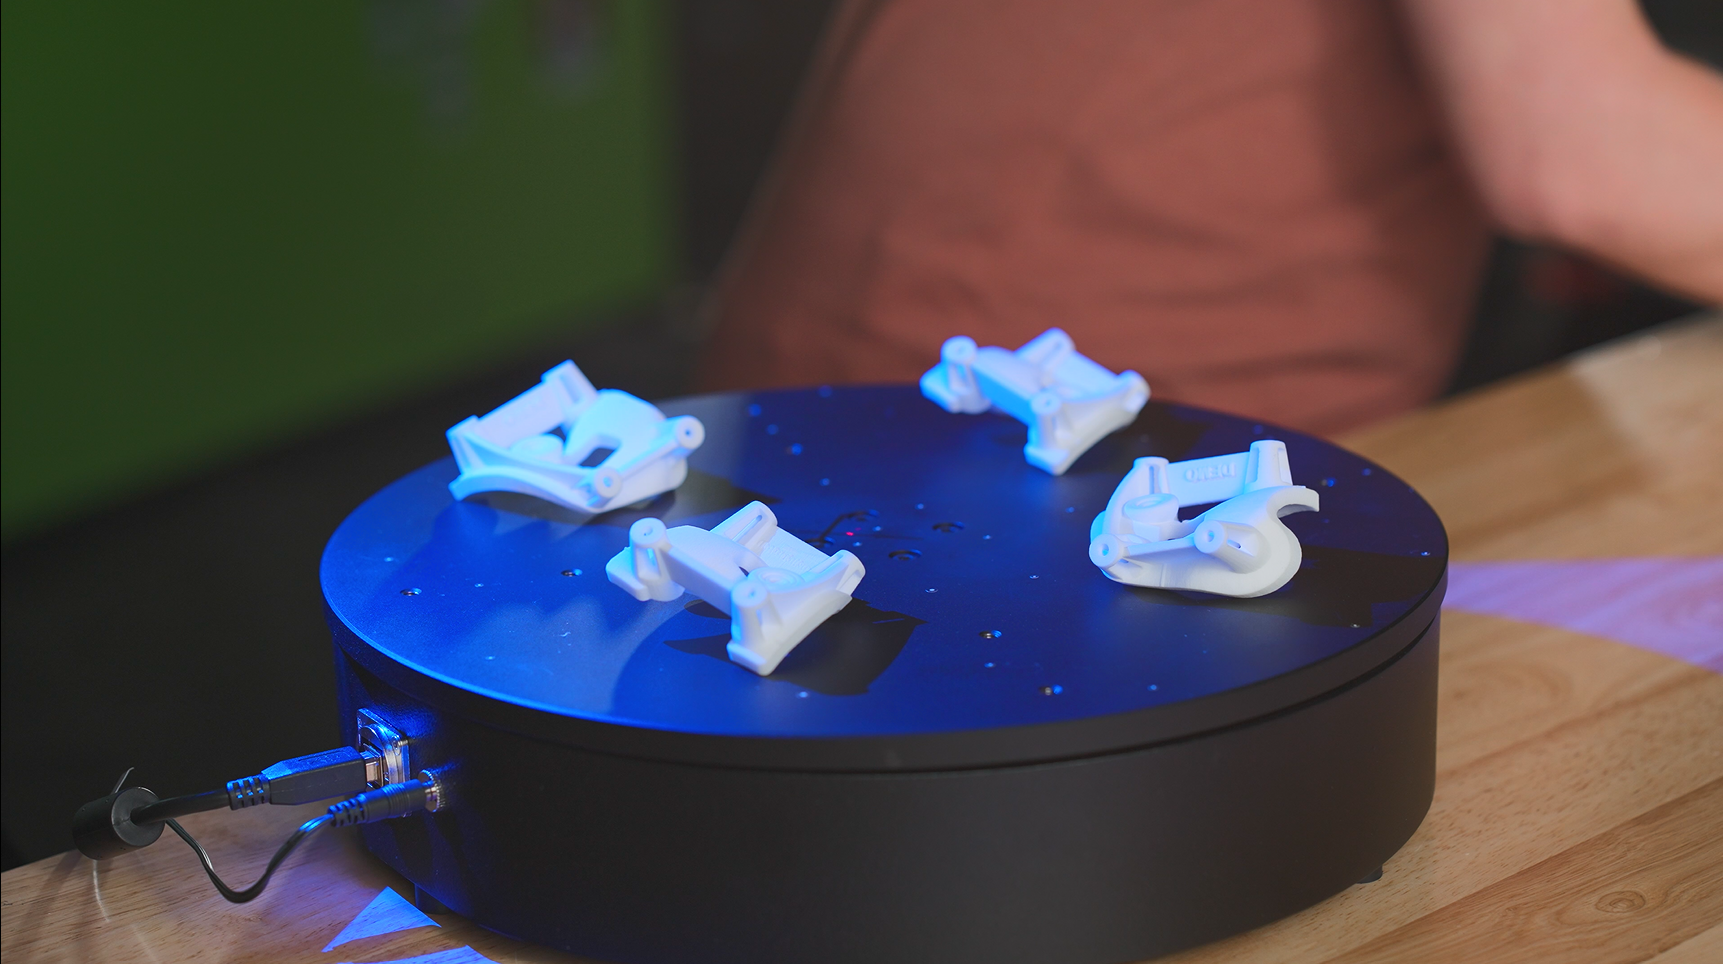
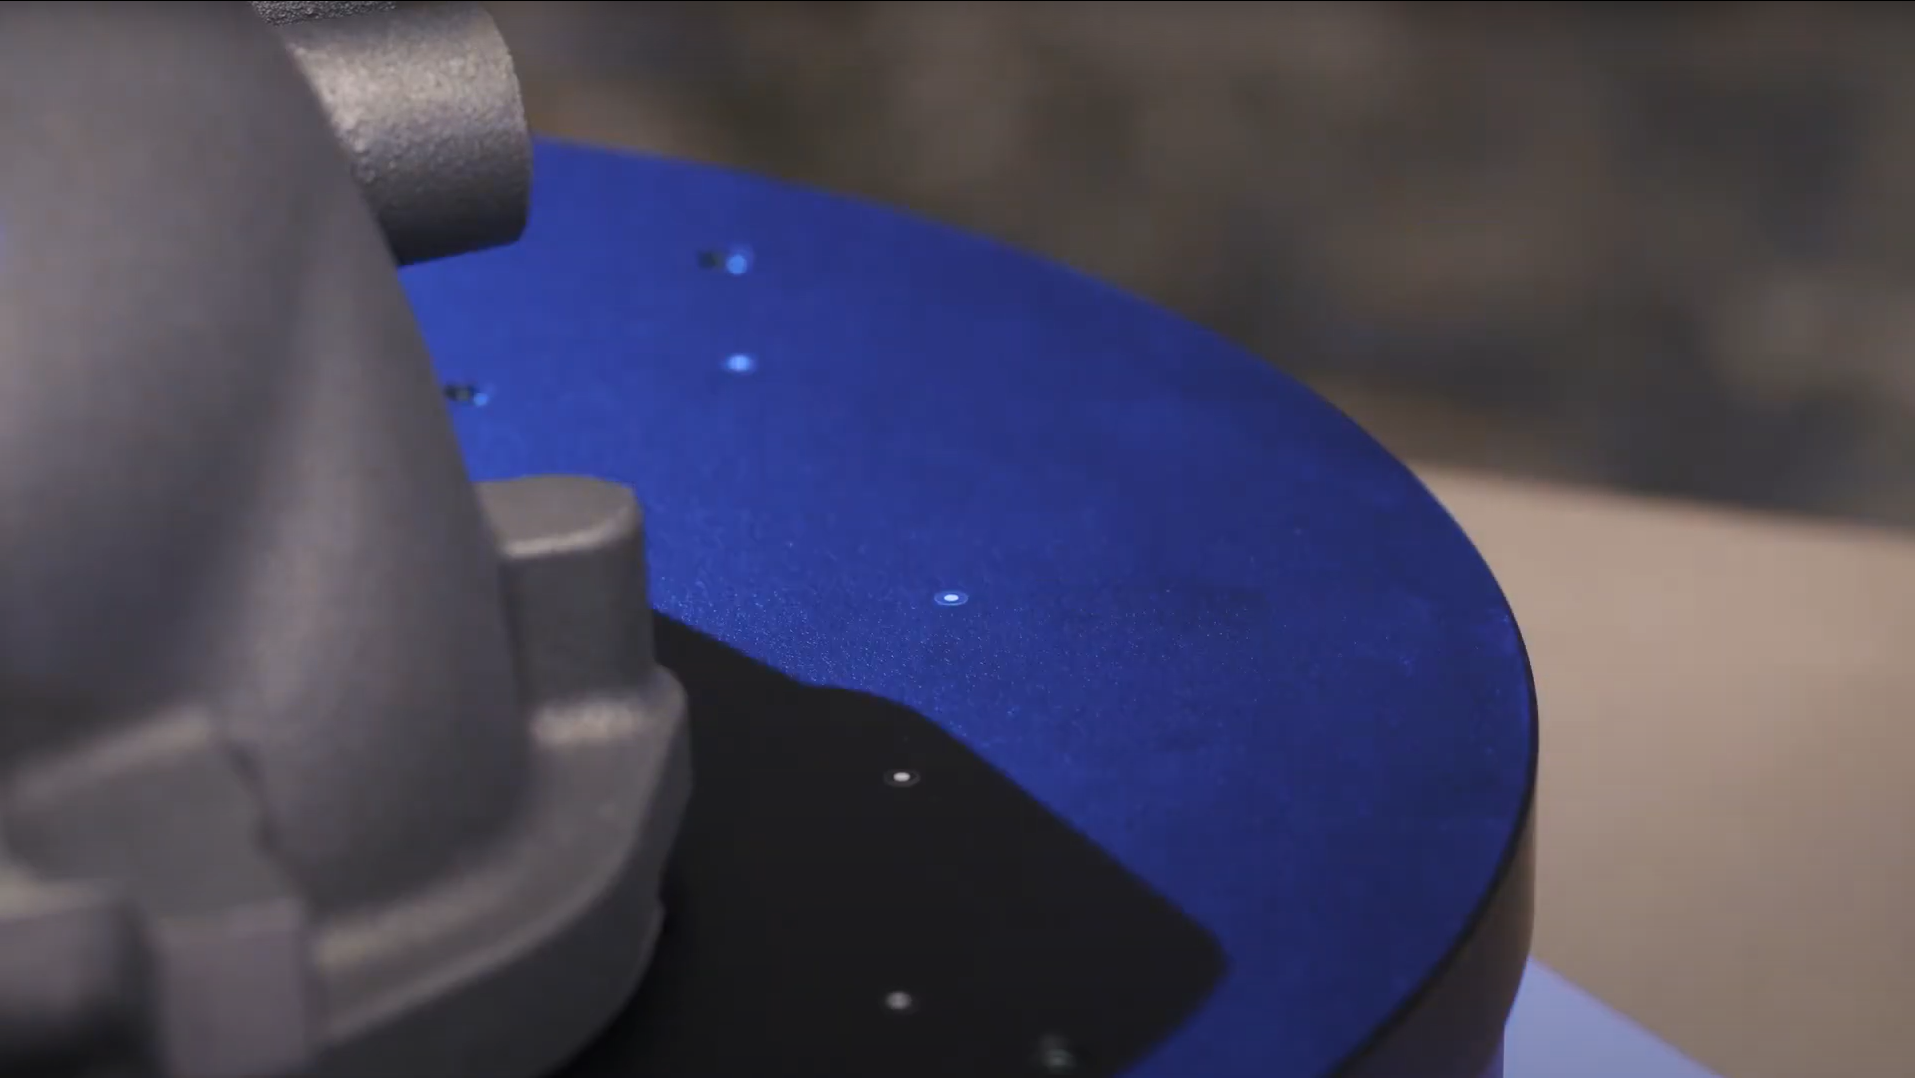
Learn how to scan multiple identical parts simultaneously using the ATOS Q and a rotation table. Simply choose the workflow assistant for scanning multiple parts and follow the software as it guides you through the scanning process. Since the rotation table is marked with reference points, you can start scanning straight away. Partitioning the parts and aligning top and bottom scans is done with just a few clicks.
Do you have any question on our 3D scanners? Contact us via support@HandsOnMetrology.com
How to eliminate plastic warpage in Quality Control
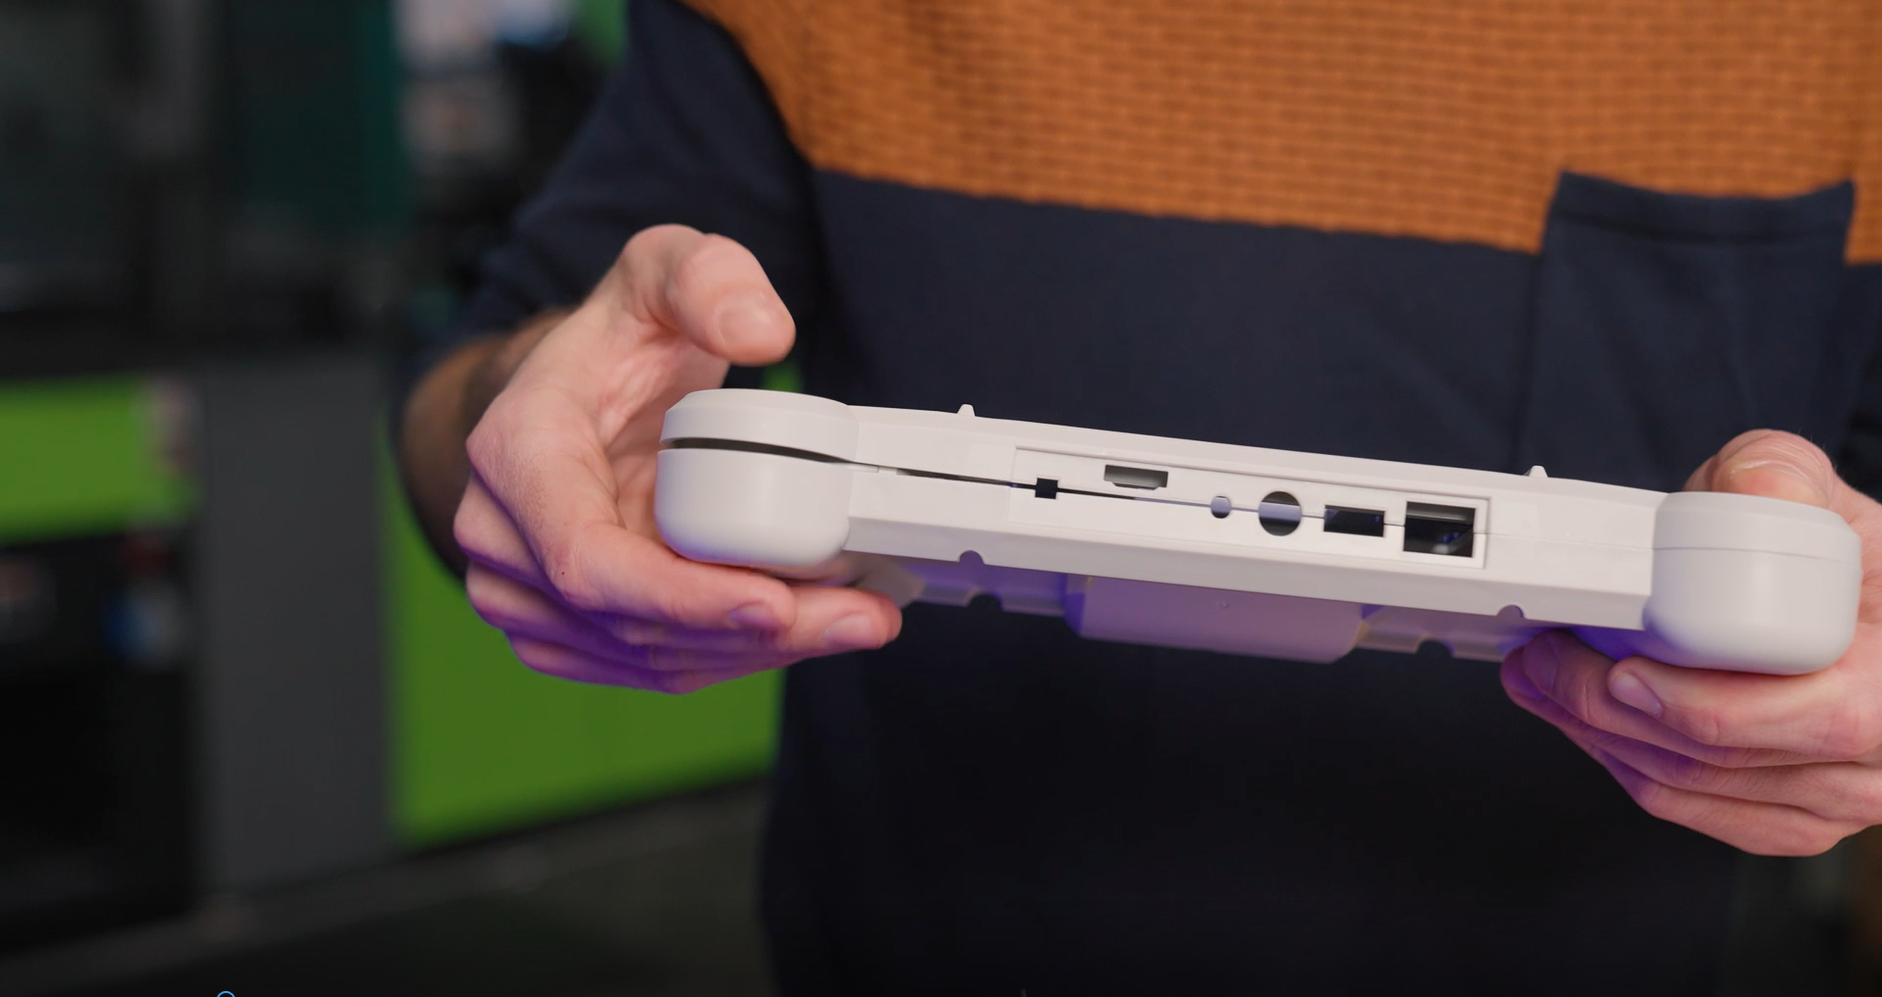
Annoyed about plastic warpage and how it makes quality control of unassembled parts difficult? In this video, Toon shows you how to solve this problem: with the De-warp function that can be found in the full version of ZEISS INSPECT . It puts scanned plastic parts into a virtually assembled state, allowing you to check their dimensions as if they were assembled.
All functions shown are available in the current software version.
Got any questions on 3D scanning? Contact us via support@HandsOnMetrology.com
How to perform a digital assembly in GOM Inspect
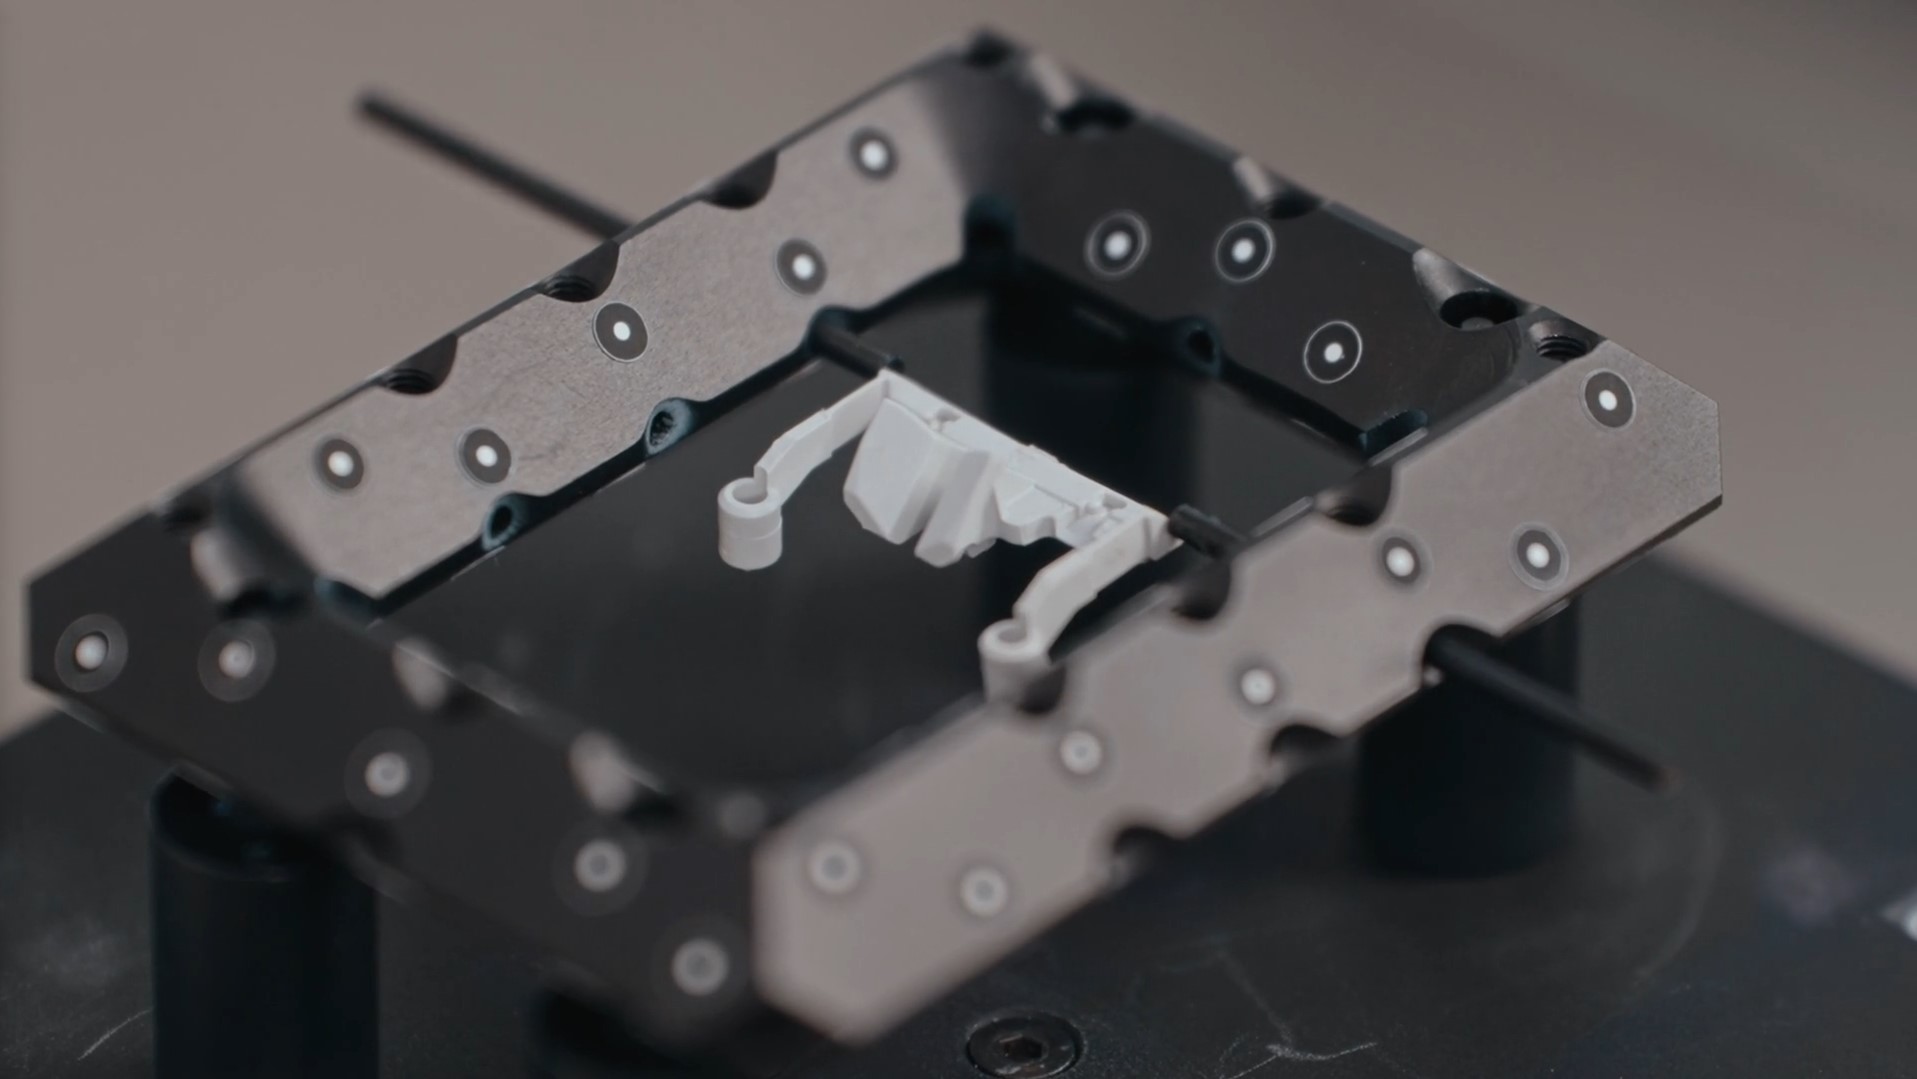
How to 3D scan objects without reference points
How to 3D scan faster with an automated rotation table
How to get even more out of your ATOS Q
ATOS Q: How to measure big parts
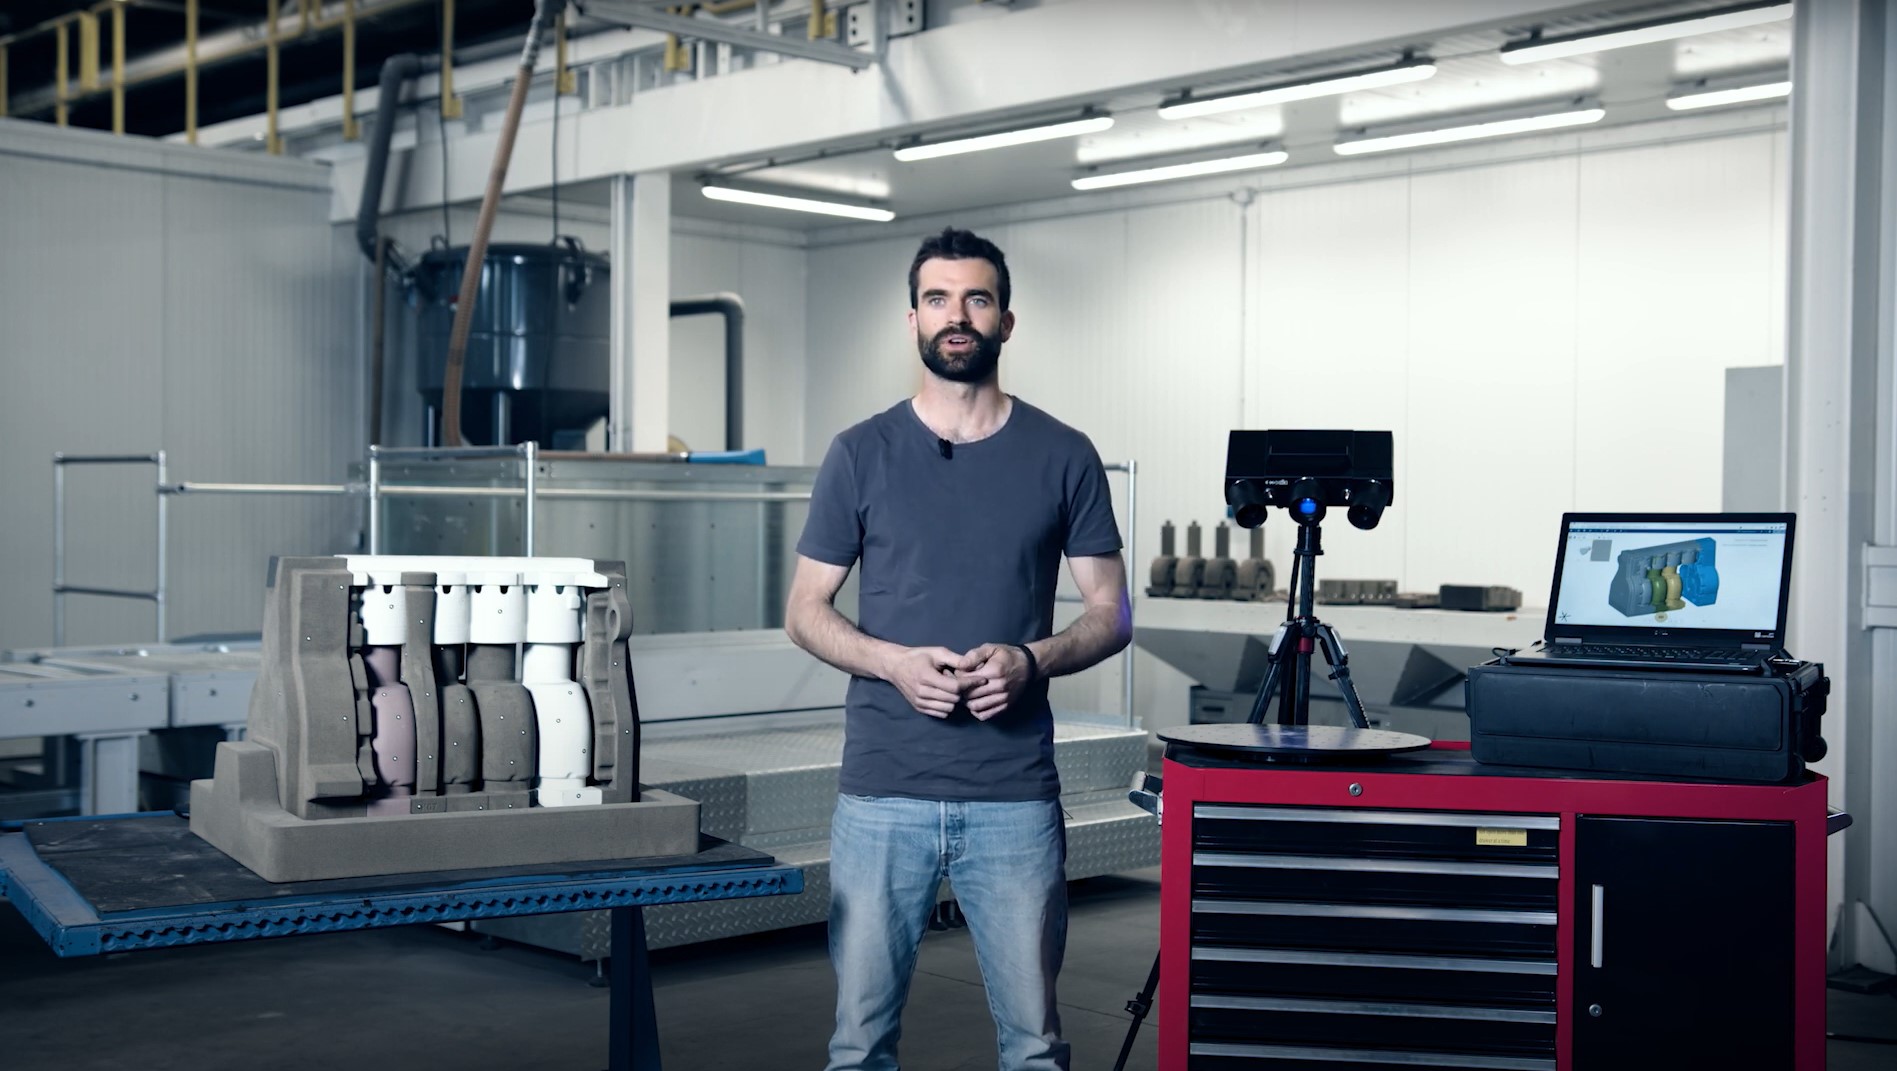
Use the 3D scanner ATOS Q to scan a large part with the measuring volume MV500. Even if the object is bigger than the measuring volume, you can capture it easily using reference points and stitching scans to get a high quality result including small details.
Chapter:
00:42 Start new project and perform first scan
01:24 Stitching scans with reference points
02:01 Finish scan
ATOS Q: How to measure top and bottom of a part
In this video, Dokus measures a part from the top and the bottom side to create a digital twin. A fast and easy workflow with the 3D scanner ATOS Q, assisted by the automatic rotation table and GOM Inspect. After measuring, simply combine and polygonize the data.
Chapters
00:38 Start new project
00:54 Use rotation table
01:38 Flip over the part
01:55 New measurement series
02:42 Combine top and bottom
03:23 Polygonize and recalculate
ATOS Q: Measure with the automatic rotation table
Learn how to use the automatic rotation table to speed up the 3D scanning workflow with ATOS Q. GOM Inspect allows you to choose the number of automatic rotations. A rule of thumb: With 8 rotations you capture almost every aspect of the part.
Chapters
00:45 Rotate rotation table
01:14 Select scanning template and perform first scan
01:41 Use rotation table
02:20 Polygonize and recalculate
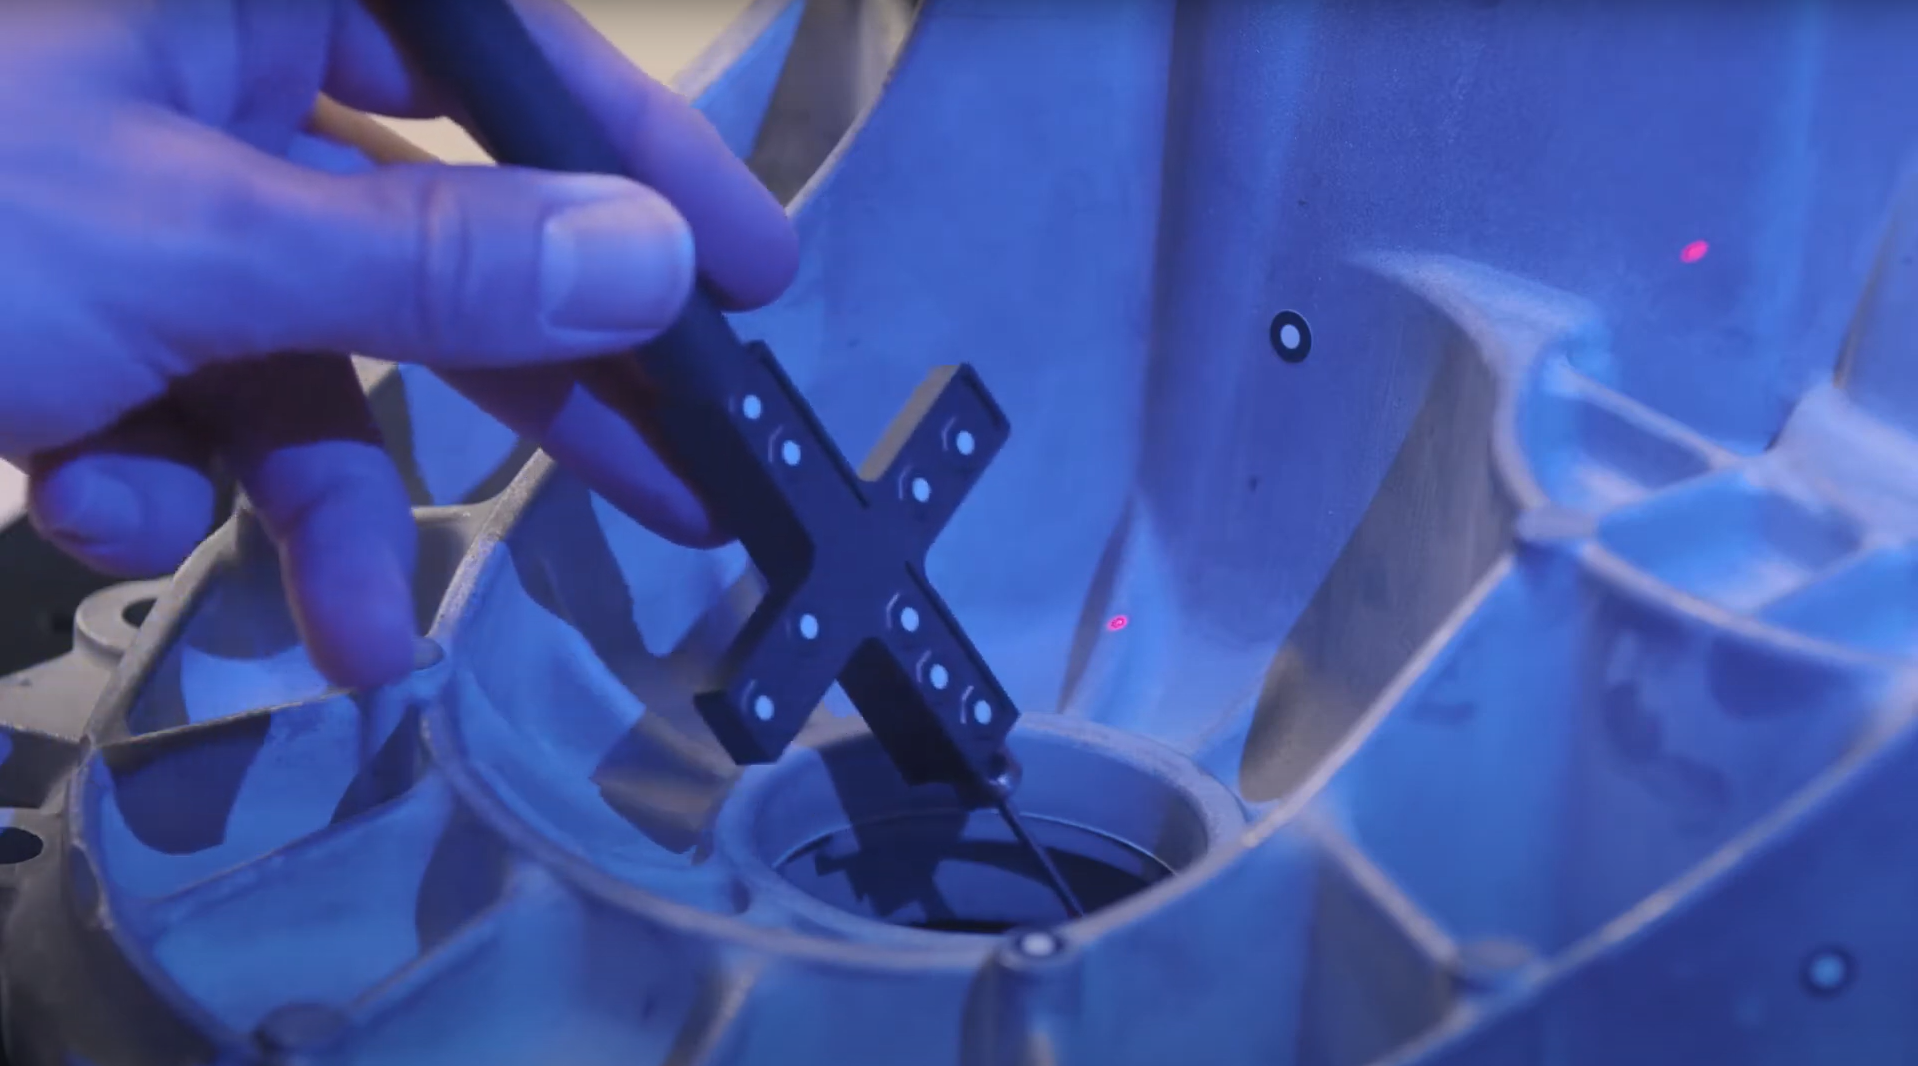
ATOS Q: Add single points with a touch probe
Learn how to use a touch probe to capture 3D data. Dokus shows you how to scan in difficult-to-reach areas and explains guided touch probe measurements in GOM Inspect Suite.
Chapters
00:27 The touch probe
00:49 Live workspace
01:16 Select touch probe
01:44 Finish measurement
02:00 Guided touch probe measurements
02:42 Start guided touch probe measurements
ATOS Q: Tips & tricks to scan even faster
Dokus gives valuable tips on using the 3D scanner ATOS Q. Learn how to measure the automatic exposure time and move the focus point, how to change into fast scan mode – if you don’t need details – or how to manually cut out points.
Chapters
00:42 Automatic exposure time
00:59 Move the focus point
01:36 Fast scanning
02:22 Cut out points
02:52 Selection tools
ATOS Q: Start a project in ZEISS INSPECT
Let Dokus show you how to make your first scan with ZEISS INSPECT. He takes you from the start screen to the checkered flag: a very detailed mesh. See different workspaces and scanning templates. Learn how to scan and watch what happens when you rotate the table.
All functions shown are available in the current software version.
Got any questions on 3D scanning? Contact us via support@HandsOnMetrology.com
Chapters
00:42 Start software
01:03 Workspaces
01:33 Digitizing workspace
01:58 Main toolbar
02:22 First scan and cut out background
02:50 Reference points
03:18 Polygonize and recalculate
ATOS Q: Fast inspection with ZEISS INSPECT
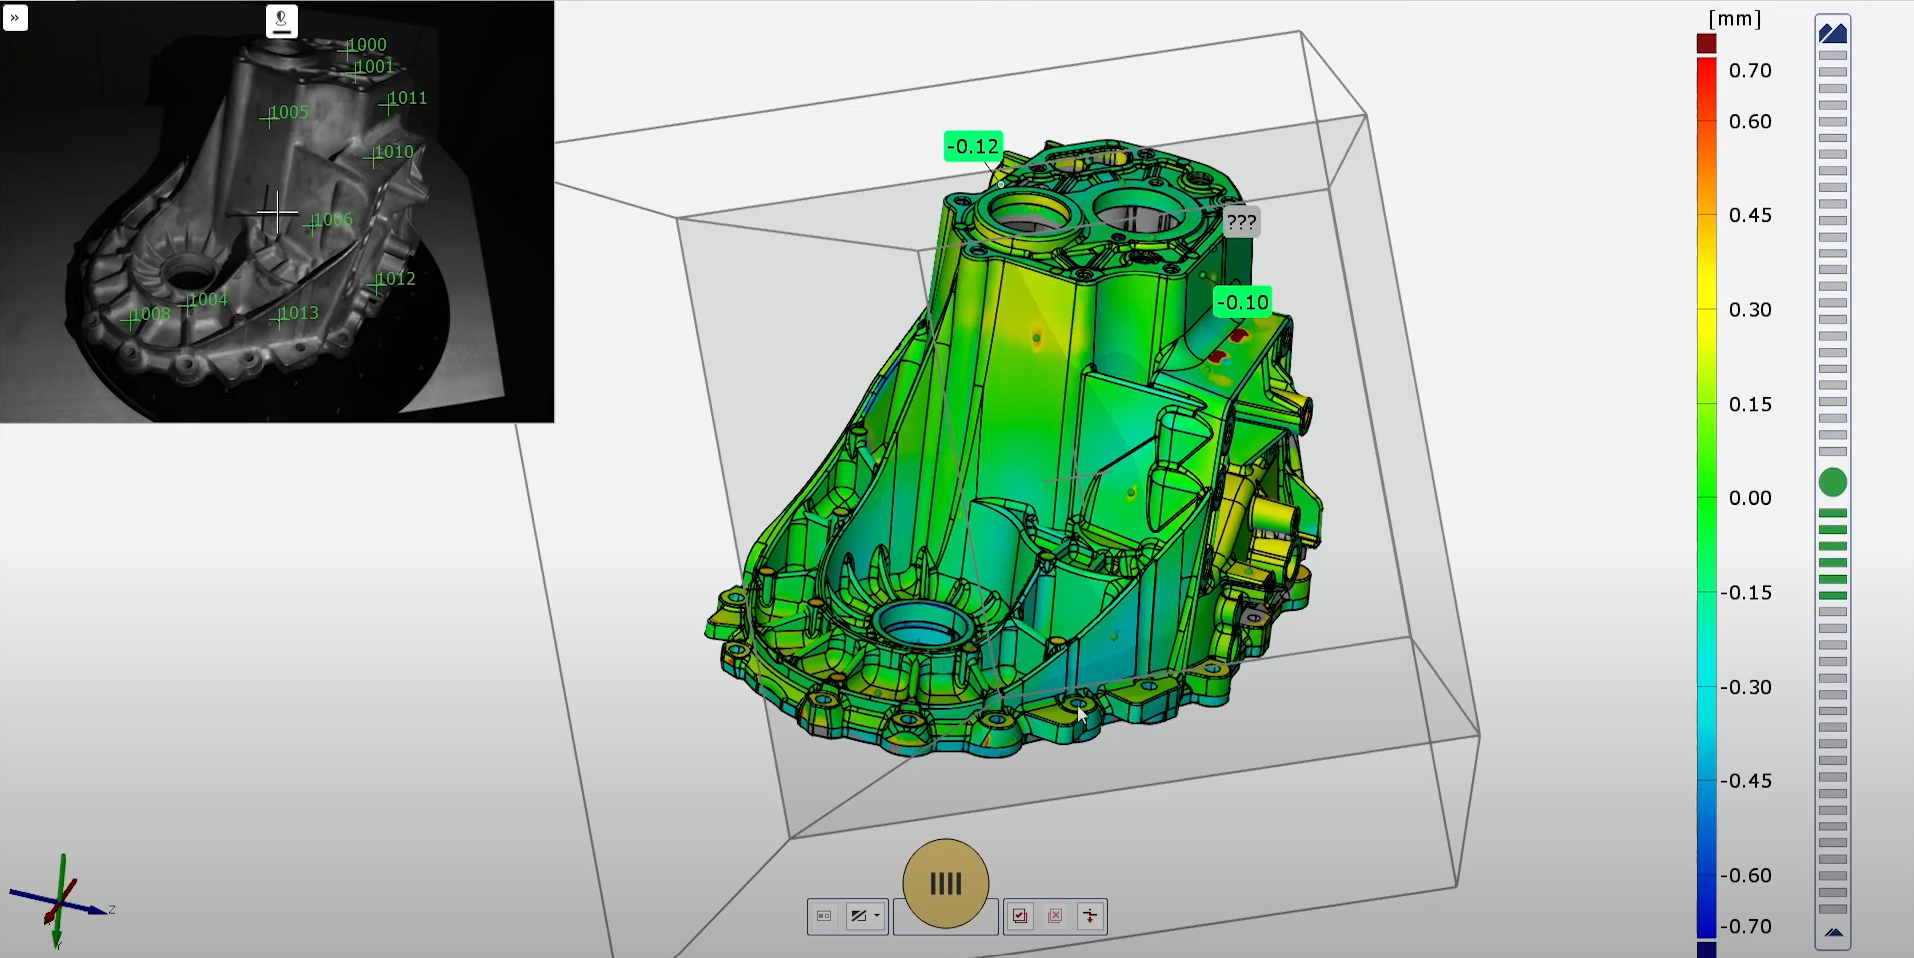
Learn how to perform a fast inspection in ZEISS INSPECT by preparing a project in the inspection workspace, including the prealignment of a CAD file and a surface comparison. After the first scan, you can immediately look at the results.
All functions shown are available in the current software version.
Got any questions on 3D scanning? Contact us via support@HandsOnMetrology.com
Chapters
00:29 Prepare the project
00:53 Inspection workspace
01:32 Prealignment
01:44 Surface comparison
02:04 Digitizing workspace
02:30 Automated recalculation through parametrics
ATOS Q: Unboxing your new 3D scanner
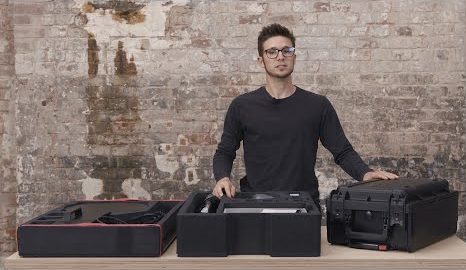
Meet Dokus and the ATOS Q with its two cases. The first case contains the ATOS Q sensor and everything you might need on location, from rotation table to measuring volumes or the calibration plate. The second, smaller case contains the laptop and the mobile controller.
Chapters
00:27 The case
00:50 First compartment level
01:05 Second compartment level
01:26 Bottom compartment level
01:34 Mobile controller
01:52 The laptop
ATOS Q: How to set up the system
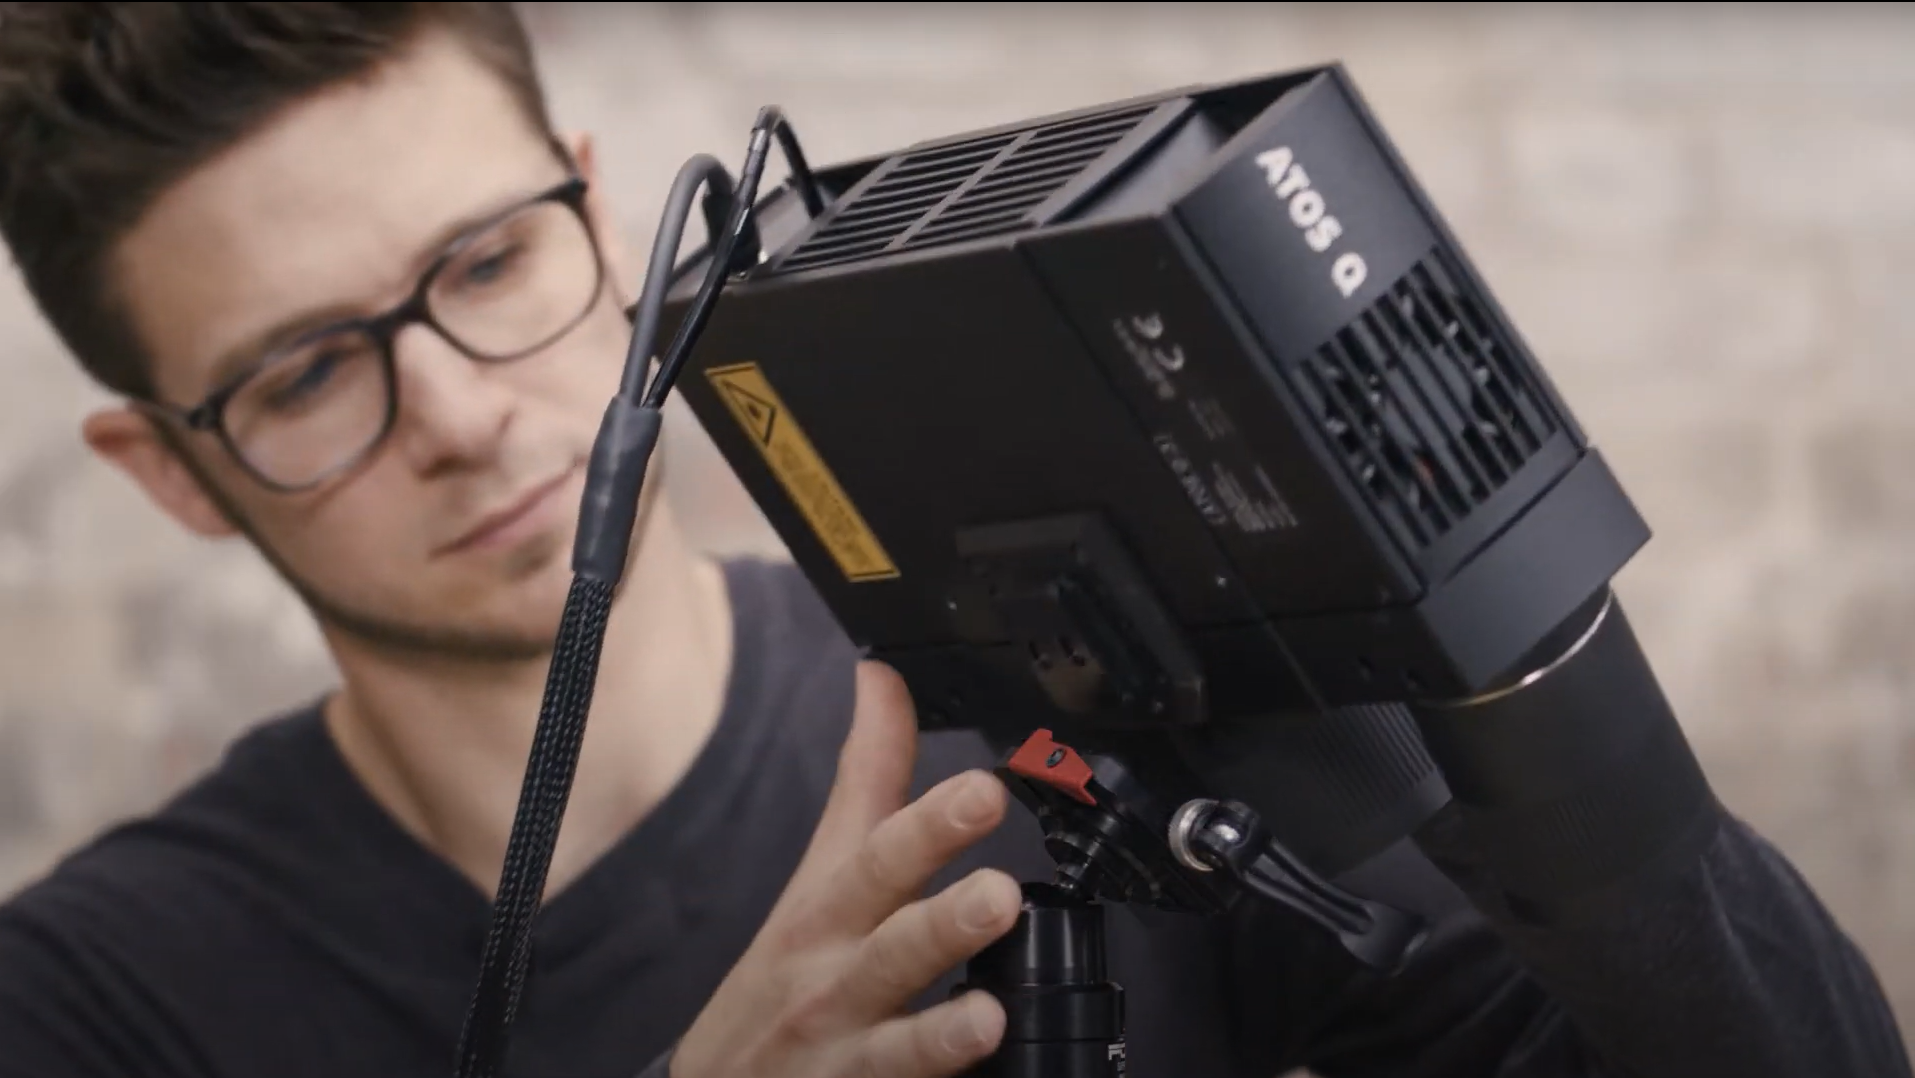
Watch Dokus set up the ATOS Q scanner and connect the sensor to the laptop. From opening up the mobile controller and mounting the sensor on the tripod to plugging in the licence key and connecting the automatic rotation table, he guides you step by step
ATOS Q: Change to a small measuring volume
If you need a high resolution for a small, detailed object, switching measuring volumes is easy with this 3D scanner. Dokus shows you step by step how to prepare and change the lenses, define the measuring volume in GOM Inspect Suite and calibrate the sensor.
