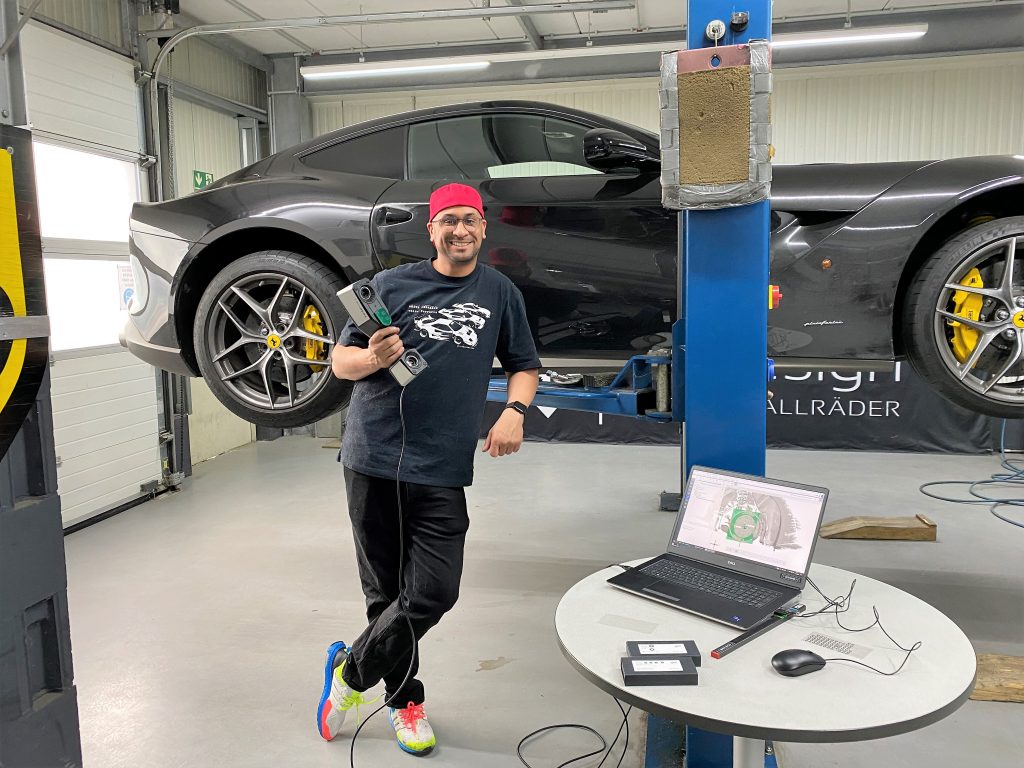
We accompanied Jean Pierre (JP Performance) to our customer mbDesign. The goal: the rims of a vehicle should be fully optimized to his design ideas. There were a variety of design options to choose from to make the Ferrari look even sportier.
Independent from the final design, ensuring a precise fit for the individual product is a must. Therefore, a number of dimensions had to be recorded in advance – this is where the new hand-held ZEISS T-SCAN hawk 2 came into play.
Two car fanatics at work
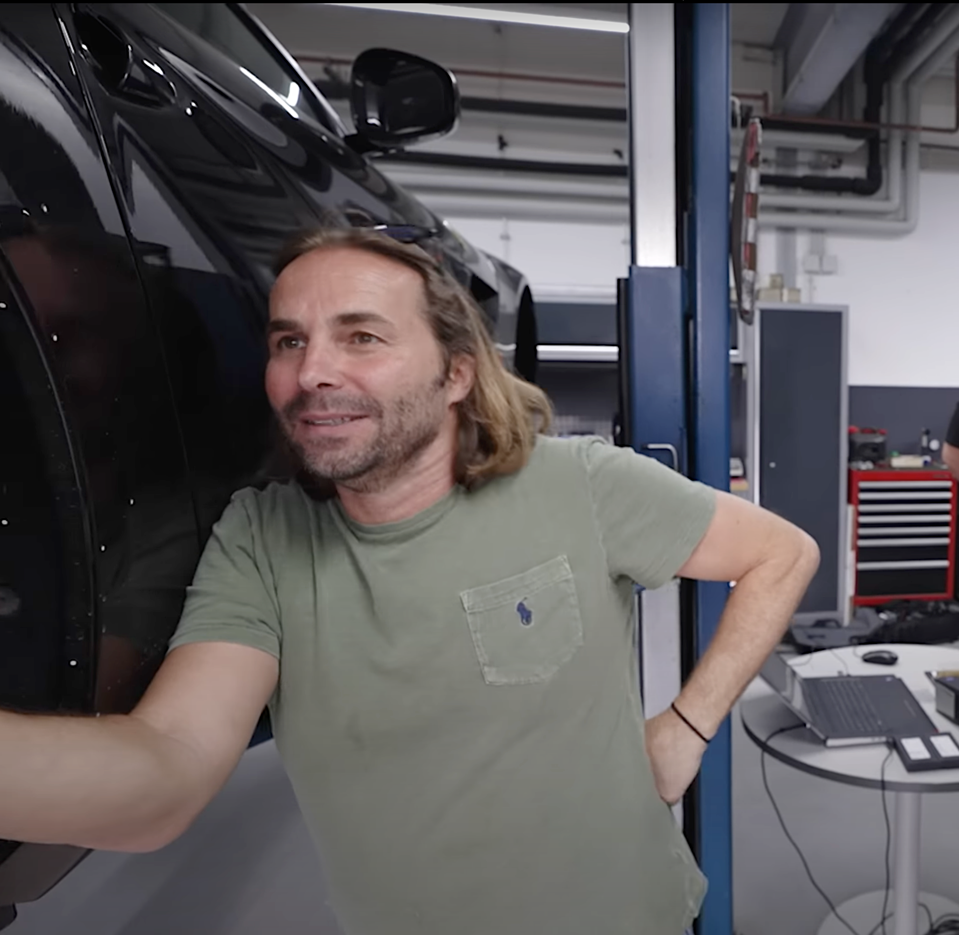
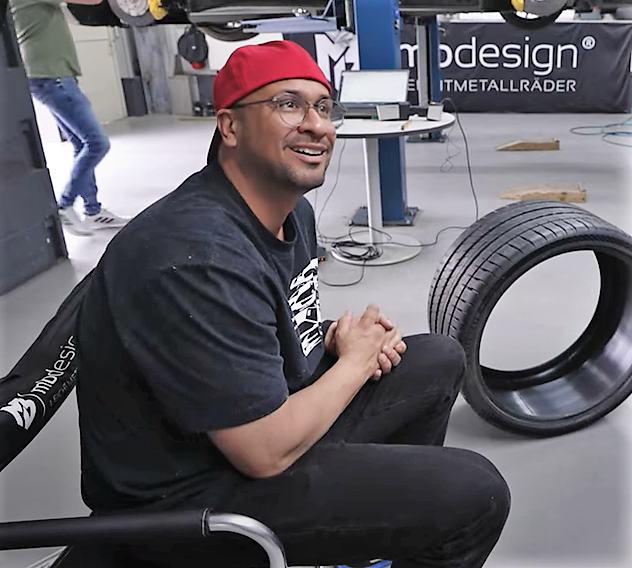
With his company mbDesign he makes his customers dream of new and unique rims come true. With over 20 years of experience in the prototyp construction for vehicle wheels, he is the go-to for optimzing car performance and design.
The entrepreneur gained popularity in German television. His YouTube Chanel «JP Performance» is the most famous German Youtube channel in the automotive sector – inspiring over 2 Million subscribers with innovative automotive content.
The task: 3D scanning for automotive design
When it comes to customizing vehicle components, everything must be done with the utmost precision. The new rims relevant here must be precisely tailored to the vehicle. In addition, any existing wear on the wheel housing needs to be identified to ensure maximum aesthetics but also safety in road traffic.
Which features most excited the handicraft enthusiasts?
Firstly, the simple and intuitive operation of the system. Using the remote control buttons, the ZEISS T-SCAN hawk 2 could be used quickly without having to operate the laptop separately. Furthermore, the high accuracy and speed of the laser scanner caught the eye of the the rims builder and JP.
The scanner builds up the data quickly and precisley.
Markus Brandt
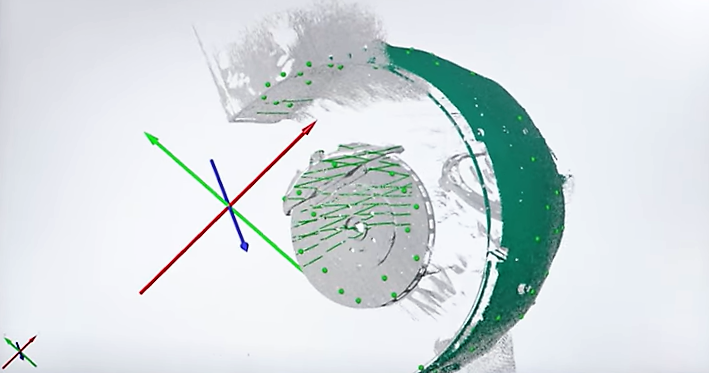
Realistic data build-up in the ZEISS inspection software
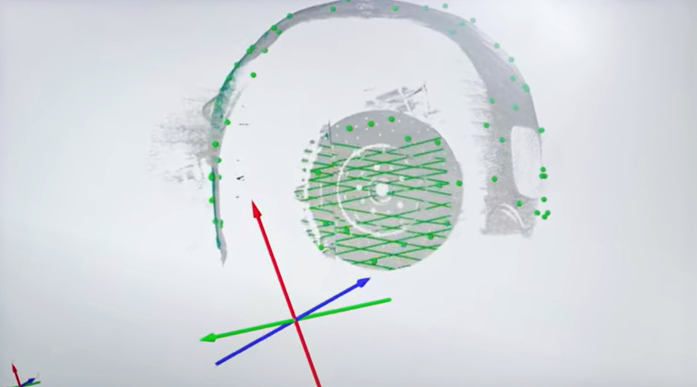
Watch the ZEISS T-SCAN hawk 2 being used by JP here:
Further application areas of the scanner in the automotive industry
Wondering what else you can use the ZEISS T-SCAN hawk 2 for? Markus Brandt tells more about the versatile application possibilities at his company:
1
3D scanning is the optimal solution for quality control after manufacturing. With the color comparision, MB Design detects quality issues with the comparision of original and milled wheel.
2
If mbDesign has to reconstruct the original wheel, reverse engineering is used. Without original CAD data, old parts can be remodeled.
3
Brake data can be collected during brake scanning.
