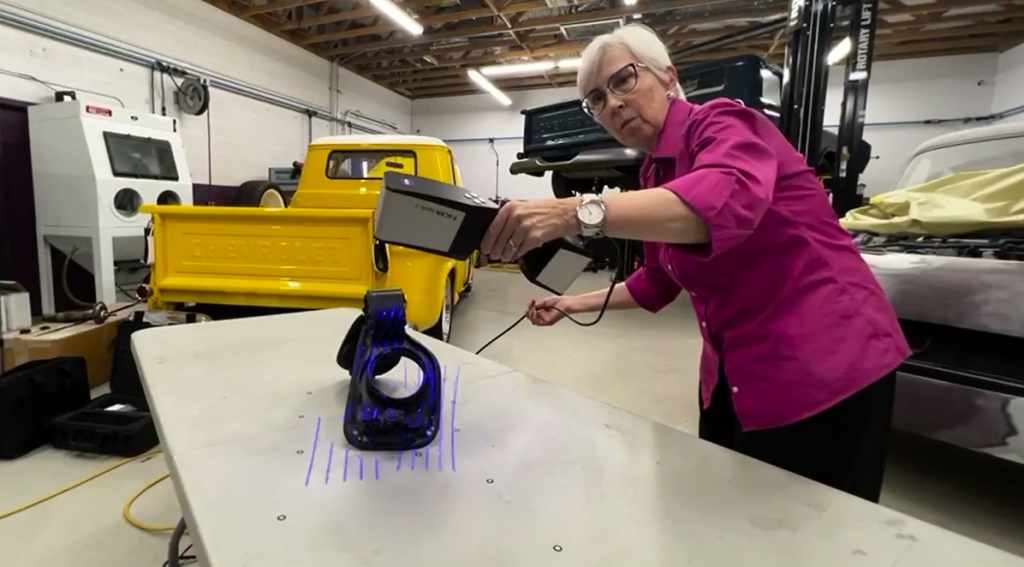
At Girl Gang Garage it’s all about female empowerment. In a male-dominated automotive industry, Bogi Lateiner committed herself to create a network for talented women. Whether they search for an entry or an advancement within the automotive and skilled trade industries, they find it at Girl Gang Garage.
[...] the singular goal [is] growing stronger together and developing new opportunities for the next generation.
The initiative based in Phoenix, Arizona therefore involves approximately 150 women in various projects, creating the opportunity for women to try hands-on automotive tools at no cost, promoting new careers and confidence.
When rebuilding becomes a passion
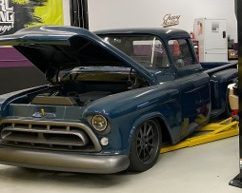
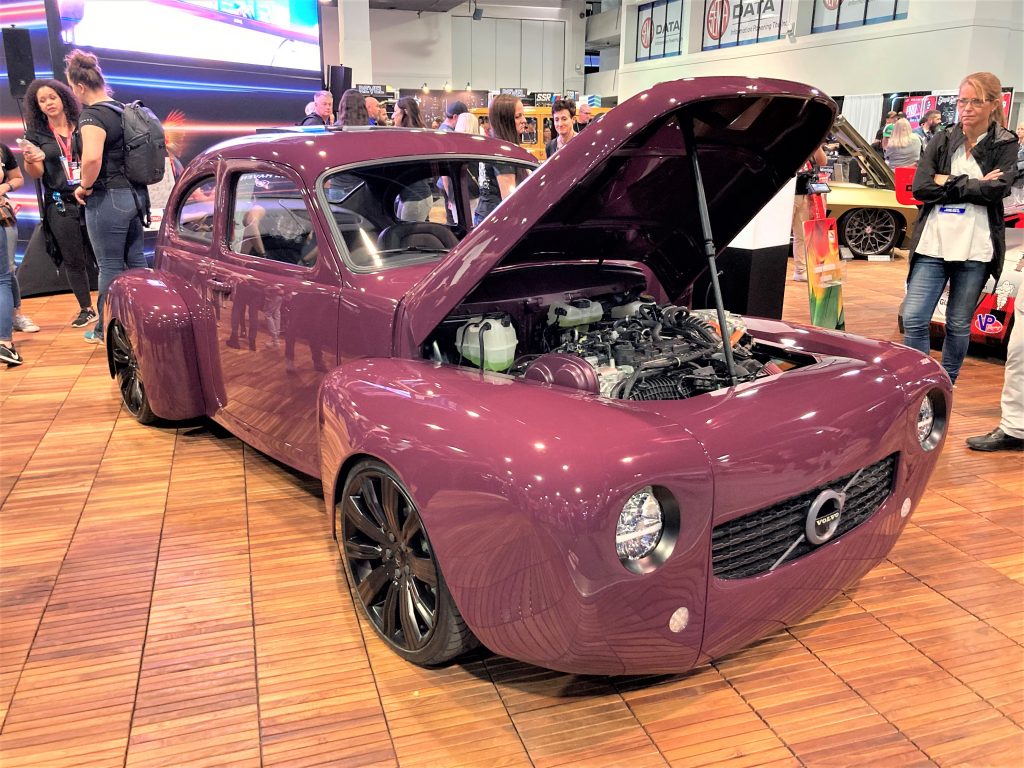
In the past, the team at Girl Gang Garage has already proven their skill in car rebuild. Be it the Chevy Montage 57 (2018) or the High Yellow 56 (2019), the rebuild process was successful. Figure 1 and 2 show the final results of the past reconditioning.

With the first ZEISS T-SCAN hawk model, Pam Waterman (Senior Application Engineer at PADT Inc.) supported Girl Gang Garage to capture digital copies of several vehicles. The body of a Volvo PV544 was, for example, captured completely – inside and out. Furthermore the dashboard, the antenna and antenna cover, door handle (cover plus interior mechanism) as well as the EV charge-port door of a Volvo S60 were 3D scanned by the team. The data delivered measurements, shapes and STL files to use as the basis for new component designs.
With reverse-engineered designs done by other very talented women engineers, Bogi and Pam 3D printed a number of parts including the new antenna cover, a rear-facing camera-housing, several custom under-hood brackets and components, and a prototype of a new charge-port cover.
Next challenge: scanning complex assemblies with the next-generation of hand-held 3D laser scanner
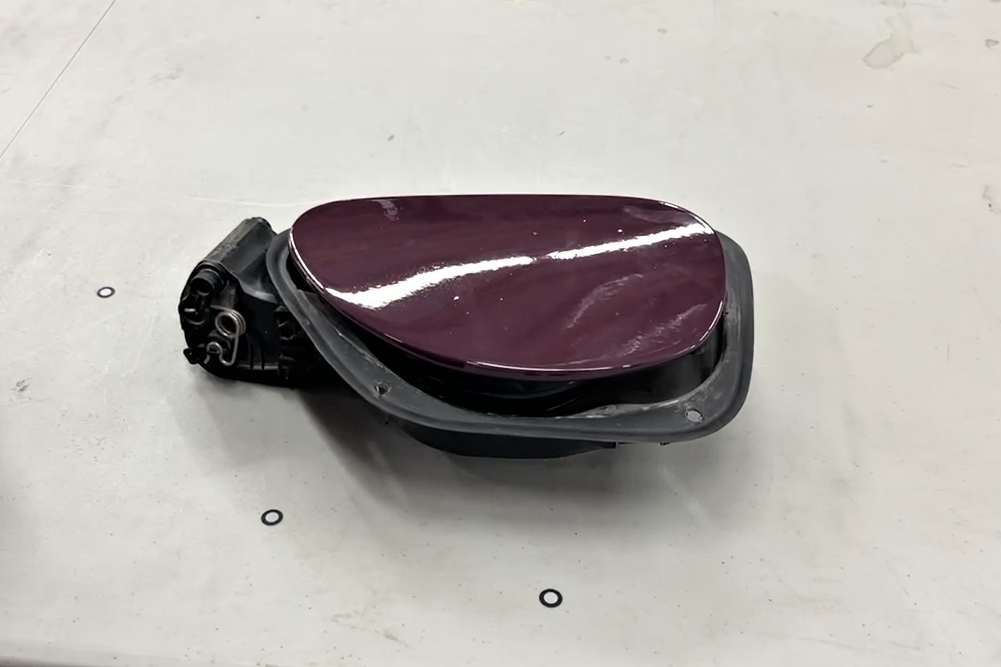
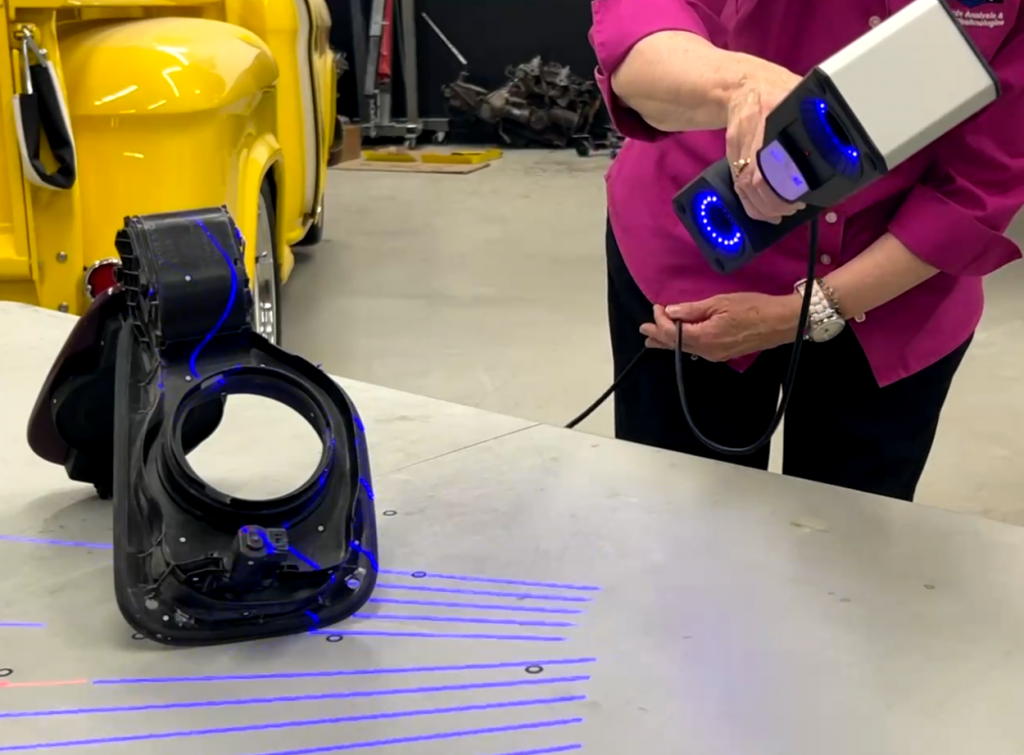
The task for the team was to help Bogi plan an improved EV charge-port cover of the Iron Maven vehicle (Fig. 3). By scanning the entire mechanism of a complex assembly in metal and injection-molded plastic (front, back, hinge, latches and through-holes), they got information on all the dimensions they needed for a new 3D printed cover. The challenge here was the composition of dark and shiny surfaces with deep pockets. Capturing it from multiple angles was necessary in order to verify all dimensions correctly.
Upgrading to the advanced scanning possibilities of ZEISS T-SCAN hawk 2
For the past two years, Pam had worked with the first generation of ZEISS T-SCAN hawk. For their most recent project they got to try the advanced features of the follow-up model: ZEISS T-SCAN hawk 2.
To her delight, this worked better than expected:
(...) the combination of handheld portability, fast capturing speed and deep pocket visibility [was] perfect on the Girl Gang Garage shop floor.
Pam Waterman
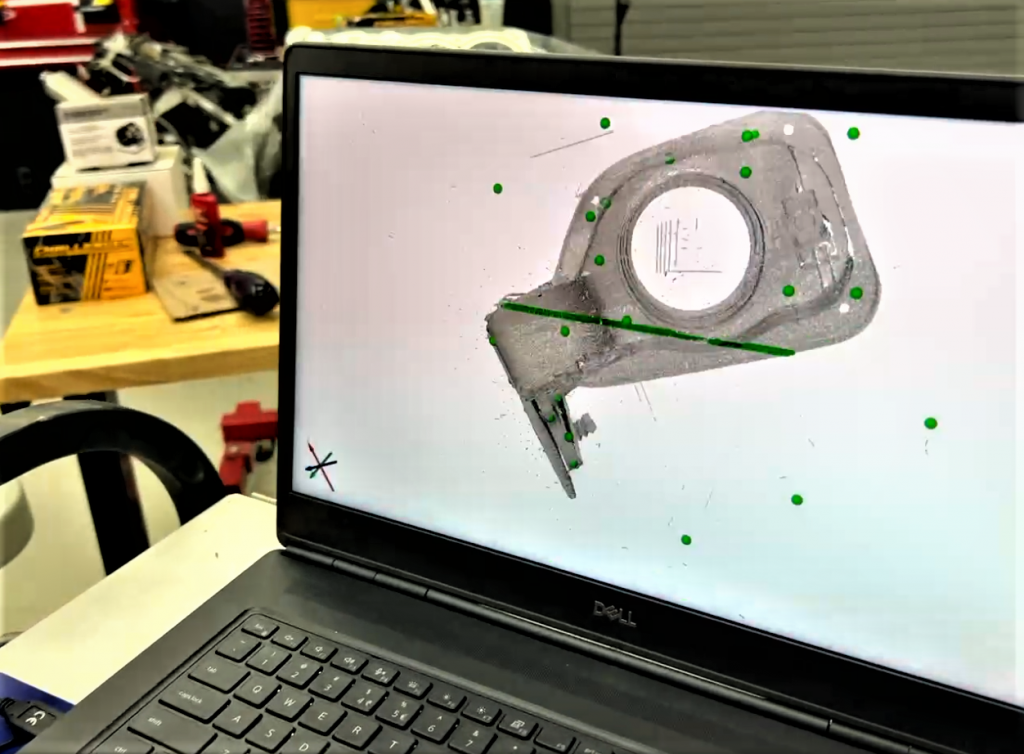
The only preparations needed were several reference points on and around the part. For this, 6mm reference markers (on table top) and 3mm ones (on the part) were applied. This later ensured a good transformation of top and bottom sides of the object.
When it comes to capturing the part, using the remote workflow accelerated the whole scanning process. It allowed Pam to move freely around the part, collecting data from all perspectives. The built-in red laser marker helped her to keep the perfect working distance at all times. To get into deep pockets, she used the single laser line of the ZEISS T-SCAN hawk 2. It allowed her to get part information even with very shallow viewing angles. Spraying hard-to-scan surfaces with a suitable spray is not uncommon to achieve accurate results. However, the senior applications engineer reported that this was not necessary with the T-SCAN hawk 2.
The system also worked well on shiny and reflective parts – all without spraying.
All inconveniences that can occur during scanning could be eliminated by the T-SCAN hawk 2. The data collection was therefore completed by the team within a few minutes.
Software inspections: quality control & reverse engineering
Transforming both sides & mesh creation
When working with complex parts with several dimensions, like this one, scanning from different angles and sides is necessary to capture every detail. Transforming the scans first is needed, if correct analysis of the component is the goal. Whether aligning via reference points or best-fit geometry – transforming top to bottom happens in the blink of an eye for both modes. Moreover, Pam stated that «the polygonization process is faster than ever» with the combination of ZEISS hardware and the inspection software.
3D scanning delivering data for 3D printing
With the data collected via 3D scanning and the bundle of information in the software, the team was able to create a prototype of a new and improved charge port cover which fitted all the requirements of the original part. This was done by 3D printing – based on the scan data of the old cover. The manufactured part was later tried in a first assembly. However a few challenges had to be faced due to warpage of the plastic part.
To further work on and optimize the 3D print, scanning it with the T-SCAN hawk 2 was necessary. The team now has a comprehensive data base for rework and changes which need to be made for a perfect fit.
Learn more about the system
Contact us and book a free demo now!
