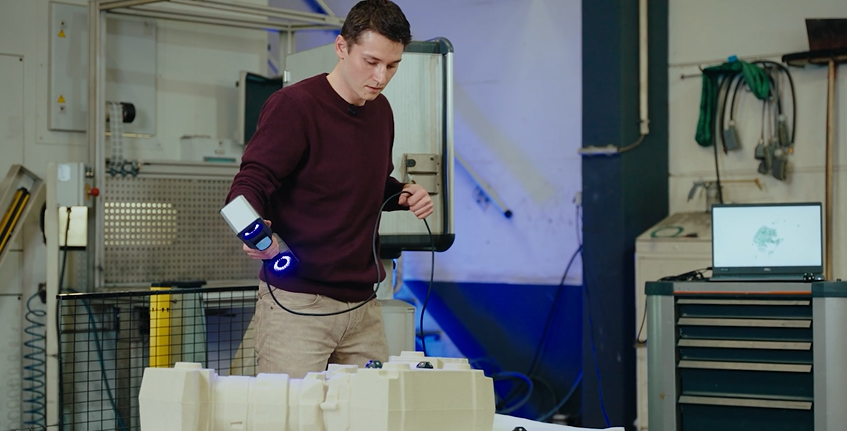
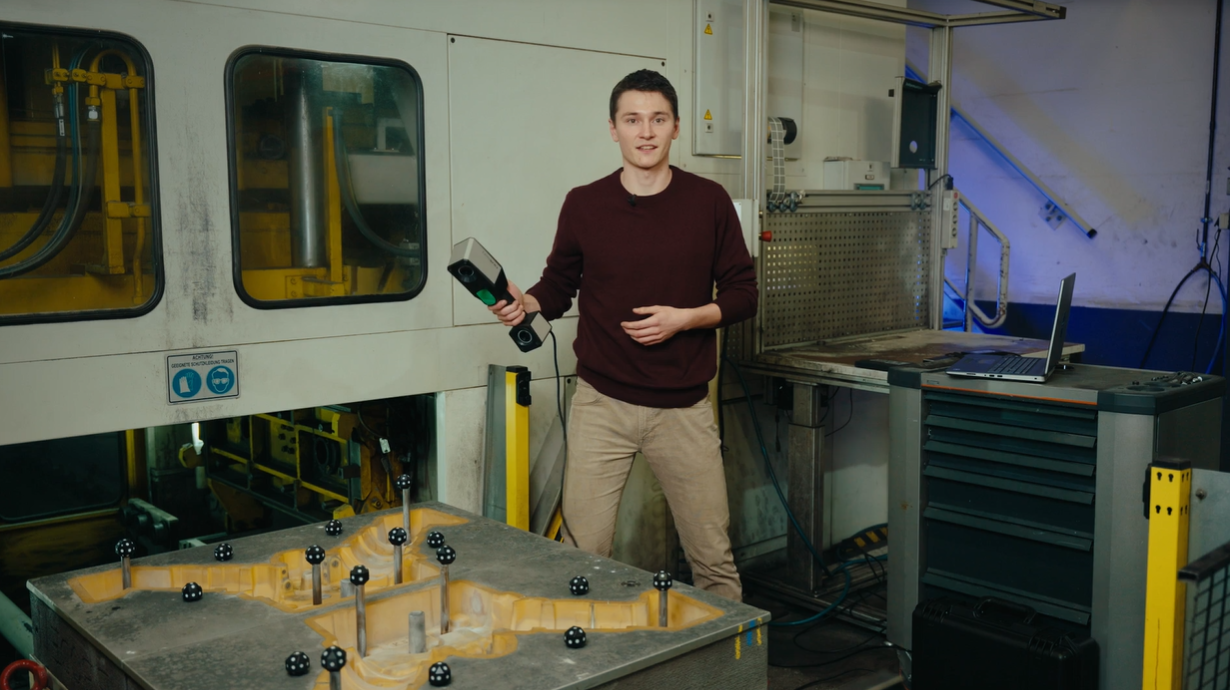
Maximum efficiency with on-site quality control
When talking about quality control, often times we refer to the check of final products. But how about evaluating the production and first samples of the process right away? Using this approach, we sort out faulty parts immediately. In the same step, it is thus possible to identify the cause of the production error and to avoid further troubles. The quantity of parts to be sorted out is thus reduced and the production of required parts is accelerated and made more precise.
However, not every system is made for quality assurance in rough production environments. With the T-SCAN hawk 2, ZEISS developed a tool which is designed especially for this purpose. In the following we show the benefits of working with the 3D laser scanner.
Your advantages of quality control during production with T-SCAN hawk 2
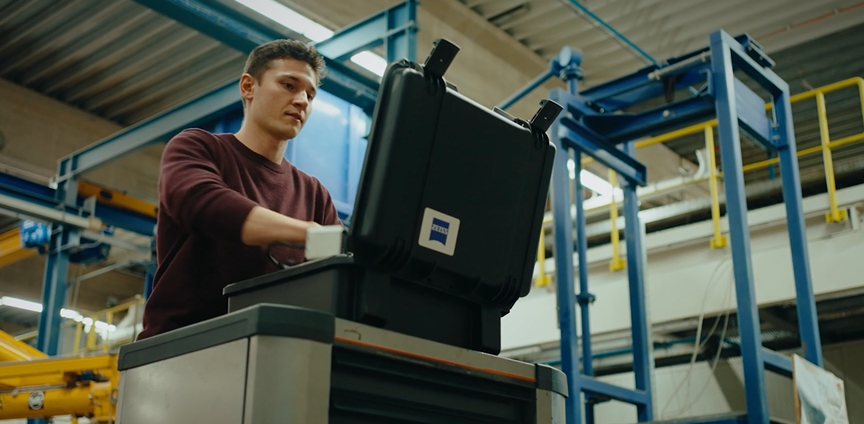
Quality assurance performed directly at the production site requires a highly flexible system that can be optimally integrated into the production environment. With the ZEISS T-SCAN hawk 2, you have a lightweight, compact system at hand. The use of the hand-held laser scanner is intuitive thanks to the remote control buttons and the guided workflow – full control of the object to be inspected.
Don’t just monitor the final product! In the exemplary application in the casting process, many production processes can cause wear on the sand mold, which affects the quality of the subsequent products. With holistic quality assurance, you play it safe.
Accessories, like the magnet pillars help here simplify your project. Reference points no longer have to be attached individually onto the object to be inspected. This speeds up and simplifies the inspection process.
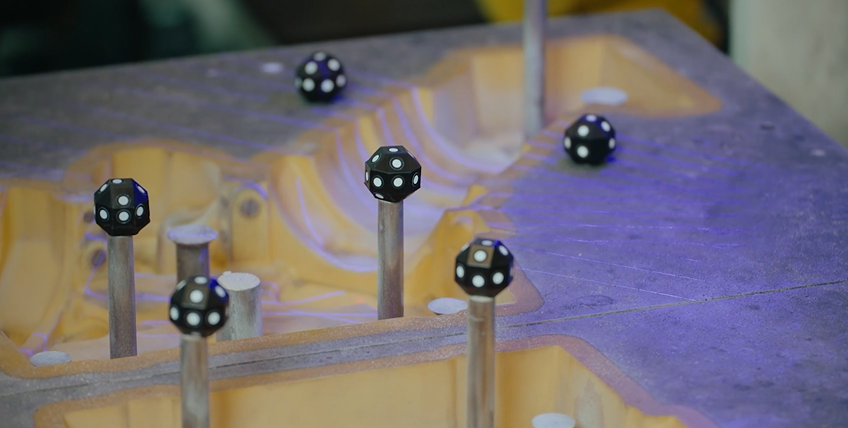
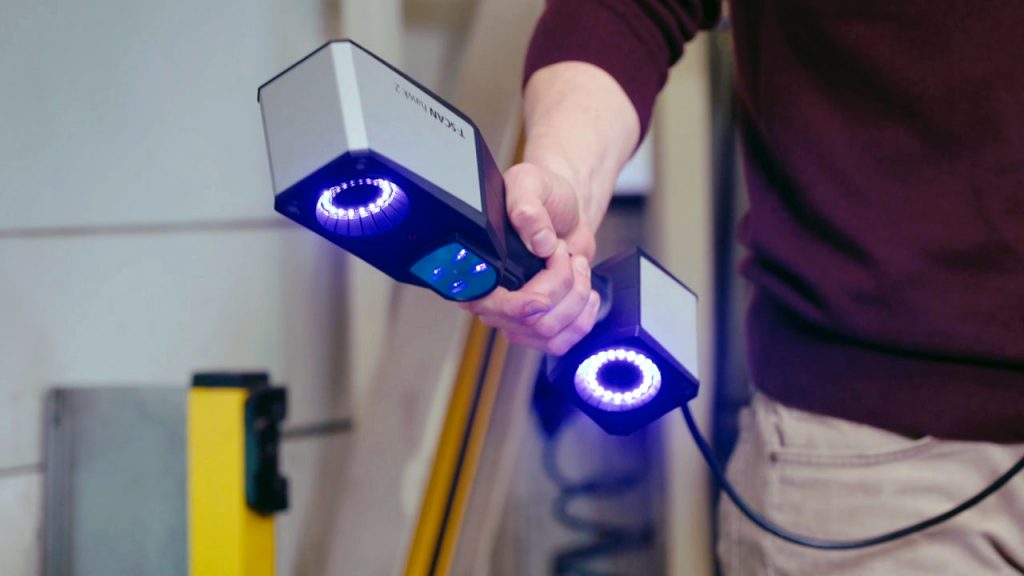
The ZEISS T-SCAN hawk 2 is the only tool needed. It covers a wide range of different application areas. Whether larger surfaces, fine details or hard to reach areas – the hand-held 3d scanner is the system to get the job done.
The inspection software of the ZEISS Quality Suite holds everything necessary for processing your collected data. In the casting industry, for example, it is able to identify material thickness or core clearance. Furthermore, digital assemblies and other inspection principles can be applied.
You want to share the results with colleagues? After the evaluation, simply create a report that summarizes the most important findings.
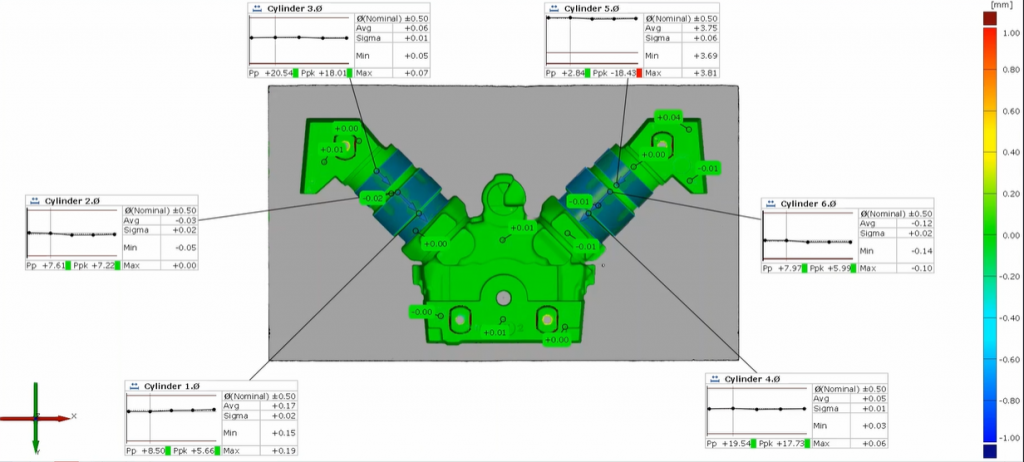
Watch the scanner in action here:
How to measure in production
Small and portable: the ZEISS T-SCAN hawk 2 is made for the use in production. See here how it supports your complete process chain from data collection for reverse engineering, different inspection tasks to the digital assembly of produced parts.
Do you want to find out more about the portable 3D laser scanner T-SCAN hawk 2? Visit HandsOnMetrology.com/sessions
