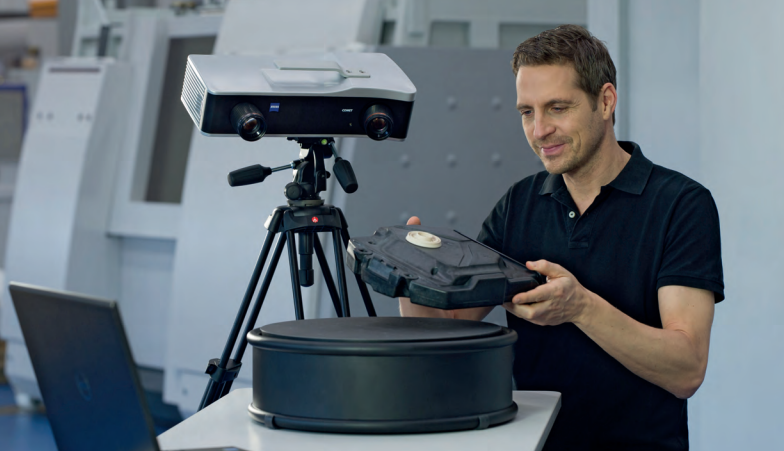
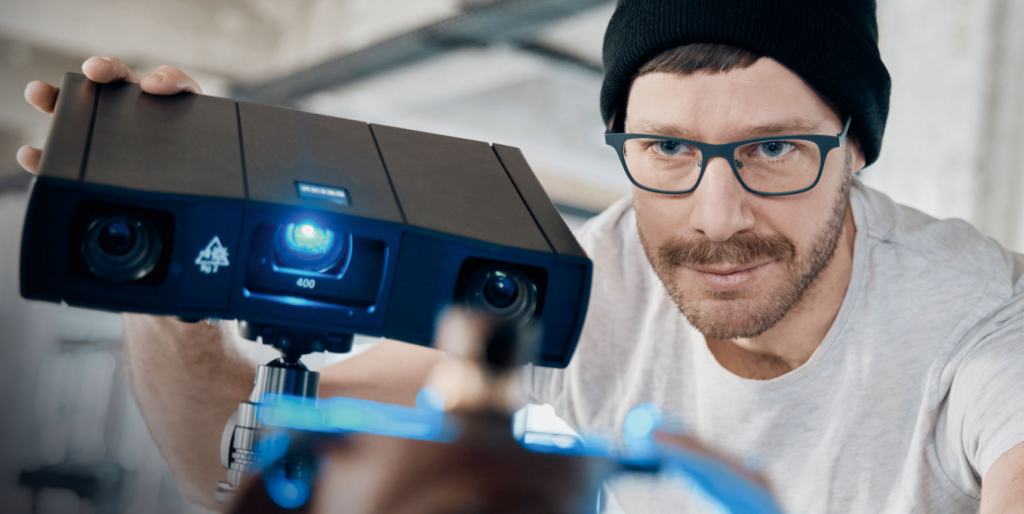
One of the earliest entry level scanners by ZEISS was the Comet. Since then, we at ZEISS have been working on several adjustments and improvements of our solutions to make them more suitable for you. The goal: even faster, intuitive and precise data collection with optical 3D metrology.
The features of the ZEISS Comet
The discontinued ZEISS Comet was the compact, light and flexible scanner for inspection tasks on an entry level. The adjustment of the necessary measuring volume was performed by an easy switch of the lenses. Recalibration processes of the system were already performed fast back then. Shortened inspection times were guaranteed. A high-quality light source and fast cameras completed the 3D scanning solution. Its high measuring speed and the highly precise data made it suitable for various applications, like:

- Quality control and inspection tasks
- Tool and mold making
- Design
- Rapid Manufacturing
- Reverse Engineering
Progressive optical solutions by ZEISS
You like the features of our discontinued system? Don’t worry, you don’t have to miss out on the benefits and valuable functions.
We’ve been progressing in the field of optical 3D scanners – developing worthy follow up models with advanced technologies as well as new features for the portfolio. Hence why we at #HandsOnMetrology now offer comparable scanning solutions with high precision for nearly every task – be it entry level or more advanced applications:
GOM Scan 1
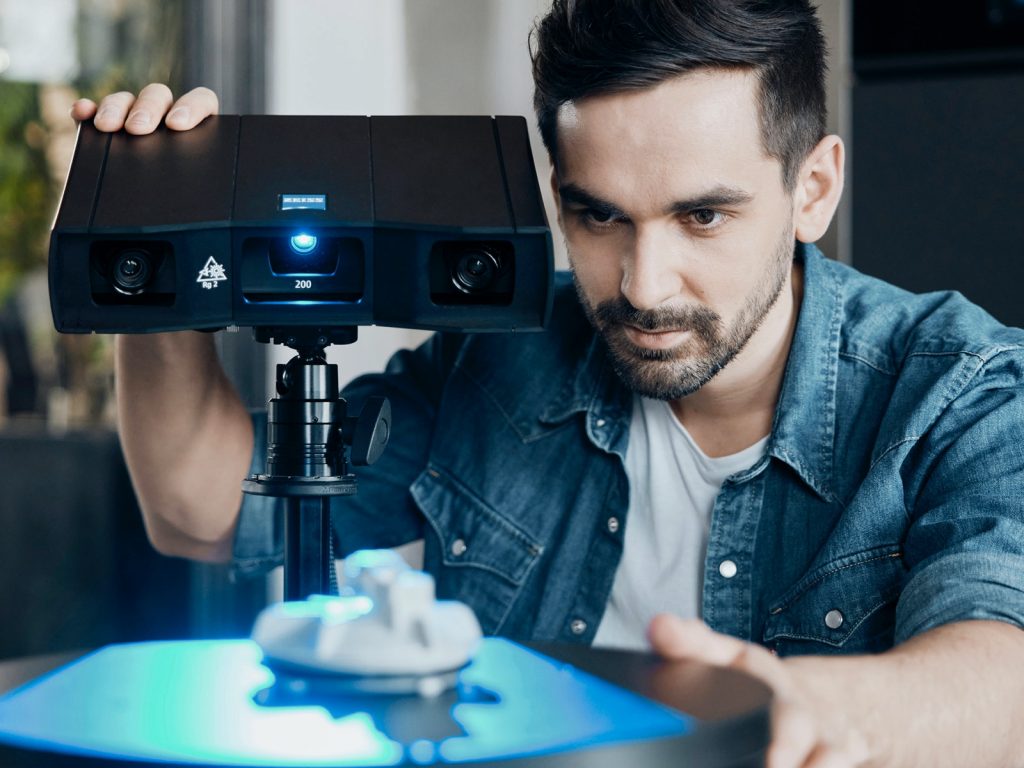
The GOM Scan 1 is a small scanner for precise meshes and big ideas. It is characterized by the compact and mobile design. GOM Scan 1 opens up new possibilities with industrial standards, such as Fringe Projection Technology and Blue Light Technology. It delivers the foundation for detailed and accurate 3D meshes. The integrated inspection software in the ZEISS Quality Suite helps you to apply the mesh to any project you want: 3D printing, reverse engineering or part inspection.
ATOS Q
ATOS Q is the 3D scanning solution for complex measurement and inspection tasks. Like the GOM Scan 1, it is compact and versatile in use. The 3D scanning solution is ready for your shop floor and meets the high metrological demands for many industries. In combination with the inspection software, it’s a fast, compact and simple-to-operate optical 3D measuring system delivering highly precise data.
ZEISS T-SCAN hawk 2
Our next-generation lightweight 3D laser scanner combines portability and reliability. The tool comes with metrology-grade precision and is thus predestined for various applications – covering several different part sizes and operating indoors as well as outdoors. The hand-held characteristics ensure intuitive use and adaption to your unique workflow. Combine it with the inspection software in the ZEISS Quality Suite to receive structured information on your object.


