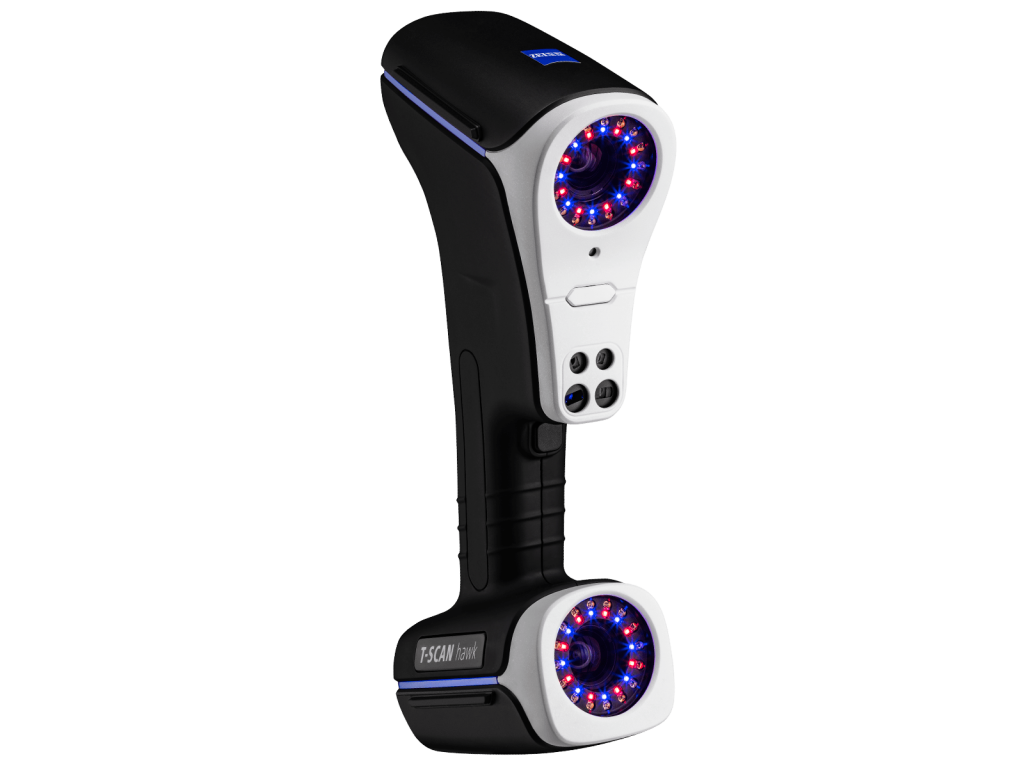
La solución portátil para un escaneado 3D y una inspección sencilla
El ligero ZEISS T-SCAN hawk con GOM Inspect
Creado para un uso portátil
Creado para ser preciso
El escáner 3D T-SCAN hawk incluye impresionantes características técnicas tales como la fotogrametría de objetos de gran tamaño, múltiples fuentes de láser y tres modos de escaneado, convirtiéndose en la solución perfecta incluso para detalles finos o cavidades profundas. El resultado: datos 3D con máxima precisión.
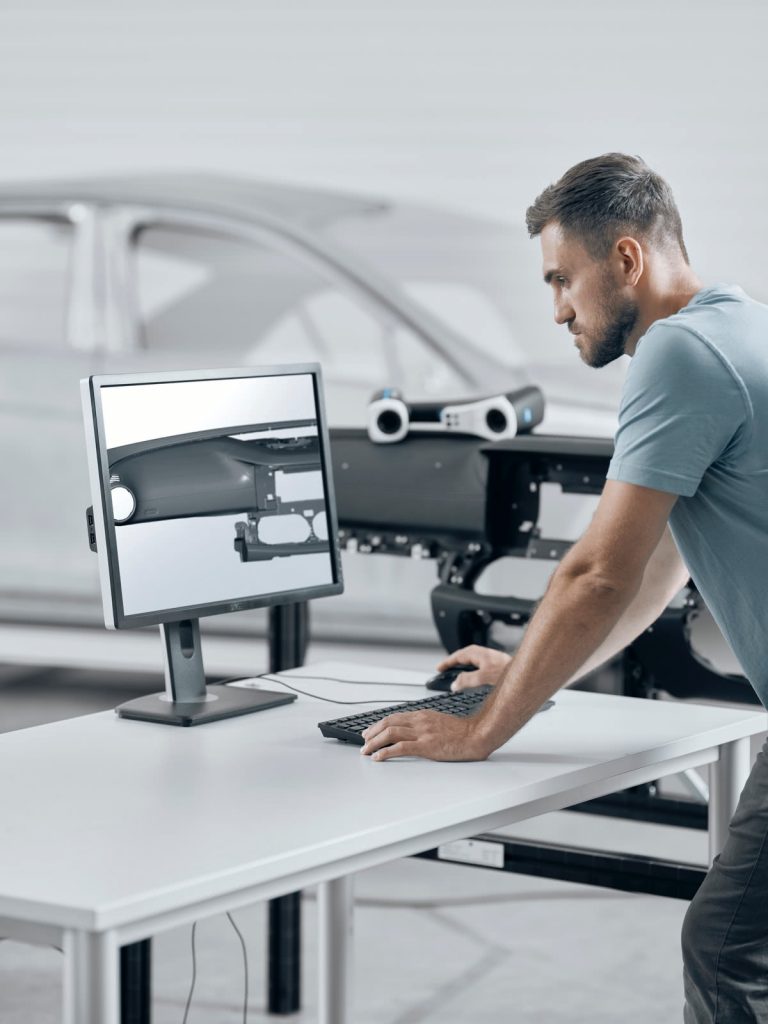
Creado para marcar la diferencia
El T-SCAN hawk con el software GOM Inspect preinstalado es una solución completa para simplificar el flujo completo de trabajo desde el escaneado hasta la evaluación pasando por la generación de informes.
Aplicaciones
Ingeniería inversa
- Desde la forma al modelo CAD
- Archivo de herramientas y patrimonio cultural
- Todo desde pequeños detalles hasta piezas de gran tamaño
Mantenimiento
- Fácil inspección 3D de desgaste y roturas
- Adecuado para uso en interiores y exteriores
- Análisis de tendencias para múltiples evaluaciones
Control de calidad
- Comparación nominal - real
- Dimensionamiento funcional
- Inspección de taller
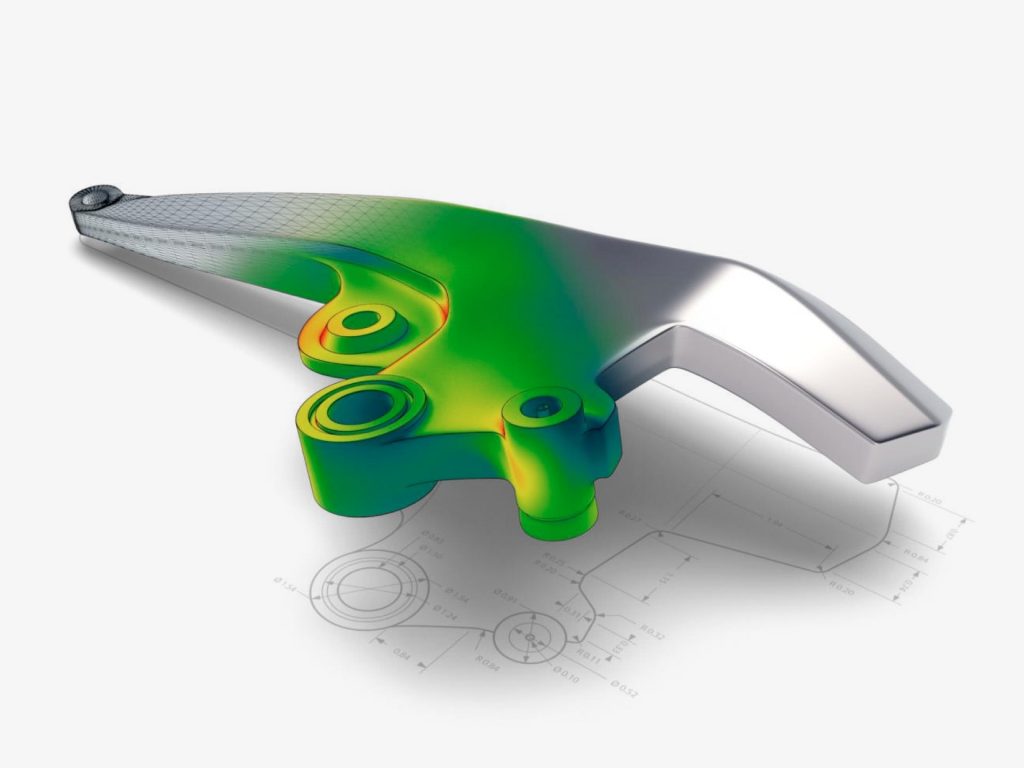
GOM Inspect
Haciendo visible la calidad
Features
Todo y en cualquier lugar
- Diseño de escáner compacto, ligero y portátil
- Fácil de transportar para ayudarle donde haga falta
- Adecuado para espacios reducidos y áreas de difícil acceso
Se adapta a sus necesidades
- Múltiples fuentes de láser para detalles finos y áreas grandes
- Captura los datos de casi cualquier superficie y material
- Para objetos oscuros y reflectantes y cavidades profundas
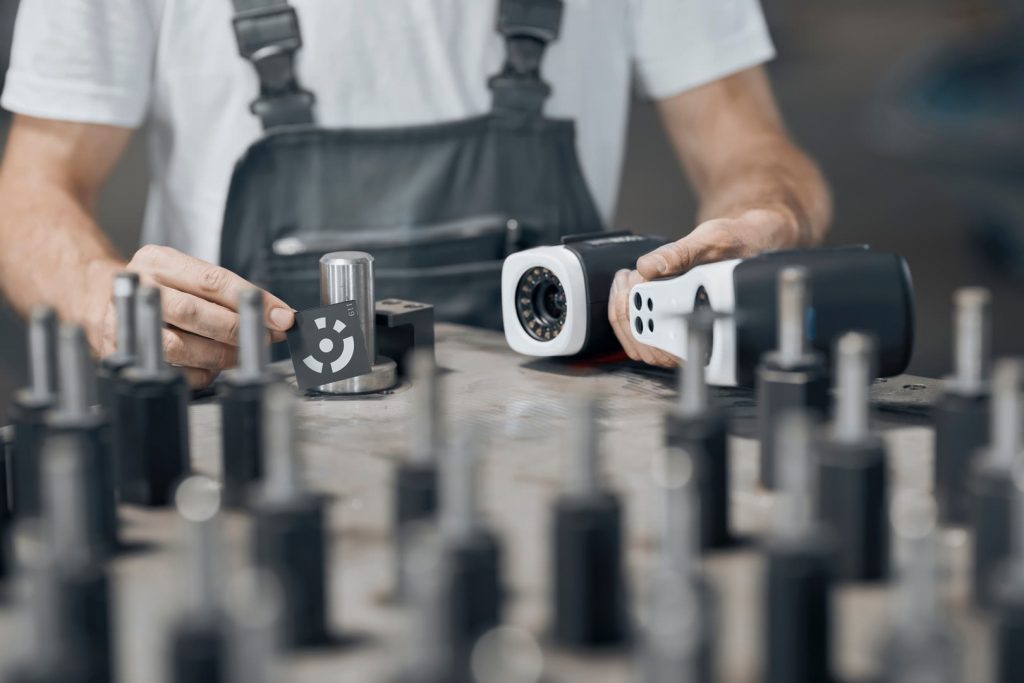
Fácil de usar y listo para usar
- Dispositivo autónomo
- Listo para un funcionamiento rápido
- Proceso de escaneado fácil e intuitivo
Ideal para grandes retos
- Adecuado para escanear objetos de gran tamaño o pesados
- Mayor precisión para objetos de mayor tamaño
- Fotogrametría integrada
- Resultados sumamente fiables
Tres modos de escaneado con tan solo pulsar un botón
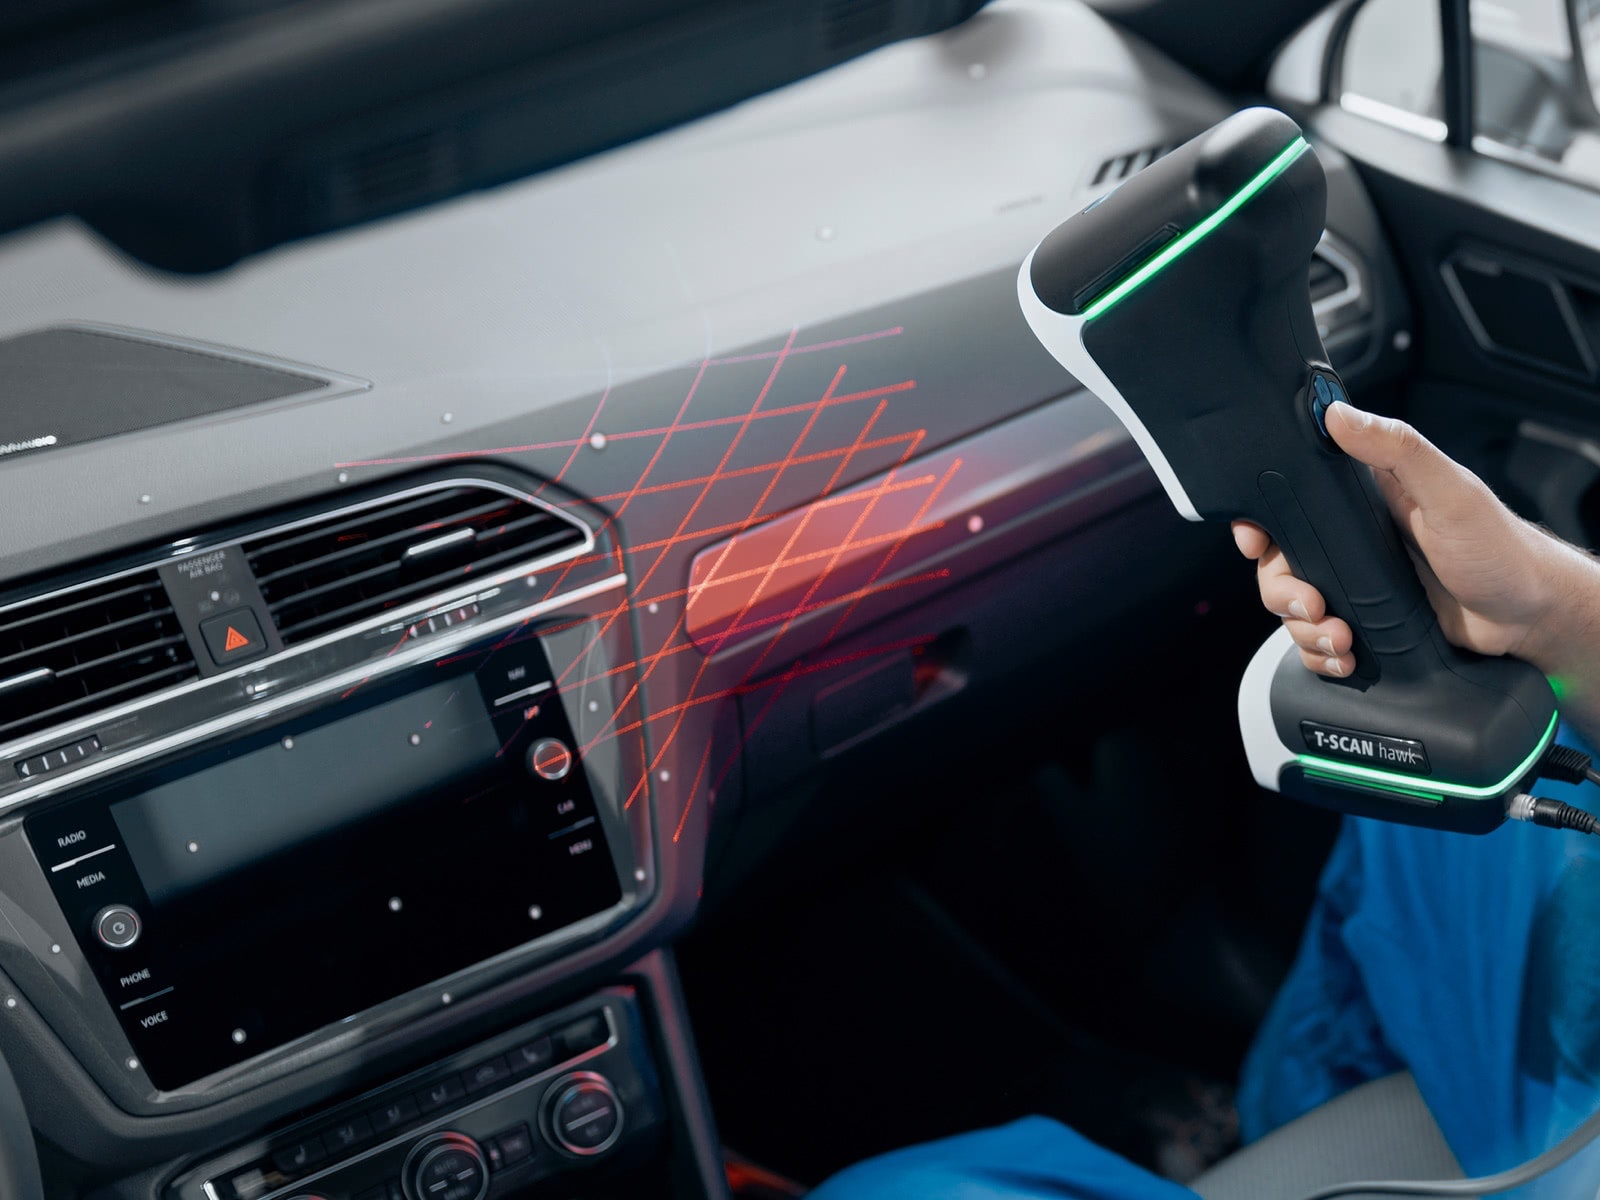
Cruces rojas para áreas de gran tamaño
Para el escaneado de áreas grandes o reconstrucciones 3D rápidas.

Líneas azules para detalles finos
Para piezas pequeñas, detalles finos o superficies oscuras o reflectantes
Línea roja individual para áreas reducidas
Para cavidades profundas o áreas de difícil acceso
Datos técnicos
¿Desea más información?
Póngase en contacto con su socio local de #HandsOnMetrology.
Descubrir más
i
Seleccione el tema sobre el que desea más informaciónHow to 3D scan huge objects with photogrammetry
Meet Benjamin and follow his step-by-step guide to 3D scanning a ship propeller. He combines two solutions: First, he uses GOM’s external photogrammetry camera TRITOP. Subsequently, he adds specific data using the portable T-SCAN hawk.
How to scan a complete vehicle
How to compare two scans
How to use 3D scanning for dent detection
How to use a 3D laser scanner in confined spaces
T-SCAN hawk: Scan deep pockets with GOM Inspect
Learn why the portable laser scanner T-SCAN hawk is perfectly designed to scan deep pockets, and let Toon show you how to use the deep pocket mode in GOM Inspect. A single laser line allows you to scan even deeper inside a pocket and capture a lot more data.
Chapters
00:24 Technical background of laser scanning
01:08 How to activate deep pocket mode
01:44 Optimize 3D view for deep pocket scanning
T-SCAN hawk: Get some useful tips & tricks
Get some of Toon’s most useful insights: 1. Learn about different exposure times for different surfaces. 2. Discover the ideal scanner orientation for the three scanning modes of the portable T-SCAN hawk. 3. Watch Toon give playing bricks a whole new application area.
Chapters
00:32 Tip 1: Exposure time
01:10 Tip 2: Scanner orientation
02:33 Tip 3: Smart reference point positioning
T-SCAN hawk: Your first use of GOM Inspect
Learn how to use GOM Inspect for the first time. Starting from the T-SCAN hawk workspace and its main toolbar, Toon guides you through the entire scanning workflow – from calibration to pushing the scan button and polygonizing the scan data into a final mesh.
Chapters
00:30 Open GOM Inspect software
00:54 Calibrating the portable T-SCAN hawk
02:10 Instant scanning
02:34 Increased accuracy scanning
03:19 Cut out background
03:54 Part scanning
04:50 Polygonize scan data to final mesh
T-SCAN hawk: Scanning in GOM Inspect, Part 1
Learn a common scanning strategy in GOM Inspect. This easy scanning workflow is about scanning surface data, deep pockets and fine details. Watch the process from capturing reference points to polygonize the scan data and see all three scanning modes in action.
Chapters
00:43 Capture reference points
01:16 Cut out background
01:50 Scan the part
02:44 Standard scanning mode
03:10 Single laser line mode
04:01 Scanning details
05:33 Polygonize scan data to final mesh
T-SCAN hawk: Scanning in GOM Inspect, Part 2
This easy 3D scanning workflow is about scanning an object from top and bottom, using a manual rotation table. Toon guides you from capturing reference points on the side of the part and cutting out backgrounds to a complete digital copy of your object, front and back.
Chapters
00:40 Use of rotation table
01:02 Capture reference points of top and bottom
02:00 Cut out background 1
02:27 Scanning top side
03:16 Cut out background 2
03:54 Scanning bottom side
04:35 Polygonize scan data to final mesh
T-SCAN hawk: Scanning in GOM Inspect, Part 3
This easy workflow is about scanning a detailed part in a high resolution. Watch Toon placing reference points around the object and using the blue laser mode for fine details. After polygonizing the data, the digital copy is ready for reverse engineering or inspection.
Chapters
00:28 Small detailed object
00:49 Reference points
01:14 Capture reference points
01:39 Cut out background
02:11 Scanning with blue lasers
03:30 Polygonize scan data to final mesh
T-SCAN hawk: Unboxing your new 3D laser scanner
Meet Toon and the portable T-SCAN hawk solution with its small, travel-friendly case. Everything you need fits in: the 3D scanner, cables, reference points, coded reference points and scalebars for photogrammetry, license dongles and a calibration panel.
Chapters
00:28 The case
00:42 T-SCAN hawk scanner
01:56 Sensor cables
01:04 Reference points
01:17 Coded reference points
01:26 License dongles
01:48 Calibration panel and scale bars
02:09 GOM Acceptance Test
T-SCAN hawk: The setup
Set up your new T-SCAN hawk. Start with the laptop, plug in the power cable, connect the 3D laser scanner with the laptop and launch the software GOM Inspect Suite. You’re ready to go.
Chapters
00:27 Laptop
00:38 T-SCAN hawk case
00:45 T-SCAN hawk
00:54 License dongles
01:08 Sensor cables
01:37 Open GOM Inspect Suite software