Strumento portatile di precisione, sviluppato e prodotto da ZEISS
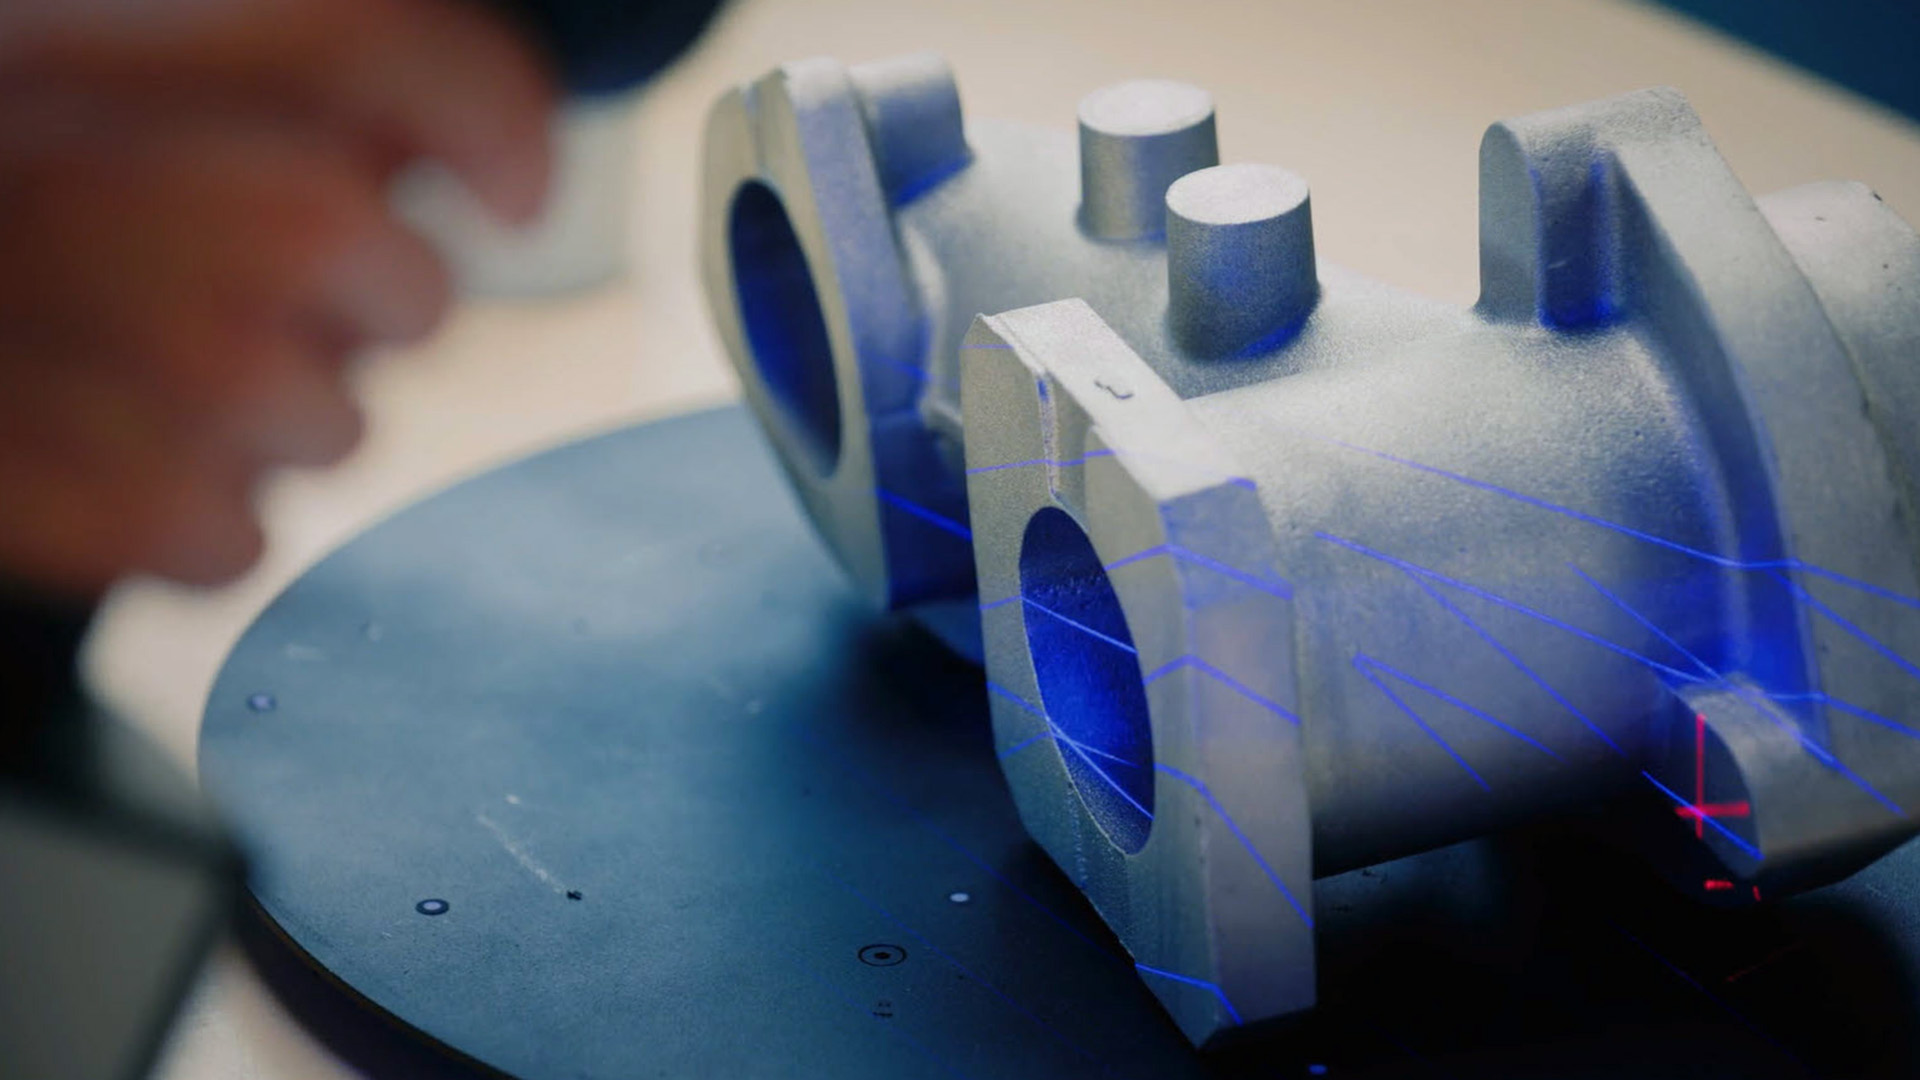
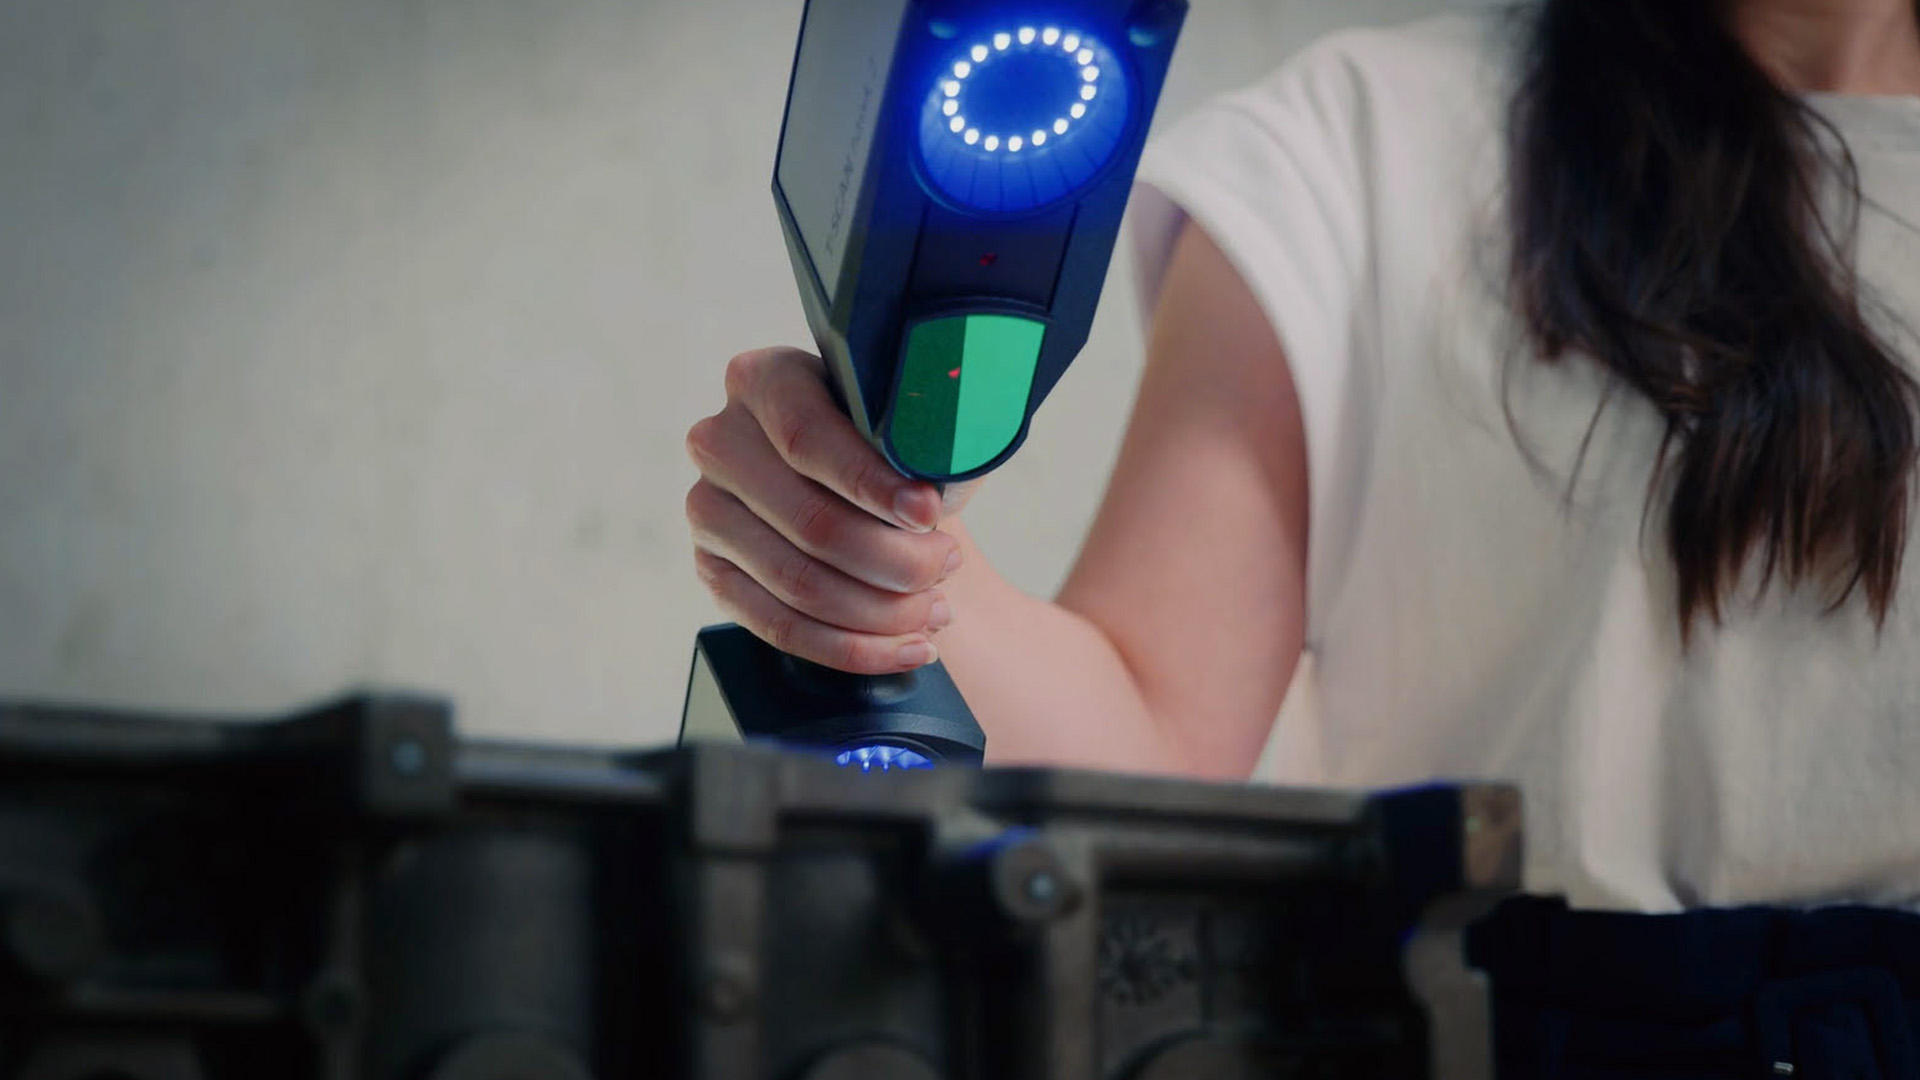
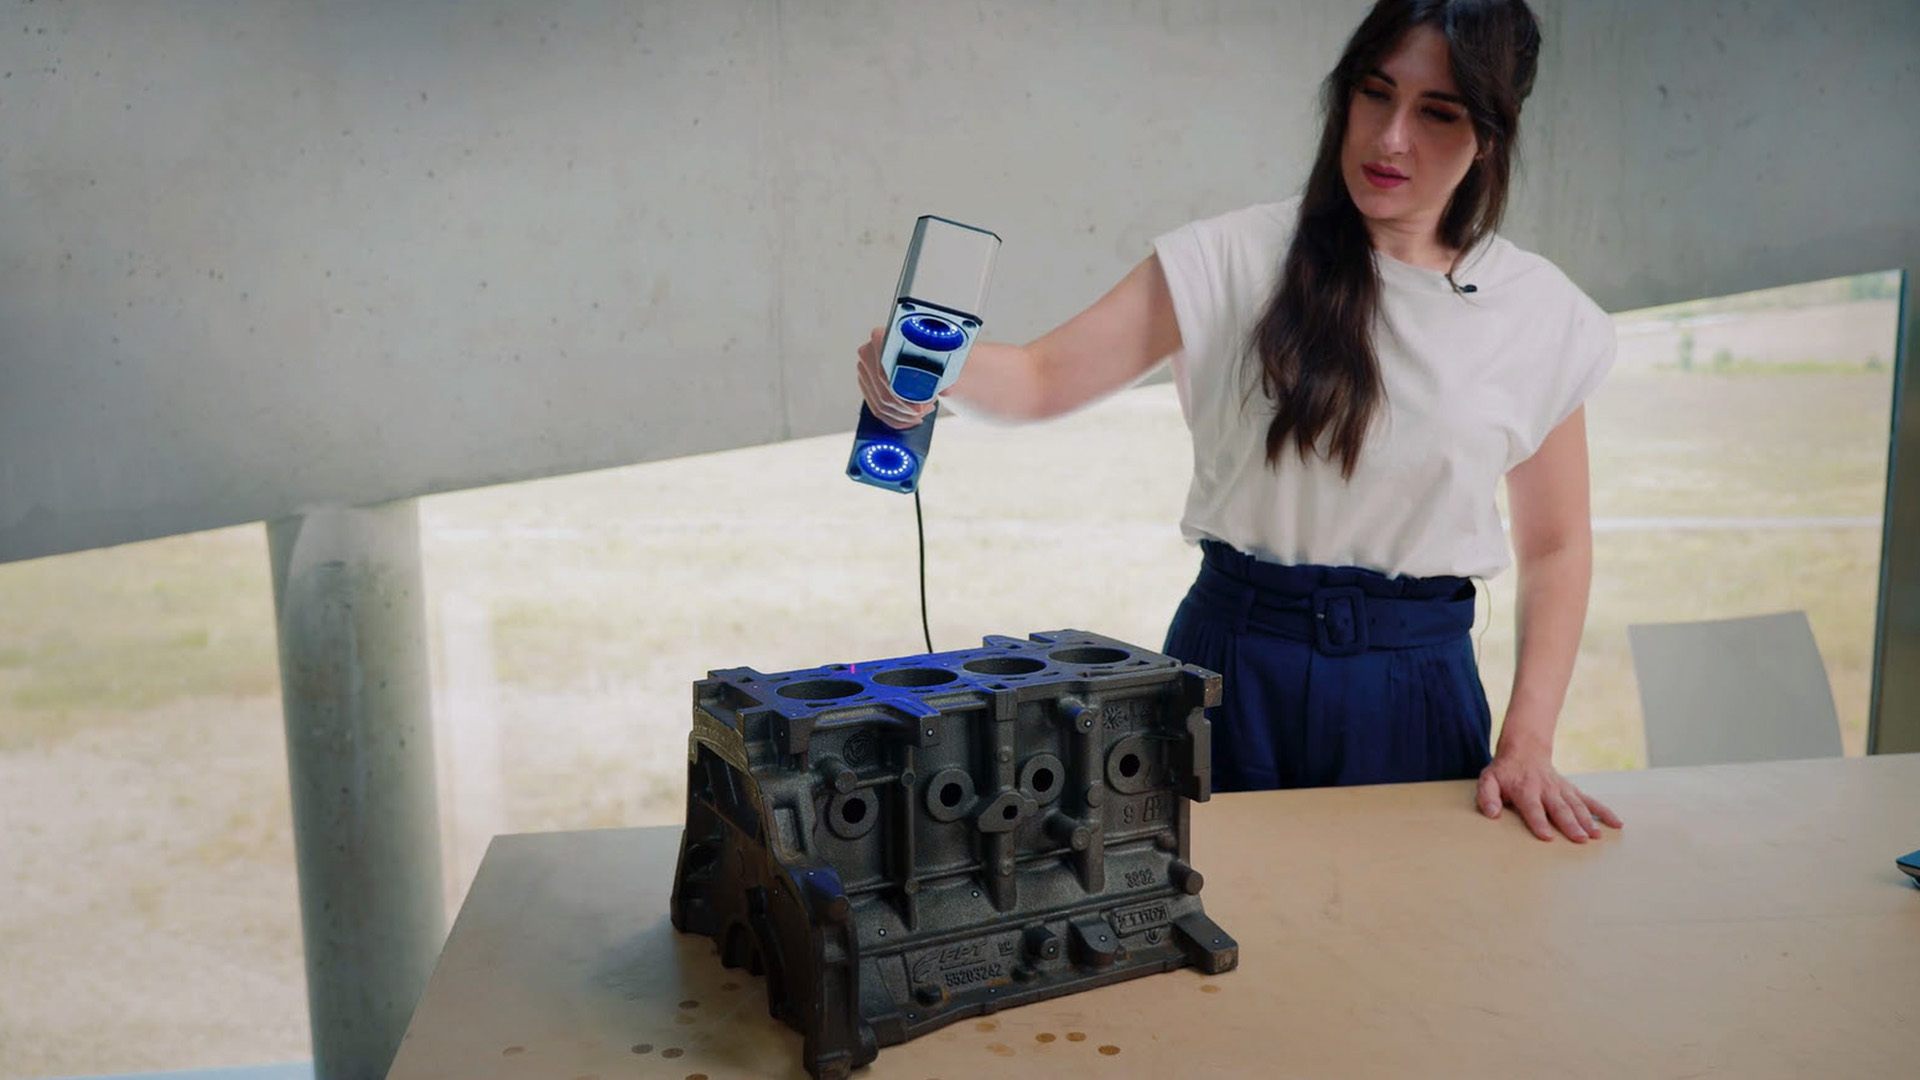
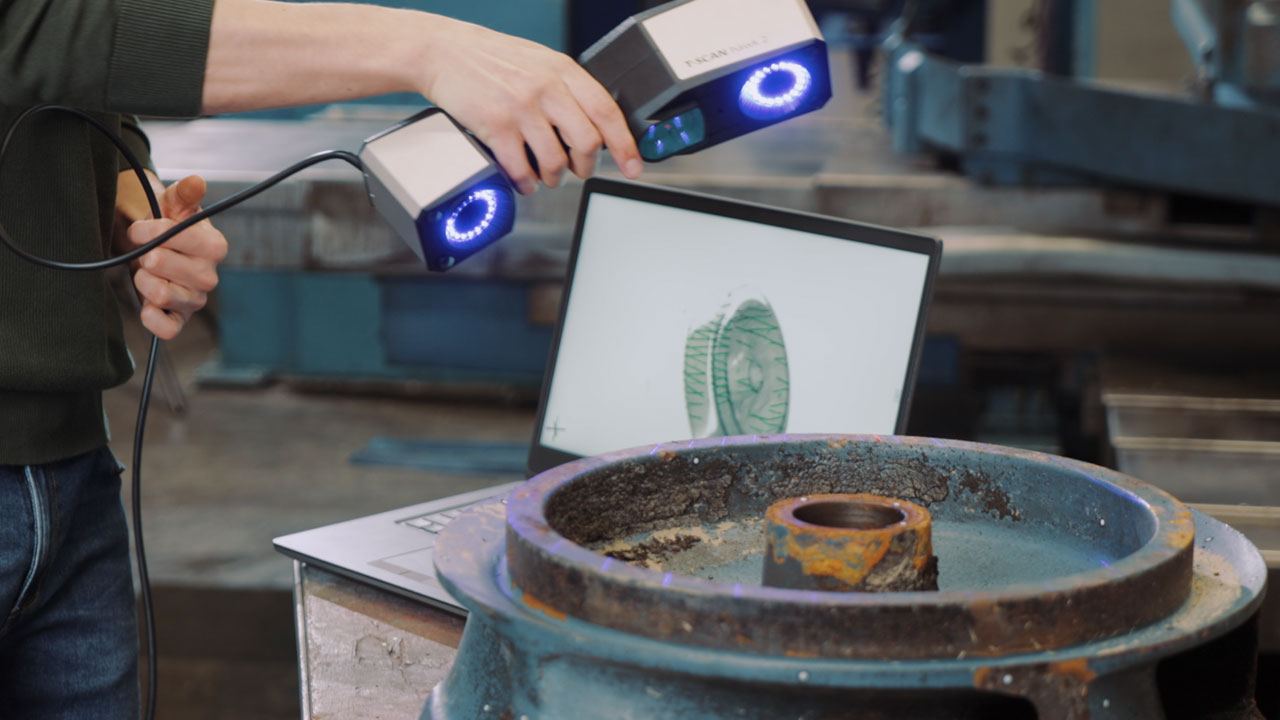
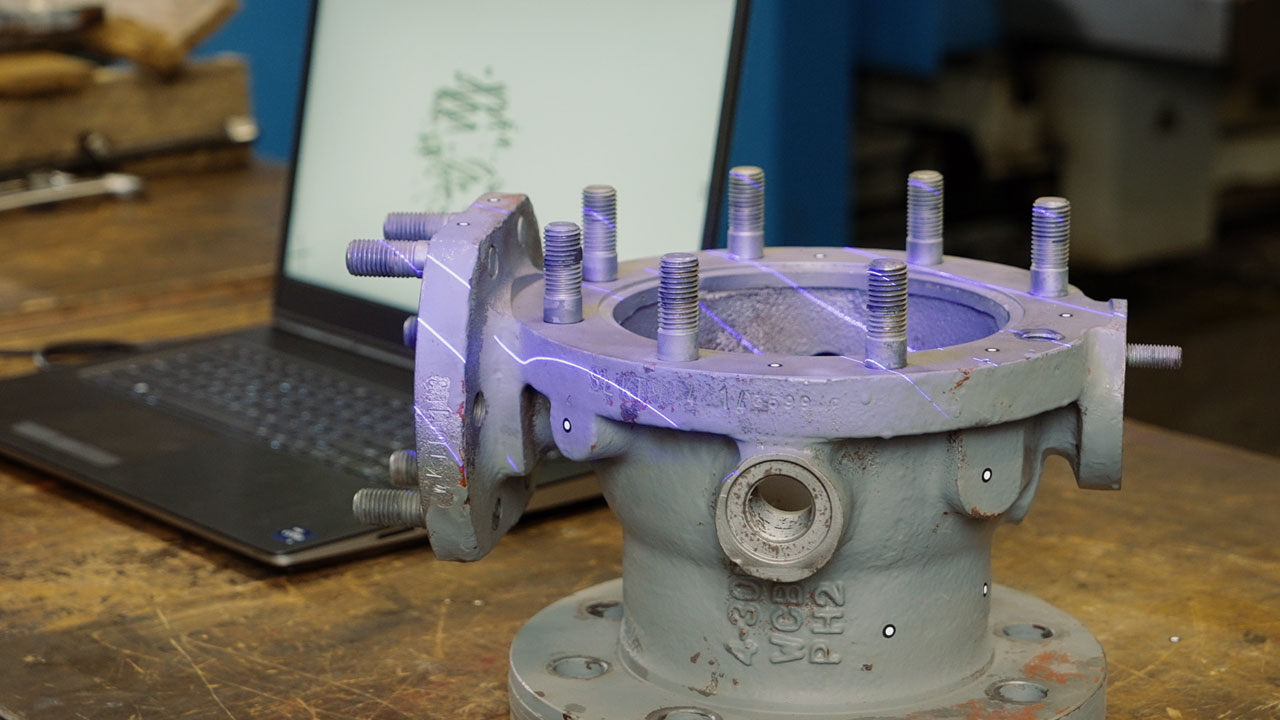
Il T-SCAN hawk 2 portatile, scanner laser 3D leggero di ultima generazione, si caratterizza per una precisione metrologica e una notevole facilità d’uso. A prescindere da quale sia il lavoro da svolgere, è uno strumento potente, comodo da tenere in mano. Basta prenderlo in mano e iniziare a usarlo fin da subito.

La vostra distanza di lavoro perfetta
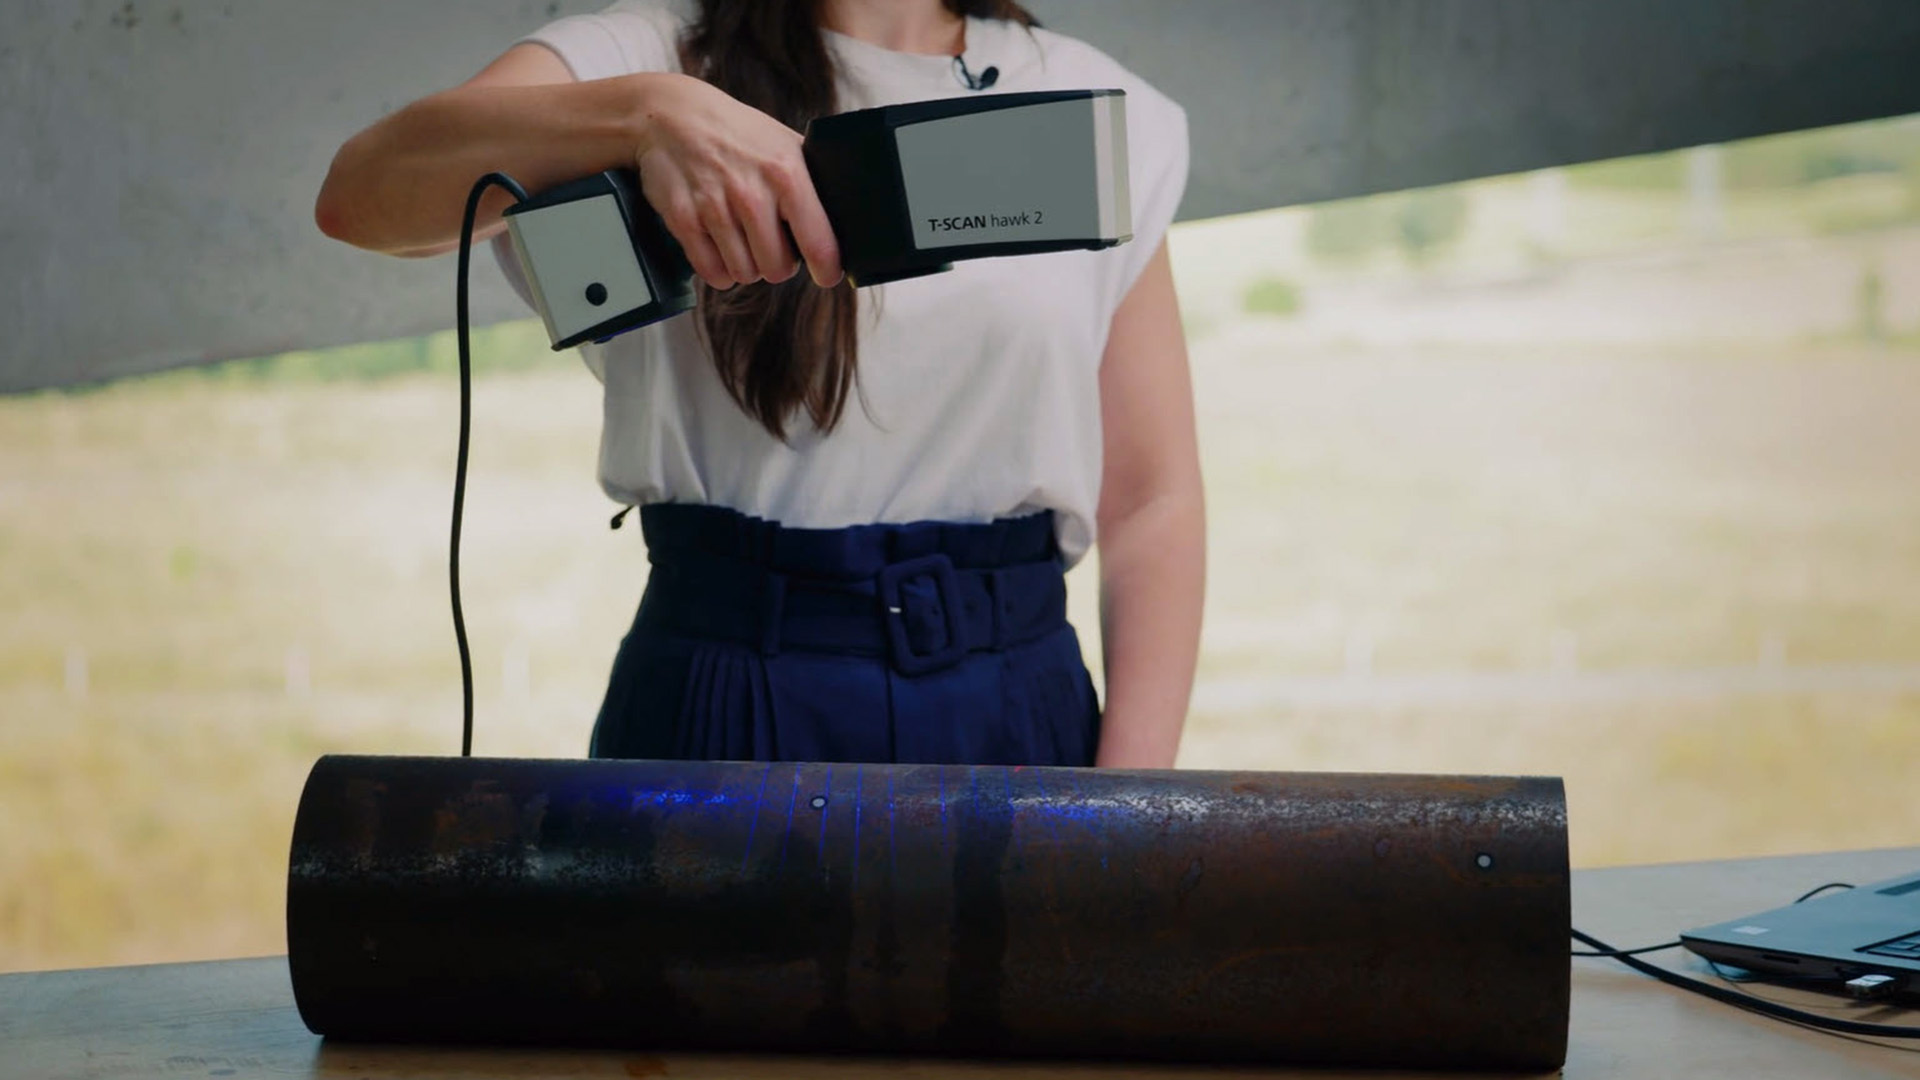
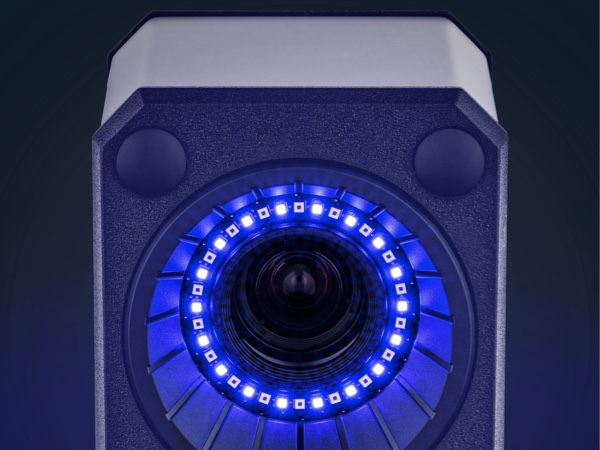
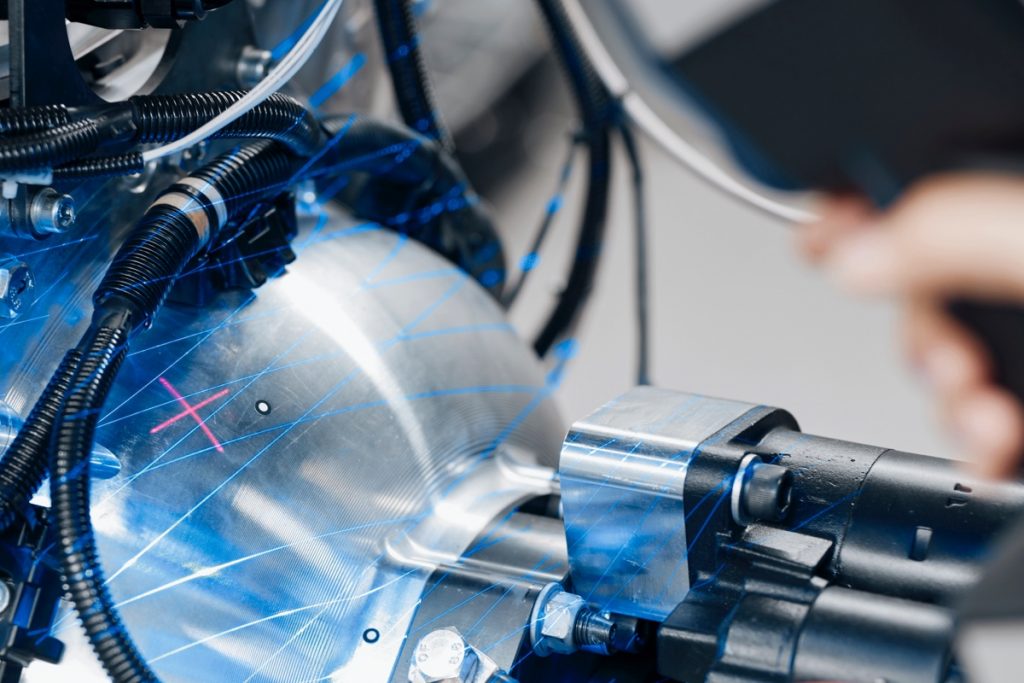
Controllate la vostra distanza di lavoro con una nuova modalità di proiezione: un marcatore laser di colore rosso facilita la regolazione per ottenere risultati di scansione perfetti.

Una soluzione che si adatta al vostro workflow
Sta a voi guidarlo: T-SCAN hawk 2 è intuitivo nell’uso e si adatta facilmente al movimento della vostra mano.

Fate le cose in grande con la nuova modalità satellitare
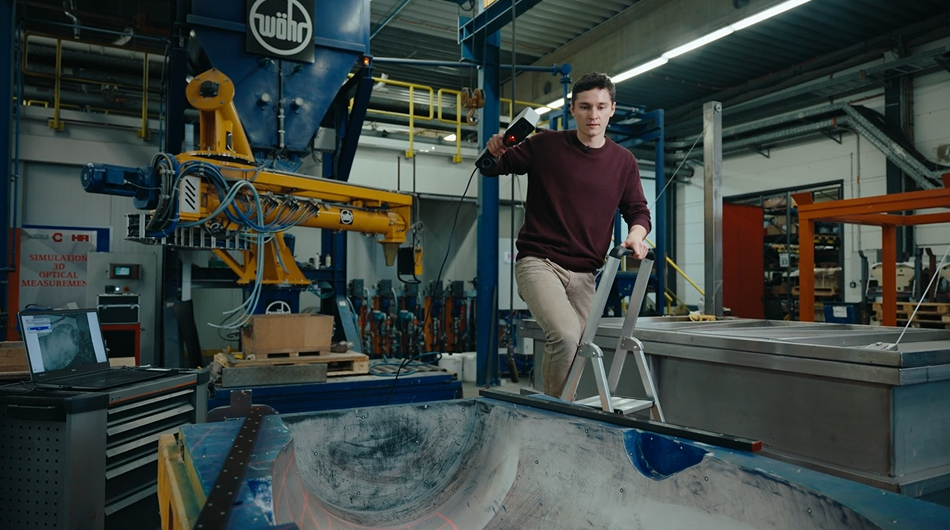
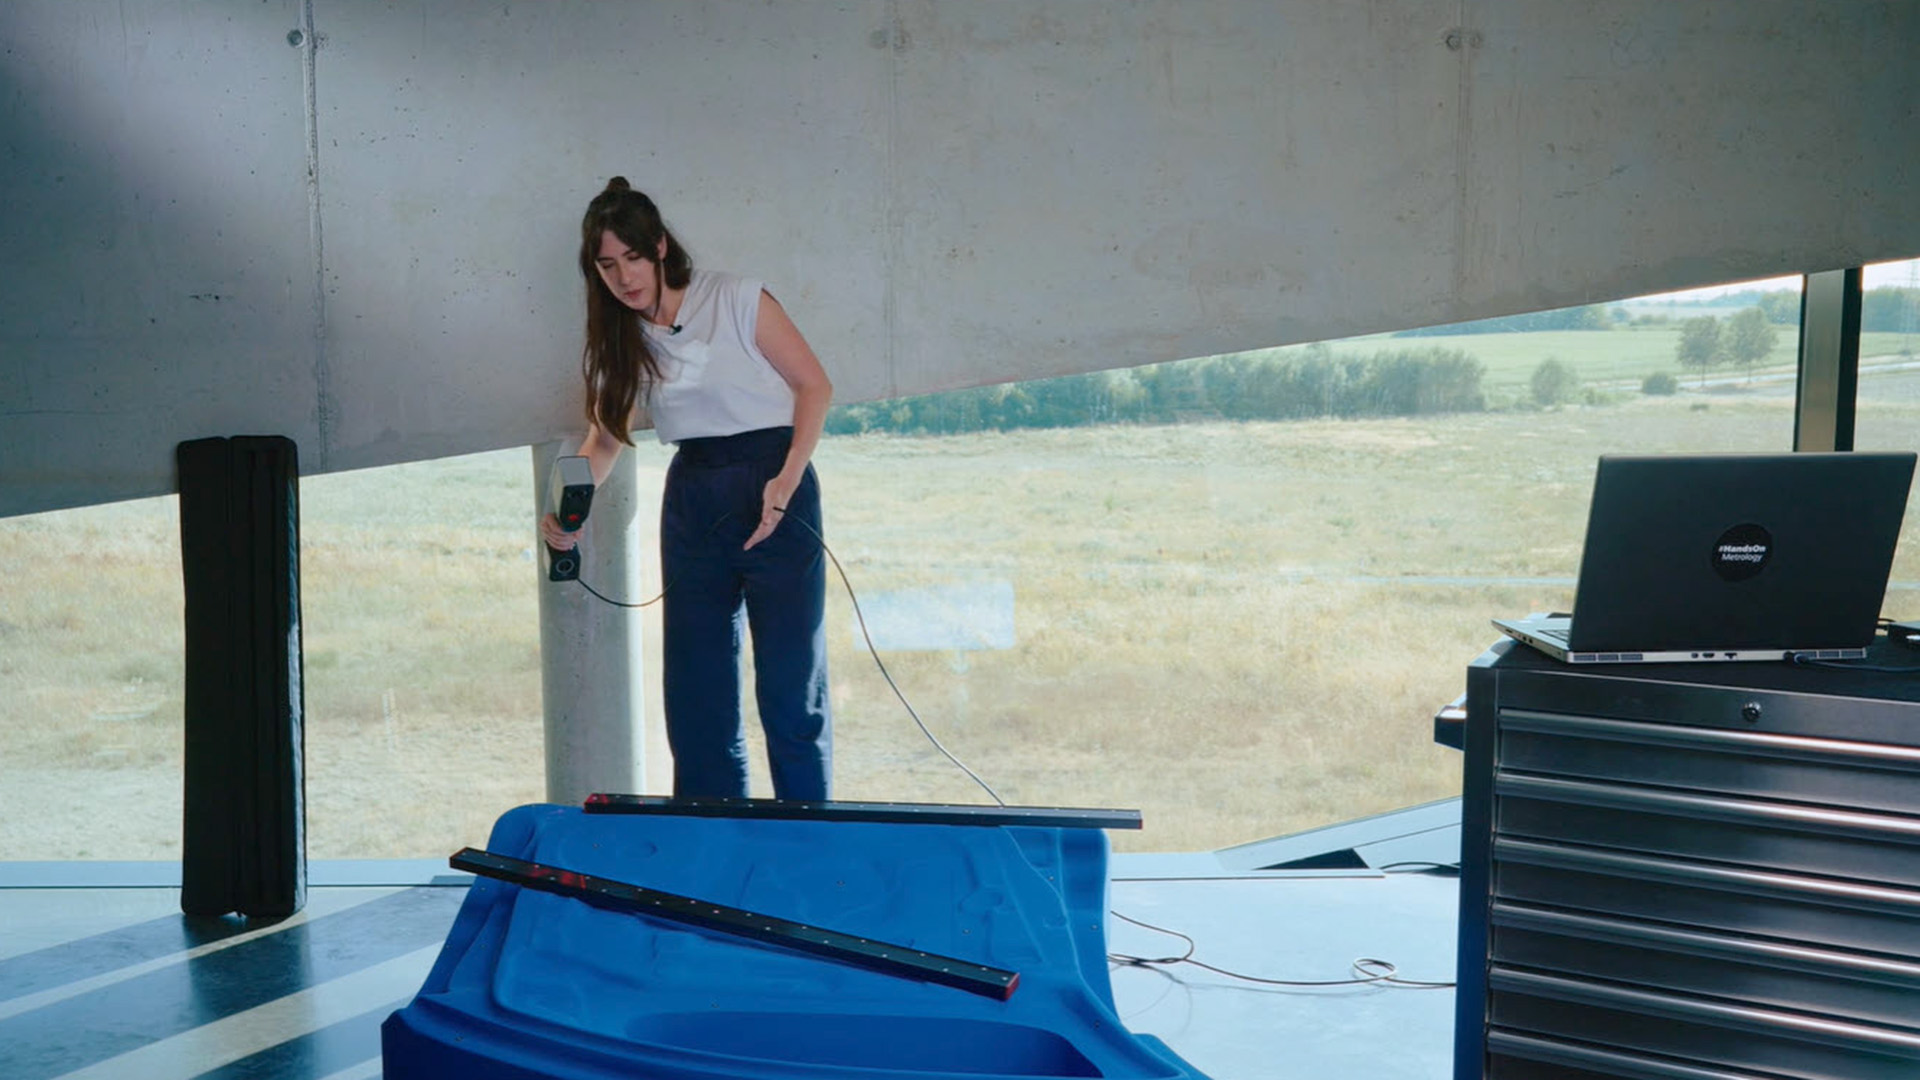
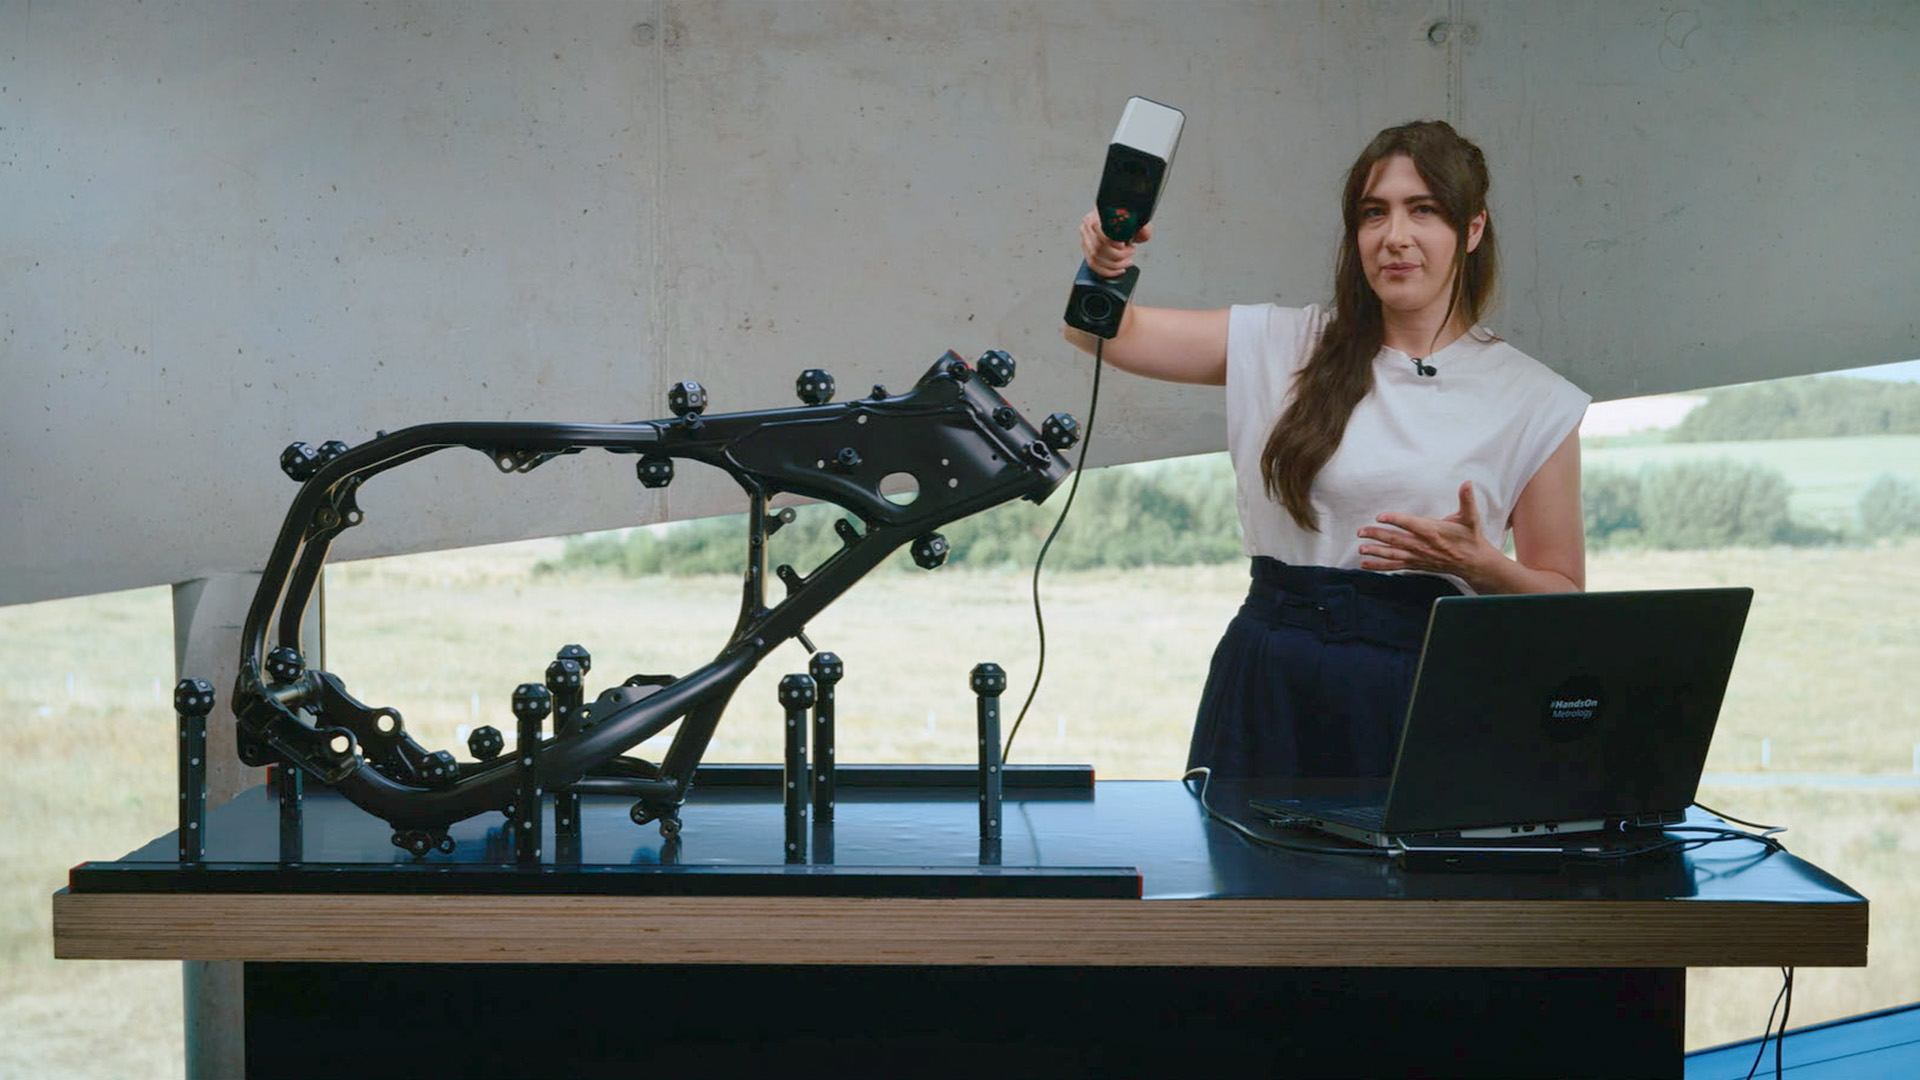
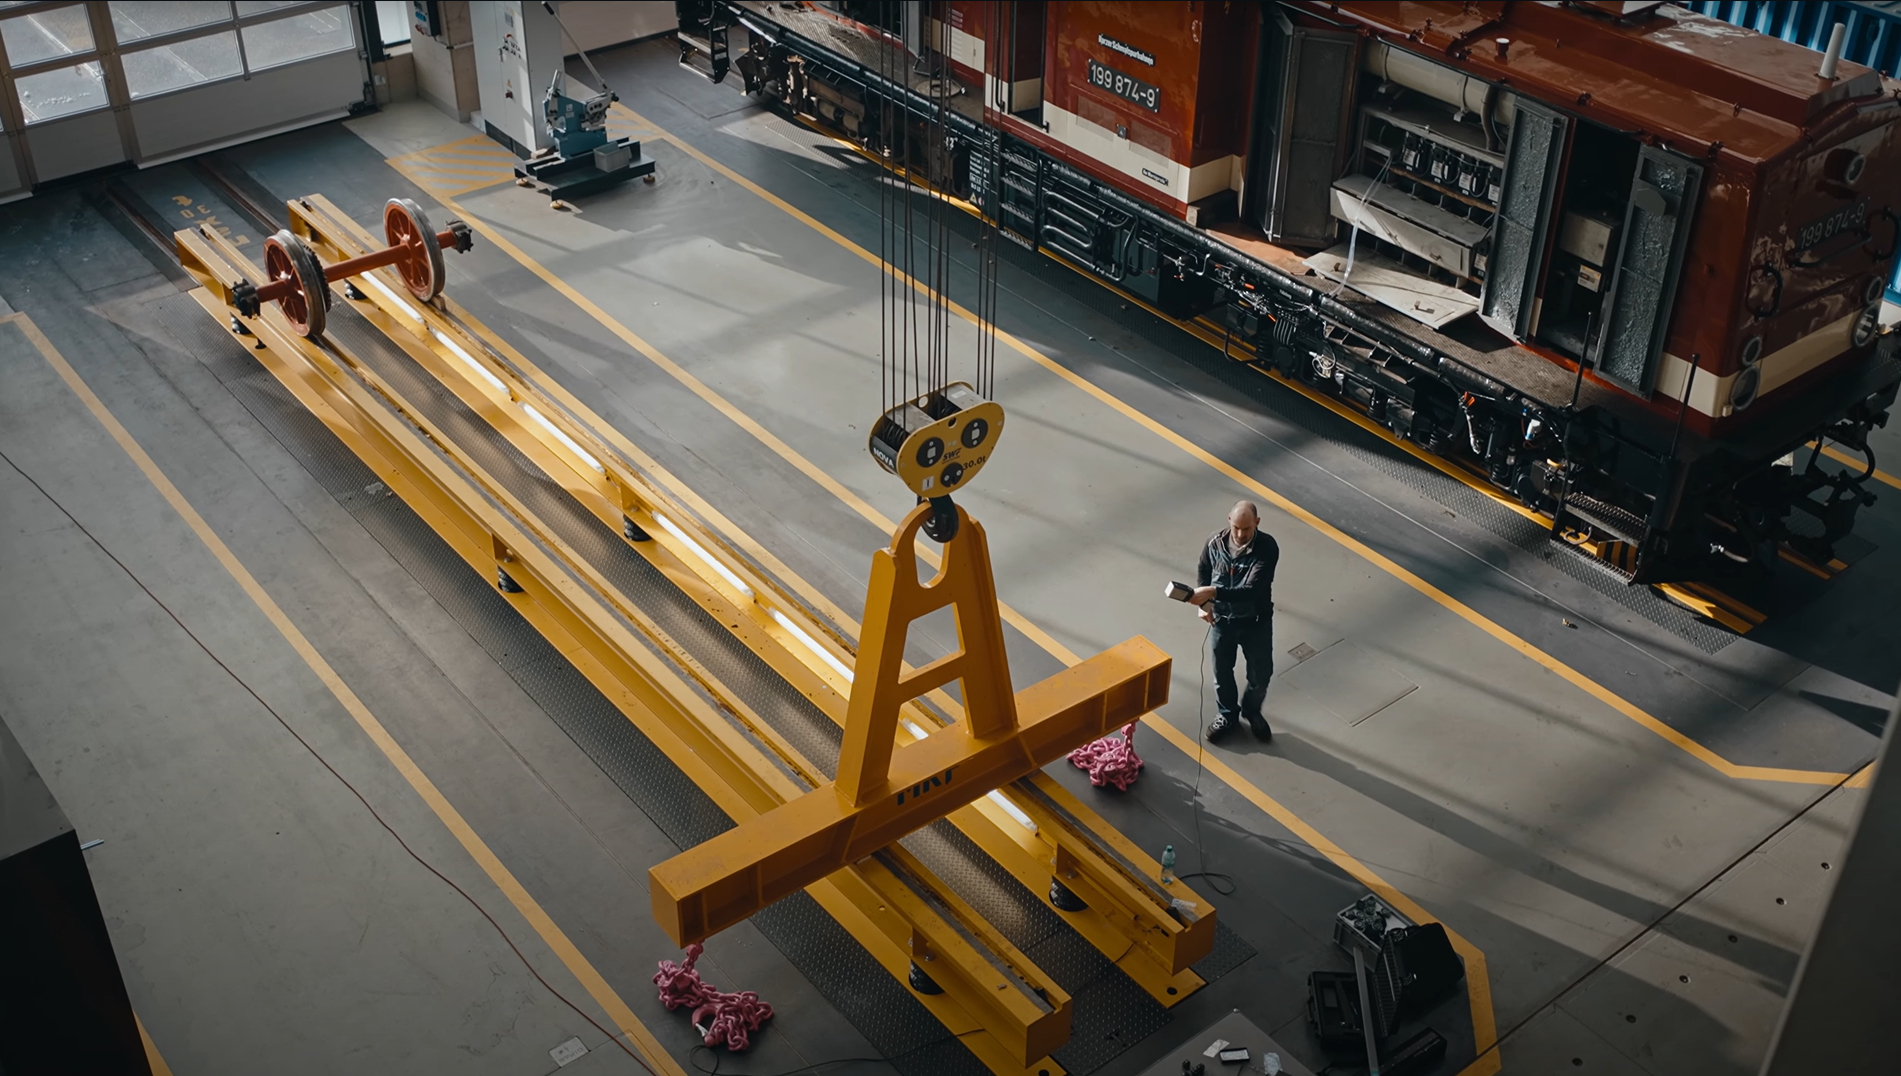
T-SCAN hawk 2 è il primo scanner laser portatile dotato della nuova modalità satellitare per effettuare scansioni di oggetti grandi fino a diversi metri. La classica fotogrammetria integrata con marcatori codificati non è necessaria. Nessun compromesso in termini di precisione.
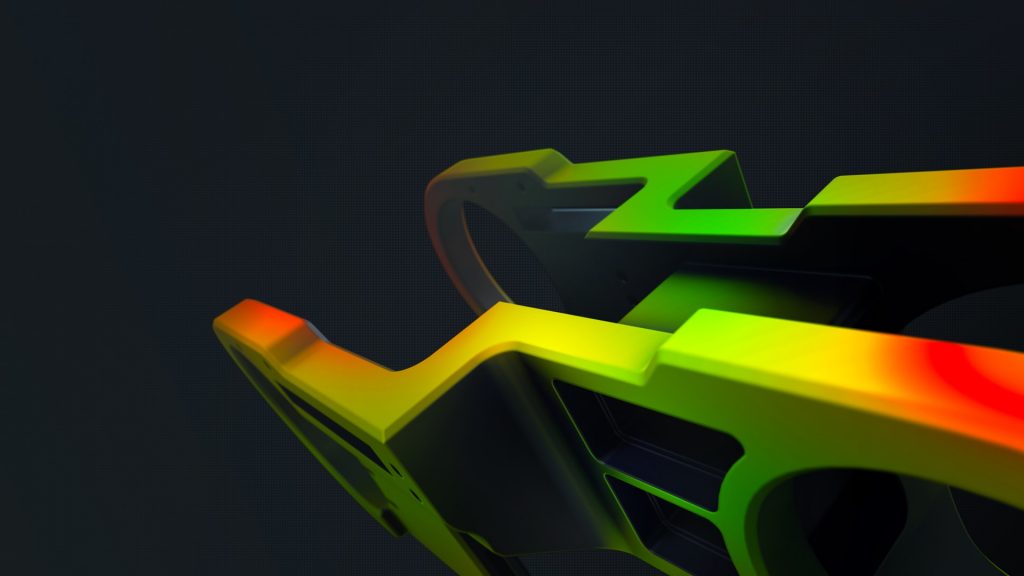
ZEISS INSPECT – Il software tutto in uno per l’ispezione 3D
T-SCAN hawk 2 funziona con il GOM Inspect standard ben affermato nella metrologia 3D nonché parte della ZEISS Quality Suite. Provate la versione completa di ZEISS INSPECT
gratuitamente per 30 giorni.
Caratteristiche

Passando da un compito all’altro
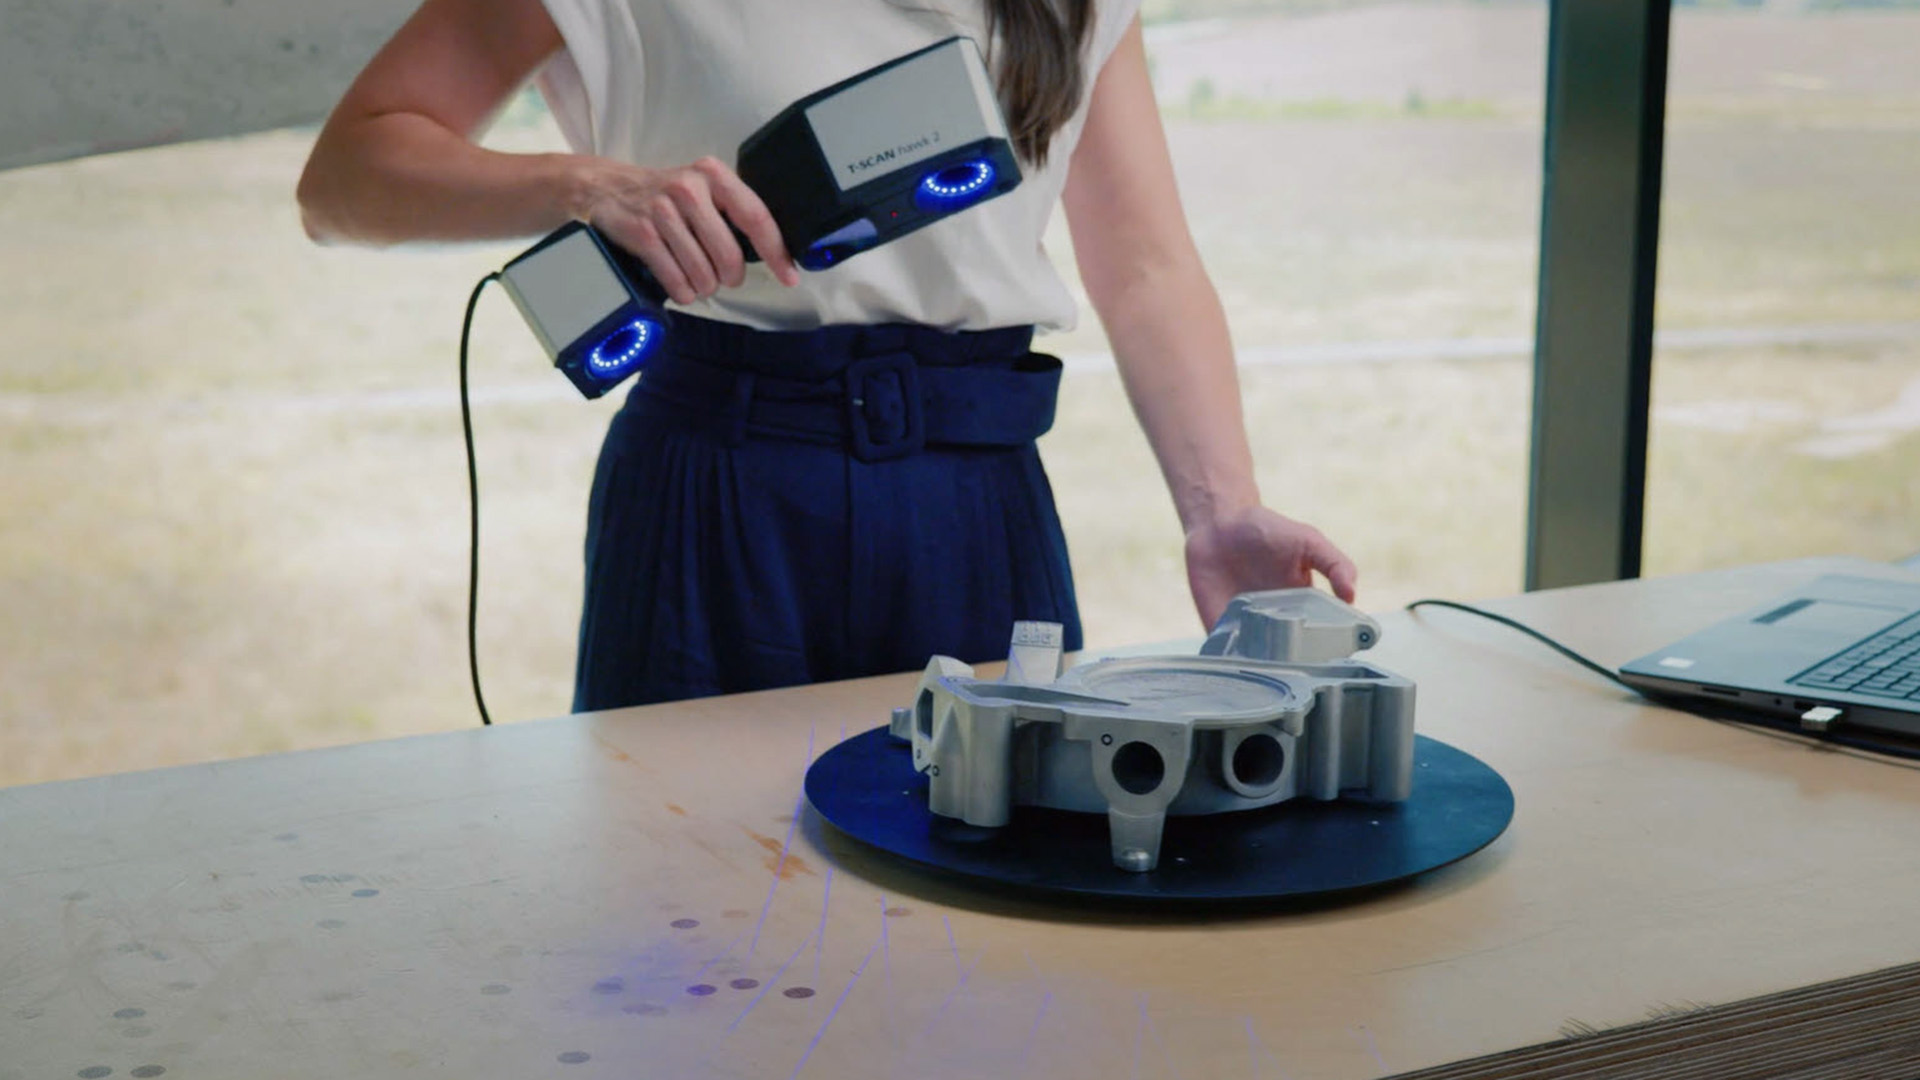
T-SCAN hawk 2 consente di regolare facilmente la risoluzione e il campo visivo. Piccoli componenti, minimi dettagli, oggetti più grandi, tasche profonde, spazi ristretti o aree di difficile accesso: questo scanner laser 3D sa fare il suo mestiere.
Iniziare è facile
Carl Zeiss GOM Metrology GmbH è un laboratorio accreditato nei campi
della calibrazione di campioni di riferimento per lunghezza e coordinate per
la metrologia ottica.
Ciascun sistema T-SCAN hawk 2 viene fornito insieme a tre campioni di
lunghezza tracciabili calibrati DAkkS e un campione di coordinate tracciabile
calibrato DAkkS, i quali vengono utilizzati per la qualifica del sistema.
Funzionamento alla pressione di un solo tasto
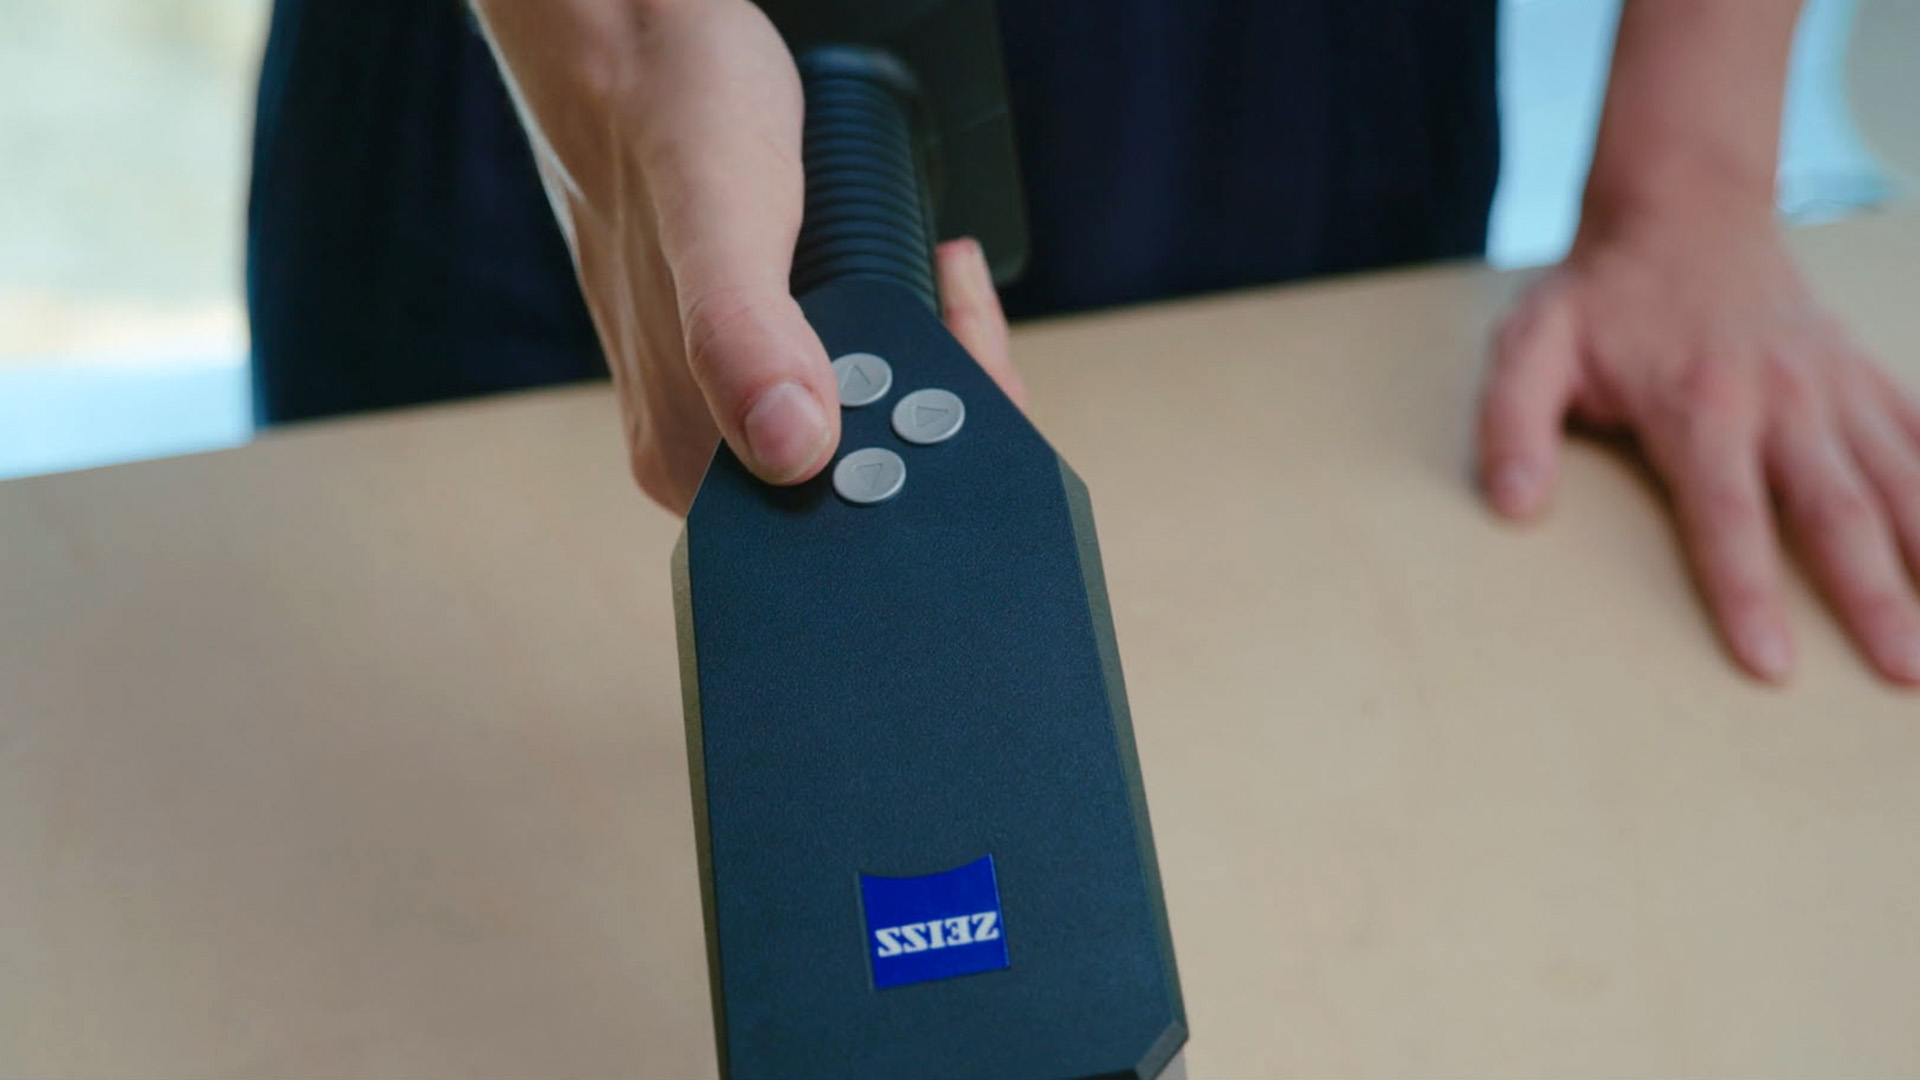
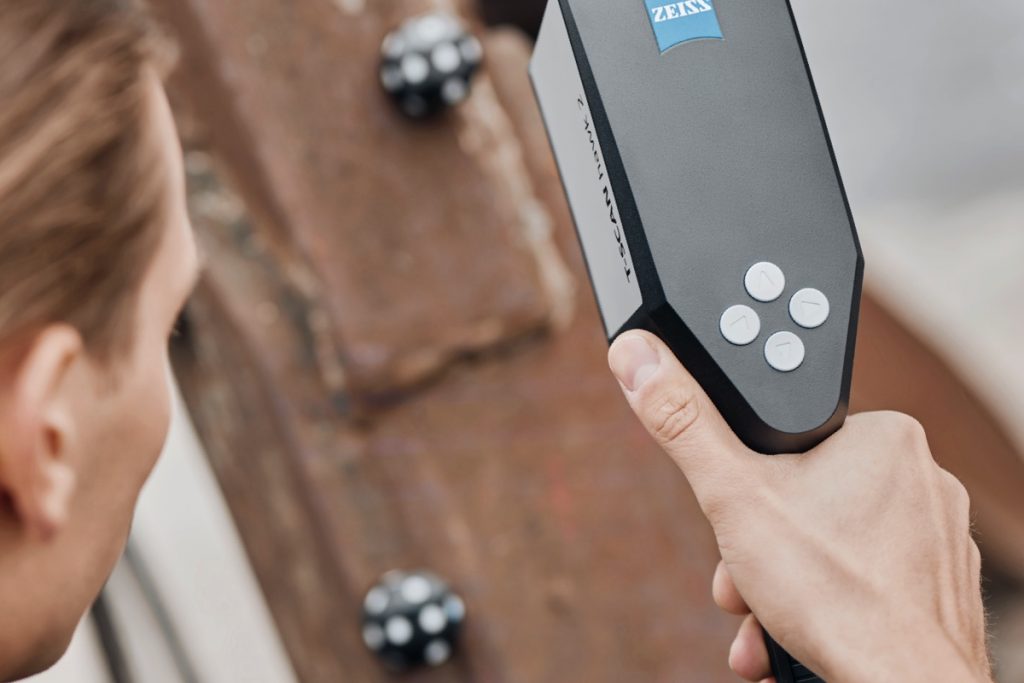
T-SCAN hawk 2 presenta quattro tasti per avviare il workflow e navigarci direttamente. Non vi è alcuna necessità di far funzionare il software separatamente sul vostro laptop.

Efficace su superfici nere e luminose
T-SCAN hawk 2 supporta la scansione su un’ampia gamma di materiali e superfici, fornendo dati di misurazione 3D con la massima precisione.
Accessori
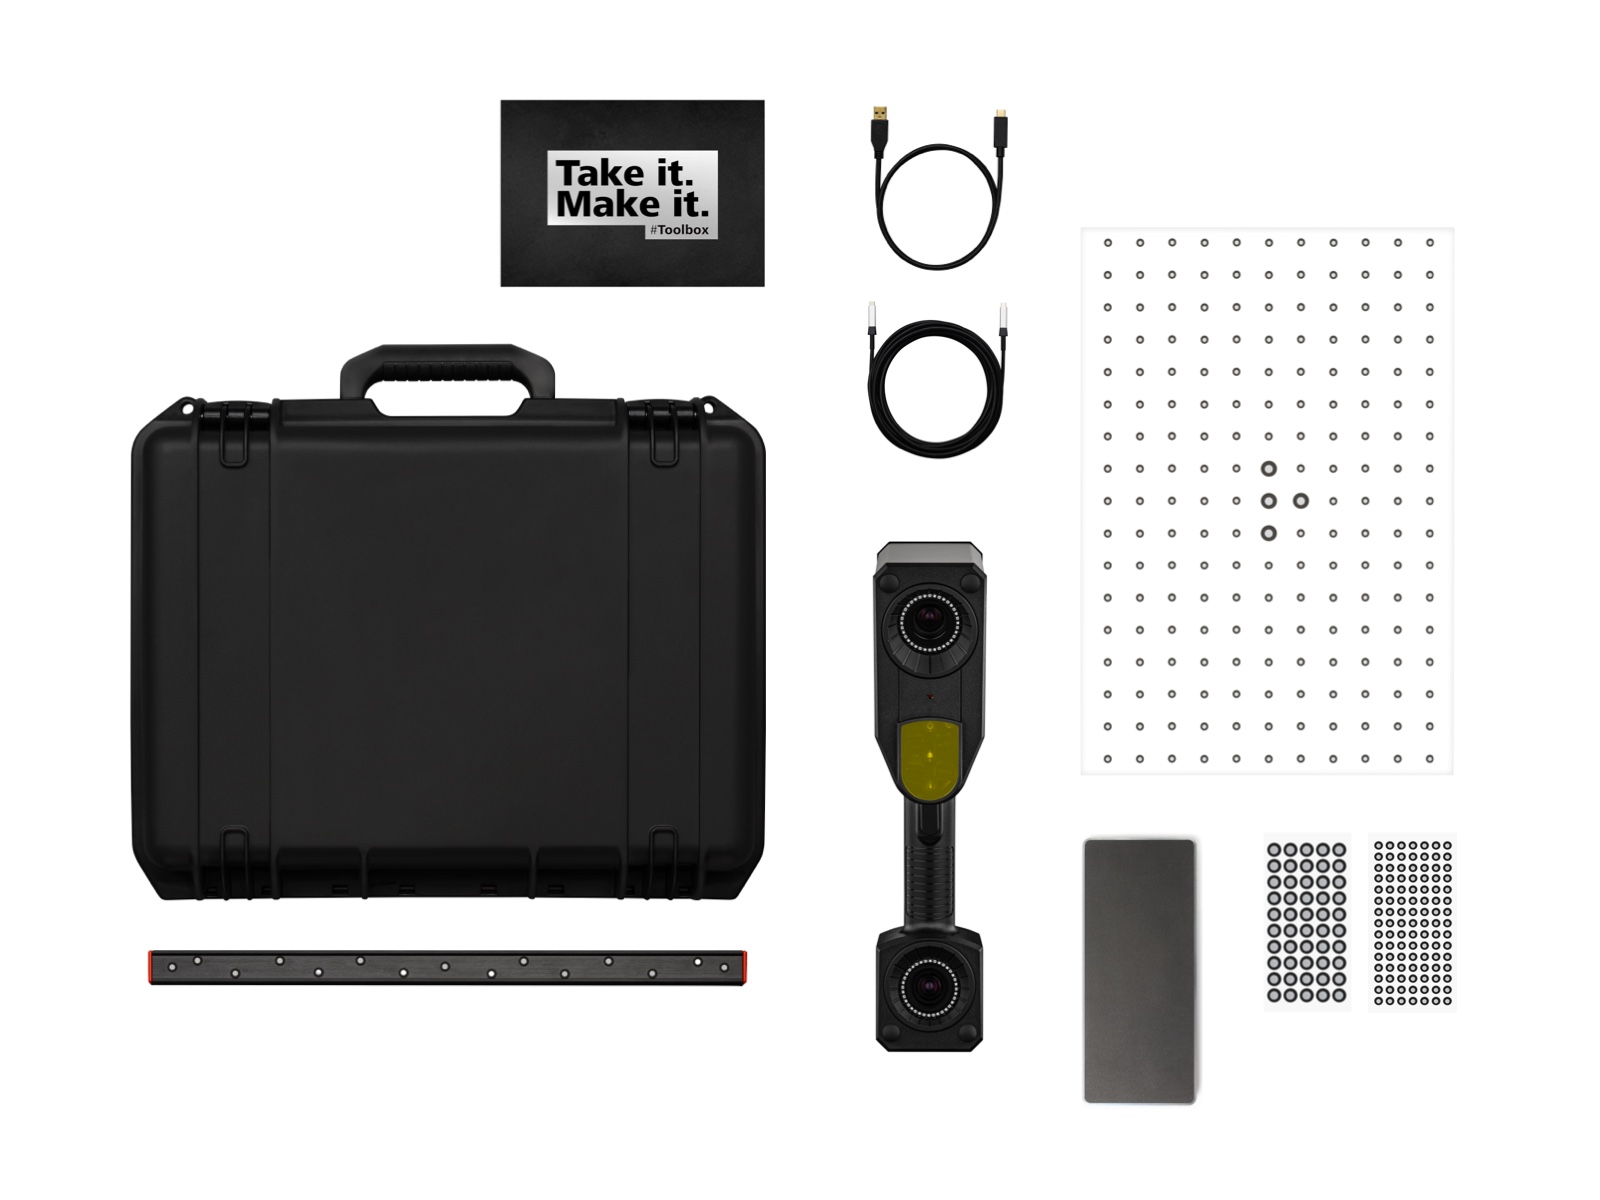
Tutto a portata di mano: la vostra custodia da viaggio
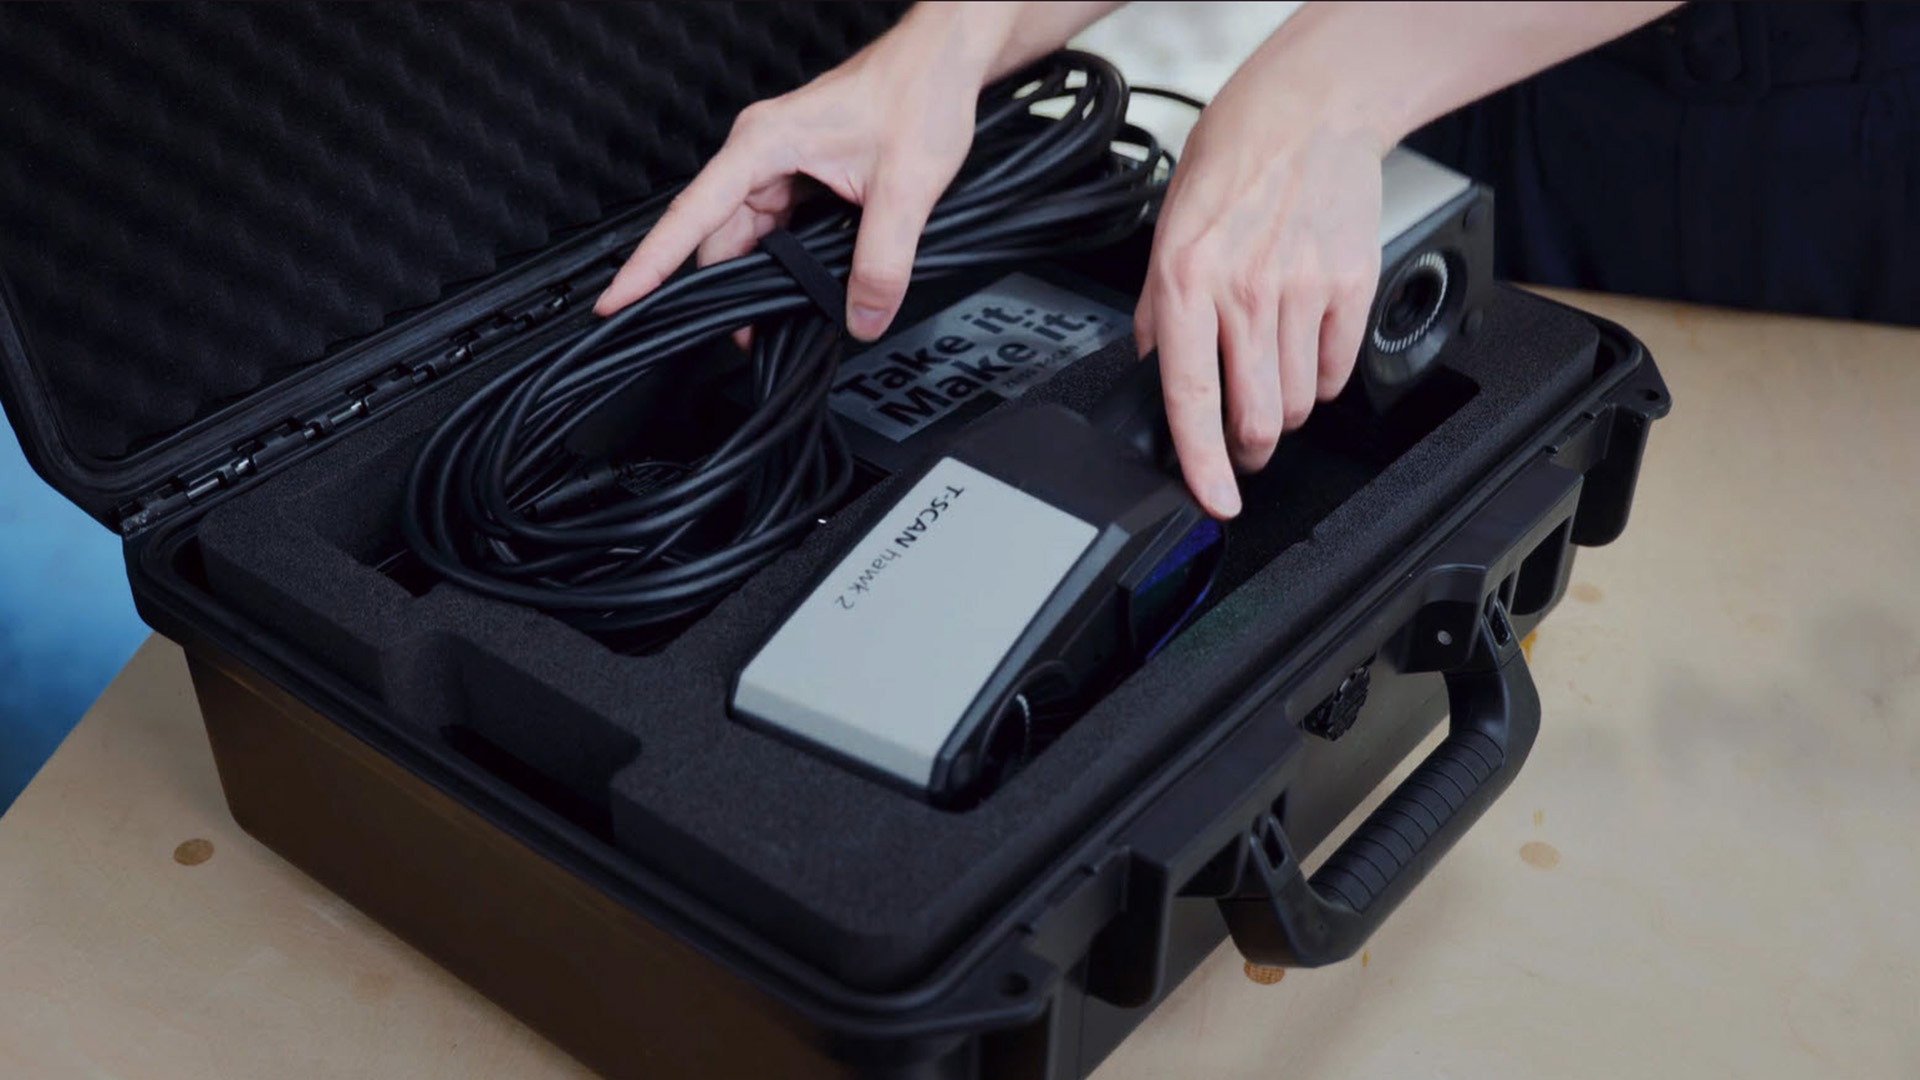
Che lo portiate in produzione o all’esterno, lo scanner laser 3D viaggia con voi all’interno di una sola custodia contenente strumenti aggiuntivi.
- T-SCAN hawk 2
- Pannello di calibrazione
- Iperscala
- Cassetta degli attrezzi
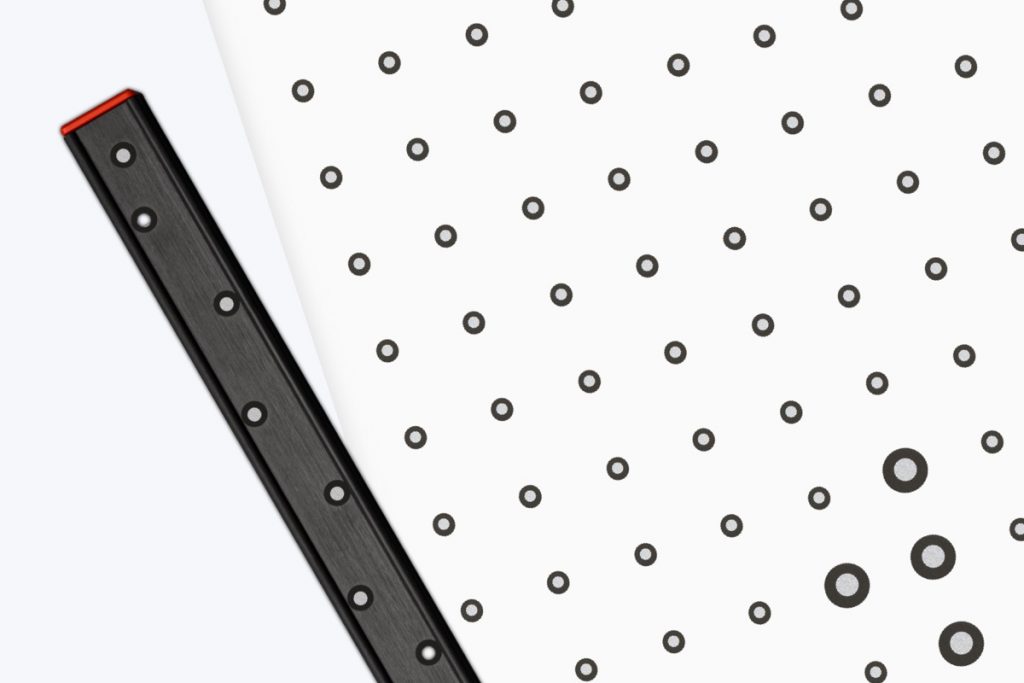
- Punti di riferimento
- Hub multipresa
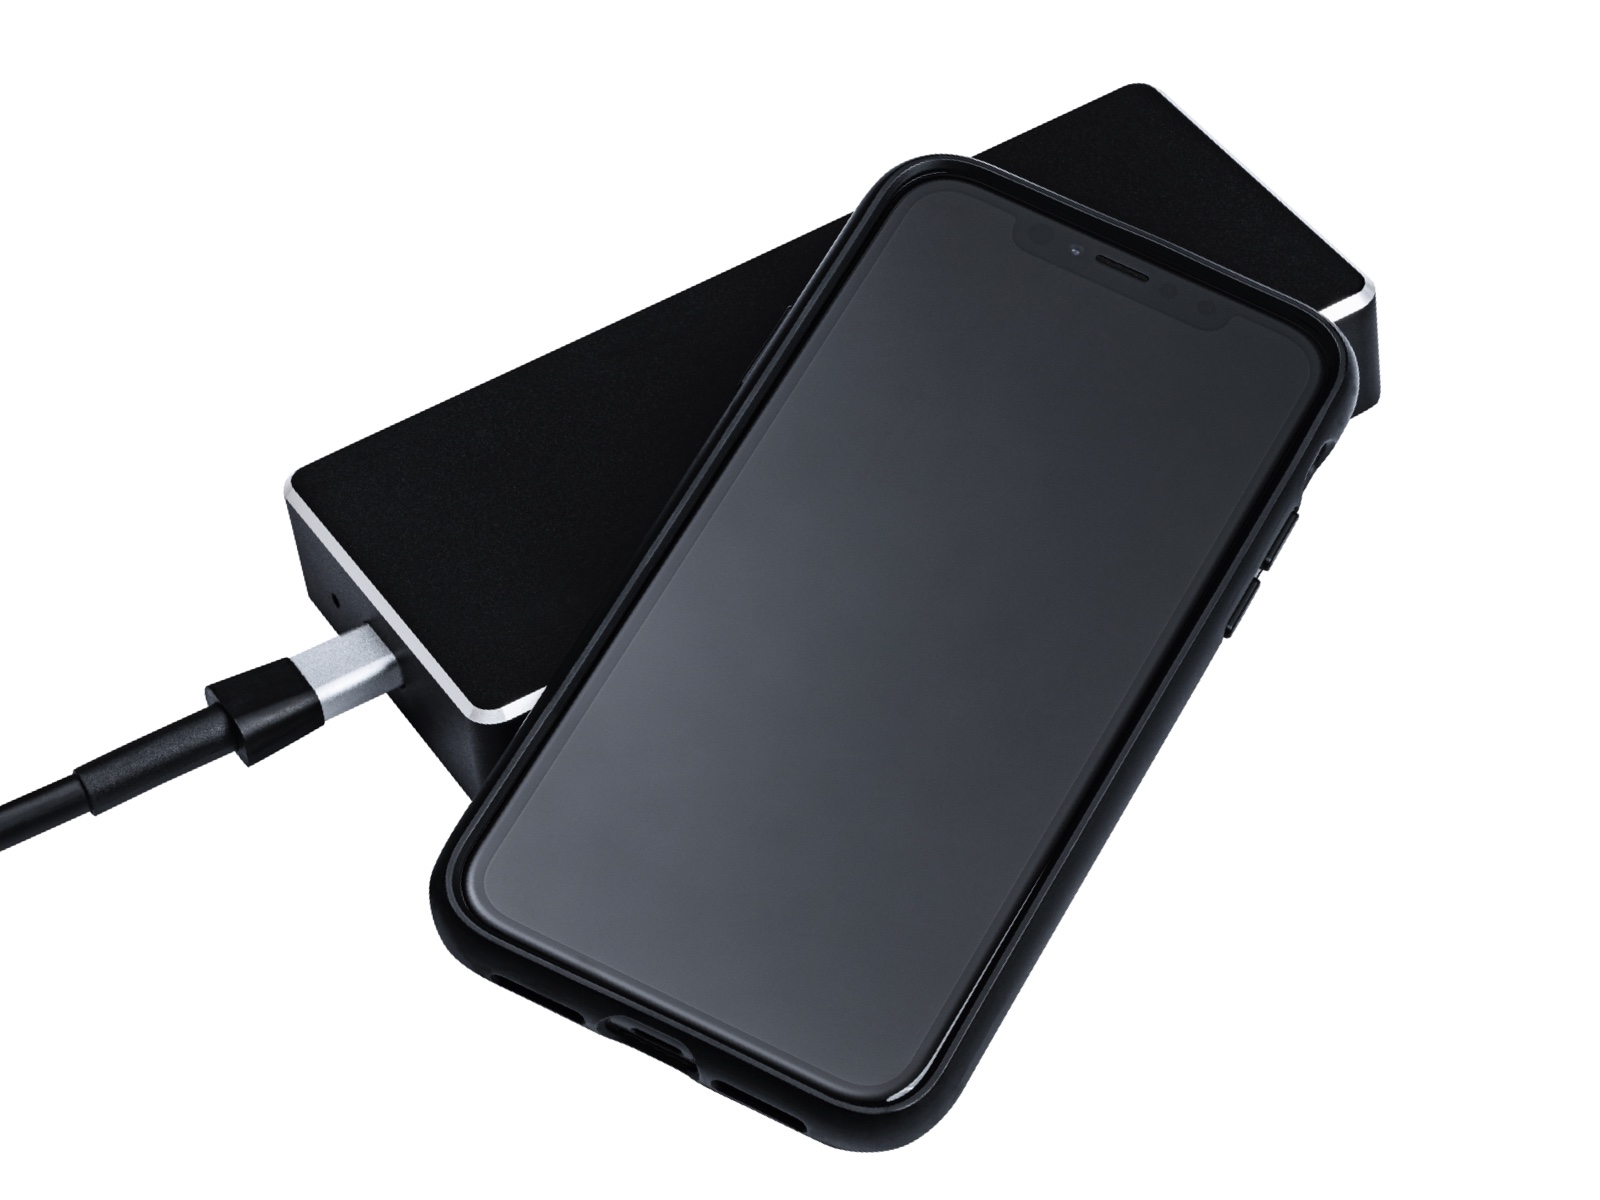
Rimanete collegati e alimentati
Il pratico hub non occupa molto spazio e collega il vostro sensore, il cavo di alimentazione elettrica e il vostro computer.

Esclusione di ciò che non serve
Le schede presentano punti di riferimento per la rapida definizione ed esclusione di uno sfondo che non serve.
Applicazioni
Manutenzione
- Ispezioni 3D di ammaccature, corrosione e danni
- Scansione 3D e rilavorazione di componenti fuori produzione
- In ambienti interni ed esterni, in condizioni difficili ed estreme
- Monitoraggio dell’usura

Reverse engineering
- Dalla forma al CAD
- Archiviazione di utensili e patrimonio culturale
- Riparazione di qualsiasi cosa, da piccoli dettagli a componenti molto grandi

Controllo qualità
- Confronto dati attuali con CAD
- Dimensionamento funzionale
- Ispezione in reparto di produzione
- Riduzione del numero di iterazioni nel processo

Design
- Digitalizzazione di forme complesse e oggetti fisici
- Modifica del design
- Design di interni

Settori industriali
- Automobilistico
- Navale
- Ferroviario
- Aerospaziale
- Generazione di energia
- Industria Oil & Gas
- Agricoltura, silvicoltura e industria estrattiva
- Industria pesante
- Fabbricazione di stampi e macchine


Dati tecnici
(1) D-K-21312-01-00 a norma DIN EN ISO/IEC 17025:2018
(2) Collaudo basato sulla ISO 10360
Volete scoprire di più?
Mettetevi in contatto con il vostro partner #HandsOnMetrology locale.
Scopri di più
i
Please select the topic you seek more information aboutHow to measure in production
Small and portable: the ZEISS T-SCAN hawk 2 is made for the use in production. See here how it supports your complete process chain from data collection for reverse engineering, different inspection tasks to the digital assembly of produced parts.
Do you want to find out more about the portable 3D laser scanner T-SCAN hawk 2? Visit HandsOnMetrology.com/sessions
How to scan large objects using a portable 3D scanner
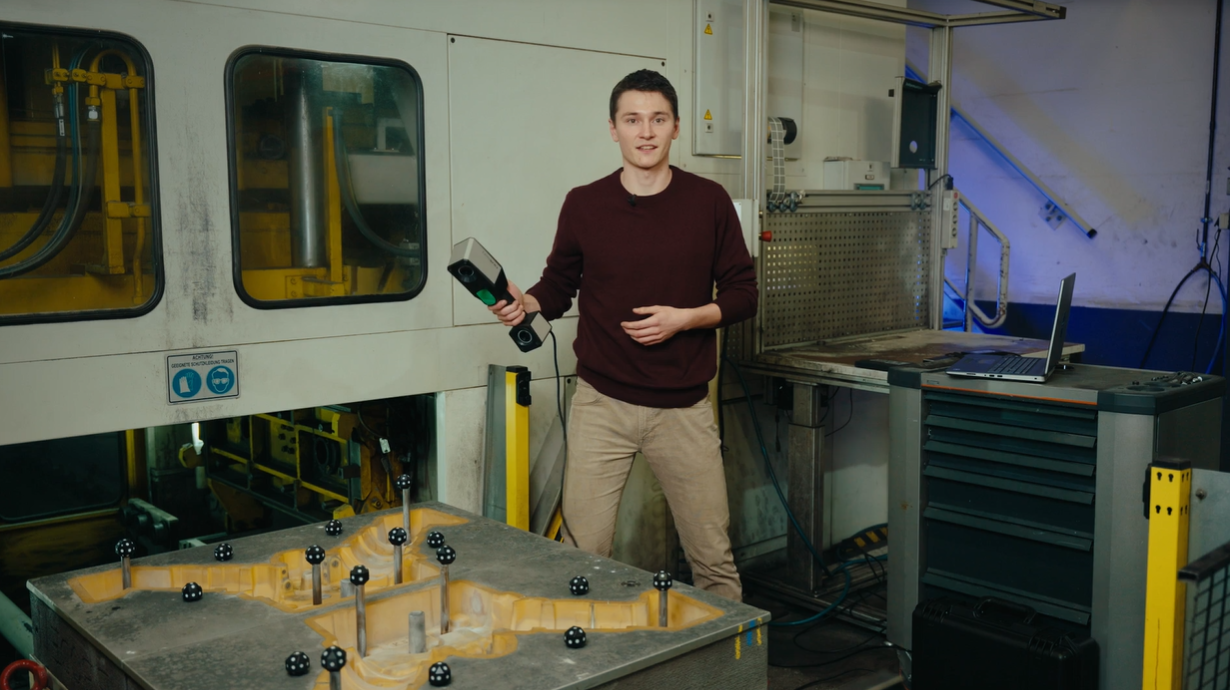
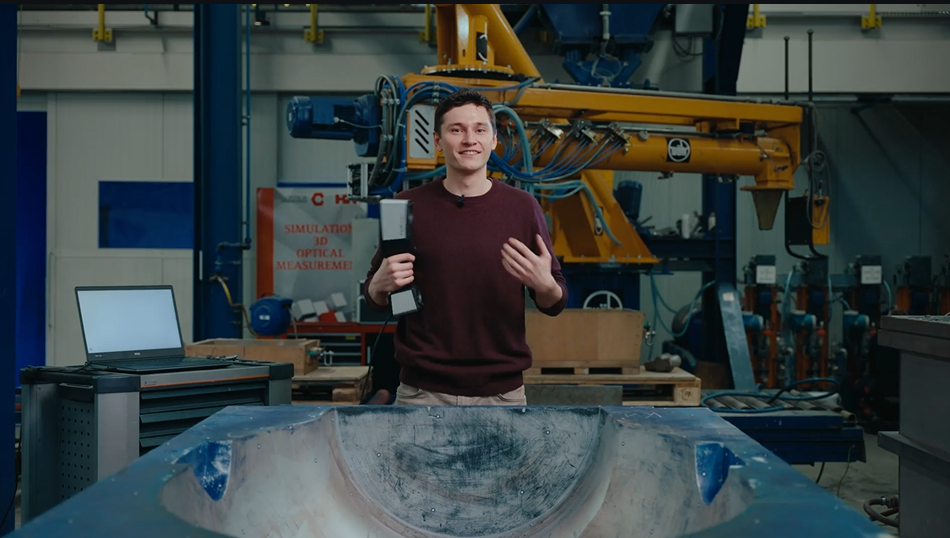
Learn how to measure big parts, like sand molds. Roel is using the new Satellite Mode of the ZEISS T-SCAN hawk 2 – replacing the built-in photogrammtry of the previous scanner generation. Together with scale bars, reference points and the big field of view of the handheld sensor, it is a powerful combination which ensures highly accurate data.
How does satellite mode work and why do you need it
Scanning larger parts can be challenging. We simplified the the process with the new satellite mode of the handheld laser scanner ZEISS T-SCAN hawk 2. It does without coded markers thus preparations are easy and fast. Learn more about the advanced way of photogrammetry here. Got any questions? Contact us via support@HandsOnMetrology.com.
How to use a 3D scanner for dent detection
Looking for a way to speed up and refine your aircraft MRO? Let Roel show you how the ZEISS T-SCAN hawk 2 and the Inspect Software aid in various inspection tasks, like GD&T, CAD comparisons or defect maps. Got any questions on 3D scanning? Contact us via support@HandsOnMetrology.com
How to use a 3D scanner in confined spaces
In this How to Roel is scanning complex and hard to reach areas of a van interior. Whether for inspection or design purposes – the ZEISS T-SCAN hawk 2 is the perfect fit for extracting accurate and complete dimensions in confined spaces. Got any questions on 3D scanning? Contact us via support@HandsOnMetrology.com
T-SCAN hawk 2: Unboxing your new 3D laser scanner
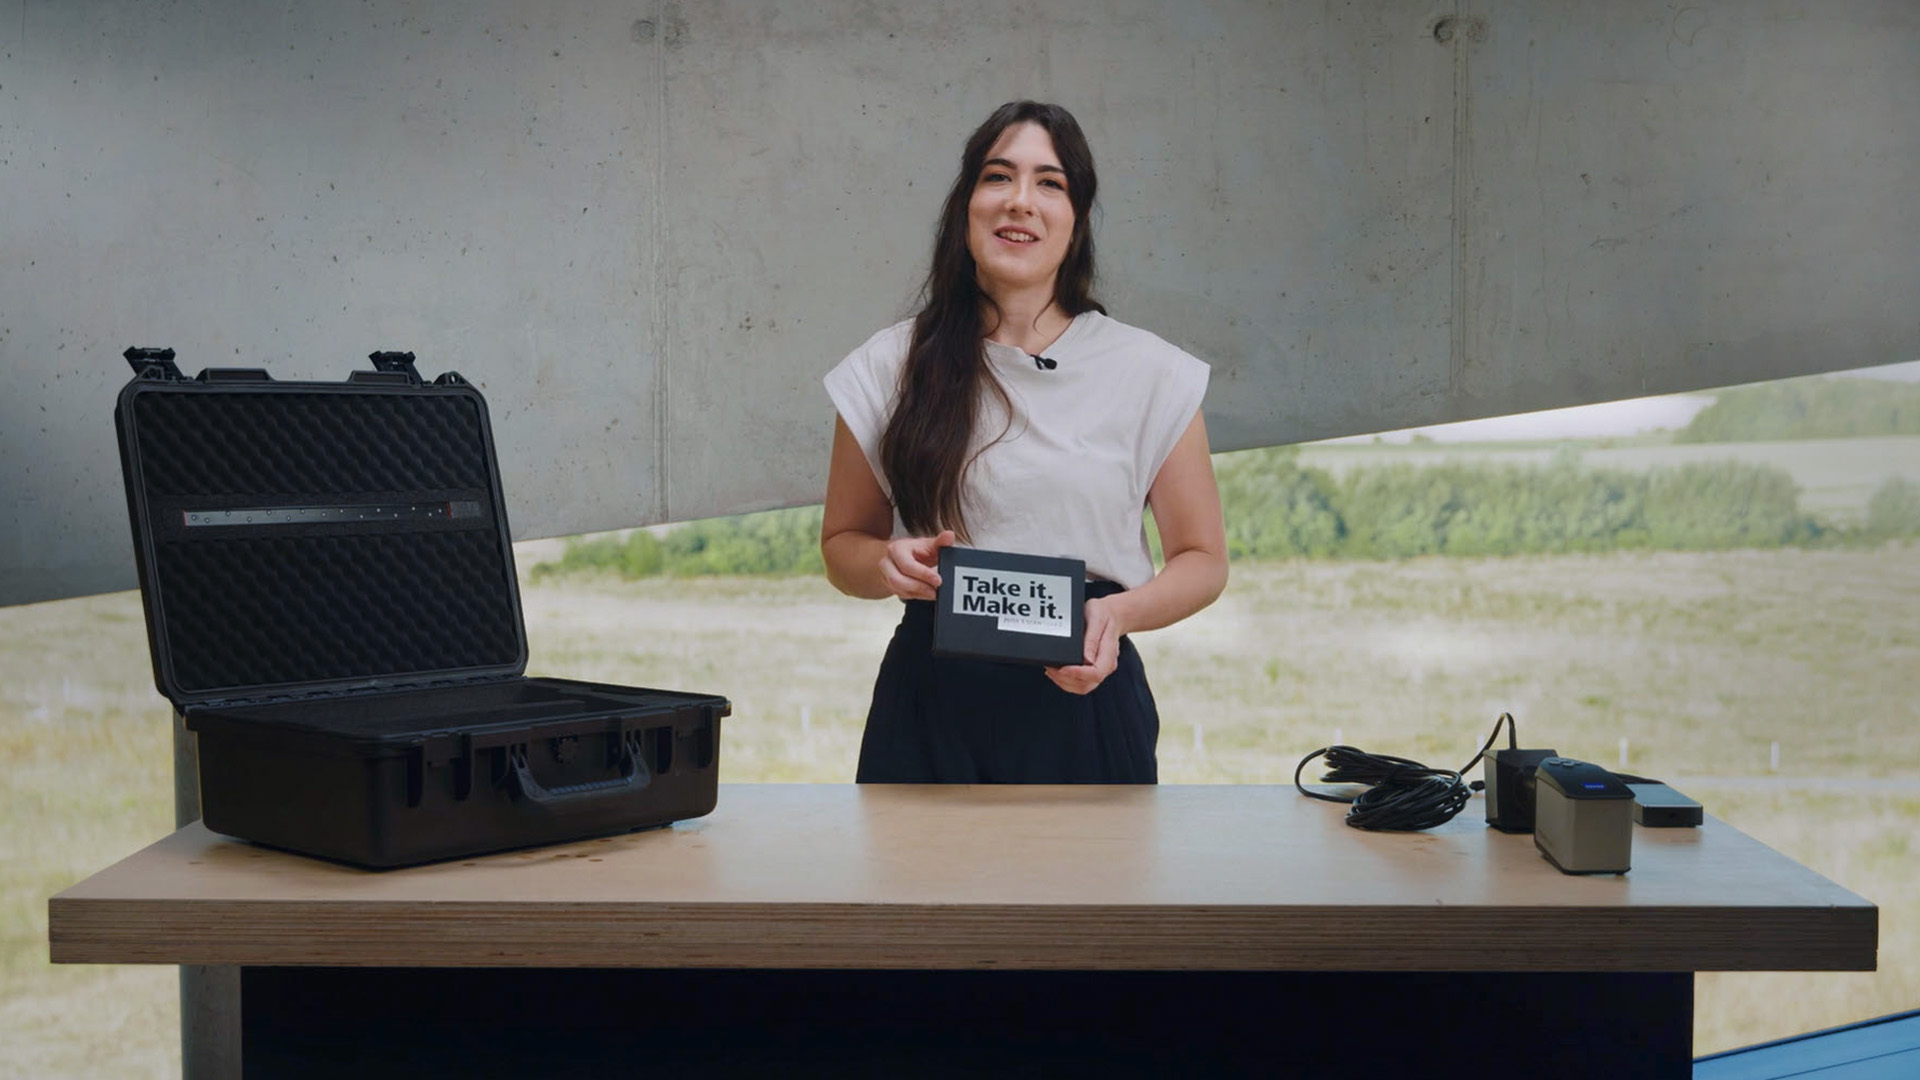
Get started with your T-SCAN hawk 2. In this first episode you get to unbox the new hand-held laser scanner together with Aysel. Whether the power cable, the calibration panel or reference points, we got you covered for easy, fast and precise 3D scanning. Have you got any questions about 3D scanning? Contact us via support@HandsOnMetrology.com
T-SCAN hawk 2: The setup
Want to know what to consider when setting up your new T-SCAN hawk 2? Let Aysel show you an easy step-by-step guide for starting your laptop as well as the system. Get ready for your first scan with the T-SCAN hawk 2! Have you got any questions about 3D scanning? Contact us via support@HandsOnMetrology.com
T-SCAN hawk 2: Your first use of ZEISS INSPECT
In our Getting Started we demonstrate how easy it is to start scanning with the T-SCAN hawk 2. Besides the calibration process, Aysel navigates you through the ZEISS INSPECT software and gives useful tips and tricks for your first scan.
All functions shown are available in the current software version.
Have you got any questions about 3D scanning? Contact us via support@HandsOnMetrology.com
T-SCAN hawk 2: Scanning in ZEISS INSPECT
Have a look at the remote workflow which guides you through different scanning task with ease. Aysel applies the common scanning strategy of scanning one side of the part only. The buttons on the backside of the scanner simplify the process, even when scanning deep pockets.
All functions shown are available in the current software version.
Got a question? Contact us via support@HandsOnMetrology.com
T-SCAN hawk 2: Scanning with reference points
Have a look at how to easily scan both sides of your part using reference points. With just a push of a button on the T-SCAN hawk 2, the guided workflow assists in the scan. The software optimizes the polygonization of the final mesh. Have you got any questions about 3D scanning? Contact us via support@HandsOnMetrology.com
T-SCAN hawk 2: Scanning without reference points
You are scanning a lot of 3D geometries? Then go ahead and try the scanning strategy Aysel presents in this Getting Started: Scanning without any reference points. Just select the right template in the software, define the background plane and start your 3D scan. Have you got any questions? Contact us via support@HandsOnMetrology.com
T-SCAN hawk 2: The new Satellite mode
In this Getting Started we demonstrate how to accurately scan large parts with photogrammetry. The new integrated satellite mode ensures precise pre-referencing. No other features, like coded markers, are necessary. Watch the video to see the T-SCAN hawk 2 unleash its full potential.
Do you want to find out more about the portable 3D laser scanner T-SCAN hawk 2? Visit HandsOnMetrology.com/sessions
T-SCAN hawk 2: Scanning fine details
Whether you are scanning large parts with local details or a completely detailed part, T-SCAN hawk 2 is the right solution. Let Aysel explain you, how to operate the scanner and get useful tips and tricks for both cases. Have you got any questions? Contact us via support@HandsOnMetrology.com
T-SCAN hawk 2: Scanning deep pockets
Your challenge is to scan deep pockets of a part? The single laser line mode of the T-SCAN hawk 2 allows you to scan even deeper into wholes. Watch the Getting Started to learn more about the detailed scan of hard to reach areas. Have you got any questions on 3D scanning? Contact us via support@HandsOnMetrology.com
T-SCAN hawk 2: All features of the remote control buttons
Let Aysel show you the different possibilities of the control buttons on the back of the T-SCAN hawk 2. It makes starting the remote workflow, zooming in and out, opening the menu and more as easy as a push of the button. Have you got any questions on 3D scanning? Contact us via support@HandsOnMetrology.com
T-SCAN hawk 2: Accessories
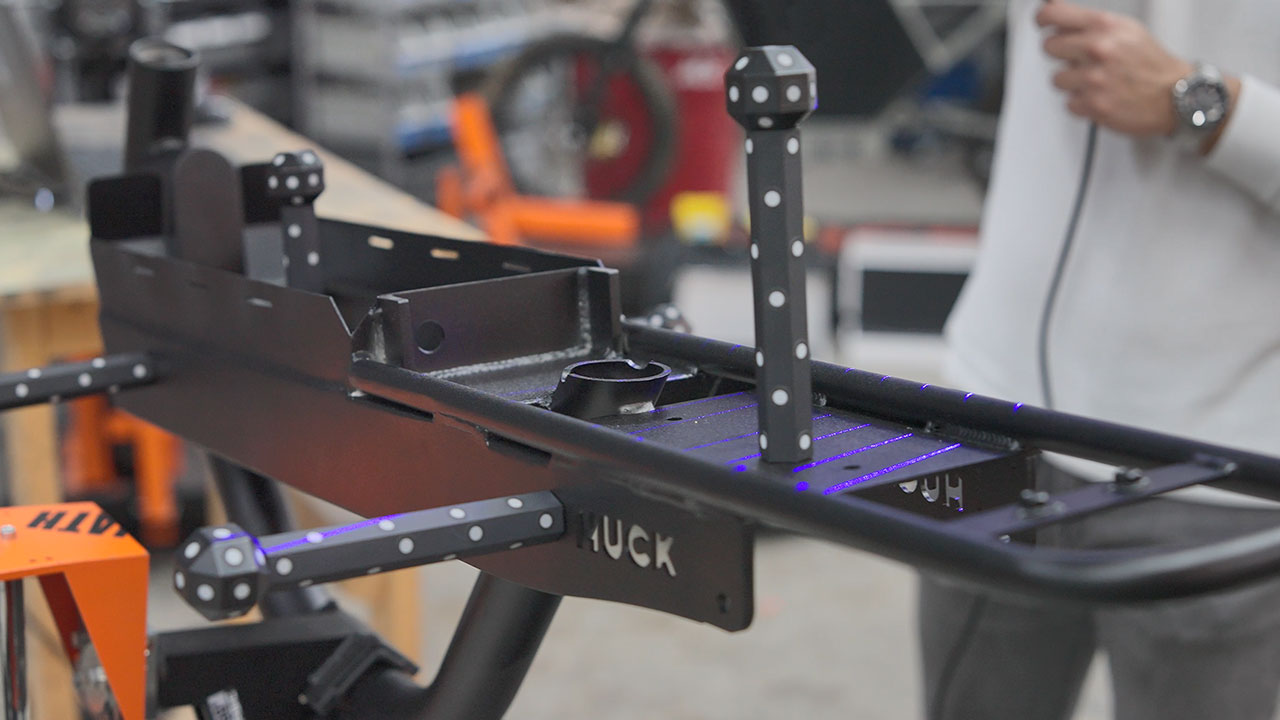
You want to scan your parts without sticking reference points on it? We have the right accessory for you: the magnetic reference pillars. Placing them around the part ensures easy, intuitive and accurate data collection. Have you got any questions on 3D scanning? Contact us via support@HandsOnMetrology.com
T-SCAN hawk 2: Get some useful tips & tricks
Need more tricks on the new T-SCAN hawk 2? Aysel is going to reveal useful tips that make your scanning process even more successful. Get more information on topics, like exposure modes, scanner orientation, defining background planes and customizing workflows. Have you got any questions on 3D scanning? Contact us via support@HandsOnMetrology.com
How to perform fast inspection in electric motorcycle assembly
Components with different tolerances, make building safe motorcycles a challenge. Let Alex show you how easy it can be to inspect single motorcycle components and the digital assembly with ZEISS T-SCAN hawk 2 and the inspection software of the ZEISS Quality Suite. Got any questions on 3D scanning? Contact us via support@HandsOnMetrology.com
How to weld check on electric motorcycle frames
The basic structure of a motorcycle is the welded frame. Weld inspection is therefore necessary not only to maintain quality of parts, but also for customer safety. With the ZEISS T-SCAN hawk 2 and the weld inspection package of the ZEISS Quality Suite, you can easily scan, classify and inspect welds. Let Juan show you how it’s done.
Got any questions on 3D scanning? Contact us via support@HandsOnMetrology.com
How to 3D scanning for wear control in MRO
Wear and tear of production equipment causes malfunctioning, delays, downtime. In this How to, Roel shows you how 3D scanning is used to implement predictive maintenance – and therefore keep production running efficiently.
Got any questions on 3D scanning? Contact us via support@HandsOnMetrology.com
How to reproduce unavailable spare parts in MRO
Currently facing the challenge of reproducing unavailable spare parts? 3D scanning might be the solution you need to minimize risky downtime. By capturing the dimensions of the equipment, a reproduction is possible in no time. Watch the How to to learn more about it. Got any questions on 3D scanning? Contact us via support@HandsOnMetrology.com
How to set up a digital warehouse with 3D scanning
3D scanning helps to create your digital warehouse in MRO. With the digital copy you have important information at hand in the event of a sudden defect. Reduce costs due to extended downtime or storage, and easily access your digital inventory where and when you need it. Got any questions on 3D scanning? Contact us via support@HandsOnMetrology.com
How to 3D scanning for fast and efficient incoming inspection in MRO
Keeping equipment in good condition is necessary for an efficient production process. 3D scanning helps to capture all dimensions of parts for a fast inspection. Roel shows you how reparation or modification of equipment can be done using hand-held solutions. Got any questions on 3D scanning? Contact us via support@HandsOnMetrology.com
How to scan large parts using ZEISS T-SCAN hawk 2
Looking for an easy and intuitive way to 3d scan large parts up to multiple meter? Then the 3D laser scanner ZEISS T-SCAN hawk 2 with the new satellite mode is the right solution for you. Let Matthias show you how it’s done.
Do you have any questions about ZEISS T-SCAN hawk 2? Contact us via support@HandsOnMetrology.com
