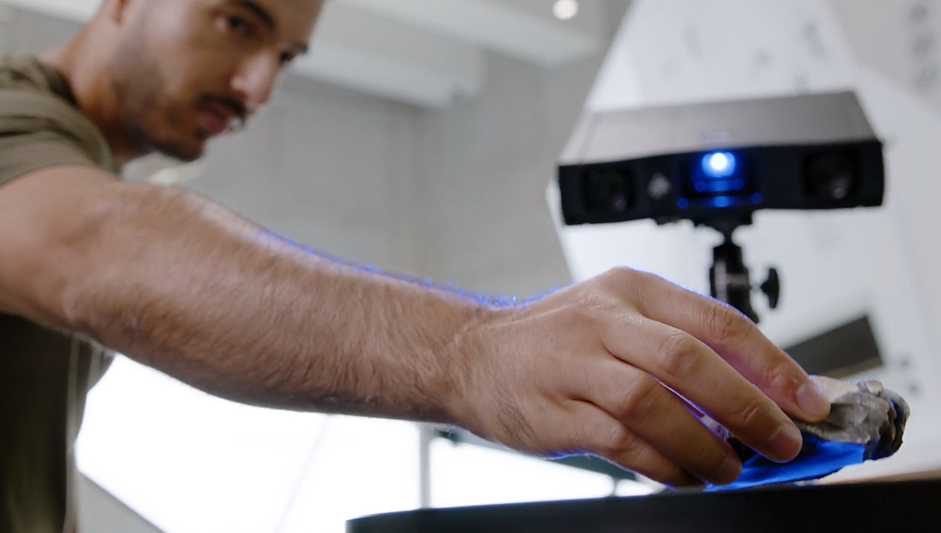
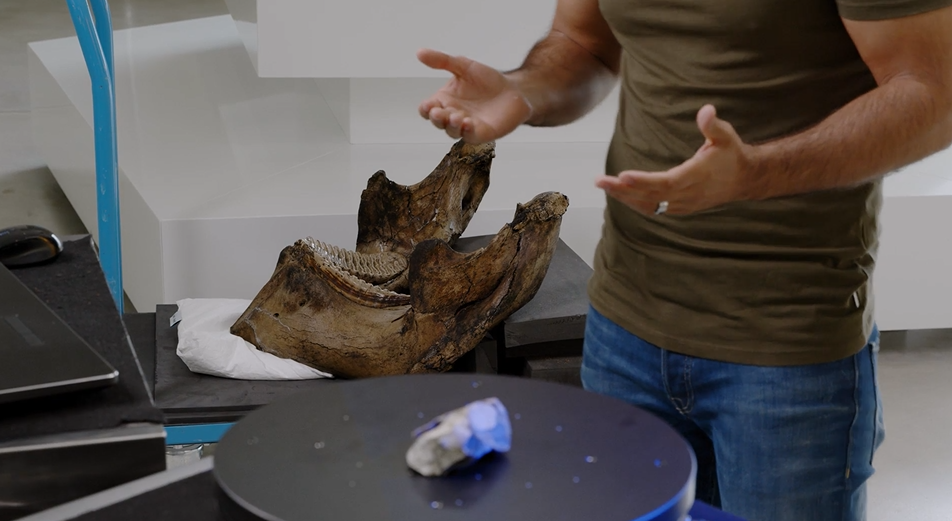
The base for all archeology projects is high-accuracy scan data. Whether small objects, like stones, or large parts, like an elephant jaw, the creation of an authentic mesh is possible. Even the digital assembly of multiple parts becomes feasible with the scan data in the software.
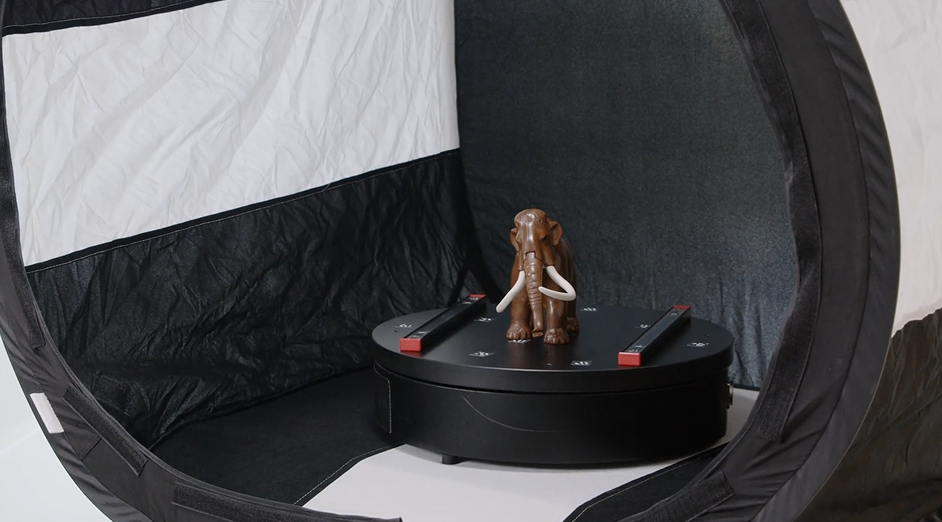
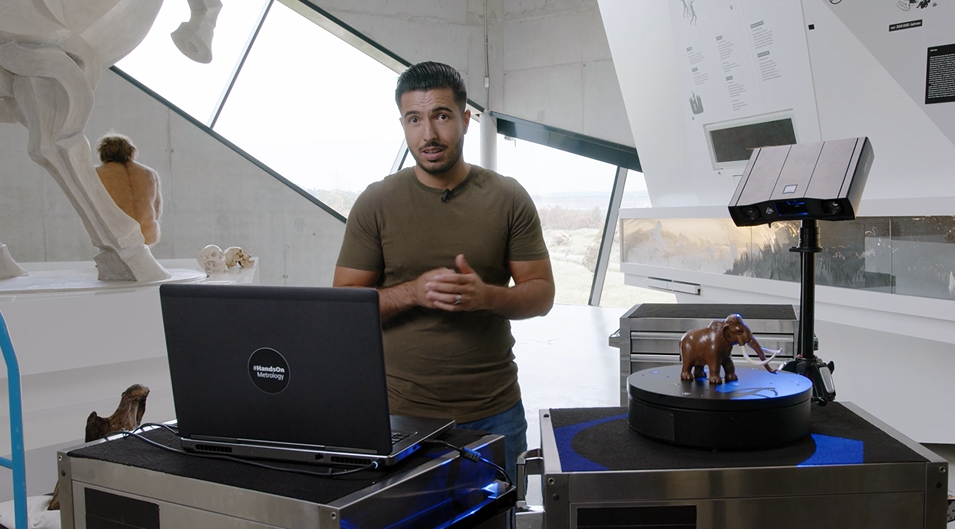
To visualize the generation of colored and textured meshes in archeology, a little figurine of a mammoth is scanned.
1. Step: Photogrammetry
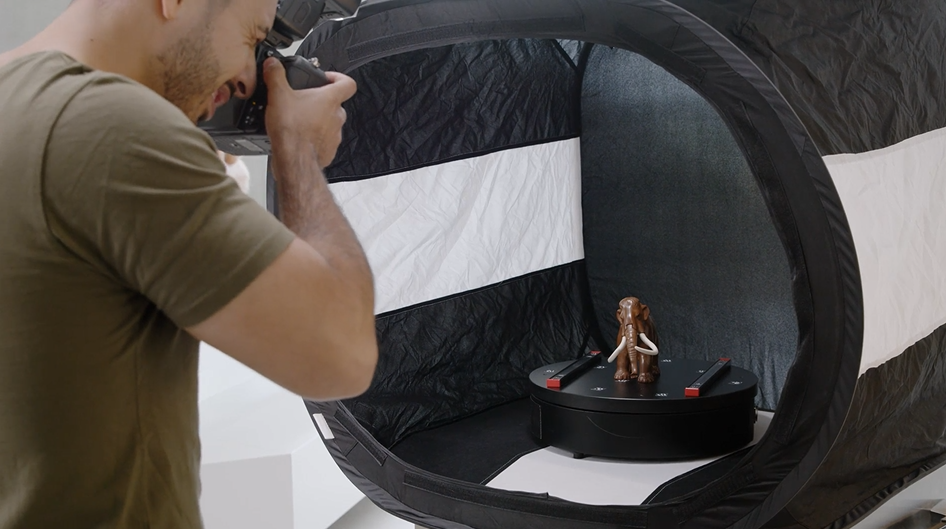
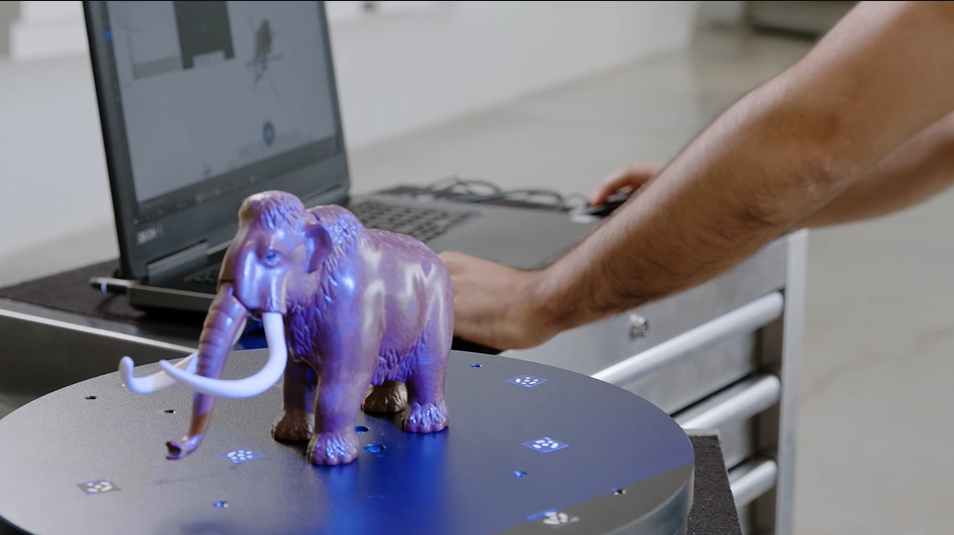
Preparation is key for photogrammetry. In this case we used a lightbox to ensure good lighting conditions without any interference from the environment. For maximum ease of use we placed the object on a rotation table. Taking photos from all perspectives becomes fast and intuitive. For precise and stable photogrammetry as well as the automatic mapping of the taken pictures on the mesh later on, scale bars and coded reference markers are used. All the prep work ensures a realistic color representation without any lens distortion.
The collection of photos is now realized with the digital reflex camera.
2. Step: Scanning the original
After photogrammetry is successfully completed, scanning the object is necessary. Here the GOM Scan 1 is being used. It collects high-detailed data and the different measuring volumes allow for the scanning of various part sizes. Furthermore, its lightweight and compact design is predestined for the mobile use.
Here also the rotation table comes into use for a semi-automated and therefore simplified application.
Pre-define the rotation steps (here we used 8). Optionally, you can operate the workflow assistant in the inspection software which guides you through the process.
After finishing the scanning, polygonization of the scan data follows. From it you create an exact mesh – ready for the finishing touches.
3. Step: Finalizing mesh in the software
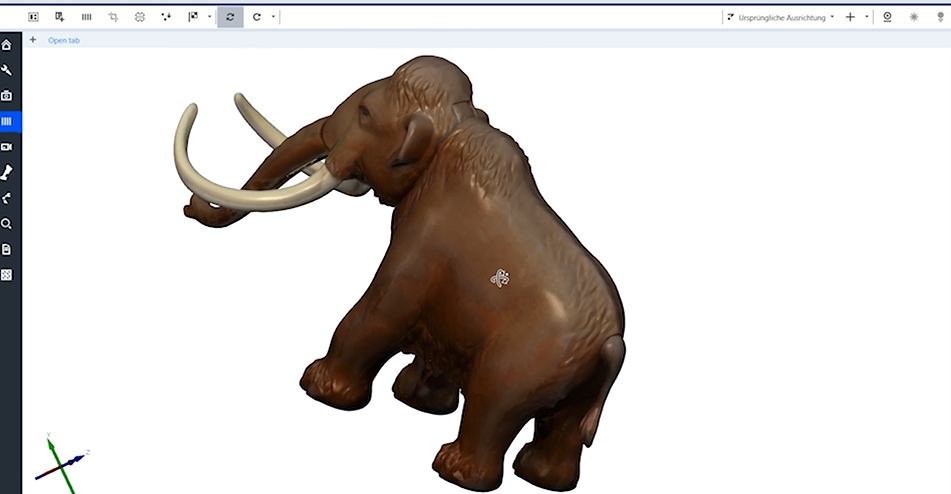
You are now just one step away from a high detailed mesh – showing the color and texture of the objects. In the inspection software the goal is achievable in no time. The photos taken during the photogrammetry process aid now in the realistic visualization of the scanned item. With just a few button clicks, the collected visual information can be transferred to the plain mesh in the software. You literally receive a digital twin of the part which is as true to the original as possible.
Check the inspection software now
You want to convince yourself of the endless evauation possibilities of the inspection software in the ZEISS Quality Suite? Download the software here and try for yourself.
It’s only the beginning: next steps with the final mesh
Now you have your colored and textured mesh, but what’s next?
Have you thought about starting a rendering of the mesh? Or maybe 3D printing is on the agenda. Whatever the task, with the accurate mesh, further work will proceed successfully.
Experience GOM Scan 1
and your possibilities with it now.
