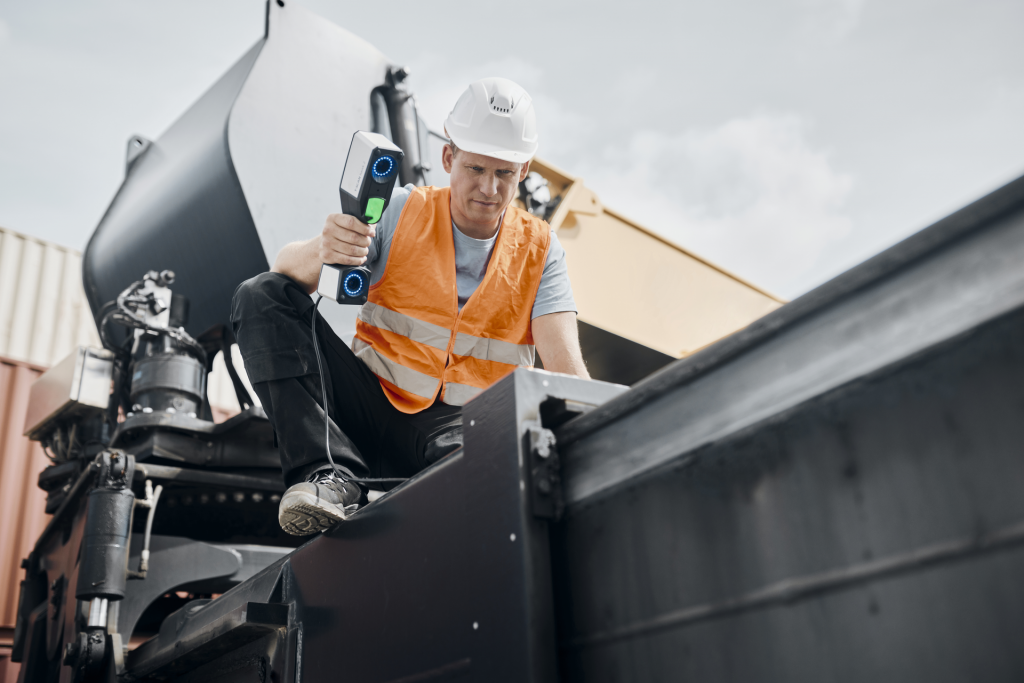
What is MRO and why should you use it?
A company’s success is not only based on high quality raw materials and finished products. Good conditions of the facilities and production equipment also are an important factor when it comes to maximum efficiency.
However, due to the regular use of equipment and other factors, like corrosion, erosion or cavitation in production, wear and tear is usually unavoidable. Control valves, pumps, turbines and compressors are particularly affected. To keep the equipment in good condition and running smoothly, quality control of the vital components and pressure-bearing parts is necessary. By doing so, setups, in form of malfunctions, delays as well as downtimes which disturb the production process, are avoided.
3D scanning doesn’t need to be performed by highly-skilled technicians only
3D scanning for the quality control in MRO processes has several advantages. The intuitive use of 3D scanning solutions ensure that you have necessary data available in no time. That being said, not only highly-skilled users can operate the systems. Even beginners, who are new to 3D scanning can start scanning without training. By using it quickly and universally, you ensure that the setups are eliminated as quickly as possible. The independence from the object to be scanned also makes 3D scanning predestined for maintenance. Whether large or small equipment, different shapes, or materials – the scanning technologies are suitable for a variety of applications.
3D scanning technologies for MRO processes
3D scanning is a versatile technology which can be used for Maintenance, Repair and Overhaul. It supports simple as well as more complex MRO projects with the divers scanning approaches of the 3D scanners. No matter what the task, there is a 3D scanning solution:
Stationary 3D scanner
Mobile 3D scanners at ZEISS use high-speed fringe projection for short measuring times even on optically uncooperative surfaces. The solutions are tripod operated and support the stationary data collection. Mobile 3D scanners are made for a wide range of applications – according to the industry standard.
Hand-held 3D scanner
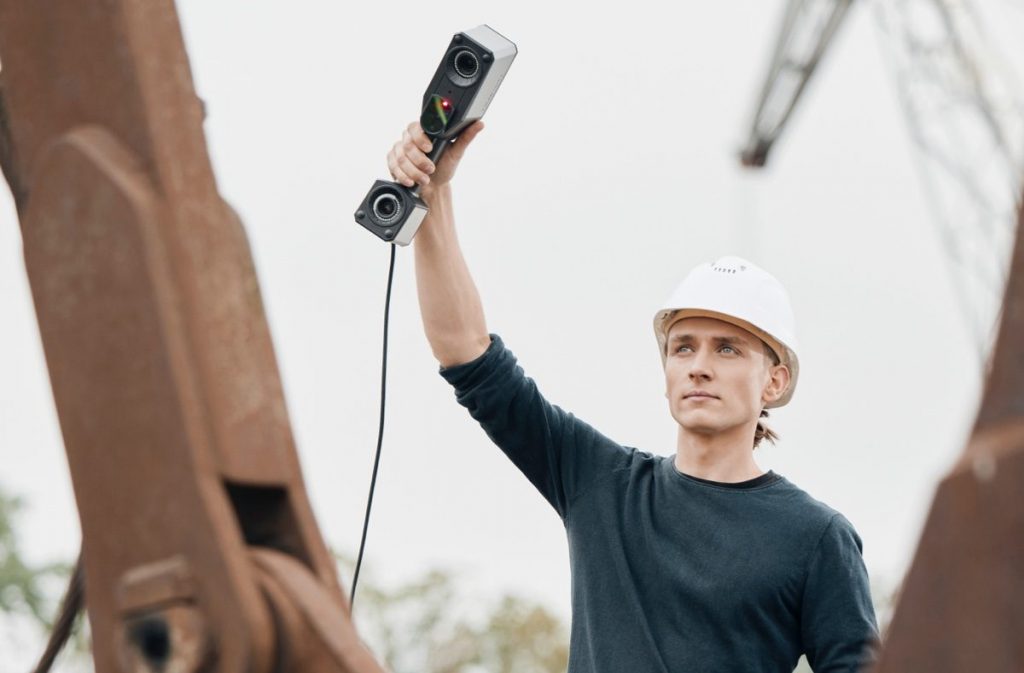
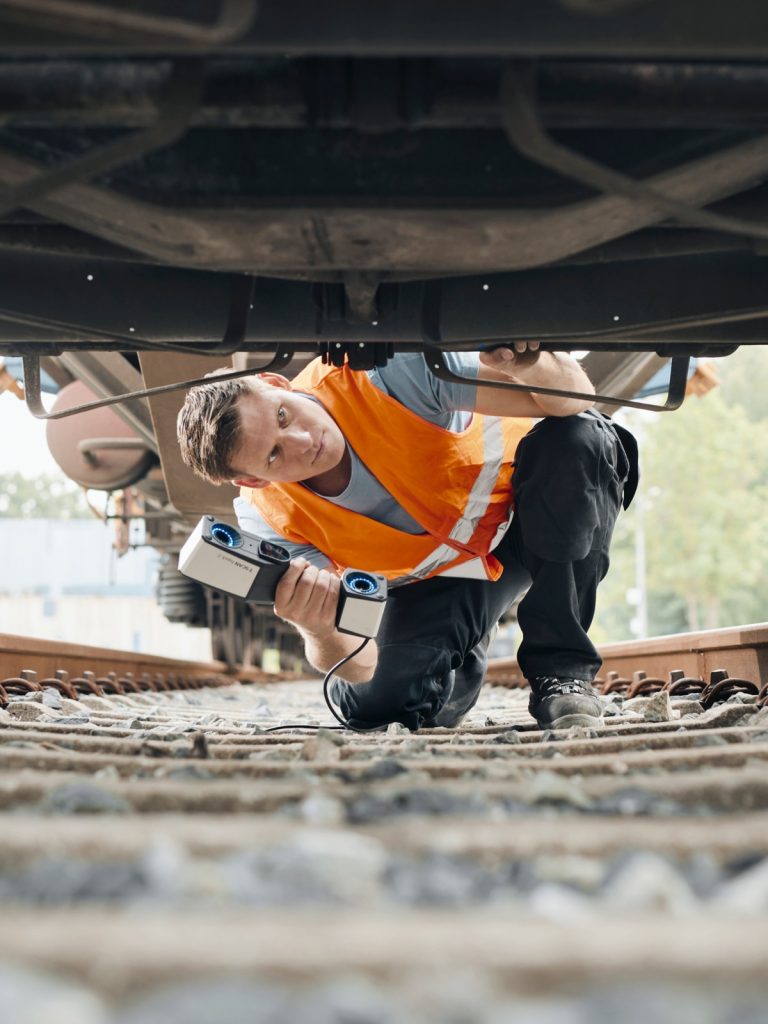
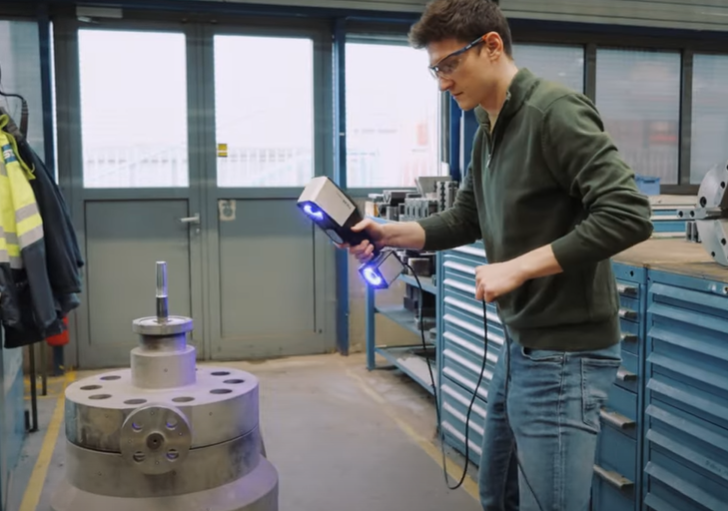
With the help of intense lasers projected onto the object, detailed data collection is also possible with hand-held solutions by ZEISS. These scanners especially support applications directly in production. They adapt to the individual hand movements of the user and can capture even deep or hard-to-reach areas to collect comprehensive part information.
Simple inspections: Inspecting a single part which needs maintenance
1.
Start collecting reference points of the part first and then collect reference points of the background to delete the background plane.
2.
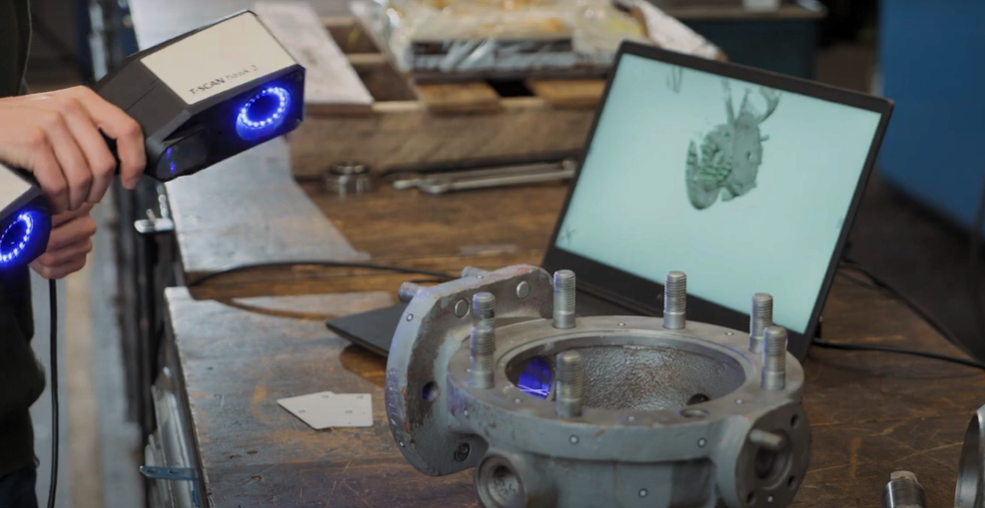
Start 3D scanning the part from all perspectives – either with the hand-held solutions by navigating the scanner around the part or by using a rotation table for stationary devices. In no time there will be a lot of data available.
3.
Use a suitable inspection software to evaluate the data and to perform all necessary evaluation steps, like GD&T analysis.
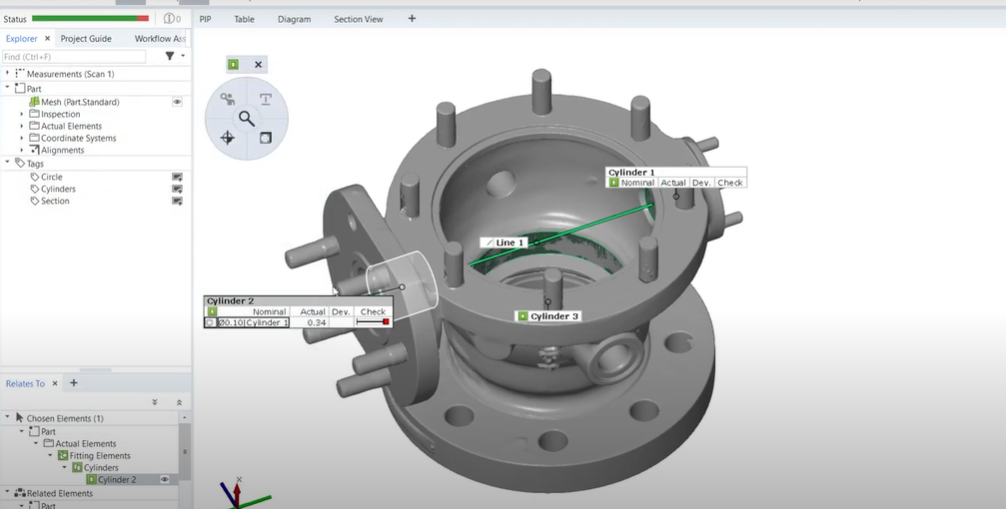
Complex inspections: Scanning assemblies to inspect internal wear and tear
1.
Collect the reference points of the assembly and the background plane to determine the part which needs to be 3D scanned.
2.
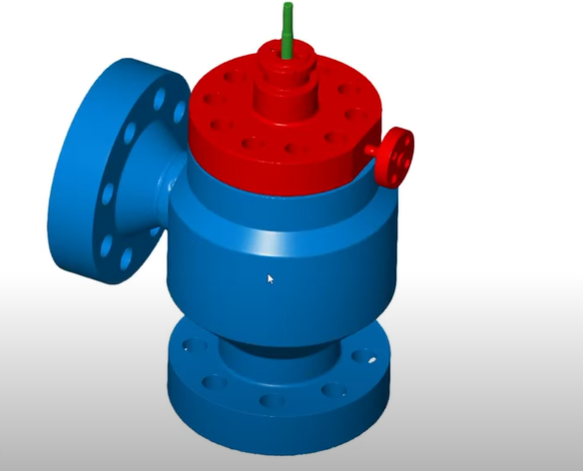
Use the 3D scanner to scan the whole assembly. Afterwards, each component gets scanned separately again.
3.
Use the inspection software to digitally assemble the components and evaluate the internal wear of the assembly.
Your benefits of 3D scanning in MRO
- With 3D scanning, a digital copy of your desired parts/components are collected and illustrated in the 3D inspection software. The inspection can be customized according to the individual inspection requirements.
- Furthermore, the 3D scanning technologies do not only qualify the wear and tear of equipment. It can also help implement predictive maintenance. Based on frequently checked parts and components, wear and tear can be foreseen. This allows to bypass time-critical repair processes, downtimes, or random quality assurance.
- With efficient scanning solutions and predictive maintenance, you can also carry out processes faster in the long term. The costs for maintaining the equipment are reduced sustainably and thus have a positive effect on the entire company processes.
