Fatto per costruttori
Una soluzione portatile per la scansione 3D:il
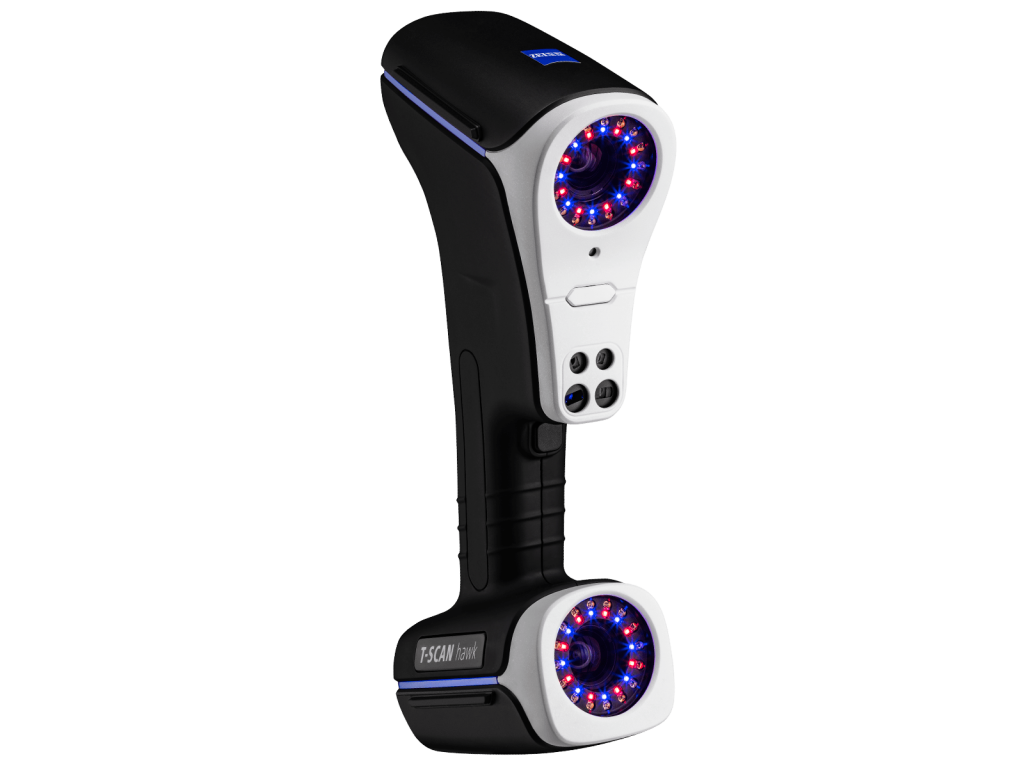
T-SCAN hawk di ZEISS
La vostra soluzione portatile per la scansione 3D e una semplice ispezione
Lo scanner leggero T-SCAN hawk di ZEISS con GOM Inspect
Fatto per essere portatile
Fatto per essere preciso
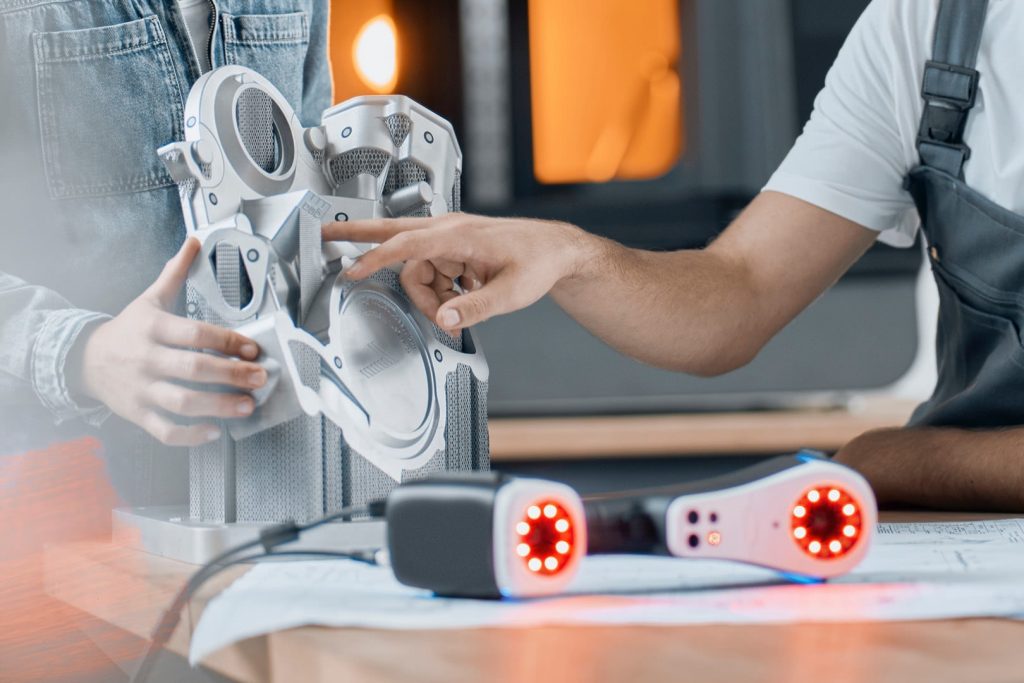
Il scanner 3D T-SCAN hawk include caratteristiche tecniche impressionanti quali la fotogrammetria di oggetti di grandi dimensioni, sorgenti laser multiple e tre modalità di scansione, il che lo rende la soluzione perfetta persino per dettagli fini o tasche profonde. Il risultato: dati 3D con la massima precisione.
Fatto per fare la differenza
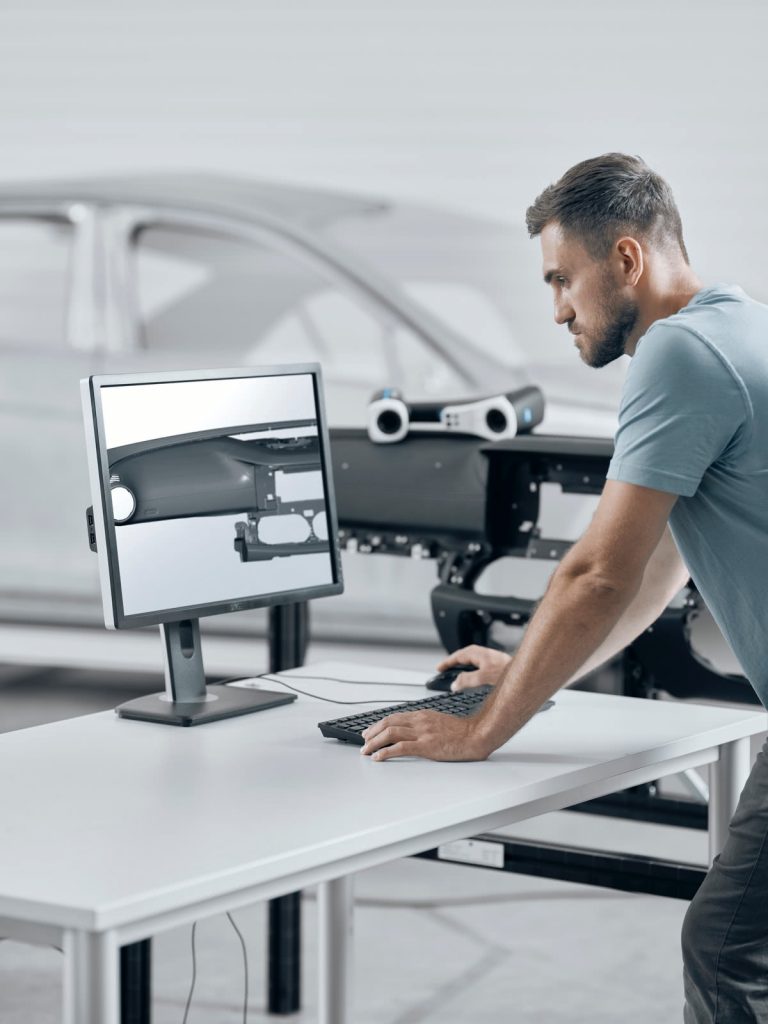
Il T-SCAN hawk con GOM Inspect preinstallato è una soluzione completa che vi permette di semplificare l’intero workflow, dalla scansione, alla valutazione fino alla generazione di rapporti.
Applicazioni
Reverse engineering
- Dalla forma al modello CAD
- Archiviazione di utensili e patrimonio culturale
- Qualsiasi cosa, da piccoli dettagli a componenti grandi
Manutenzione
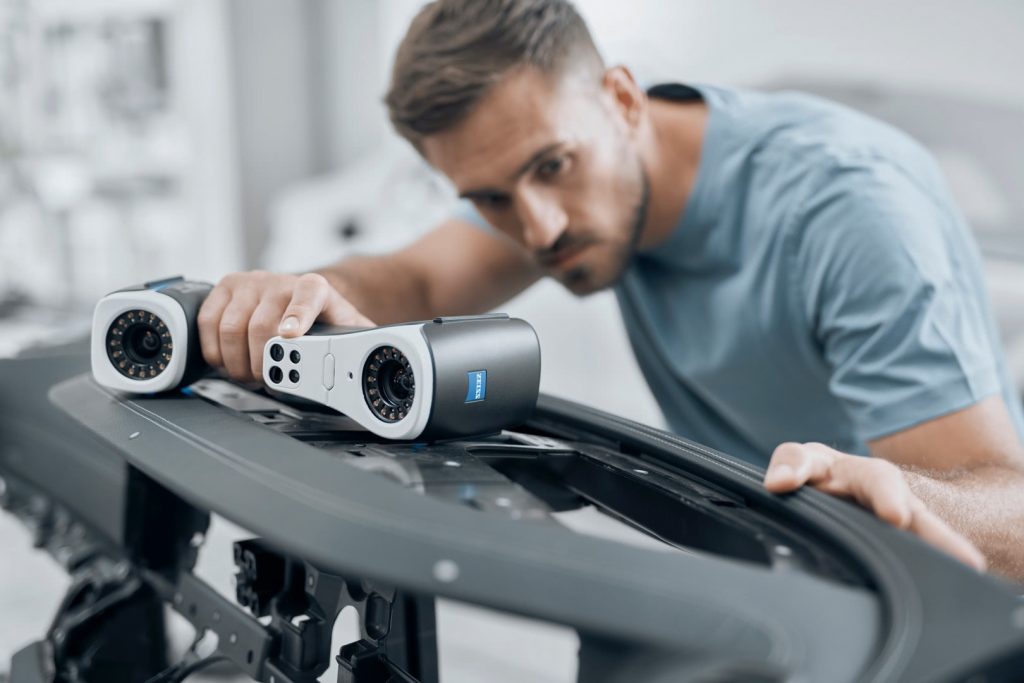
- Facile ispezione 3D di usura
- Adatto per l’uso interno ed esterno
- Analisi del trend per valutazioni multiple
Controllo qualità
- Confronto dati nominali/attuali
- Dimensionamento funzionale
- Ispezione in reparto di produzione
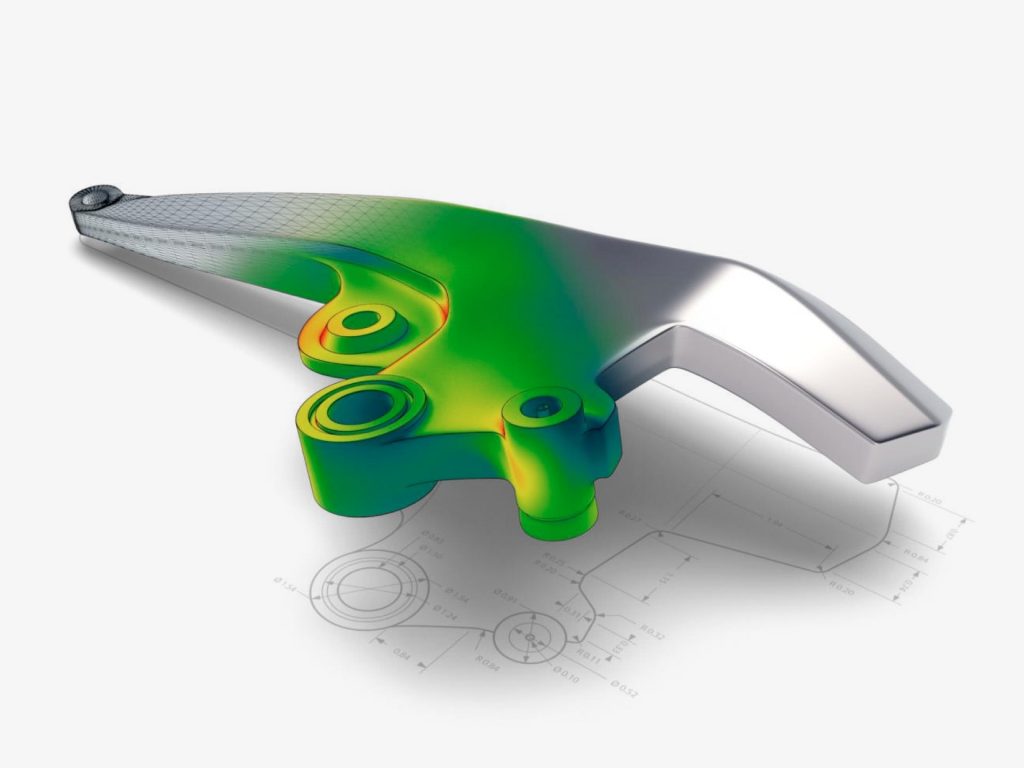
GOM Inspect
La qualità diventa visibile
Caratteristiche
Tutto, ovunque
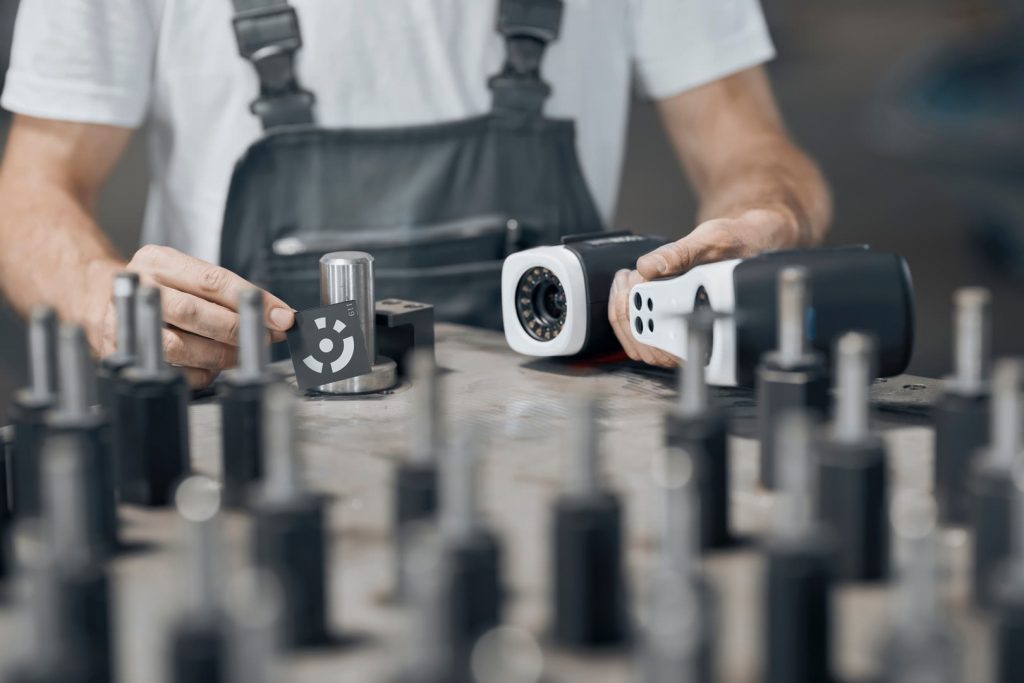
- Scanner dalla struttura compatta, leggera e portatile
- Facile da trasportare per supportarvi ovunque serva
- Adatto per spazi ristretti e aree di difficile accesso
Si adatta alle vostre necessità
- Fonti laser multiple per dettagli fini e aree grandi
- Acquisisce dati da quasi qualsiasi superficie e materiale
- Per oggetti scuri e riflettenti e tasche profonde
Facile da usare e pronto per l’uso
- Dispositivo stand-alone
- Pronto per l’avvio in tempi rapidissimi
- Processo di scansione facile e intuitivo
Ama le grandi sfide
- Ideale per la scansione di oggetti molto grandi o pesanti
- Precisione migliorata, anche per oggetti grandi
- Fotogrammetria integrata
- Risultati altamente affidabili
Tre modalità di scansione premendo un tasto
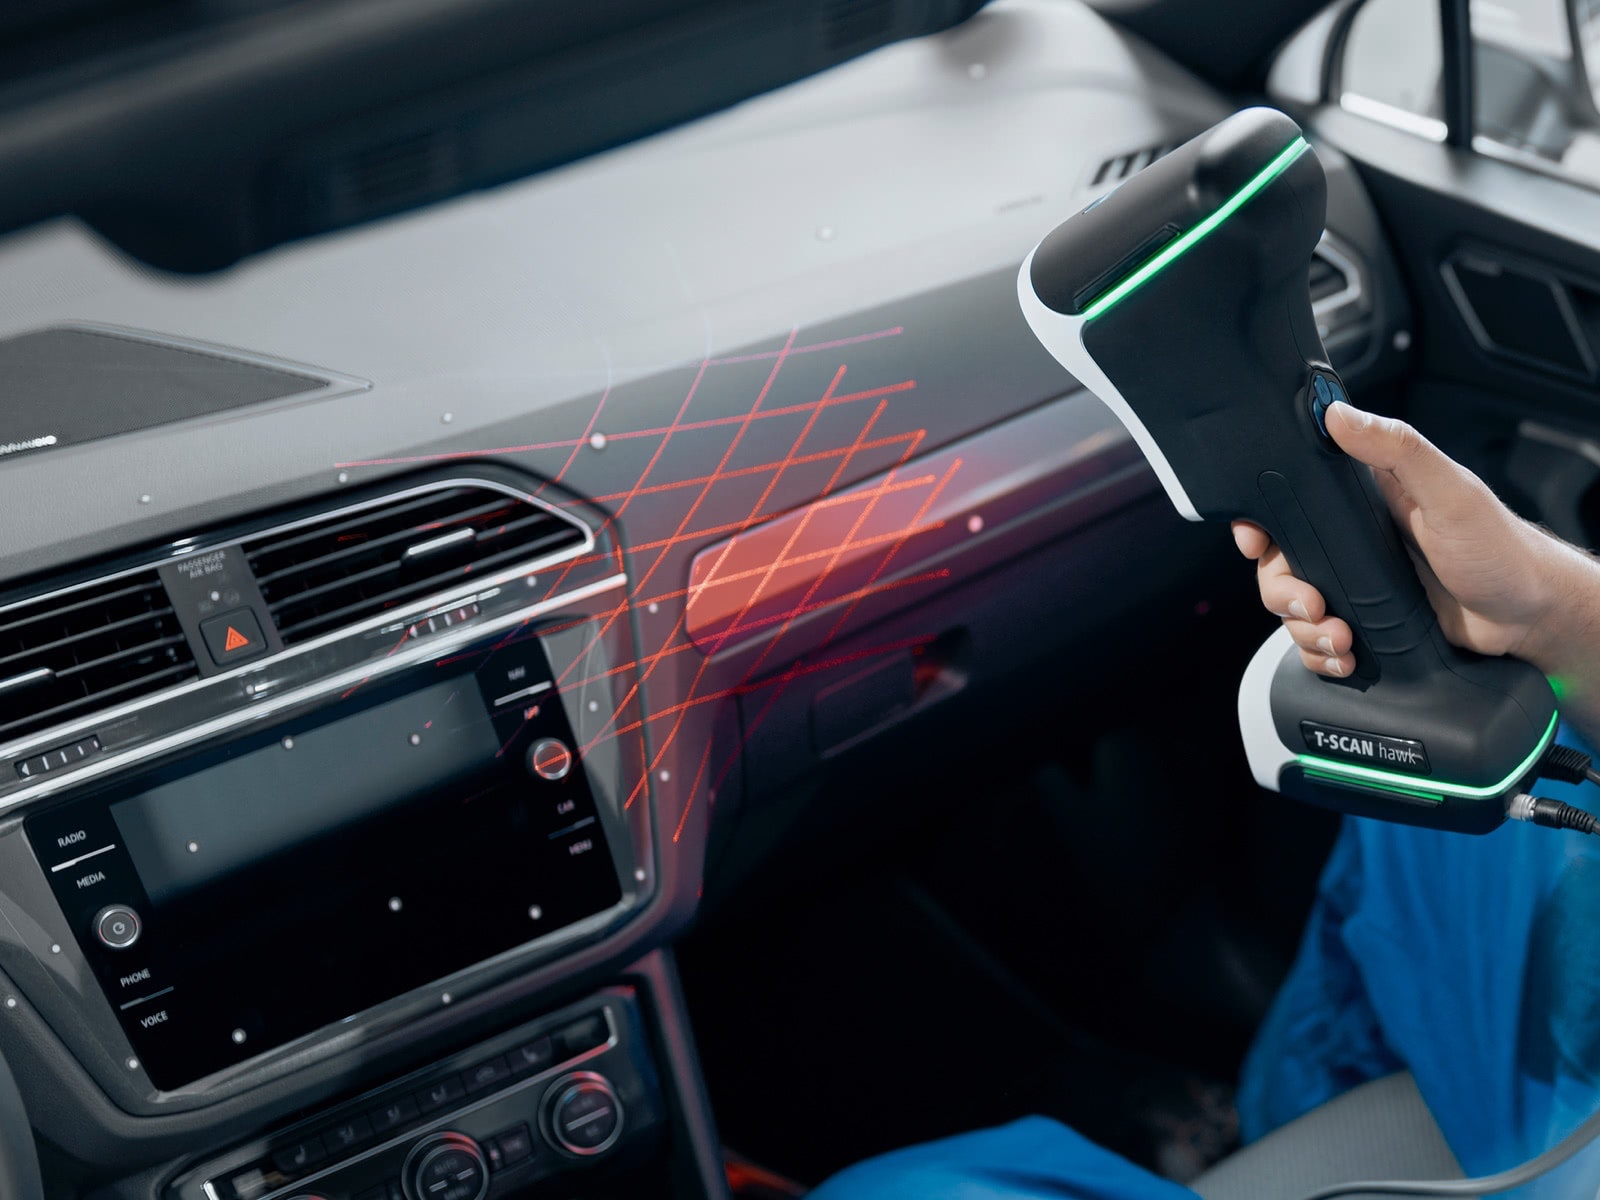
Croci rosse: per aree grandi
Per la scansione di grandi sezioni oppure per una rapida ricostruzione 3D

Linee blu: per dettagli fini
Per componenti piccoli, dettagli fini o superfici scure e riflettenti
Singola linea rossa: per aree confinate
Per tasche profonde o aree difficili da raggiungere
Dati tecnici
Volete scoprire di più?
Mettetevi in contatto con il vostro partner #HandsOnMetrology locale.
Scopri di più
i
Si prega di selezionare l'argomento su cui si cercano maggiori informazioniHow to 3D scan huge objects with photogrammetry
Meet Benjamin and follow his step-by-step guide to 3D scanning a ship propeller. He combines two solutions: First, he uses GOM’s external photogrammetry camera TRITOP. Subsequently, he adds specific data using the portable T-SCAN hawk.
How to scan a complete vehicle
How to compare two scans
How to use 3D scanning for dent detection
How to use a 3D laser scanner in confined spaces
T-SCAN hawk: Scan deep pockets with GOM Inspect
Learn why the portable laser scanner T-SCAN hawk is perfectly designed to scan deep pockets, and let Toon show you how to use the deep pocket mode in GOM Inspect. A single laser line allows you to scan even deeper inside a pocket and capture a lot more data.
Chapters
00:24 Technical background of laser scanning
01:08 How to activate deep pocket mode
01:44 Optimize 3D view for deep pocket scanning
T-SCAN hawk: Get some useful tips & tricks
Get some of Toon’s most useful insights: 1. Learn about different exposure times for different surfaces. 2. Discover the ideal scanner orientation for the three scanning modes of the portable T-SCAN hawk. 3. Watch Toon give playing bricks a whole new application area.
Chapters
00:32 Tip 1: Exposure time
01:10 Tip 2: Scanner orientation
02:33 Tip 3: Smart reference point positioning
T-SCAN hawk: Your first use of GOM Inspect
Learn how to use GOM Inspect for the first time. Starting from the T-SCAN hawk workspace and its main toolbar, Toon guides you through the entire scanning workflow – from calibration to pushing the scan button and polygonizing the scan data into a final mesh.
Chapters
00:30 Open GOM Inspect software
00:54 Calibrating the portable T-SCAN hawk
02:10 Instant scanning
02:34 Increased accuracy scanning
03:19 Cut out background
03:54 Part scanning
04:50 Polygonize scan data to final mesh
T-SCAN hawk: Scanning in GOM Inspect, Part 1
Learn a common scanning strategy in GOM Inspect. This easy scanning workflow is about scanning surface data, deep pockets and fine details. Watch the process from capturing reference points to polygonize the scan data and see all three scanning modes in action.
Chapters
00:43 Capture reference points
01:16 Cut out background
01:50 Scan the part
02:44 Standard scanning mode
03:10 Single laser line mode
04:01 Scanning details
05:33 Polygonize scan data to final mesh
T-SCAN hawk: Scanning in GOM Inspect, Part 2
This easy 3D scanning workflow is about scanning an object from top and bottom, using a manual rotation table. Toon guides you from capturing reference points on the side of the part and cutting out backgrounds to a complete digital copy of your object, front and back.
Chapters
00:40 Use of rotation table
01:02 Capture reference points of top and bottom
02:00 Cut out background 1
02:27 Scanning top side
03:16 Cut out background 2
03:54 Scanning bottom side
04:35 Polygonize scan data to final mesh
T-SCAN hawk: Scanning in GOM Inspect, Part 3
This easy workflow is about scanning a detailed part in a high resolution. Watch Toon placing reference points around the object and using the blue laser mode for fine details. After polygonizing the data, the digital copy is ready for reverse engineering or inspection.
Chapters
00:28 Small detailed object
00:49 Reference points
01:14 Capture reference points
01:39 Cut out background
02:11 Scanning with blue lasers
03:30 Polygonize scan data to final mesh
T-SCAN hawk: Unboxing your new 3D laser scanner
Meet Toon and the portable T-SCAN hawk solution with its small, travel-friendly case. Everything you need fits in: the 3D scanner, cables, reference points, coded reference points and scalebars for photogrammetry, license dongles and a calibration panel.
Chapters
00:28 The case
00:42 T-SCAN hawk scanner
01:56 Sensor cables
01:04 Reference points
01:17 Coded reference points
01:26 License dongles
01:48 Calibration panel and scale bars
02:09 GOM Acceptance Test
T-SCAN hawk: The setup
Set up your new T-SCAN hawk. Start with the laptop, plug in the power cable, connect the 3D laser scanner with the laptop and launch the software GOM Inspect Suite. You’re ready to go.
Chapters
00:27 Laptop
00:38 T-SCAN hawk case
00:45 T-SCAN hawk
00:54 License dongles
01:08 Sensor cables
01:37 Open GOM Inspect Suite software