The old ways: Reverse engineering in the past
Reverse engineering is a process in which a physical object is measured, disassembled and examined to gather design information and discover the concepts involved in its manufacture. The ultimate goal: to create an exact replica of that object, part or component. In the past, the measuring and reproduction processes required in the reverse engineering of parts were painstakingly done by hand, using calipers, gauges and modeling clay. It goes without saying that the end result was “something similar” to the original at best.
3D scanning: The missing link in reverse engineering
Today, the combination of reverse engineering and 3D printing with high-performance composite materials makes the reproduction of objects incredibly easy and ultra precise. However, the real game-changer – the technology that ties everything together and makes anything possible – is 3D scanning. After all, it’s 3D scanning that can turn an object into 3D data for your printer fast.

How do you get a working file for your 3D printer?
Whether you run a small, specialized manufacturing workshop or manage a plant at industrial level, nothing is more bothersome than having to stop operations due to a broken component. After all, mechanical spare parts are notoriously difficult to obtain or no longer available – costing you time and money. What’s to be done? Indeed, 3D printing a replacement part is the answer. But how do you get the corresponding CAD-file for your 3D printer? This is where 3D scanning comes into the picture: On-demand reverse engineering of broken components is only possible in combination with a 3D scanner.
From object to CAD-file to 3D print: modern reverse engineering
With the 3D scanning solutions presented at #HandsOnMetrology, reverse engineering a part that’s damaged or broken is super easy and fast. Simply follow these three steps:
1.
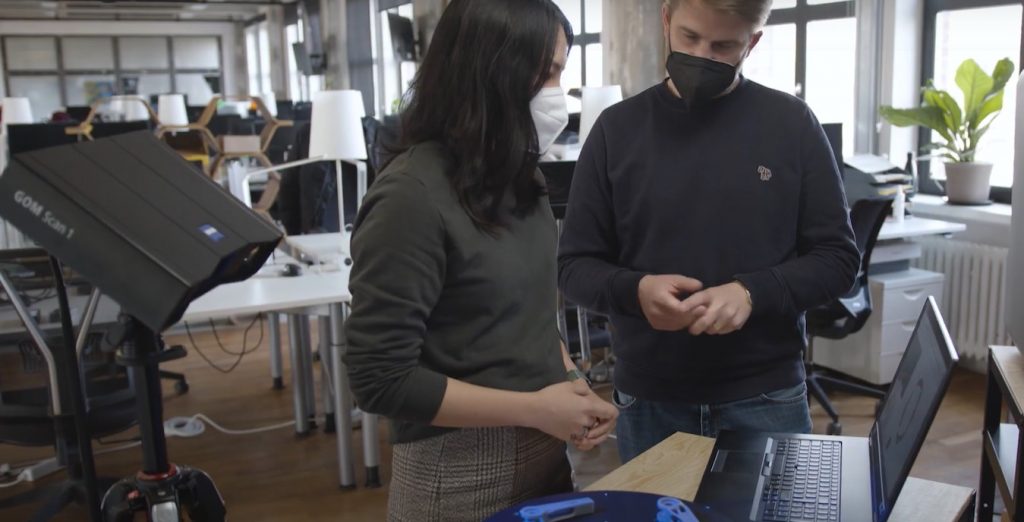
Scan the broken part with a high-performance 3D scanner, such as the small, compact GOM Scan 1.
2.
Use the software GOM Inspect to repair the component digitally and create a working file for your 3D printer – all of it in roughly two minutes.
3.
Print a perfectly accurate replica of the component – and immediately return to operational status.
