One scan is all you need for precision
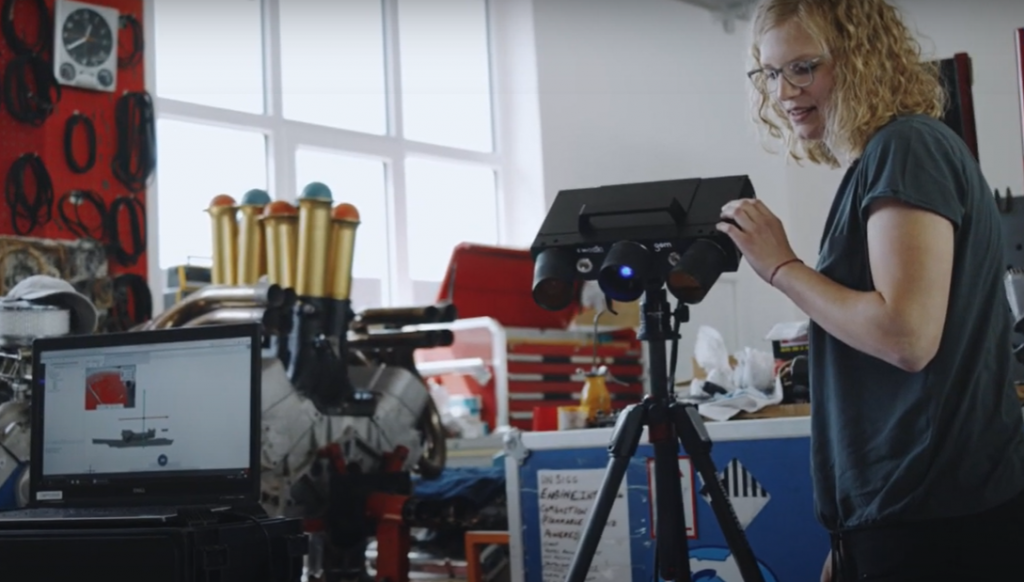
More is always better? That common misconception makes the 3D scanning process more complicated that it has to be. Let Marco demonstrate how accurate your scan data gets with only one scan:
One 3D scan is all you need for precision
You’re new to 3D scanning? You think that scanning across the same area several times igenerates better data? It’s a typical scanning rookie misconception, says Marco, and one that can be easily avoided. One scan is all you need for perfect results.
Have you got any questions about 3D scanning? Then contact us via email: support@HandsOnMetrology.com
Visualize 3D deviation using isolines
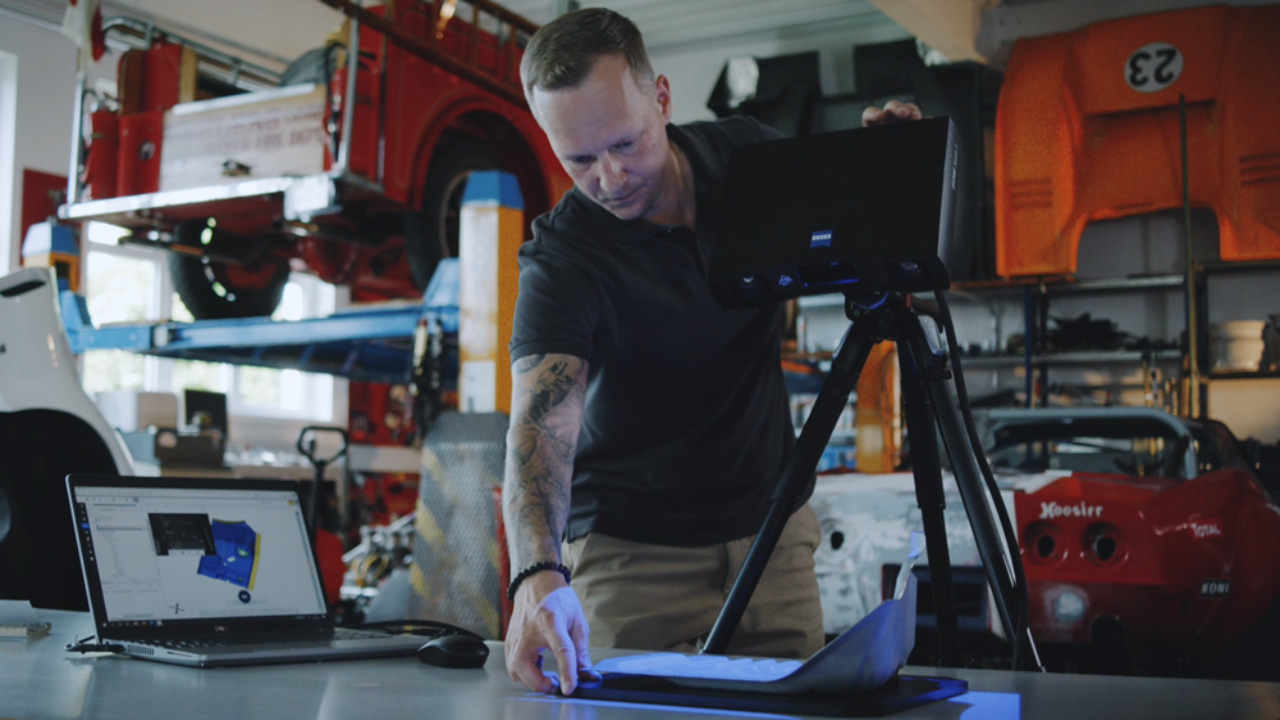
Did you know: Deviations from the nominal model can become visible directly on your part using isolines. In this case, surface comparison in GOM Inspect and your 3D scanning system are the road to success.
Learn more here:
Visualize 3D deviation using isolines
You want to see exactly which areas of a 3D scan are in and out of tolerance? Discover deviations at a glance – by doing a surface comparison and using your 3D scanner to project the isolines directly onto the part. Have you got any questions about 3D scanning? Then contact us via email: support@HandsOnMetrology.com
Find the best position for your reference points
Be more efficient when doing 3D inspection!
By smartly positioning reference point markers, you not only save a lot of time but also receive more accurate scanning results.
Click play for a simple placement guideline:
非公開: Find the best position for your reference points
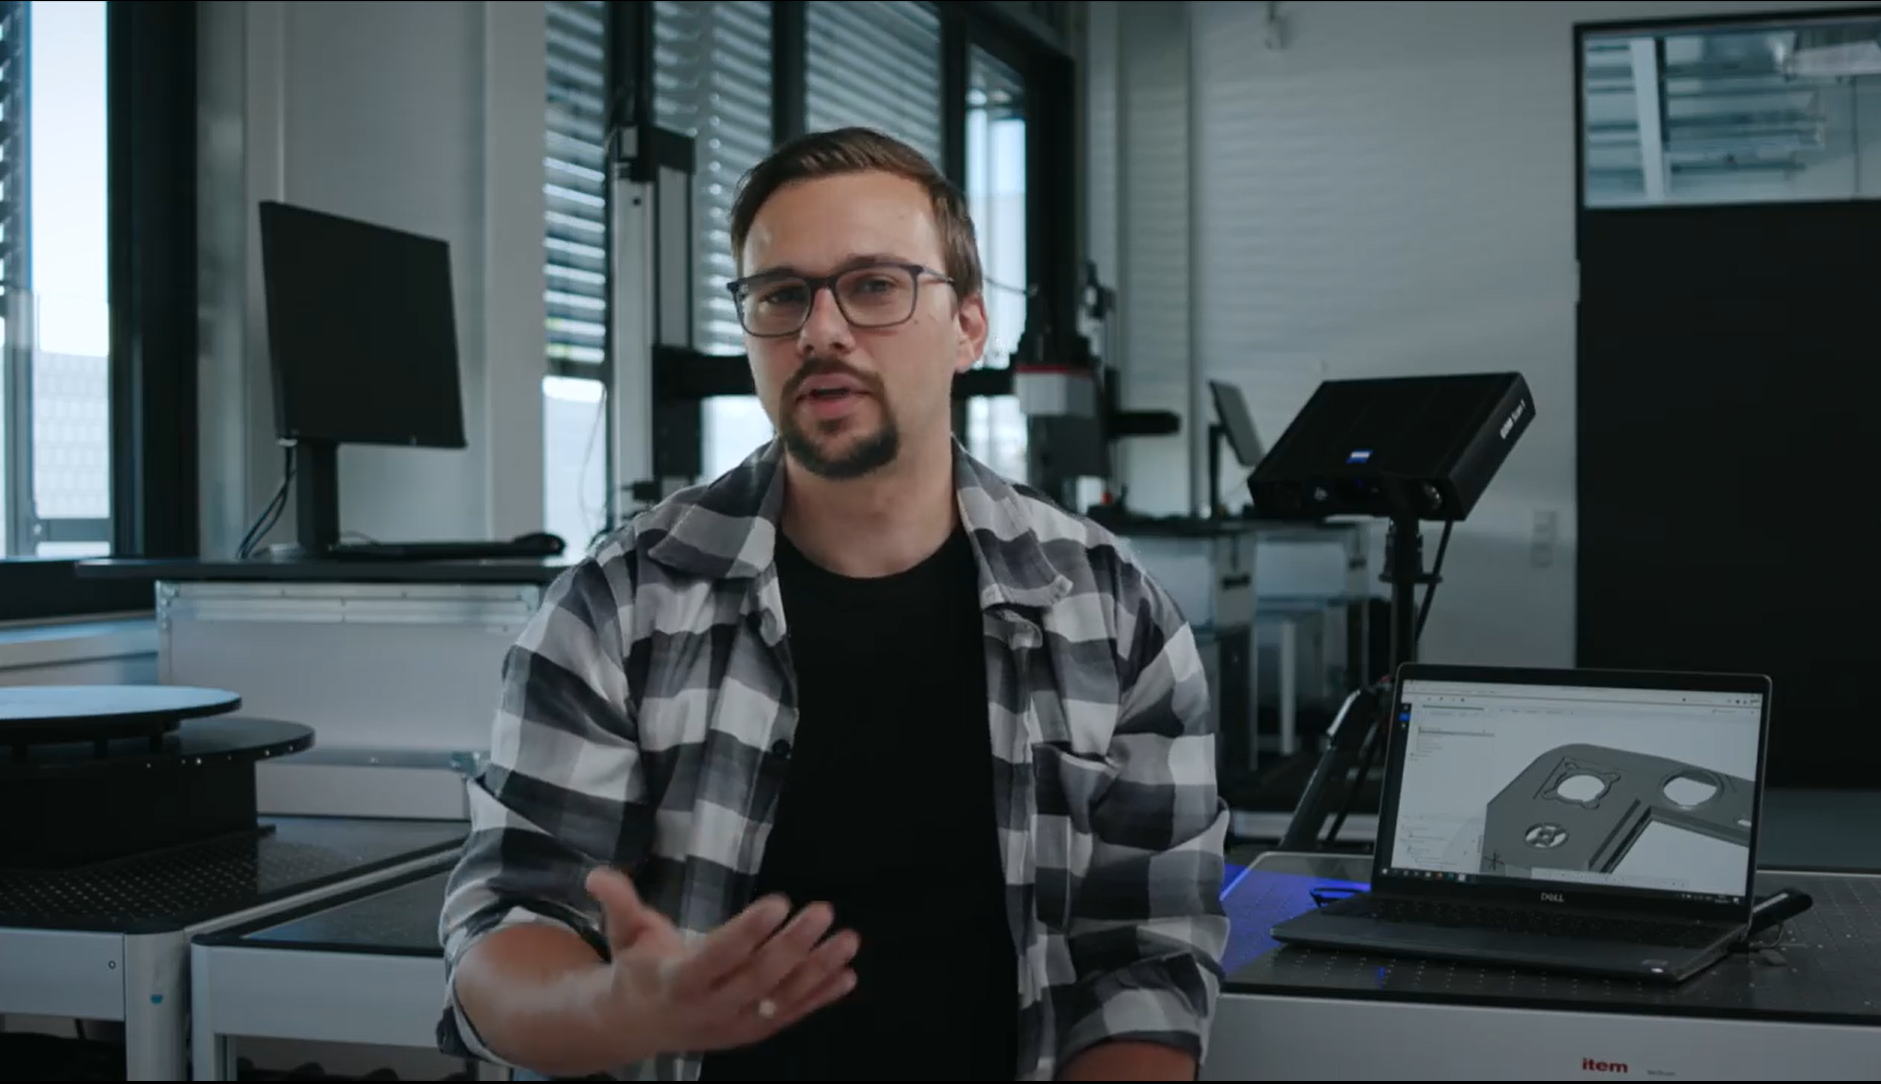
Let Benjamin show you how to distribute your reference point markers to get the best 3D scanning result. Don’t make extra work for yourself by sticking on too many markers! The perfect reference point distribution is: extensive and random.
Got any questions about 3D scanning? Contact us via email: support@HandsOnMetrology.com


