大きなアイデアに高精度のメッシュを提供
コンパクト、モバイル、多用途
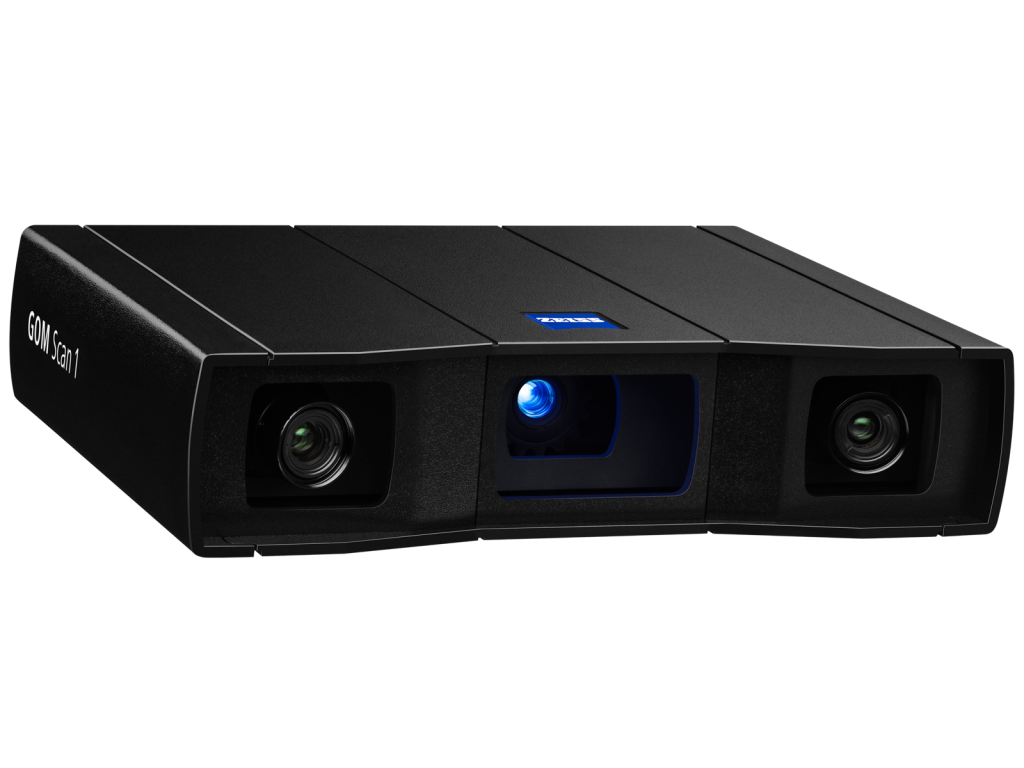
GOM Scan 1は、新しい可能性を切り開くために生まれました。 フリンジ・プロジェクション・テクノロジーやブルーライト・テクノロジーなどの先進技術は、高精度の3Dデータを提供します。 また、統合ソフトウェアZEISS INSPECTを使えば、3Dプリンタ、リバースエンジニアリング、部品検査など、必要とするあらゆるプロジェクトにメッシュを適用することができます。 さあ、新たな可能性を探してみませんか?

パワフルな3Dスキャナ
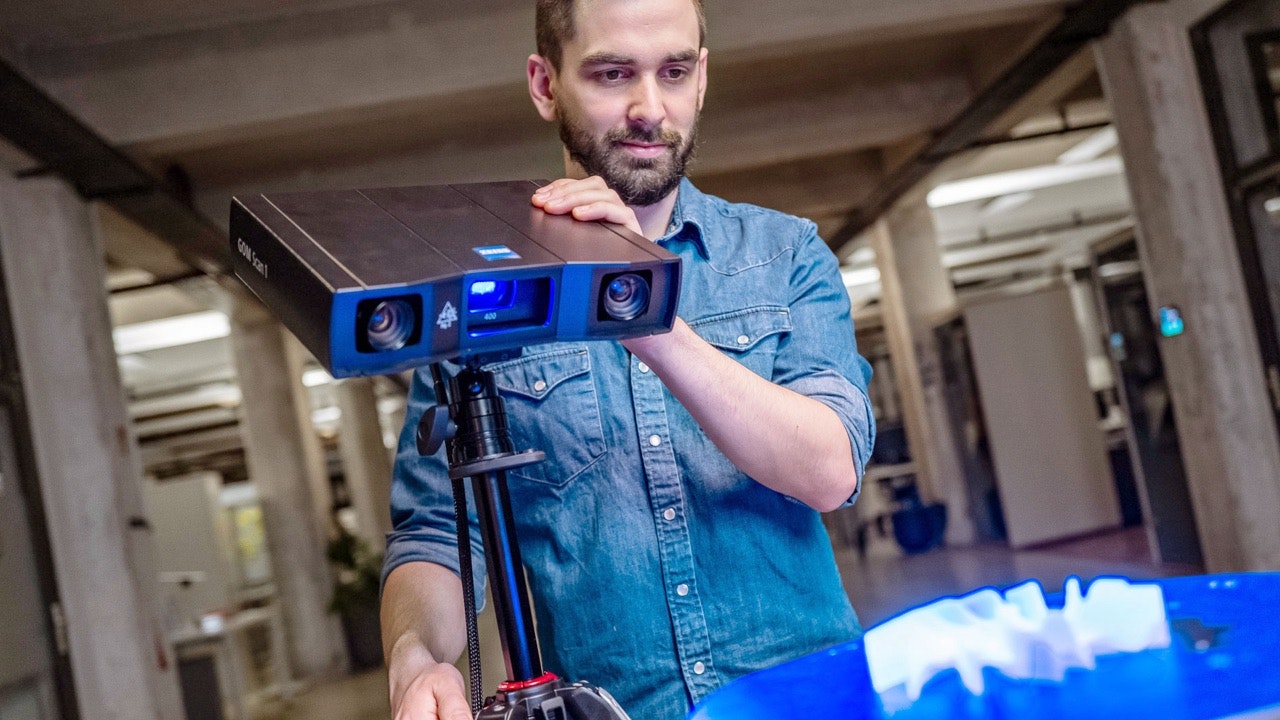
GOM Scan 1は、コンパクトな形状と堅牢な設計の中に、先進的な技術が盛り込まれています。 のブルーライトテクノロジーやステレオカメラの原理により、高精度な3Dデータを提供できるセンサーです。
小型、モバイル、簡単操作
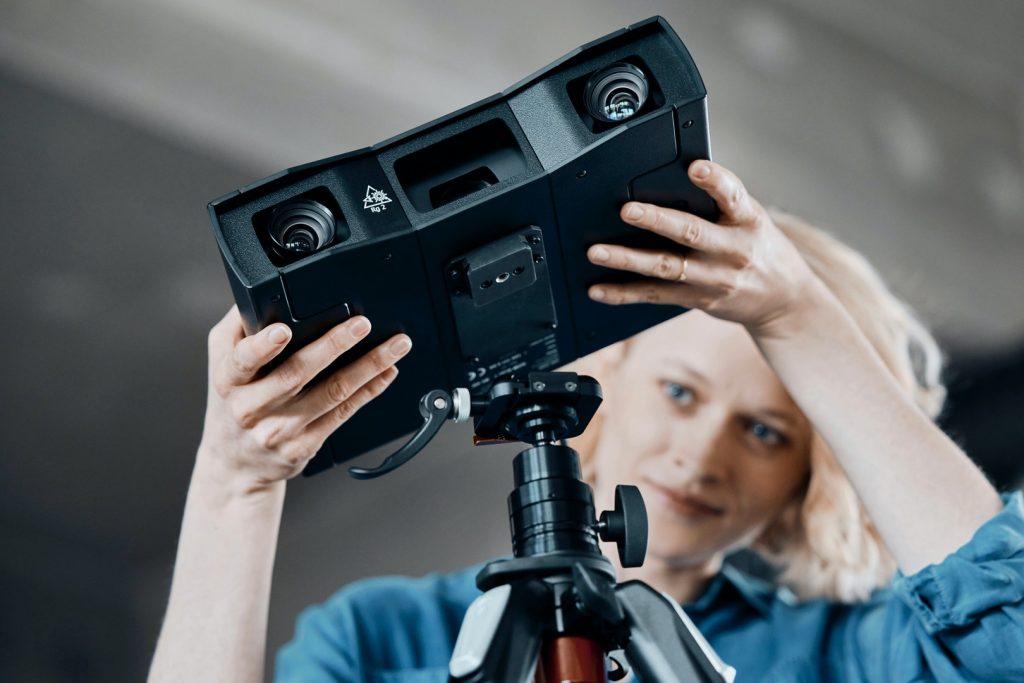
軽量なので、直感的に3Dデータを取り込むことができます。 操作が簡単なGOM Scan 1は、小型から中型までの部品を、限られたスペースで誰でも迅速に測定できるスキャナです

高速かつ正確
ZEISS INSPECTと組み合わせたGOM Scan 1は、高次元のメッシュを実現します。 高品質なデータにより、高精度なメッシュを生成し、3Dデータを簡単かつ迅速に入手することができます。
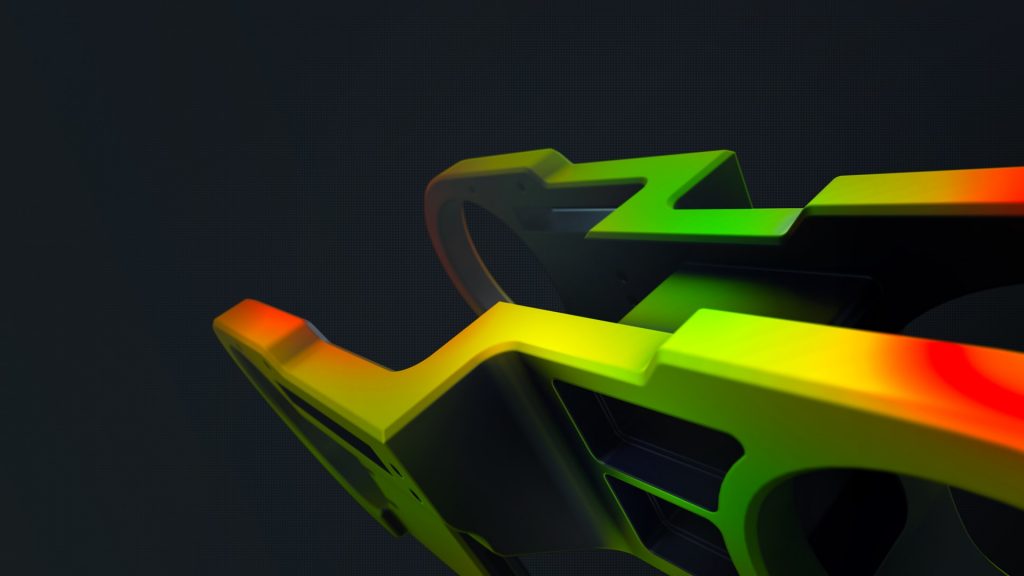
直感的操作を可能にするソフトウェア
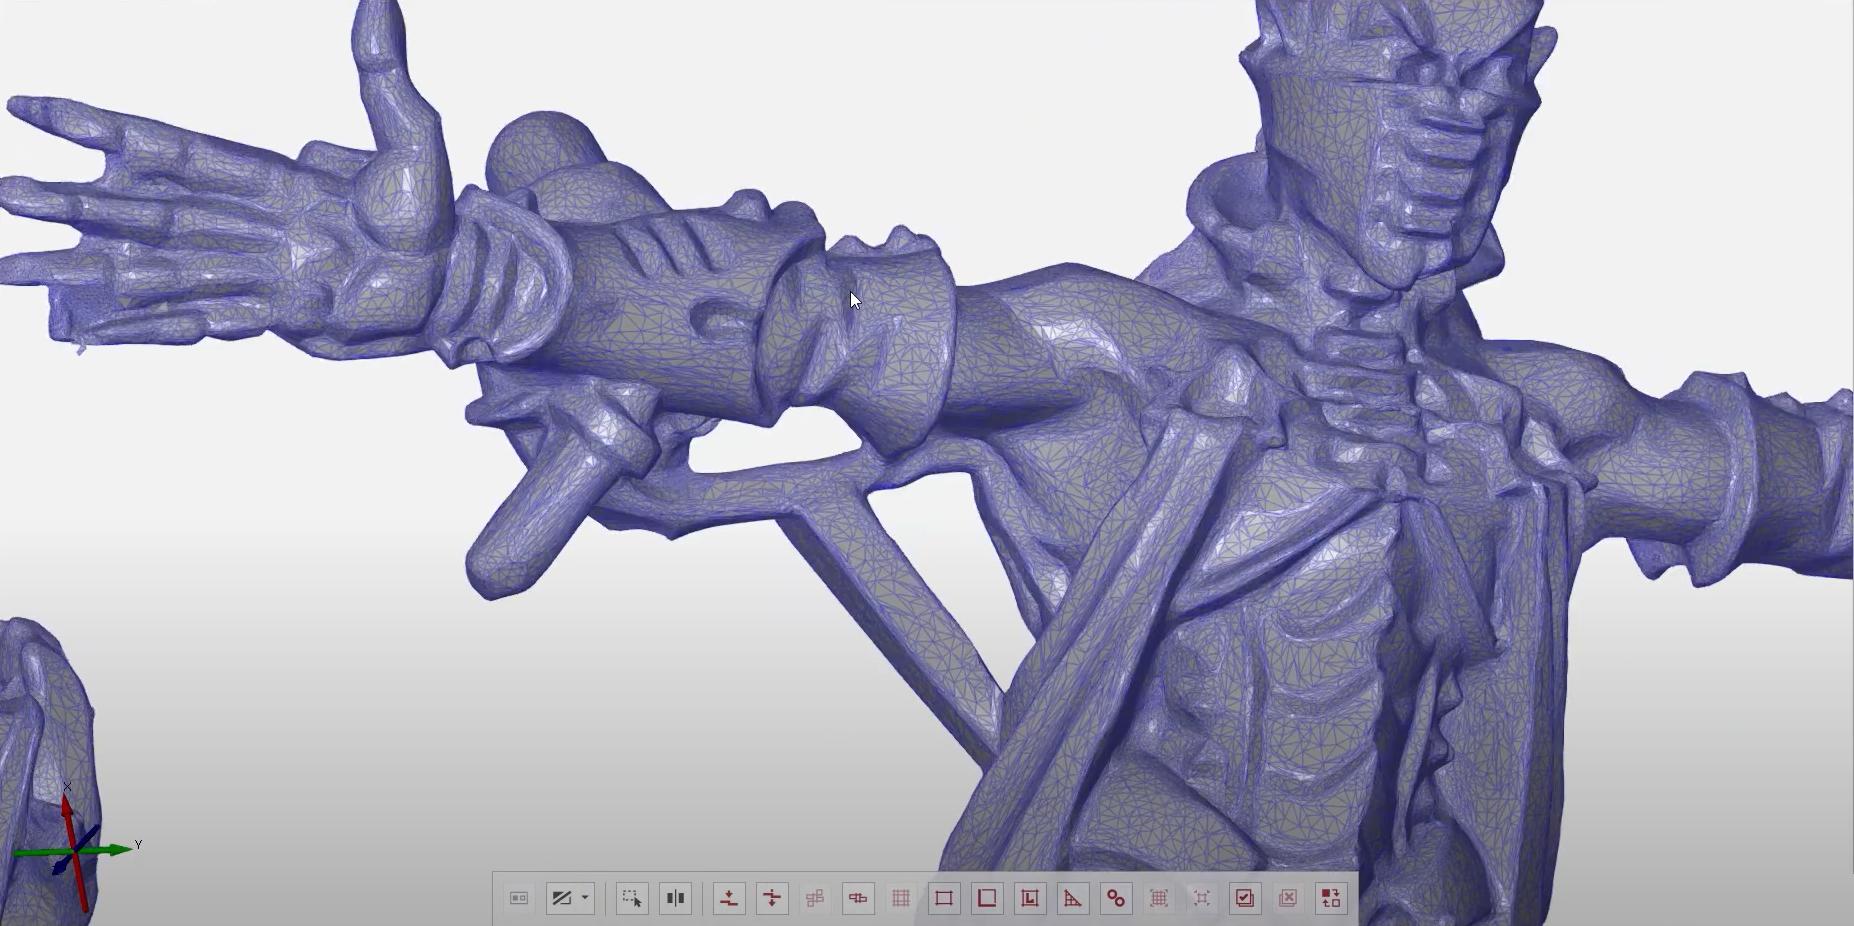
GOM Scan 1は、3D計測のスタンダードとして定評のあるZEISS INSPECTで動作します。 豊富なメッシュ編集機能により、3Dプリンタやリバースエンジニアリングに最適なツールです。 さらに検査工程においても、簡単な作業から複雑な作業まで、検査プロセス全体を円滑に実施することができます。 ZEISS INSPECTはお客様のワークフローを簡素化し、スピードアップすることができます。
Features
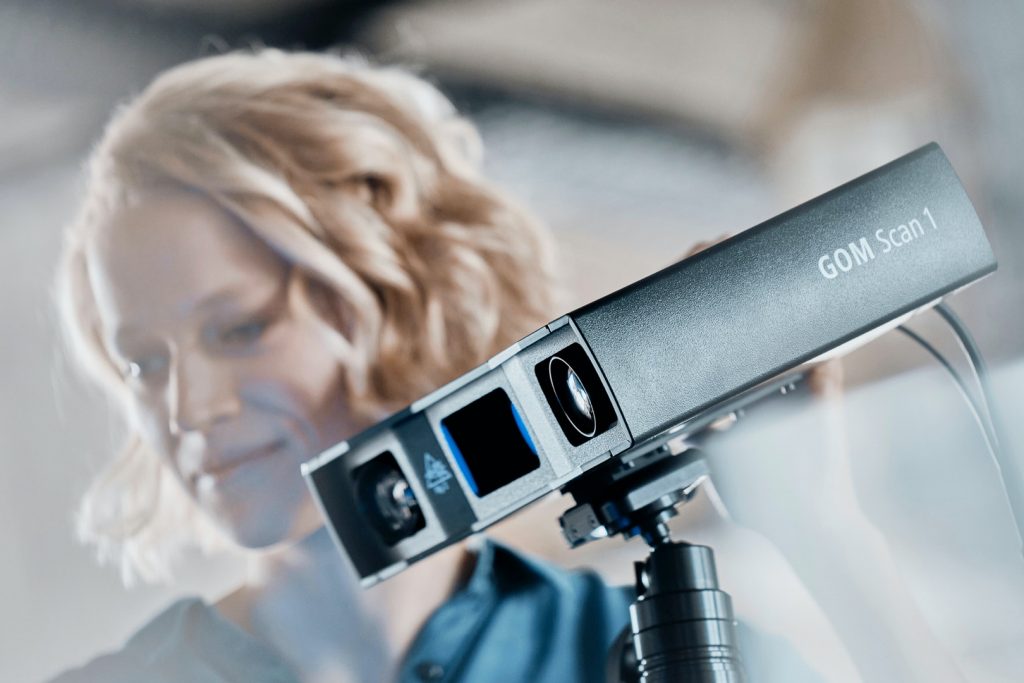
測定環境を監視するセルフモニタリングシステム

あらゆる測定条件でも高精度:
のブルーライトテクノロジー
新製品GOM Scan 1のプロジェクションテクノロジーには、ブルーライトテクノロジーを採用しています。 これは狭帯域のブルーライトを利用しており、画像取得中に周囲から影響を受ける干渉光を排他することができます。 光源が強力であるため、測定が難しい表面でも短時間で測定できます。

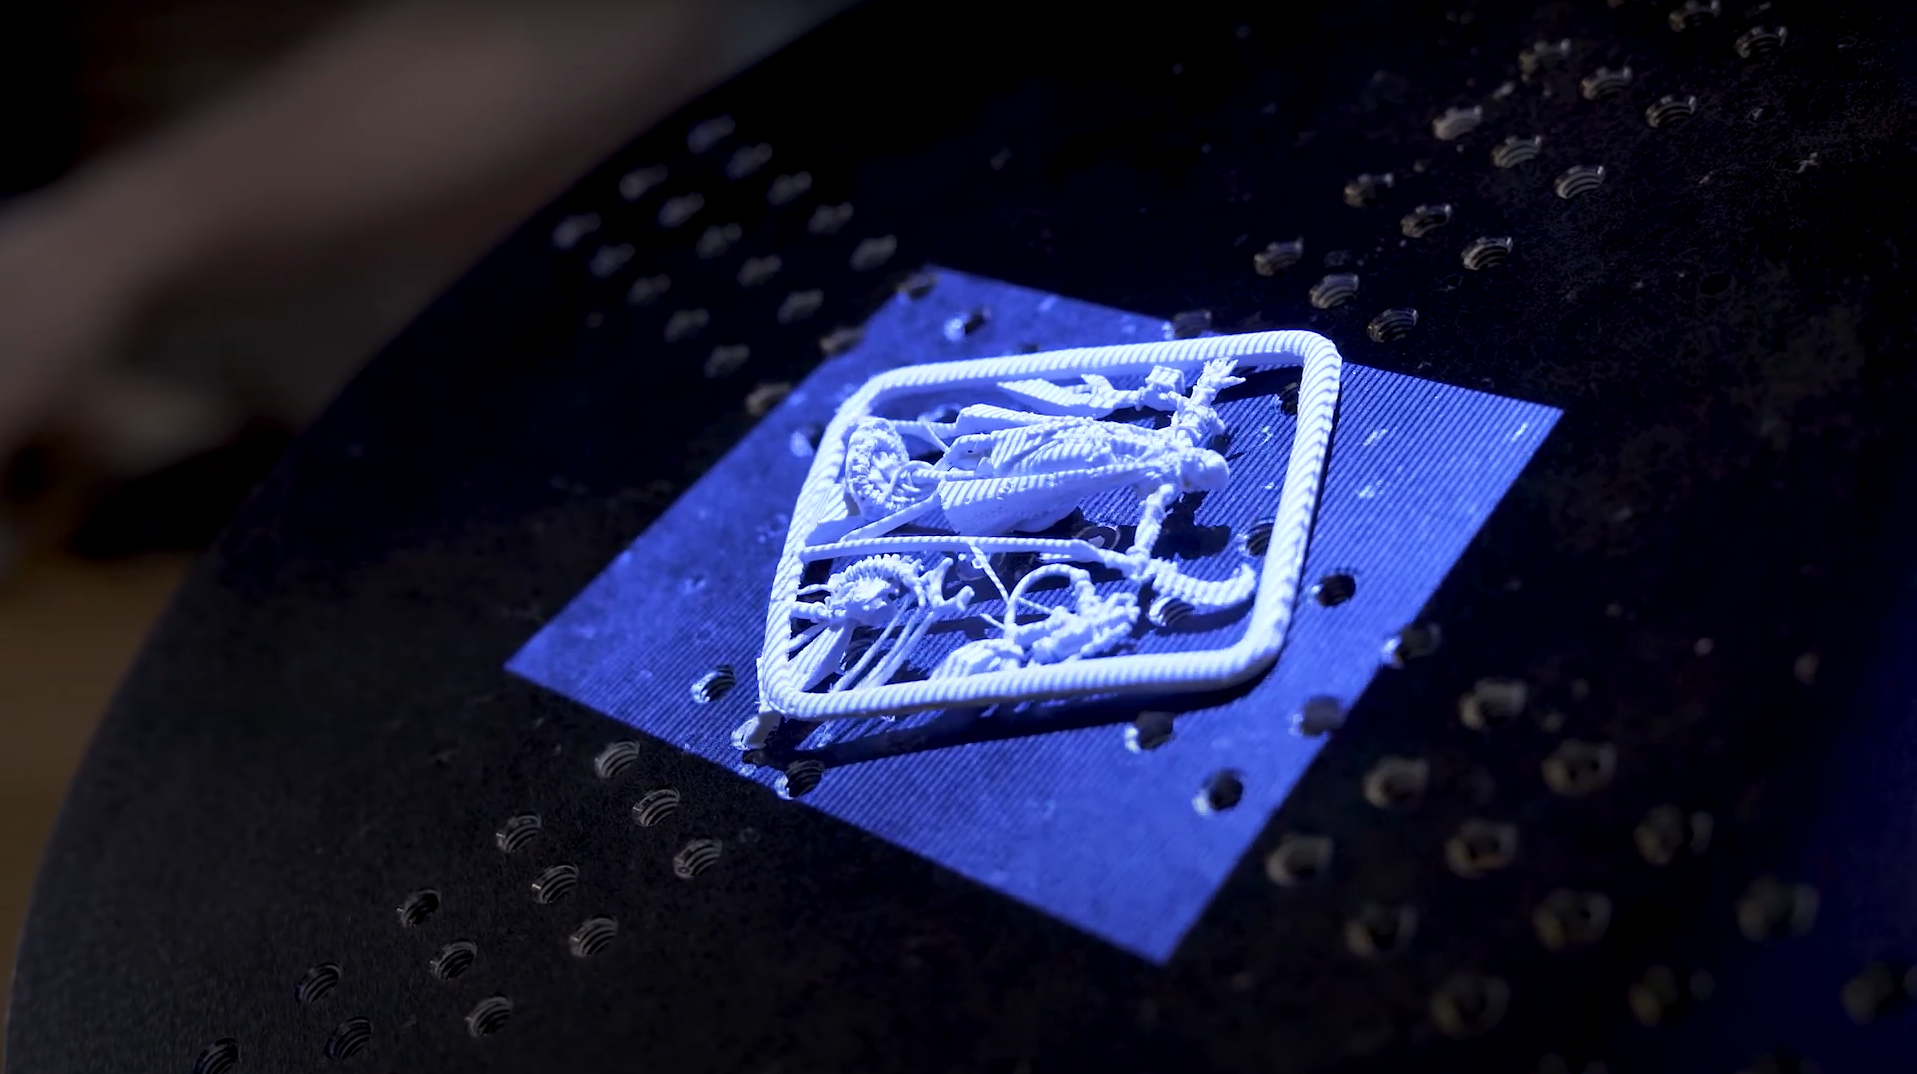
3Dプリントの為のメッシュ編集
ZEISS INSPECTでは、ポリゴンメッシュのスムージング、精緻化、穴埋め、カーブラインの抽出などを行うことができ、正確なメッシュを実現し、多くの一般的なフォーマットで保存することができます。 最も優れた点は、スマートなポリゴン化です。 扱いやすいメッシュサイズを維持しながら、最高のディテールを持つメッシュを作成します。
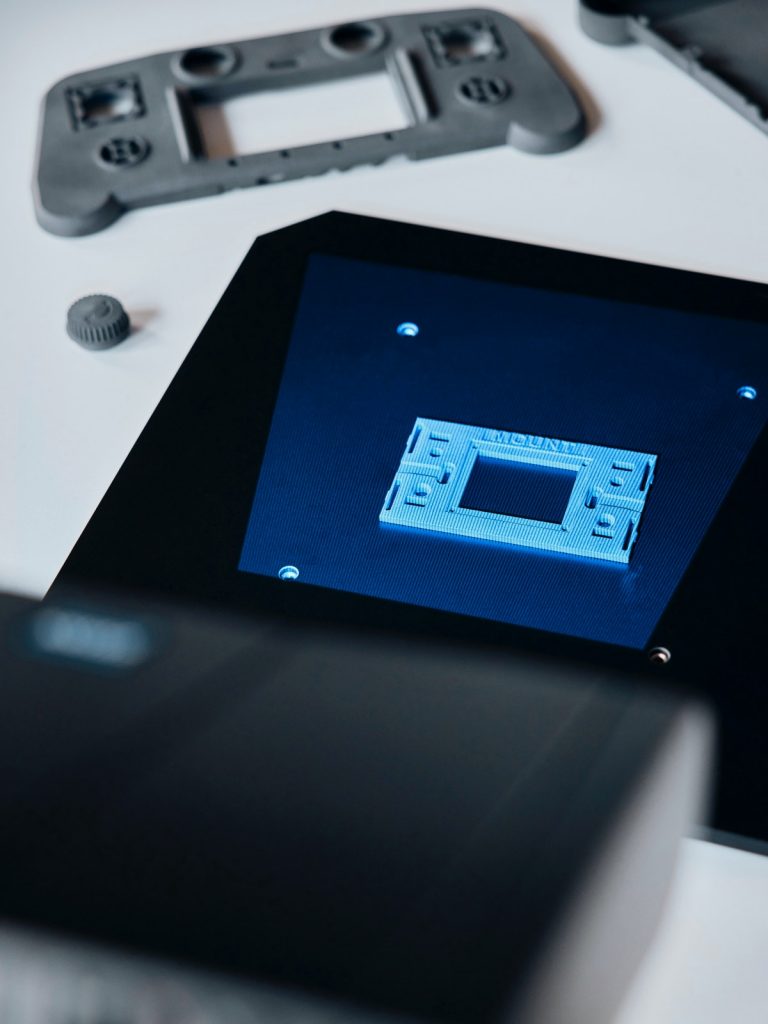
選択可能な測定範囲
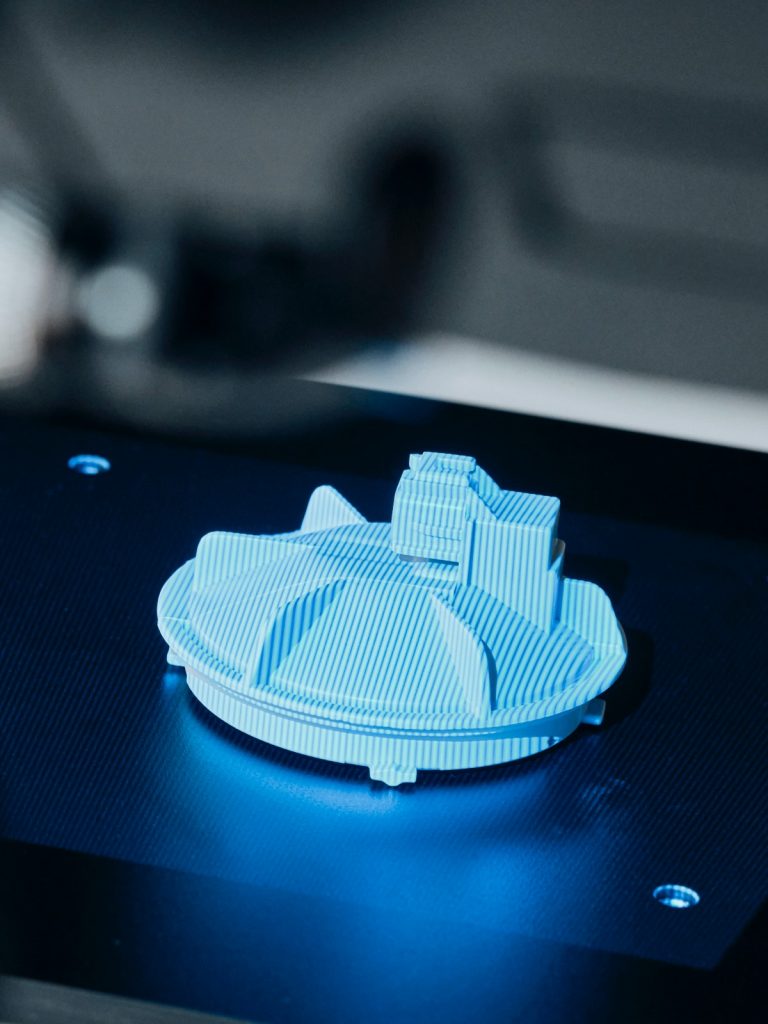
高速フリンジ投影によるデータ取得

アイデアを創造しよう
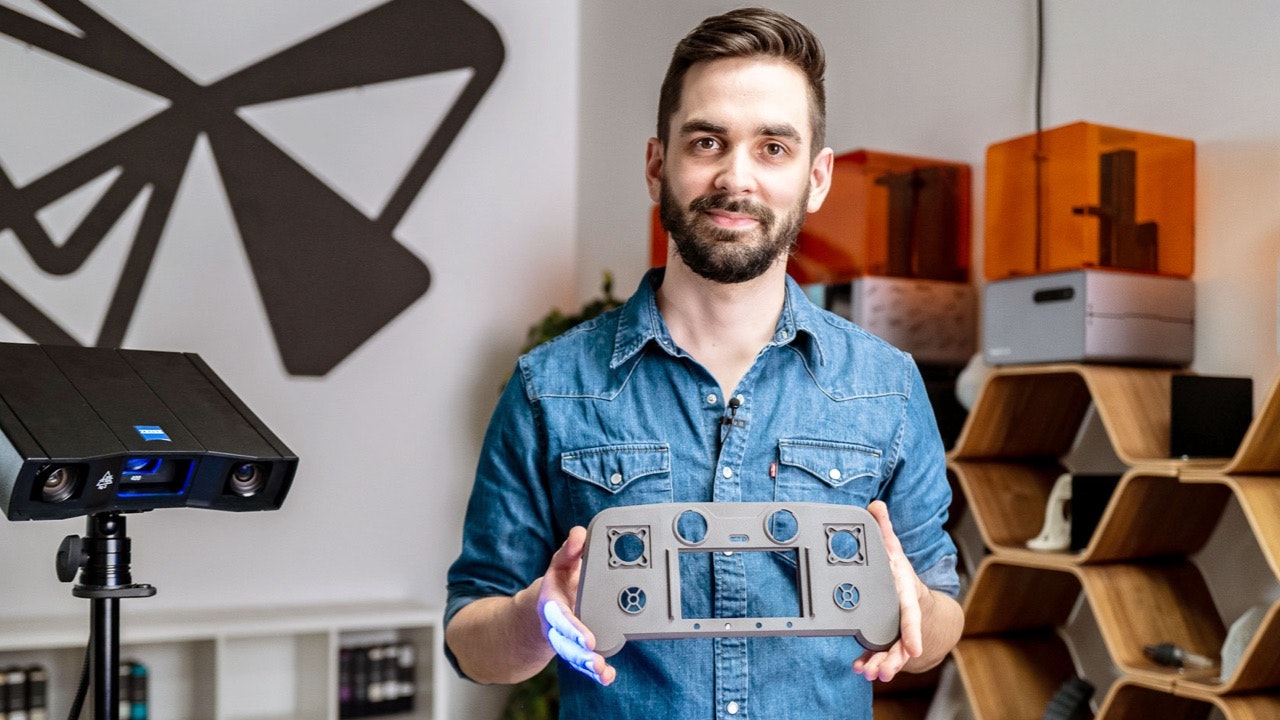
新製品GOM Scan 1とZEISS INSPECTは、3Dプリンタ、部品の3Dモデル、リバースエンジニアリングなどをサポートします。 短時間で高品質なデータを取得し、メッシュ編集機能によるデータの調整も実施できるため、精密な3Dモデルの作成、新製品の開発も容易になります。 あなたのアイデアを実現するために、GOM Scan 1はプロ仕様の工業基準を満たしています
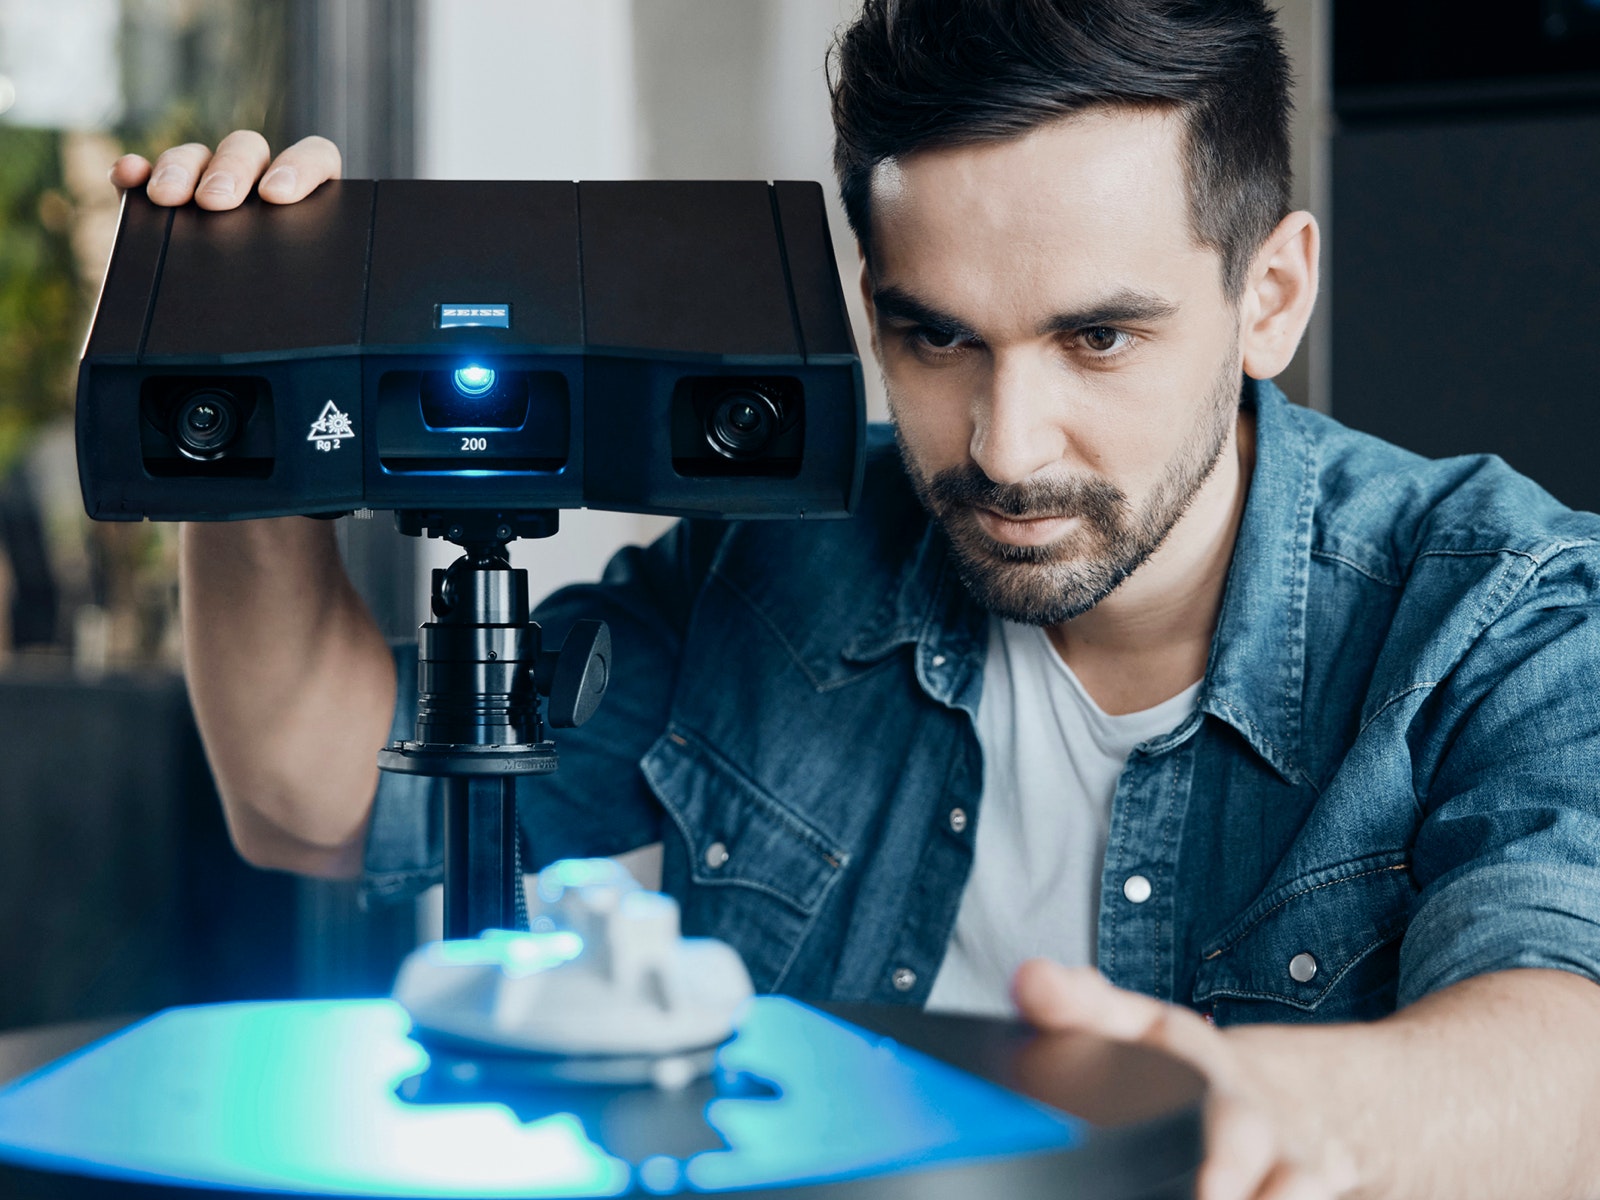
製品の測定と検査
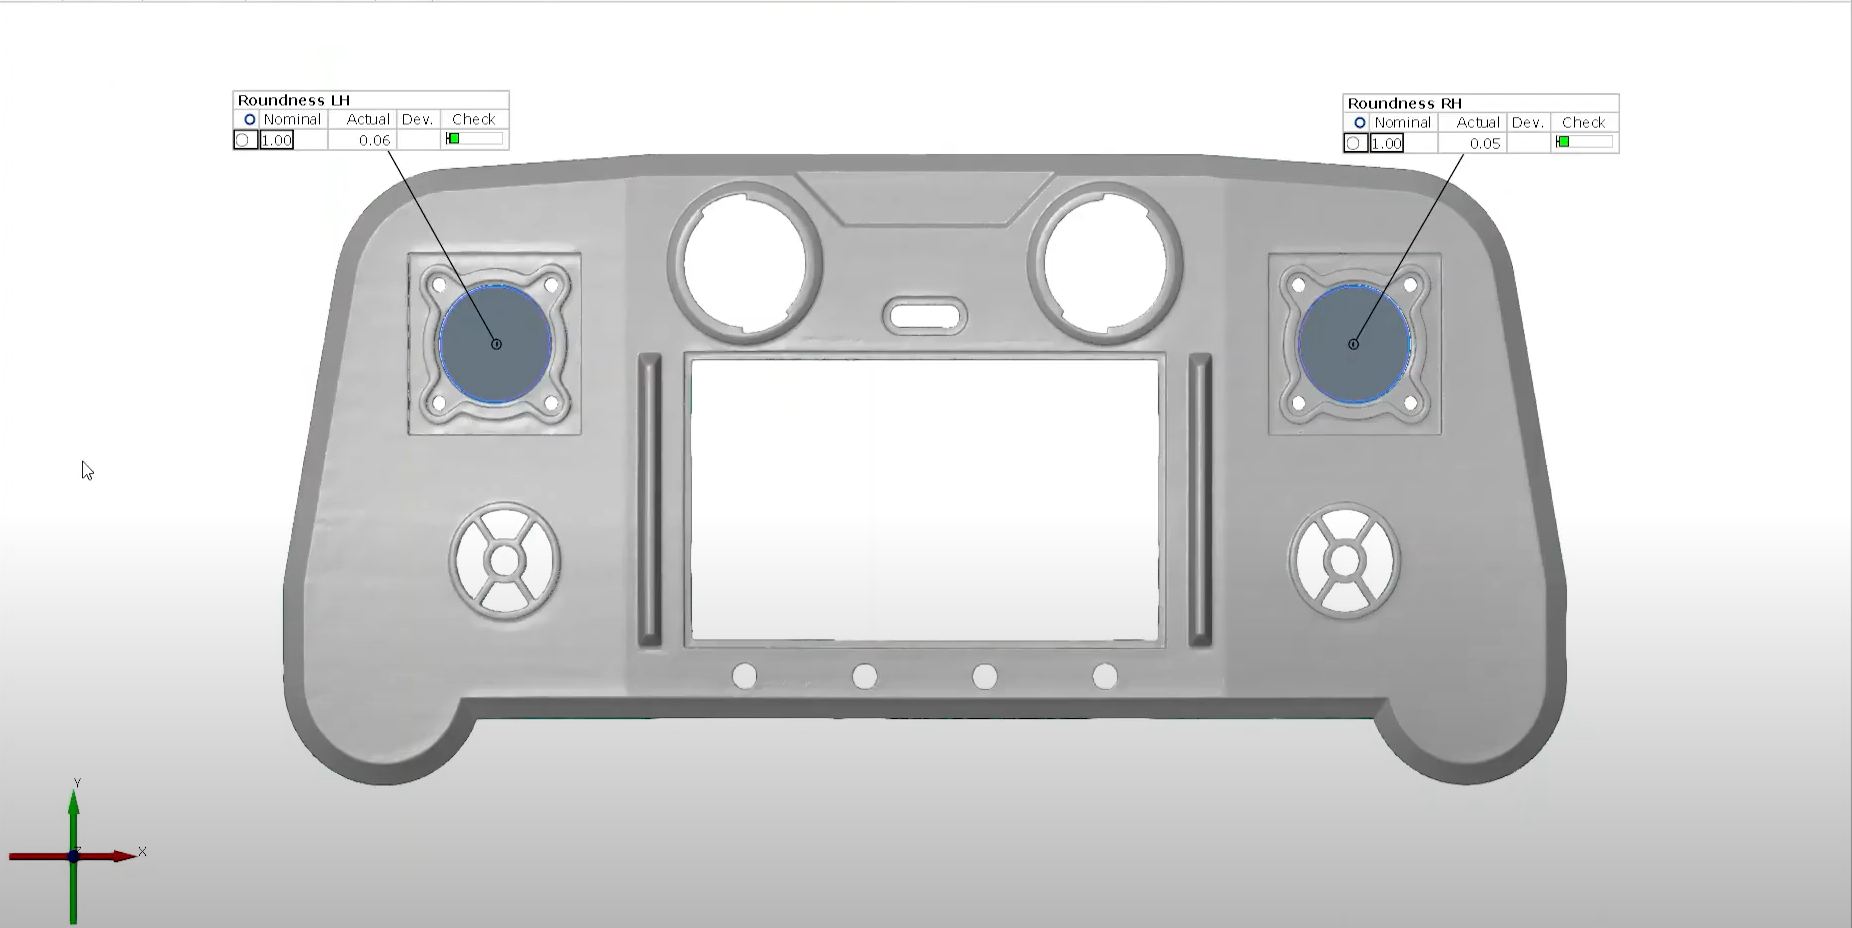
GOM Scan 1とZEISS INSPECTはお客様のワークフロー全体をサポートするシステムです。 正確で包括的な測定結果を得ることができ、部品検査を簡単に行うことができます。 CADやメッシュファイルのインポート、位置合わせ、表面偏差、2D検査、レポートの作成などを簡単かつ効率的に行うことができます。
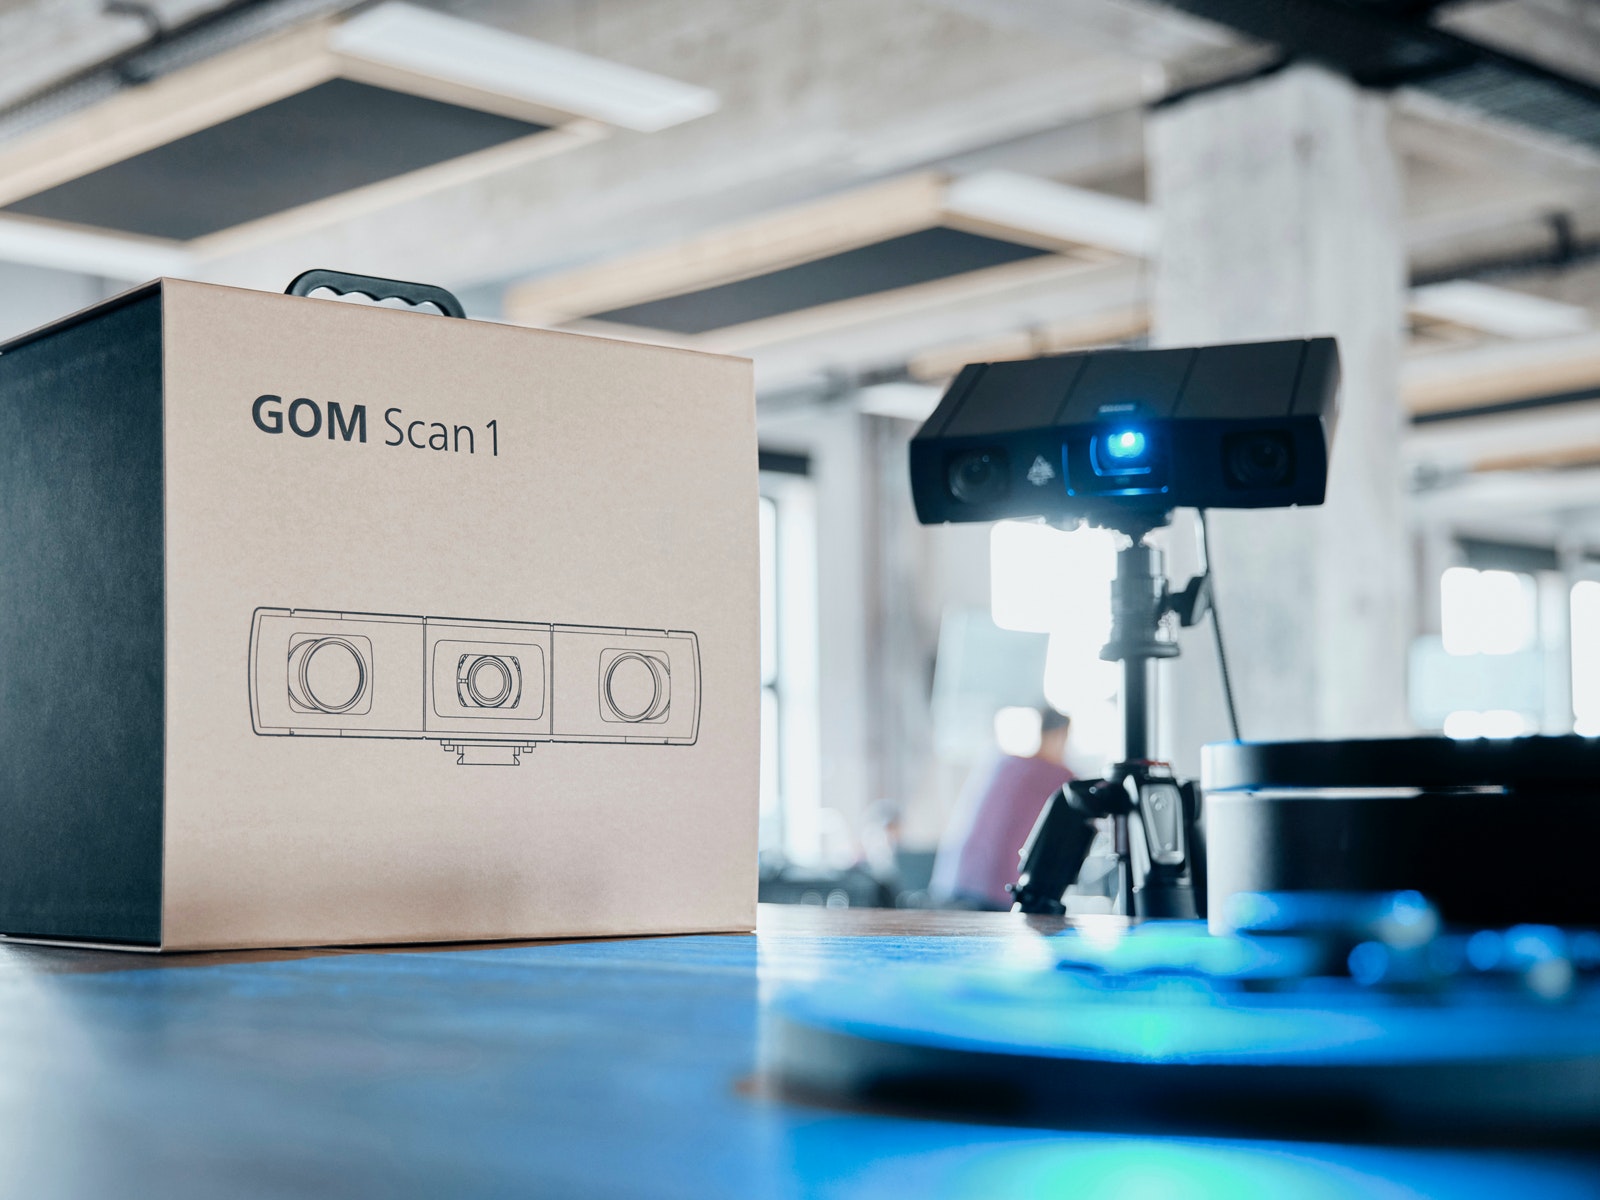
GOM Scan 1の活用領域
• 3D プリンタ
• リバースエンジニアリング / 製造
• バーチャルディスプレイ / 3Dモデル
• 研究 / 教育
• 芸術 / 文化財
• デザイン
• ヘルスケア
アクセサリ
測定業務をサポートするオプション
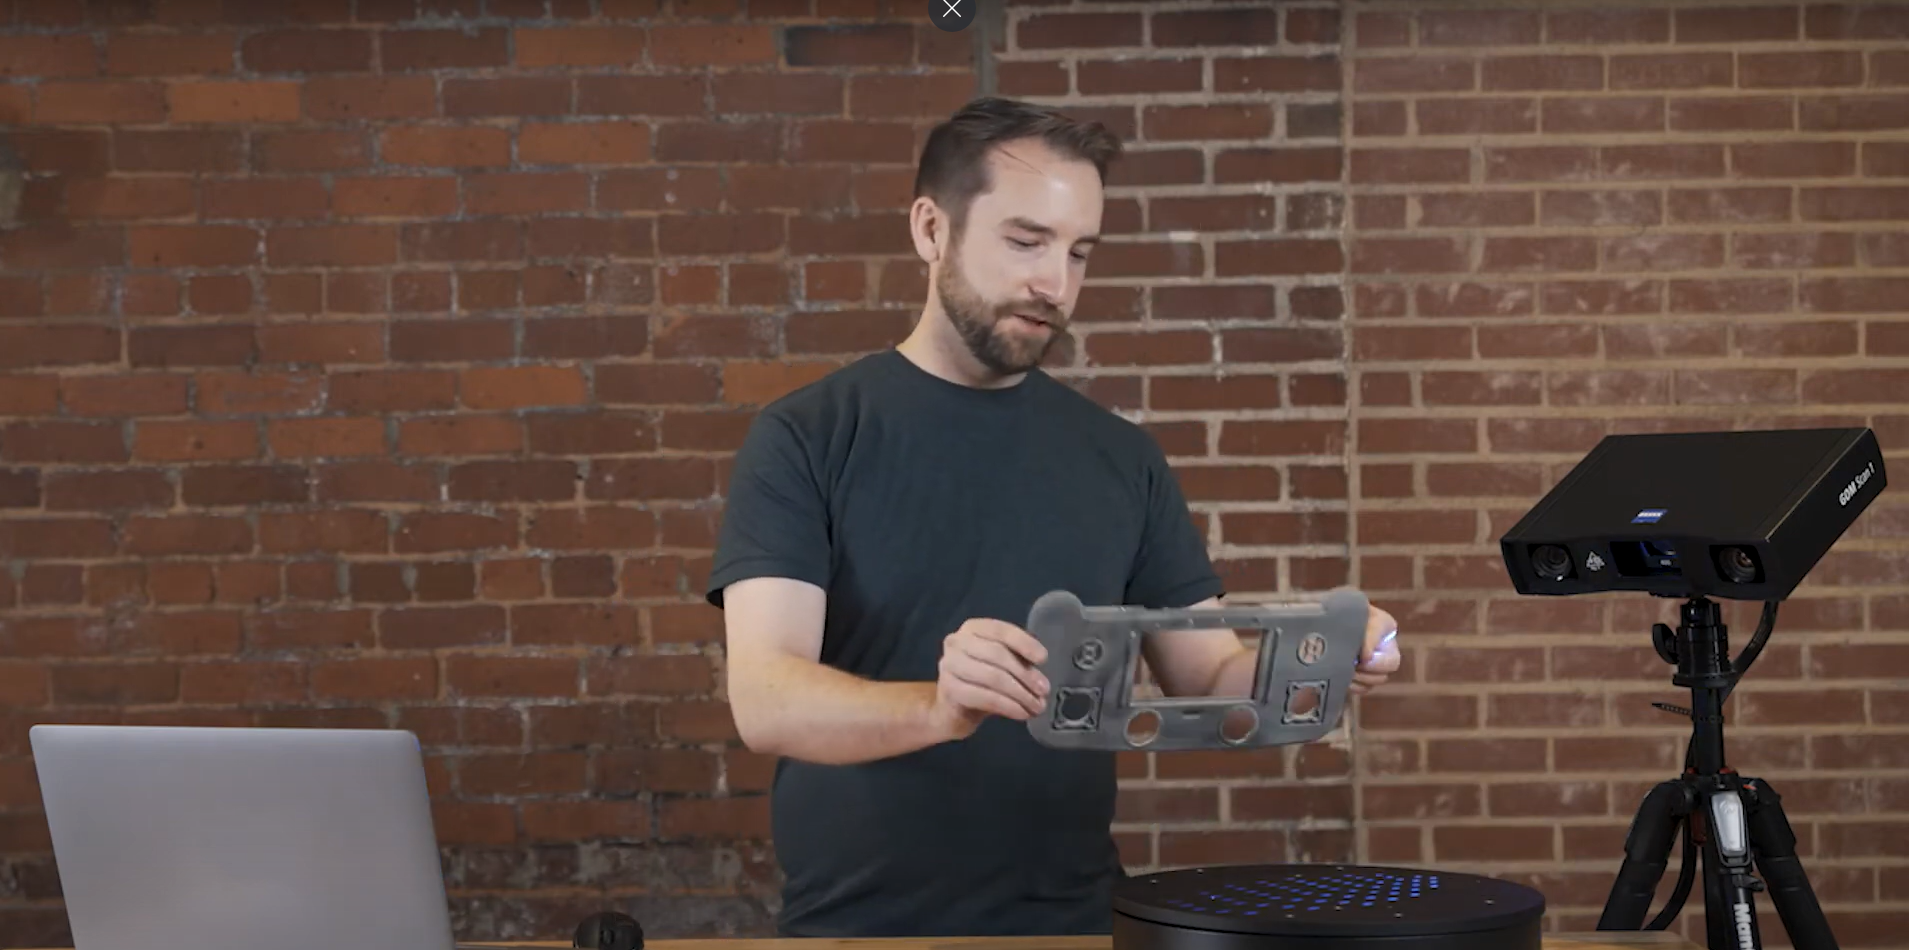
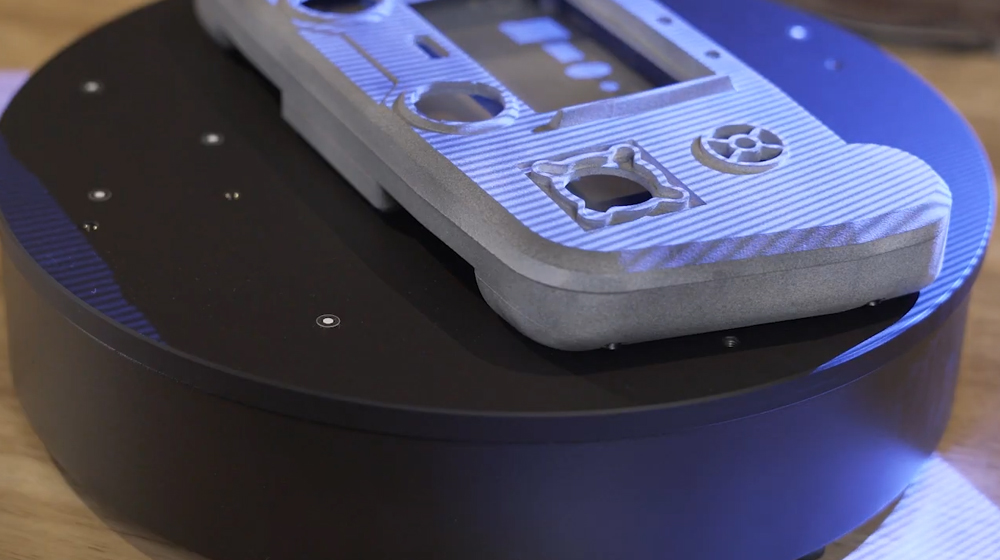
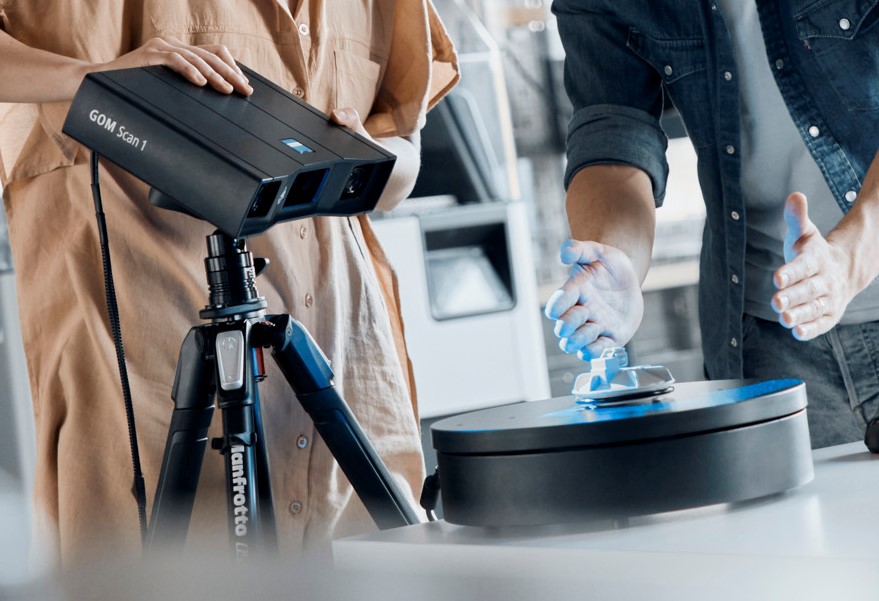
GOM Scan 1には、日々の測定業務を支援する強力なオプションツールもあります。 ROT350は測定を容易にするための自動回転テーブルです。 デスクスタンドや三脚を使ってスキャナーを設置します。 また、測定に必要なもの一式をトラベルケースに入れて、どこへでも持ち運べます。
技術データ
Discover more
i
Please select the topic you seek more information aboutHow to 3D scan with the right distance to object
How to 3D scan different materials
How to find your perfect exposure time with ZEISS INSPECT
Let Norman show you how to find the perfect exposure time for your part. The live camera image in ZEISS INSPECT offers multiple options of automatic exposure times: automatic by matrix computes up to three different exposure times for the entire field of view – making it a good choice for parts that combine light and dark surfaces. Other options: automatic by spot, automatic for reference points and interactive. Take a pick and start scanning!
All functions shown are available in the current software version.
Got any questions on 3D scanning? Contact us via support@HandsOnMetrology.com
How to scan and reprint broken parts
Discover how to repair a broken part by simply 3D scanning and 3D printing it. Step 1: do a scan of the part with the new GOM Scan 1. Step 2: use GOM Inspect to repair the part digitally and create a working file for your 3D printer. All of it in roughly two minutes!
How to inspect your 3D print with metrology
Watch Cornelius do a super easy inspection of a freshly printed prototype using the new GOM Scan 1. Is the part within tolerance of the original CAD reference? The results can be shared with the team: They’re a good foundation for creating the next CAD file version.
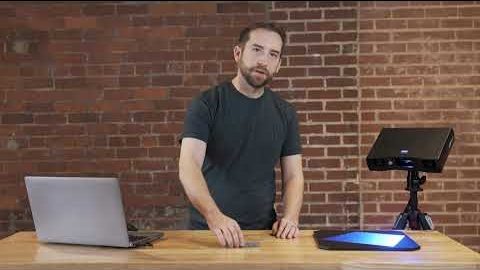
GOM Scan 1: Unboxing
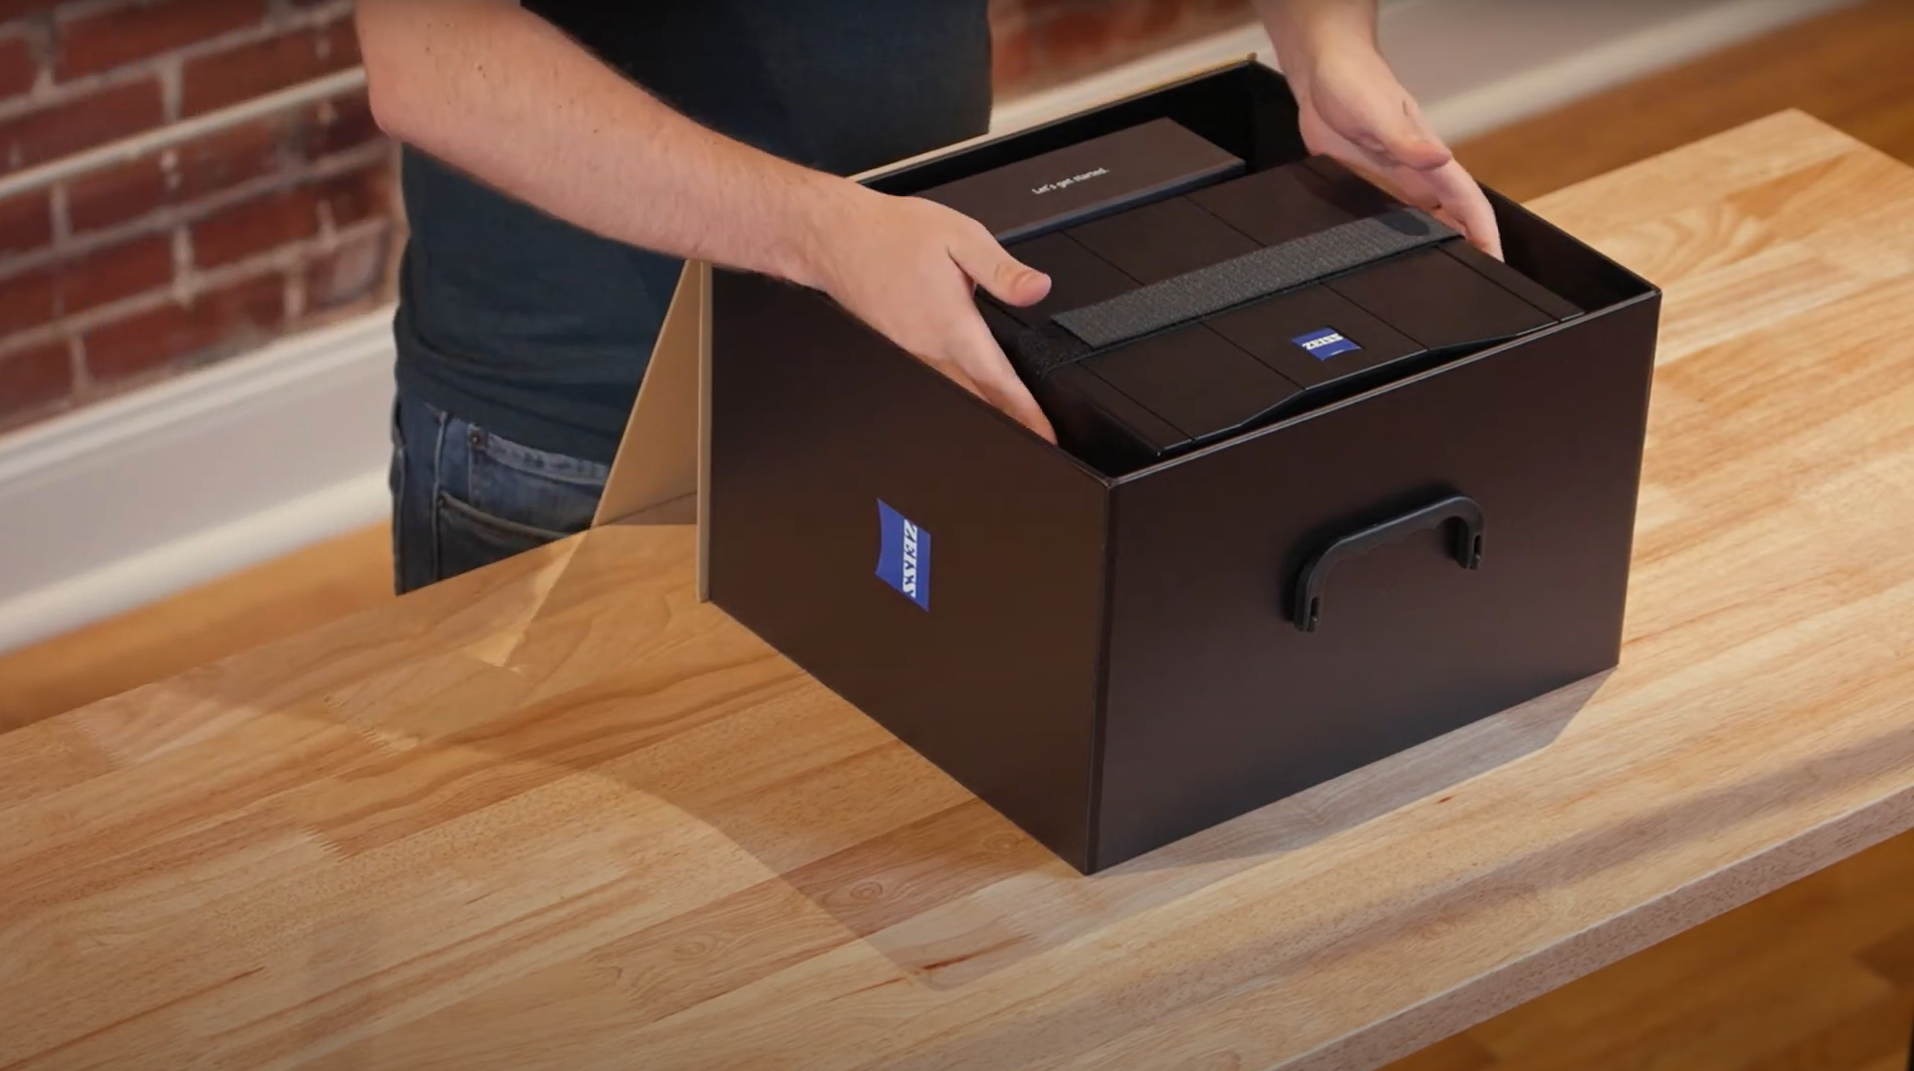
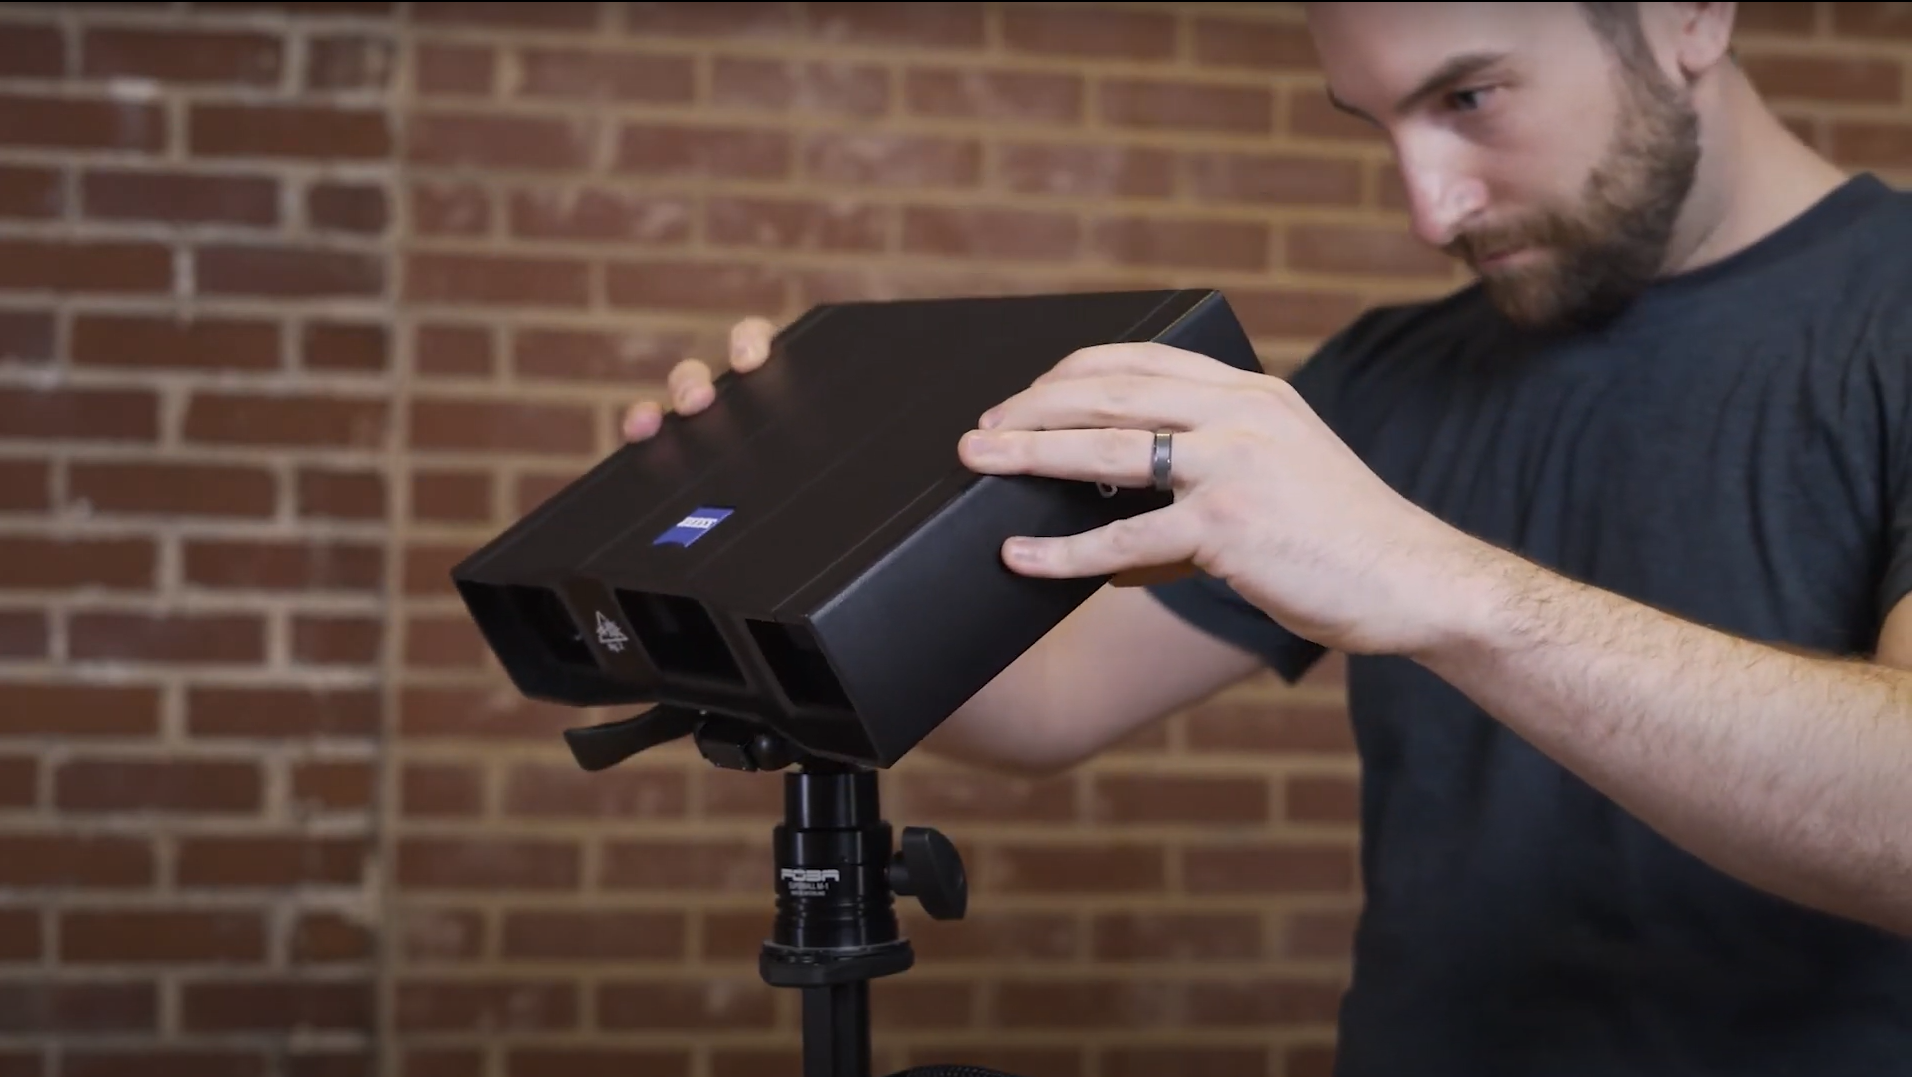
Watch Miles unbox the GOM Scan 1. What’s included: the sensor, a sensor cable, a power adapter and a measuring plate, a calibration object holder, a calibration panel and a useful accessories box. For those who travel a lot: a sturdy travel case is also available, with perfectly sized, padded compartments for all GOM Scan 1 elements, a tripod and an automatic rotation table.
GOM Scan 1: The setup
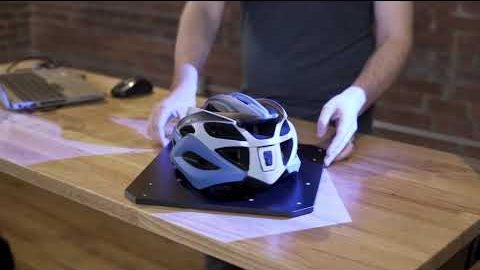
Discover how to scan a part with the new GOM Scan 1 using a manual measuring plate. The distance radar makes finding the correct stand-off distance super easy. Scanning can be done with or without reference points – either way, you get a precise mesh of the part.
GOM Scan 1: Calibration
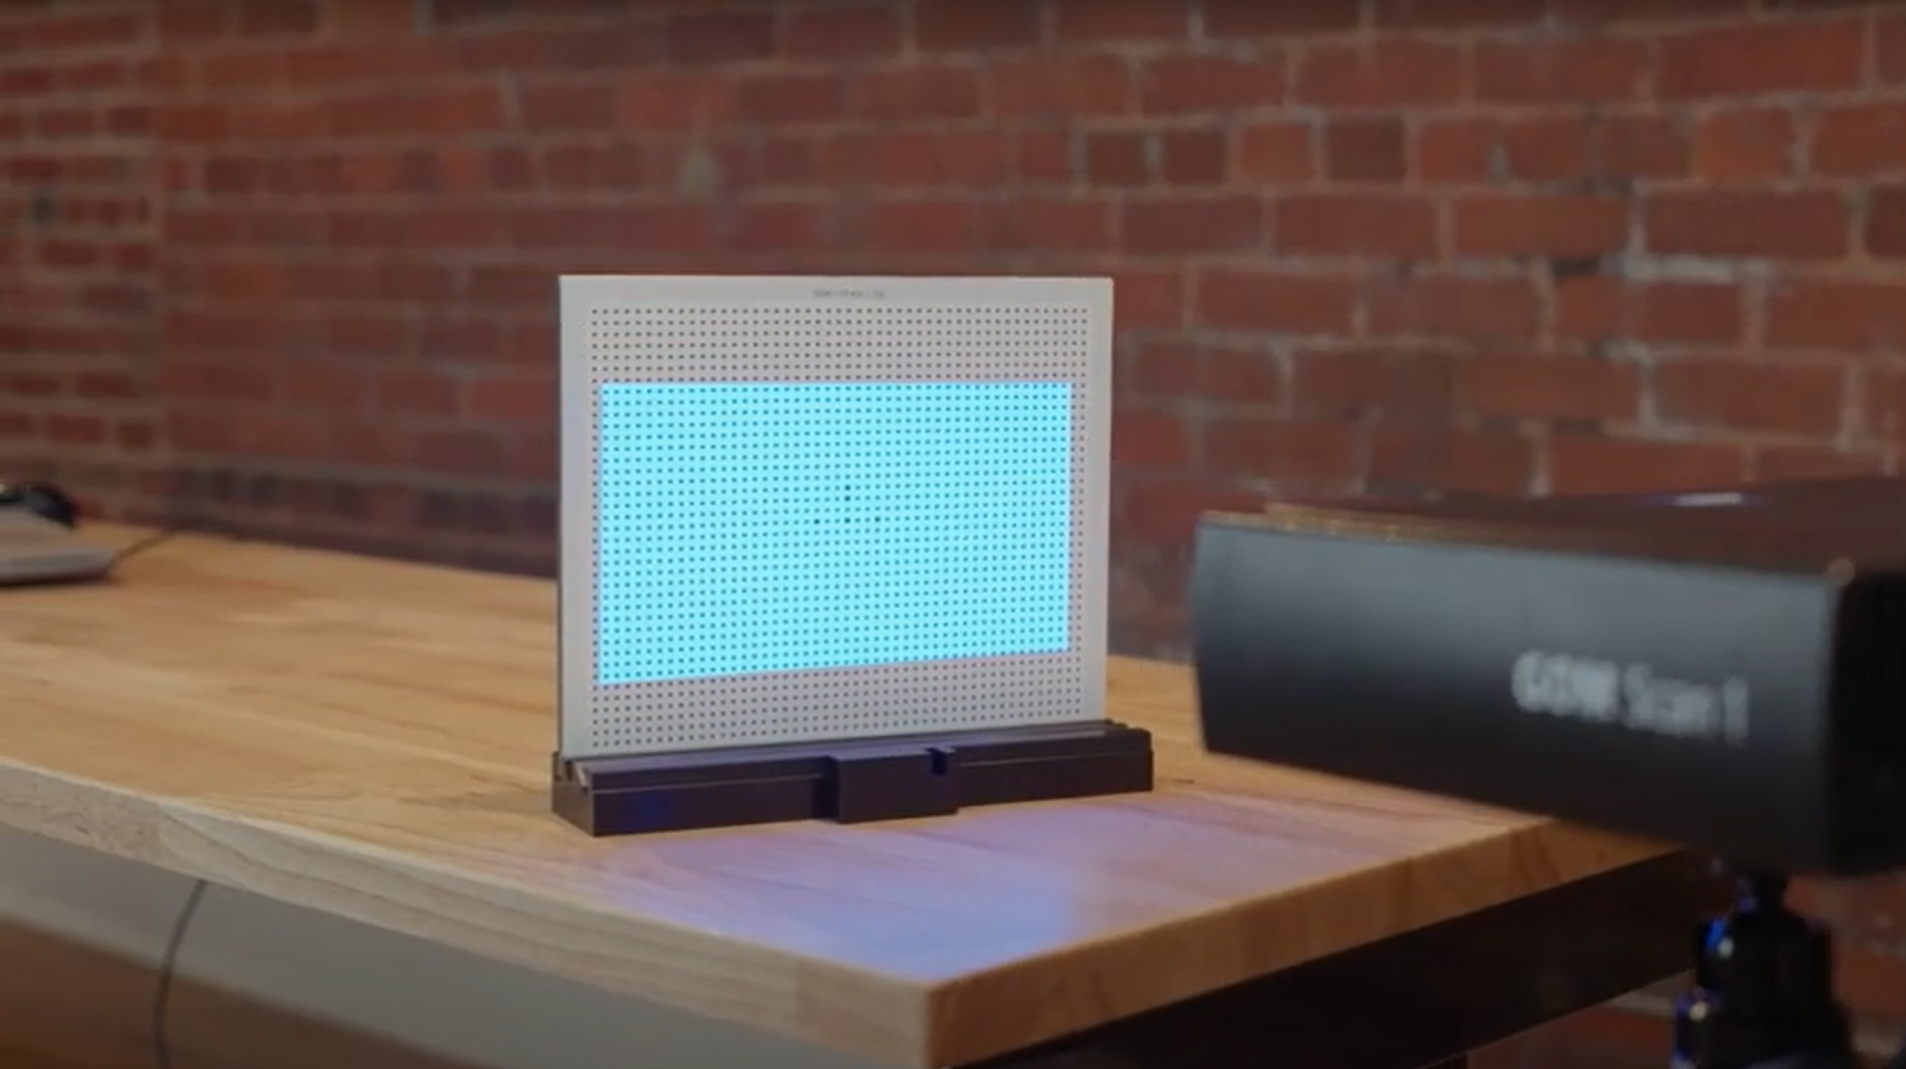
Calibrating your GOM Scan 1 is easy! Let Miles show you how it’s done. The GOM Scan 1 comes with all the accessories necessary for calibration – the software GOM Inspect guides you through the process and takes care of the rest. The best part: The sensor detects automatically, when it has to be recalibrated and informs you about it.
GOM Scan 1: Select the right sensor for your application
Let Miles show you how to select the GOM Scan 1 sensor with the perfect field of view for your scan job: Choose the 400 MV version for large parts with few details, 200 MV for smaller parts with greater detail or 100 MV for tiny parts with high levels of detail.
GOM Scan 1: Introduction to part inspection
Join Miles for a quick demonstration of how to do 3D part inspections with the new GOM Scan 1. In this video, he takes you through every step of the inspection process: from setting up to scanning and reporting – it’s a fast, smooth workflow.
GOM Scan 1: Scanning Multiple Parts
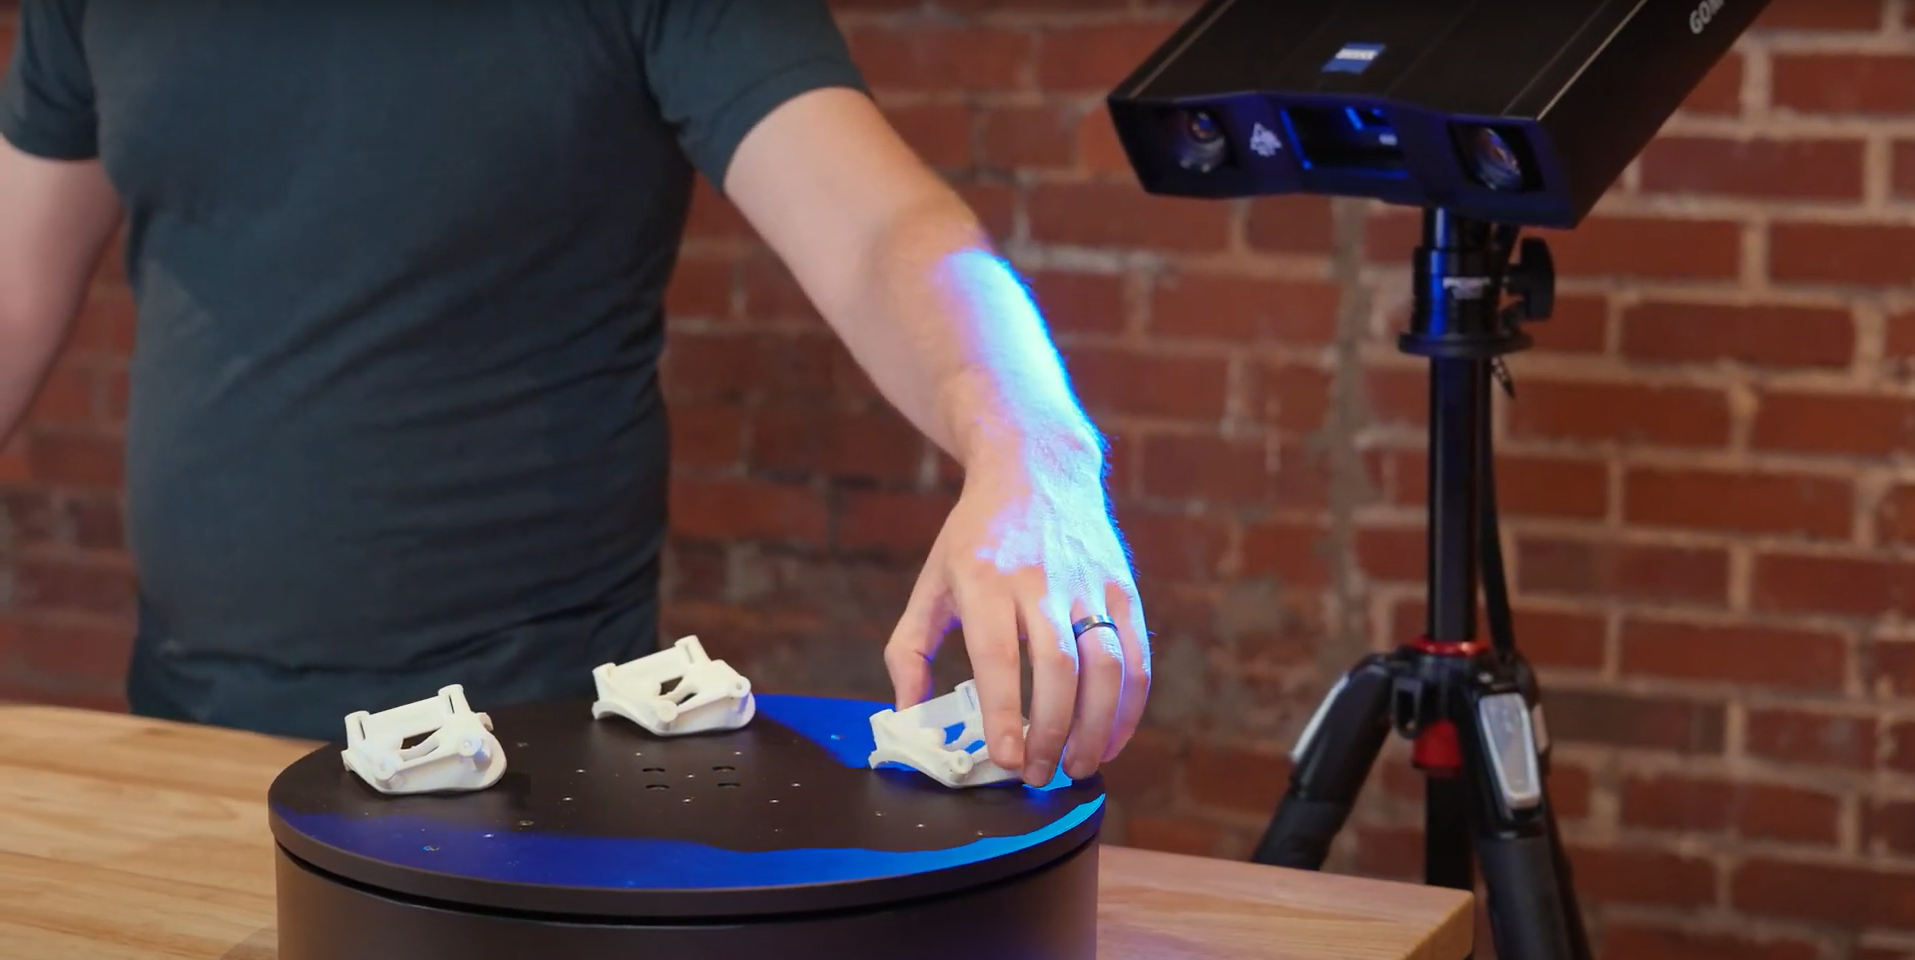
Let Miles show you how to scan multiple identical parts simultaneously using the GOM Scan 1 400 and the rotation table GOM Rot 350. Simply choose the workflow assistant for scanning multiple parts and follow the software as it guides you through the scanning process. Since the rotation table is marked with reference points, you can start scanning straight away. Partitioning the parts and aligning top and bottom scans is done with just a few clicks.
GOM Scan 1 for reverse engineering and 3D printing
Get a quick overview of the reverse engineering workflow using the new GOM Scan 1. Miles talks you through the key aspects: the selection of the right field of view, the scanning process, the 3D mesh creation and editing, the mesh alignment and data export.
GOM Scan 1: Scan a part with high levels of detail
Discover how to capture the highest possible detail with the GOM Scan 1, using a sensor with a 100 mm field of view. When scanning a small part, best results are achieved with a desk stand. The result: a detailed mesh that’s ready for 3D printing or reverse engineering.
GOM Scan 1: Measure both sides of an object
Capturing all sides of an object has never been easier. Let Miles show you how to measure a part from the top and from the bottom using a rotary table and the new GOM Scan 1. The result: a highly detailed mesh and perfect digital twin of the object you’ve scanned.
GOM Scan 1: Measure with a rotation table
Learn how easy and fast it is to scan a part with the new GOM Scan 1 using an automatic rotation table. Just choose the right template, define the number of rotations and start scanning – you can watch the data building up on the screen as you go along.
GOM Scan 1: Measure with a measuring plate
Discover how to scan a part with the new GOM Scan 1 using a manual measuring plate. The distance radar makes finding the correct stand-off distance super easy. Scanning can be done with or without reference points – either way, you get a precise mesh of the part.
GOM Scan 1: Your first use of ZEISS INSPECT
Let Miles guide you through your first use of ZEISS INSPECT with your new GOM Scan 1. It’s so easy to navigate the start screen and choose the correct workspace. Select the digitize workspace to can start scanning straight away – and get fast, precise results.
All functions shown are available in the current software version.
Got any questions on 3D scanning? Contact us via email: support@HandsOnMetrology.com
HandsOnMetrologyの最新セッション動画をご視聴ください
HandsOnMetrologyをフォロー
ソリューション
デジタルイベント
ニュースレター登録
- プライバシーポリシー
- インプリント
- ©2023. All Rights Reserved(不許複製・禁無断転載)
