A modular system for data capture without part preparation
Fast, intuitive and highly precise
A modular all-in-one concept
Early detection of deviations
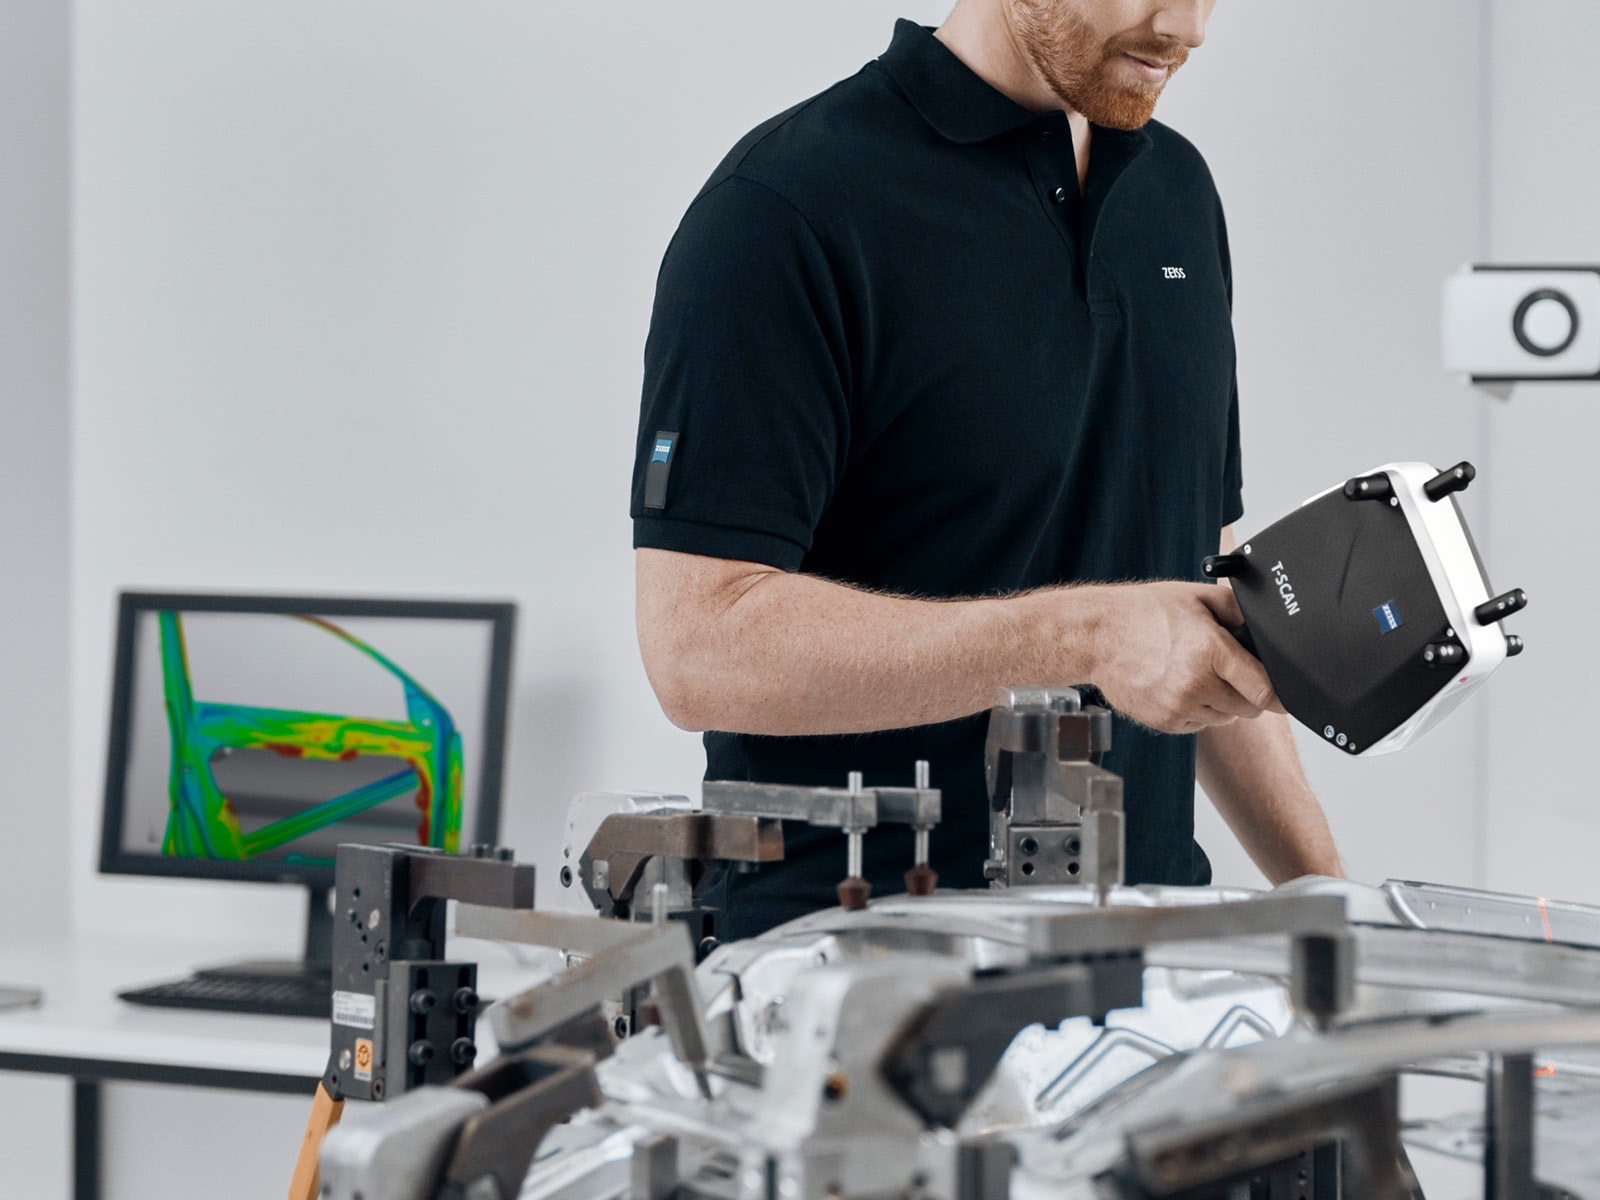
Software for a guided workflow
ZEISS INSPECT guides the operator through scanning, probing and inspecting and allows for real-time progress monitoring.
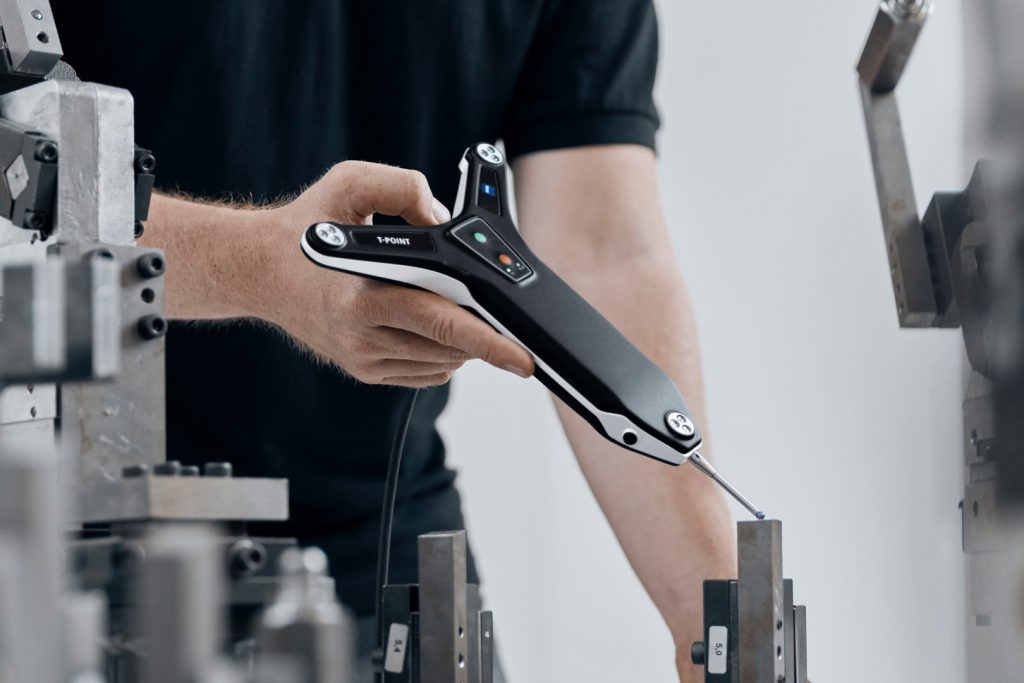
Optical tracking for small and large volumes
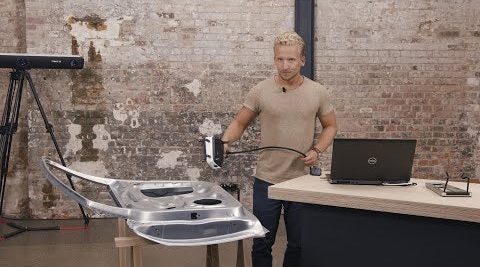
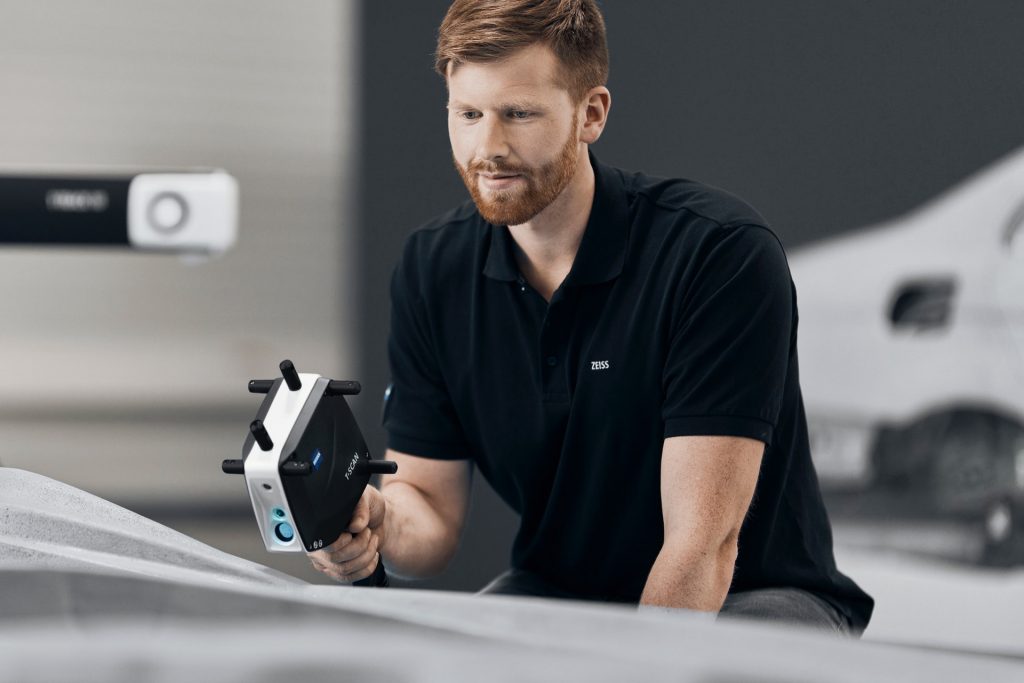
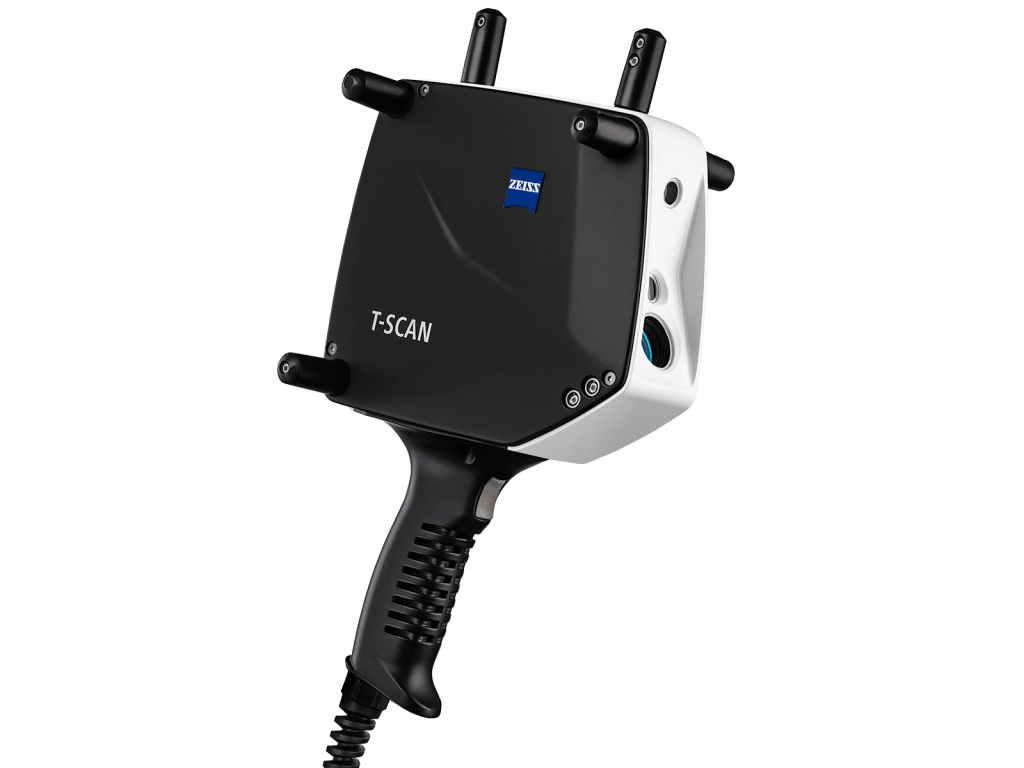
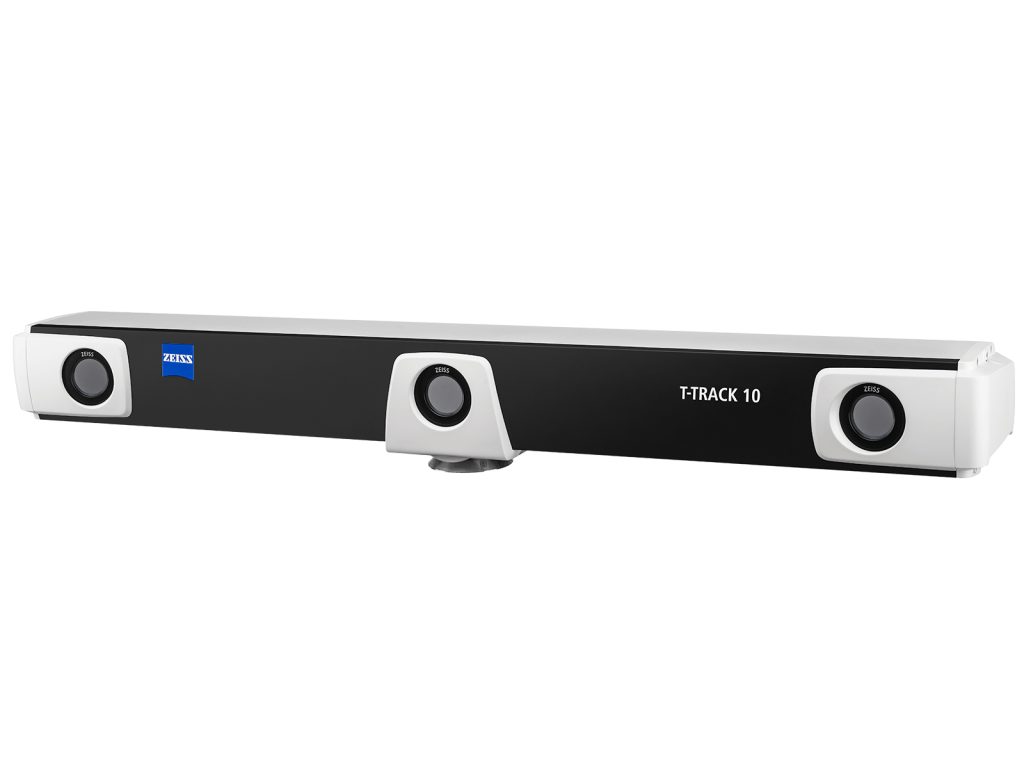
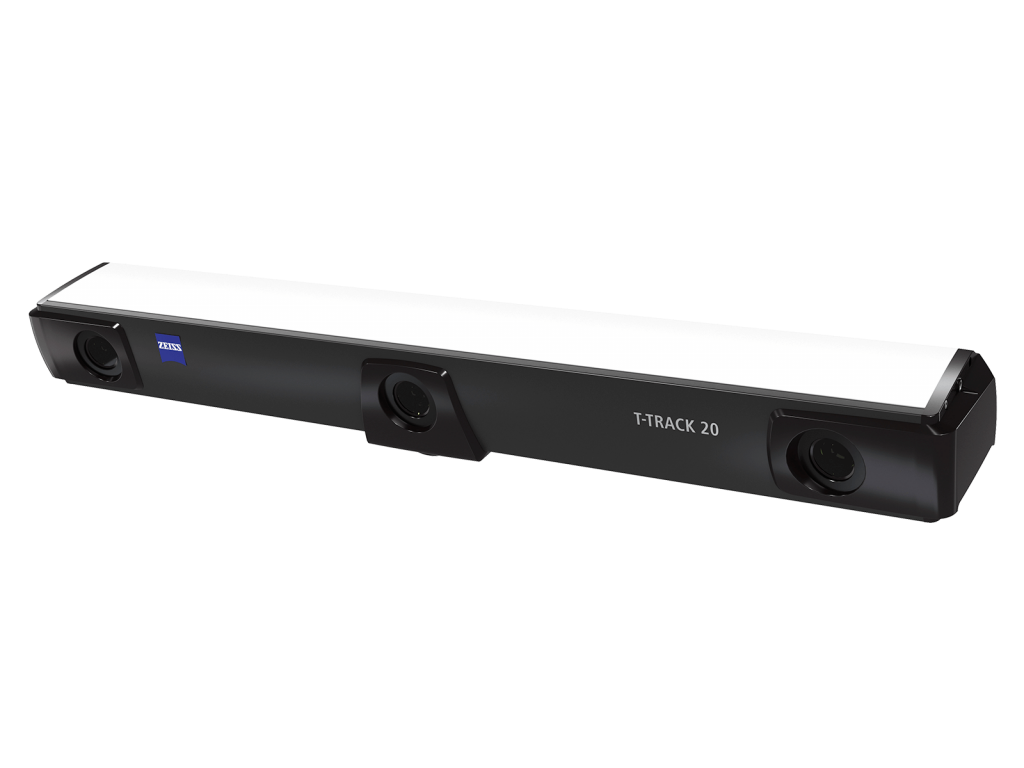
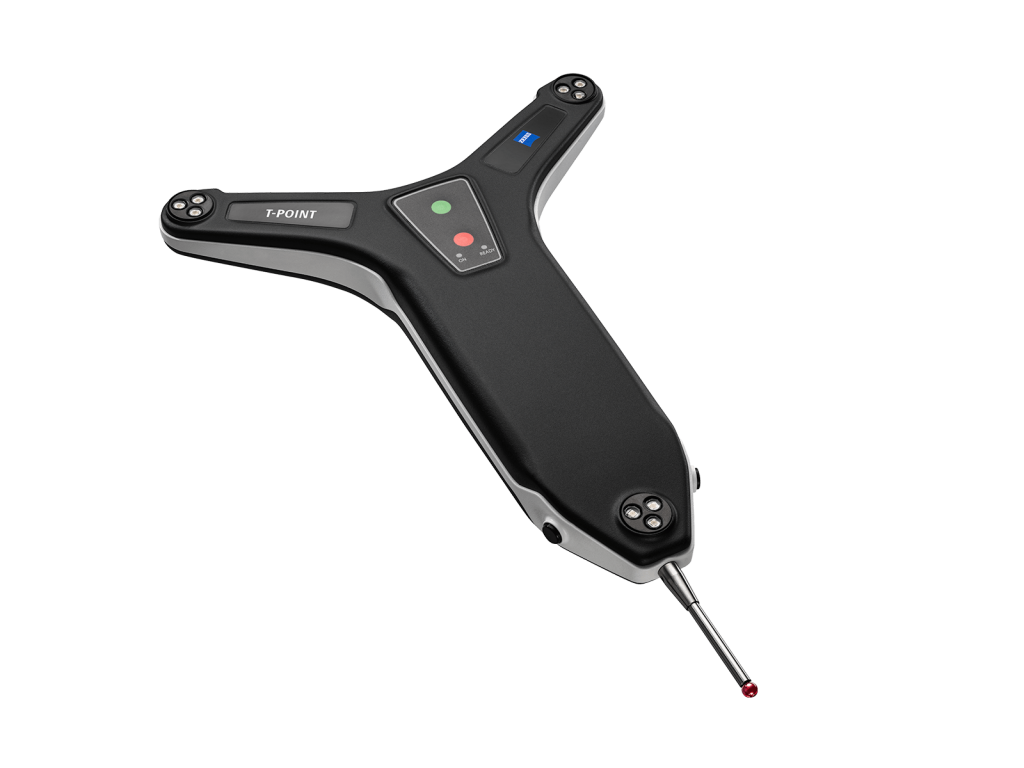
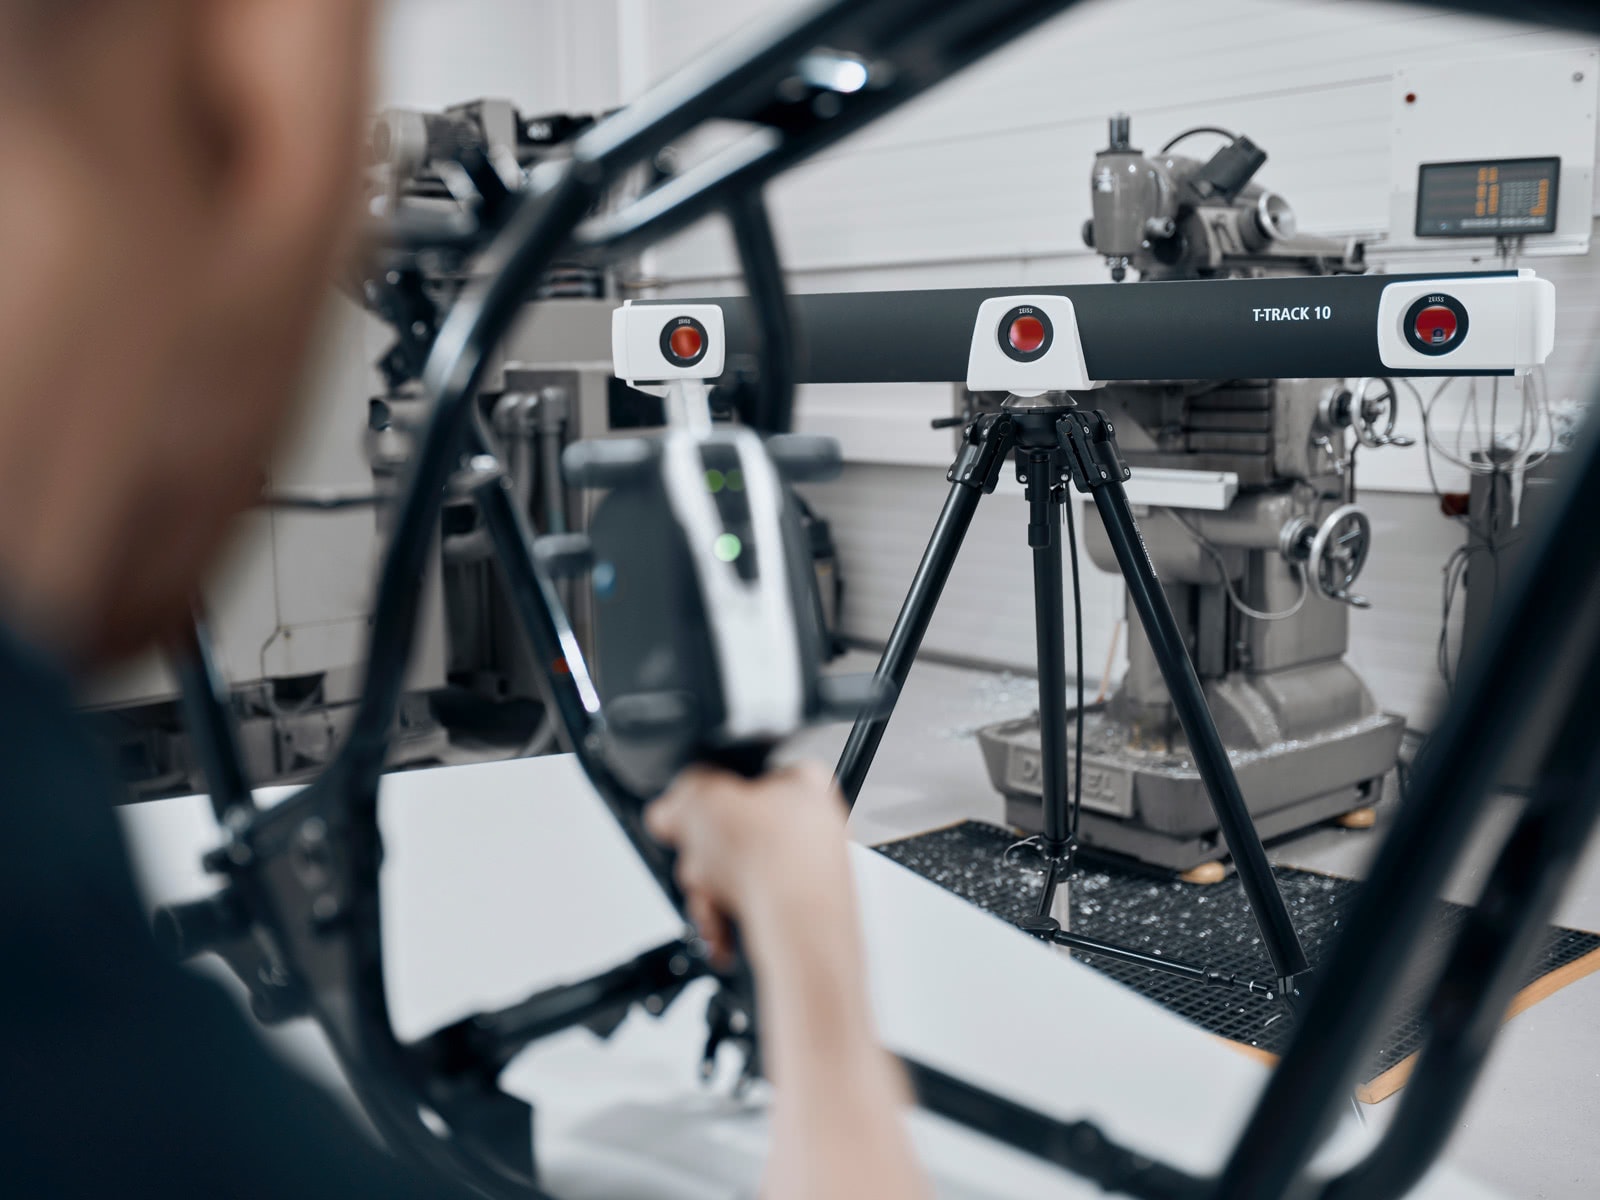
Combine a hand-held T-SCAN laser scanner with the optical tracking system of your choice: the established T-TRACK 20 for large measuring volumes of up to 20 m³ – or the T-TRACK 10 for a smaller measuring volume of up to 10 m³ and higher accuracy. If you want to quickly and reliably capture individual measuring positions, choose the touch probe T-POINT. It’s the perfect solution for single-point measurements on object areas such as trimmed edges and standard geometrics or optically hard-to-reach areas.
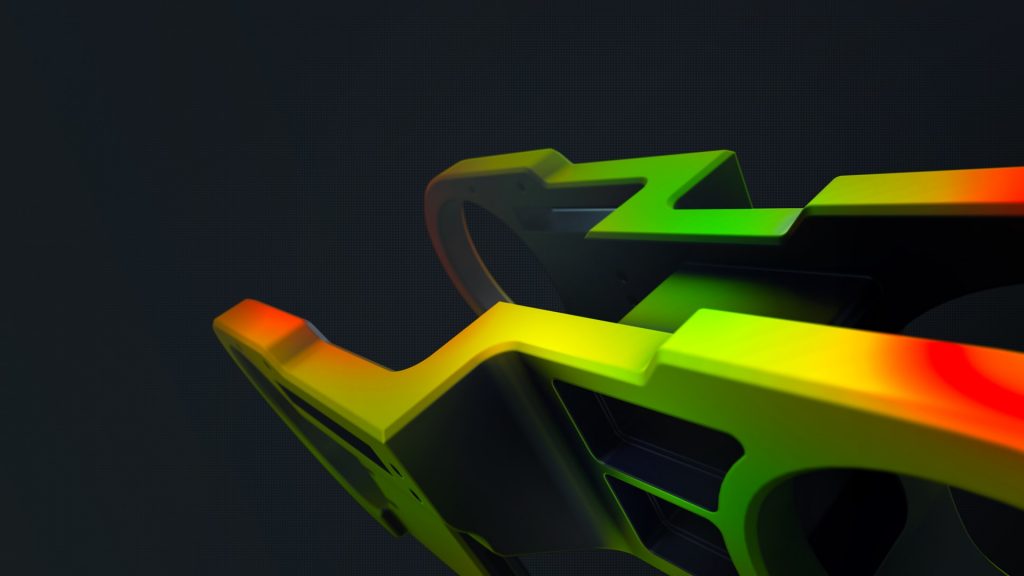
ZEISS INSPECT: Intuitive software for a simplified workflow
A wide range of applications
Quality control and inspection
- Nominal-actual CAD-to-part comparison
- Boundary edge extraction of sheet metal parts
- Inspection of complex welded structures
- Shop floor inspection
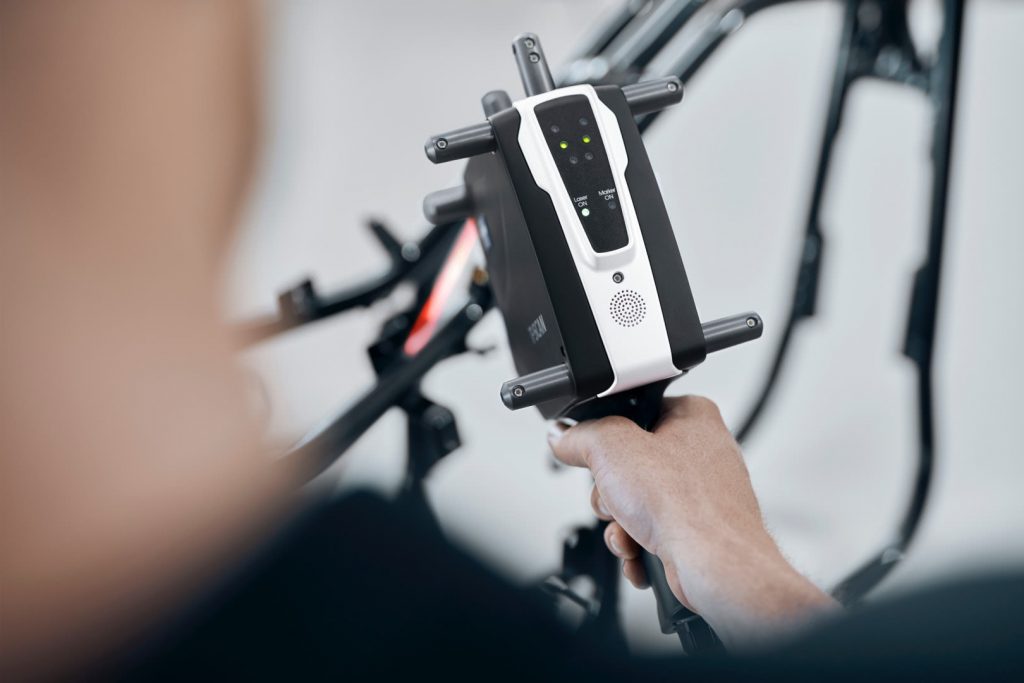
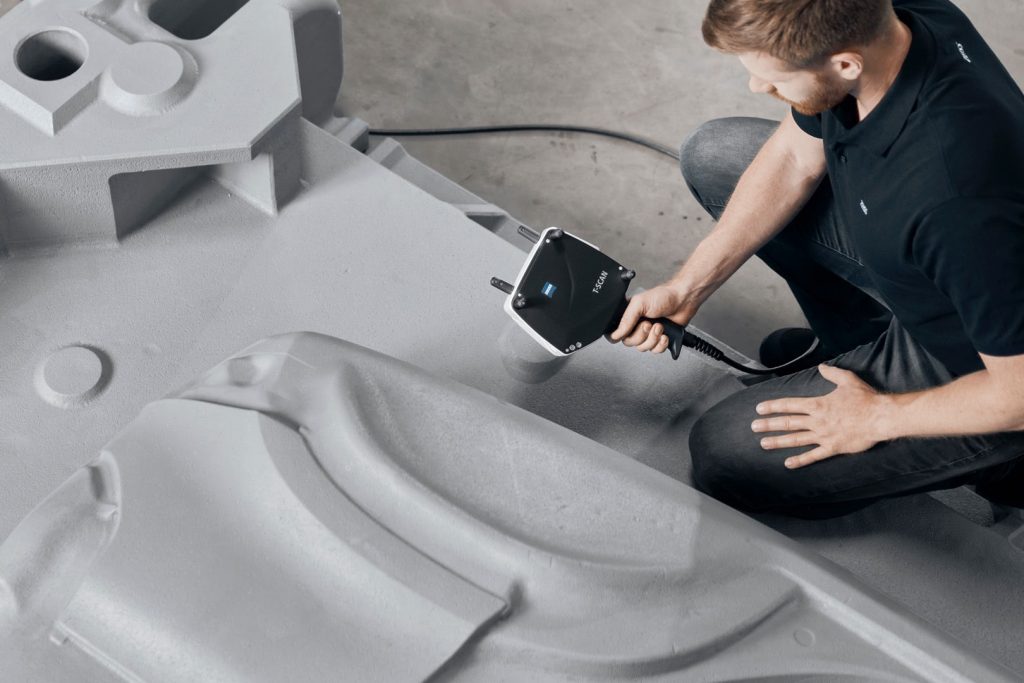
Tool and mold making
- Tool reconstruction
- Scan data for machining path generation
- Actual capture following tool approval
- Capture of complex component dynamics, e.g. during a clamping procedure
Product development and design
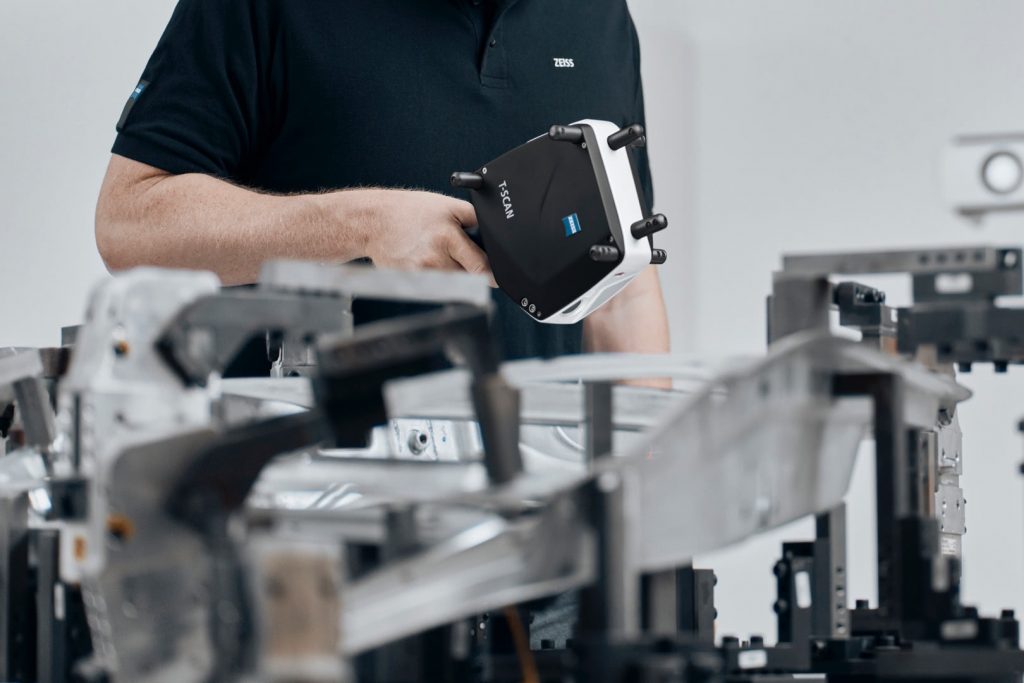
- High dynamic range to scan all kinds of surfaces
- Scanning of design models for CAD downstream processing and documentation
- Gage and fixture setup
- Fast capture of reference geometries and specified areas


Technical Data
Do you want to find out more?
Discover more
i
Please select the topic you seek more information aboutHow to scan difficult surfaces
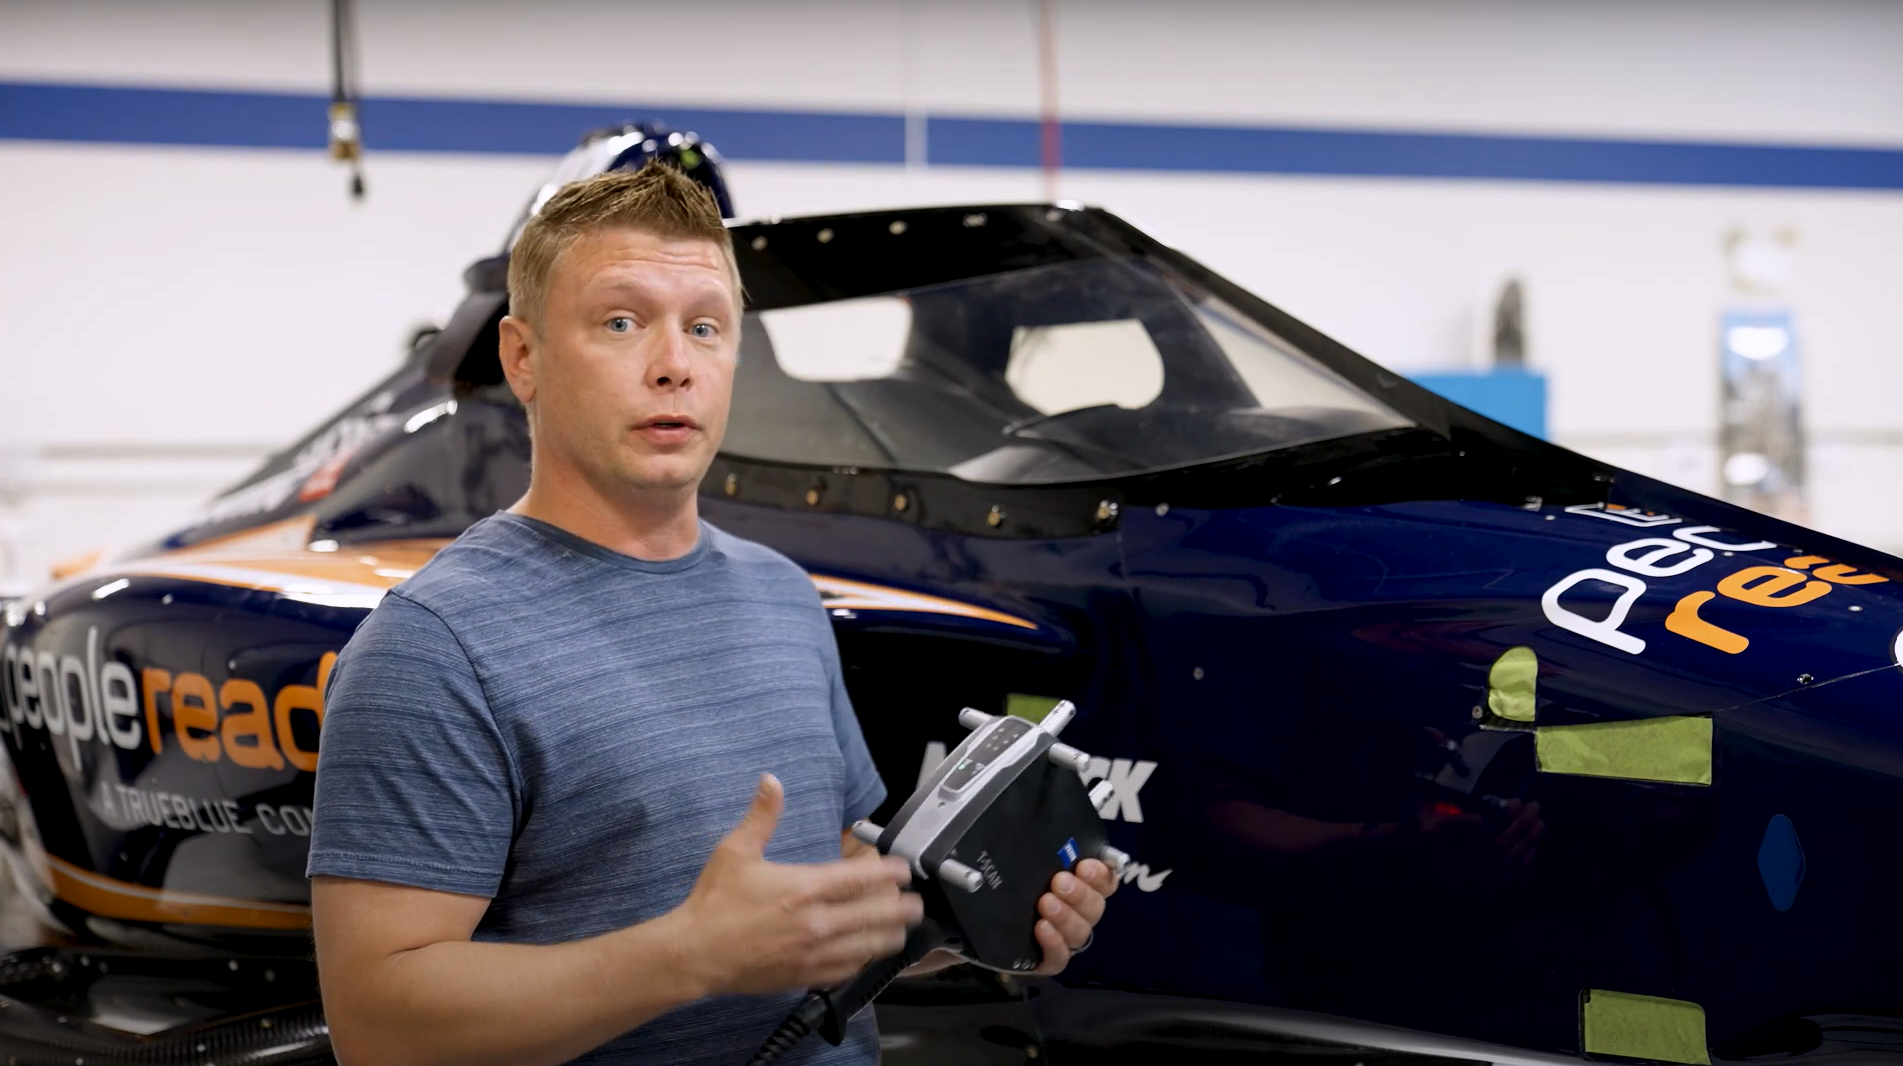
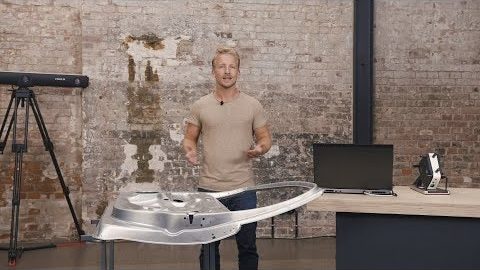
Welcome behind the scenes at IndyCar racing team RLL. The task: to scan a windshield. The problem: the laser or projected fringe can penetrate the surface. The solution: a 3D scan spray to coat the surface – for a much cleaner STL-file that’s ready for inspection.
T-SCAN: Your first use of the hand-held 3D scanner
Discover how to scan an object with the hand-held T-SCAN laser scanner. First, verify the field of view and the correct stand-off distance of the scanner. Make the task extra easy by using a pre-defined scanning template. The software automatically aligns every scan.
Chapters
00:28 Field of view
00:47 Stand-off distance
01:15 Pre-defined scan templates
01:32 Scanning
02:06 Polygonize and recalculate
T-SCAN: Extend a measuring volume with surface best-fit
Extend the measuring volume of the optical tracker T-Track by using the surface best-fit feature in GOM Inspect Suite. After capturing the 3D scanning data, David shows you how to transform it in order to get a perfect digital twin with the T-SCAN system.
Chapters
00:27 Initial part orientation
01:00 New part orientation
01:20 Create new measurement series
01:55 Transform measurement series
02:32 Polygonize mesh
T-SCAN: Single-point measurements with the touch probe
Find out how to use the touch probe T-POINT in combination with the optical tracker T-TRACK to measure individual points or deep holes. Simply define the feature you want to probe in the software GOM Inspect Suite, then follow the guided workflow to take measurements.
Chapters
00:39 Button functions
01:20 Pre-define elements to measure
01:55 Guided workflow
02:14 Measure an element
02:34 Accept a measurement
T-SCAN: Extend the measurement volume with a touch probe
How do you scan areas that are hidden from the optical tracker? Learn to extend your measurement volume with the help of the touch probe T-POINT: Simply rotate the part between scans – and probe the same features (e.g. holes) in all positions as reference points.
Chapters
00:28 Use of magnetic cones
01:36 Switch mode to scan surfaces
02:23 New part position
02:32 Create additional measurement series
02:53 Measure magnetic cones in new position
03:56 Transform measurement series
T-SCAN: Get some useful tips & tricks
Get some tips & tricks from David for the precise T-SCAN system. Learn why the T-TRACK should always look down on the part you want to scan, how you should adapt the scanning speed to the feature you want to scan and how to find the right scanning parameters.
Chapters
00:29 How to orientate the T-TRACK
00:52 Adapt the scanning speed
01:29 Find the right scanning parameters
T-SCAN: Your first use of ZEISS INSPECT
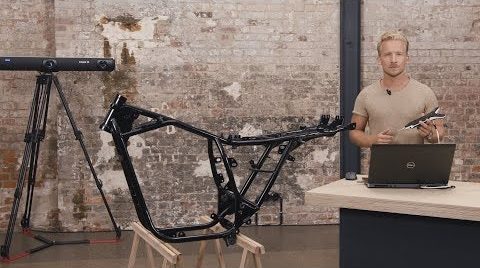
Learn how to use ZEISS INSPECT with your T-SCAN system and watch David create a digital twin of a motorcycle frame. Just make sure the part you want to scan is inside the measurement volume of your optical tracker! Using the hand-held scanner is fast and intuitive.
All functions shown are available in the current software version.
Got any questions on 3D scanning? Contact us via support@HandsOnMetrology.com
Chapters
00:28 Start screen of GOM Inspect
00:46 Initialize the sensor
01:07 Verify the part is inside the measurement volume
02:04 Start scanning
T-SCAN: How to set up your new laser scanner system
Mount the optical tracker on the tripod and connect the cables of all scanning components to the controller. Then connect the power cable and the laptop to the controller, plug in your license dongle, open the laptop, switch on the controller and start GOM Inspect Suite.
T-SCAN: The difference between T-SCAN 10 and T-SCAN 20
Discover the differences between the 3D scanning systems T-SCAN 10 and T-SCAN 20. First: T-SCAN 20 has a measurement volume of 20 m³, while T-SCAN 10 scans up to 10 m³. Second: T-SCAN 10 is accordingly cheaper. The good news: You can always upgrade.
Chapters
00:28 Measurement volume
00:48 Measurement depth
Discover our newest video sessions
Follow us
Sessions
Solutions
Digital Events
Subscribe to our newsletter
- Privacy Policy
- Imprint
- ©2023. All Rights Reserved
