Your portable solution for 3D scanning and easy inspection
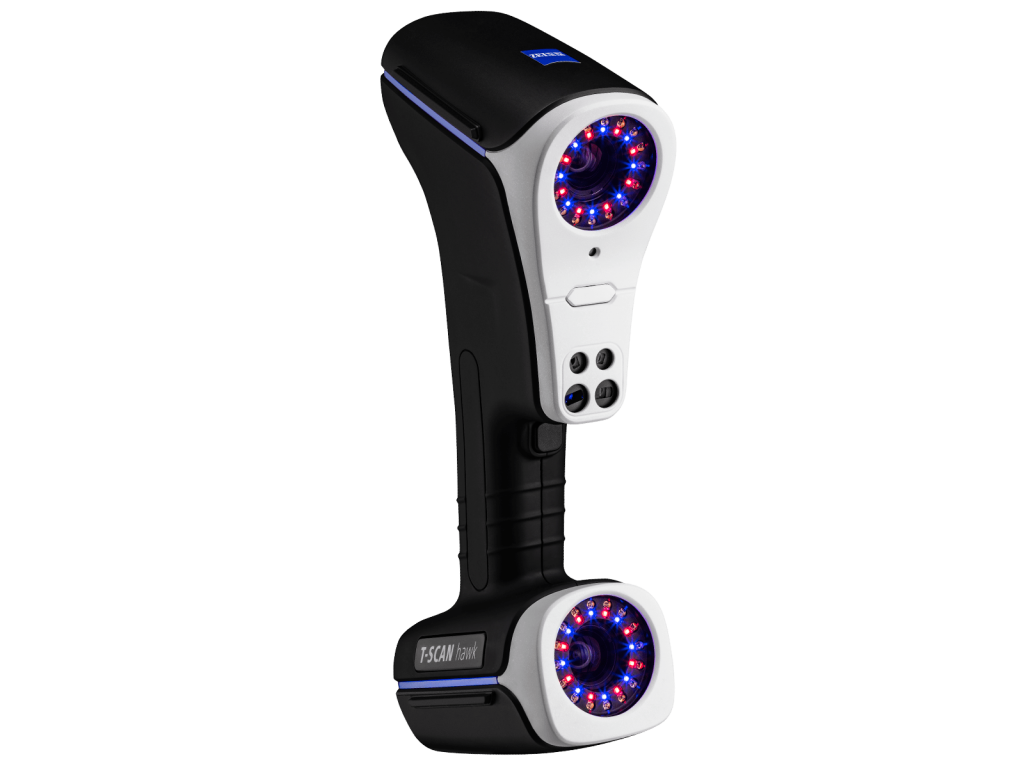
The lightweight ZEISS T-SCAN hawk with GOM Inspect

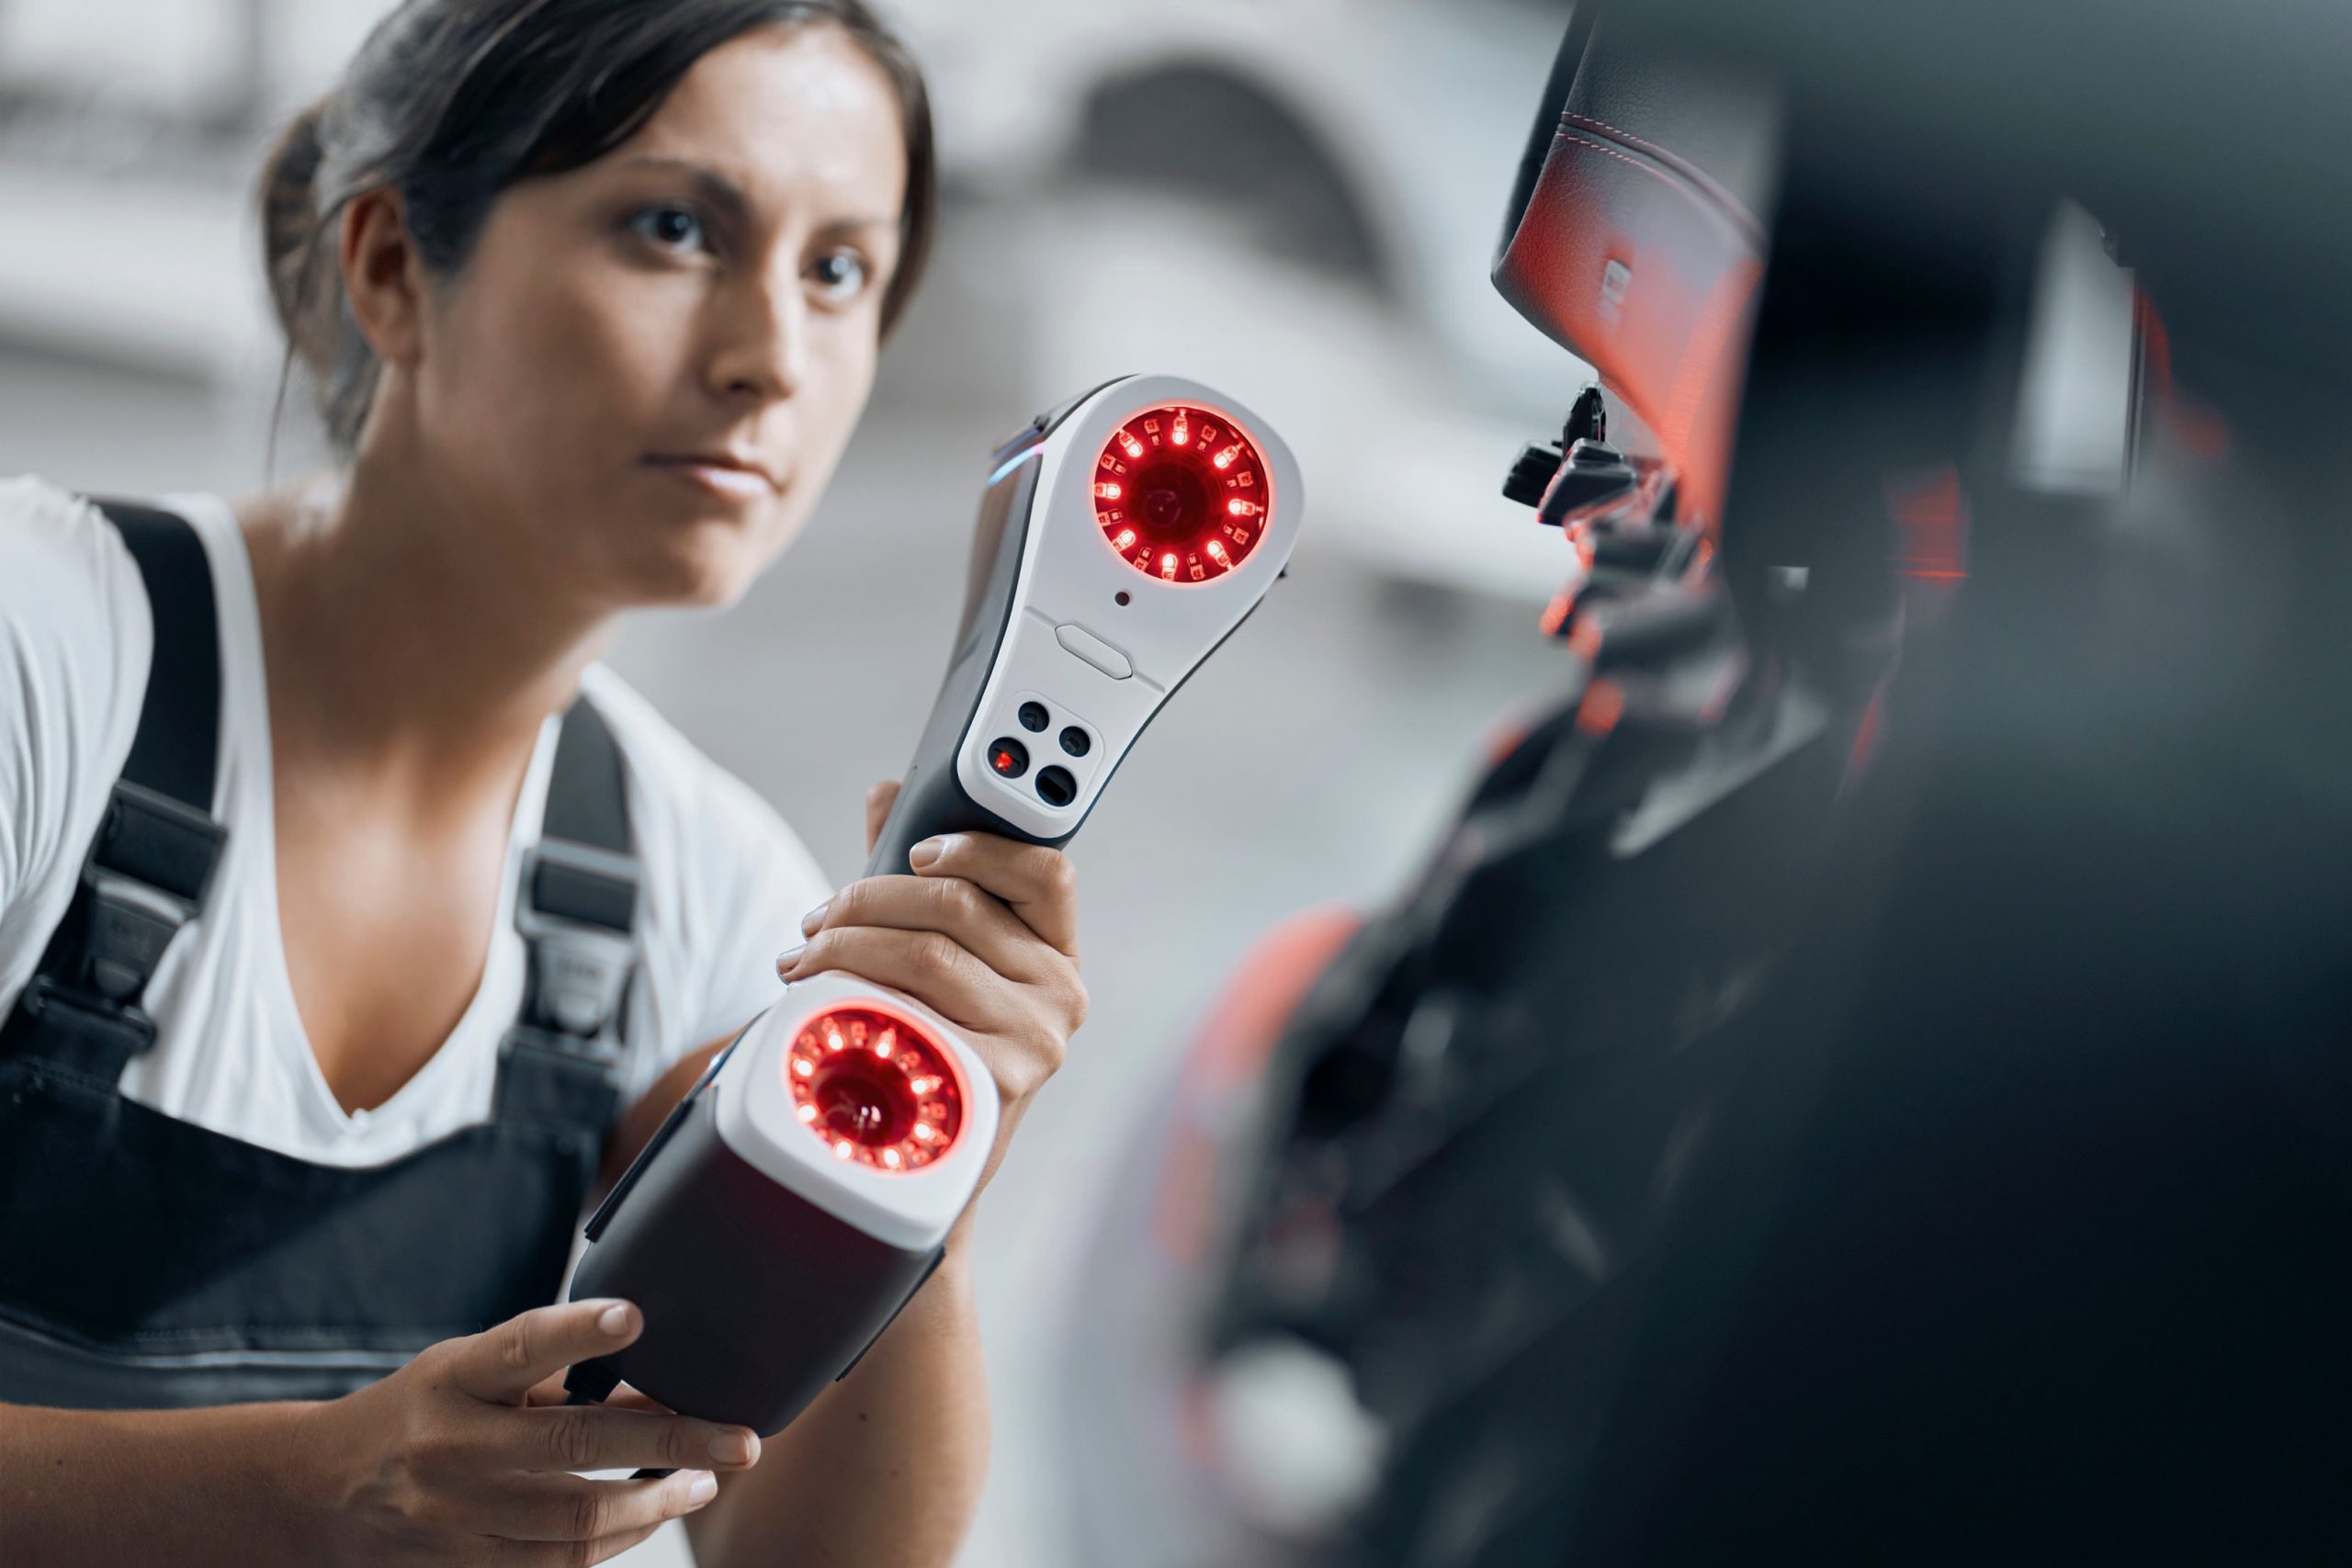
Made to be portable
Made to be precise
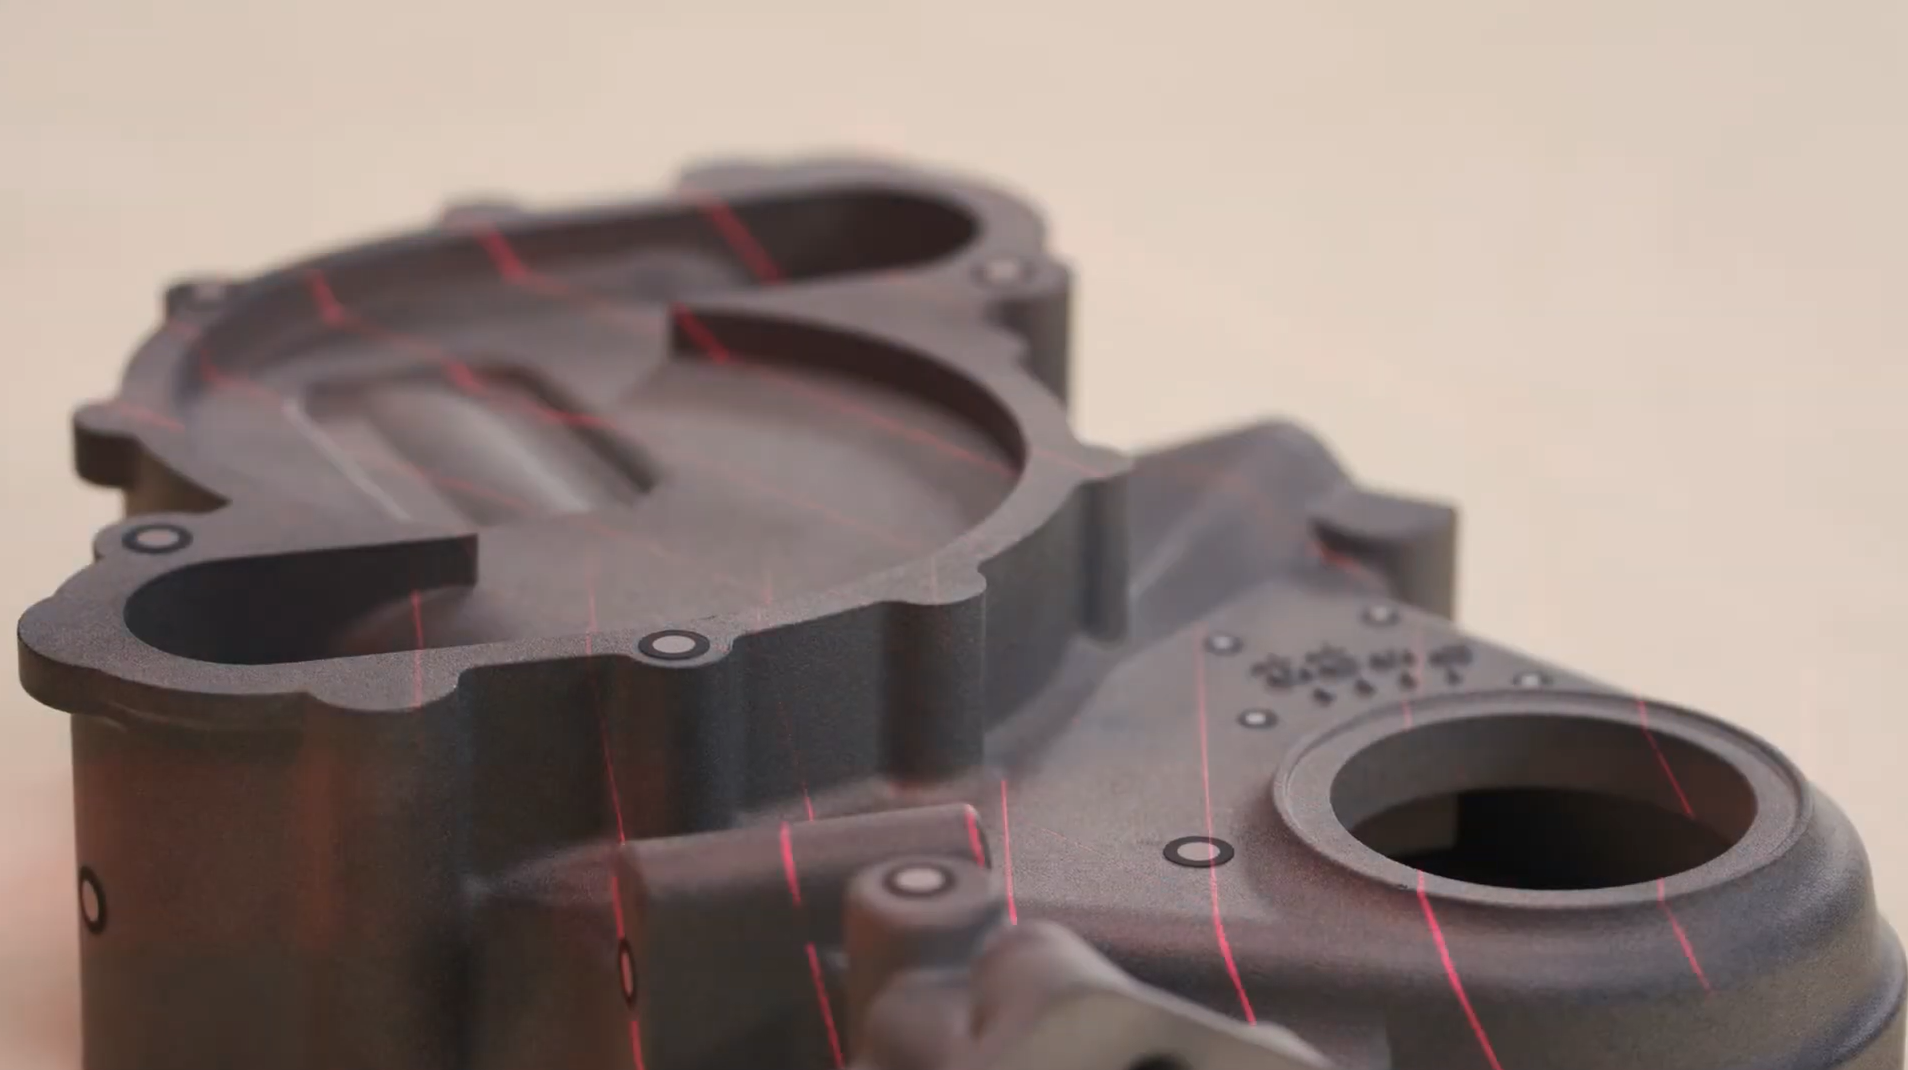
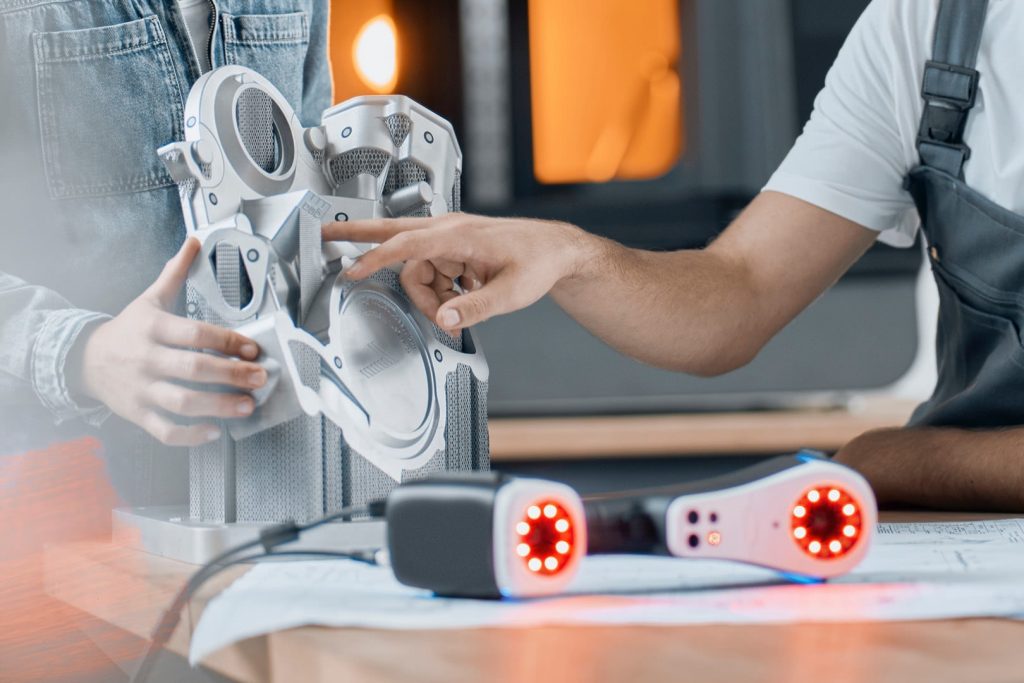
The T-SCAN hawk 3D scanner includes impressive technical features, such as photogrammetry of large objects, multiple laser sources and three scanning modes – making it the perfect solution even for fine details or deep pockets. The result: 3D data with maximum precision.
Made to make a difference
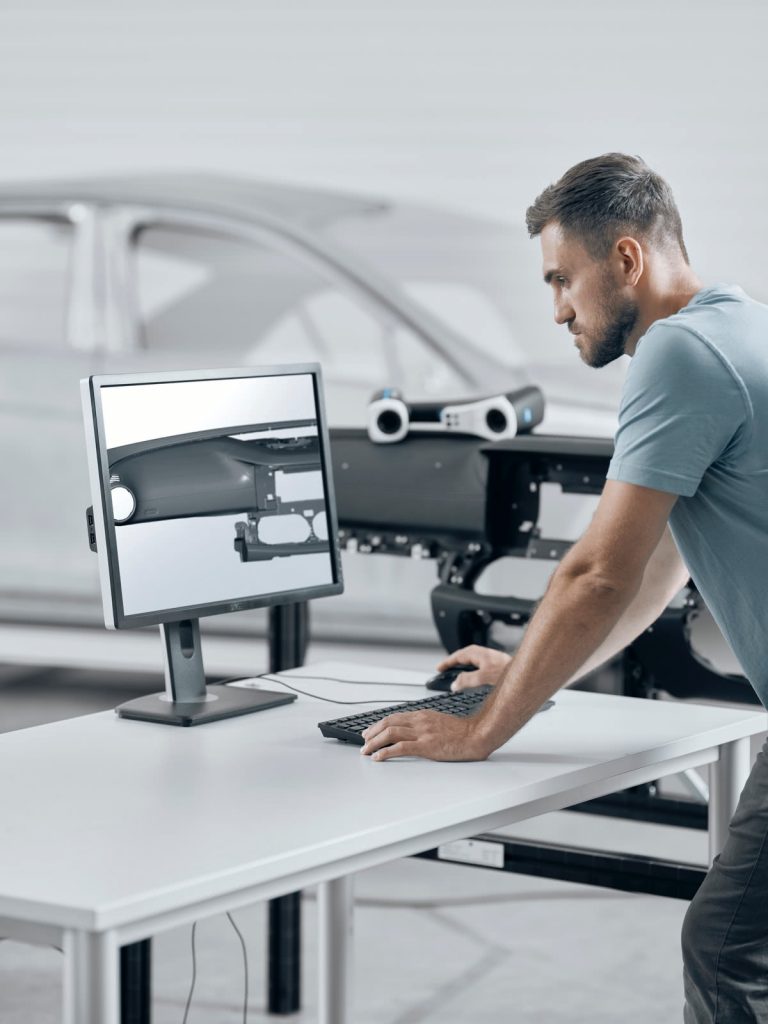
The T-SCAN hawk with pre-installed GOM Inspect is a complete solution to simplify your entire workflow from scanning to evaluation and reporting.
Applications
Reverse Engineering
- From shape to CAD model
- Archiving of tools and cultural heritage
- Everything from small details to large parts
Maintenance
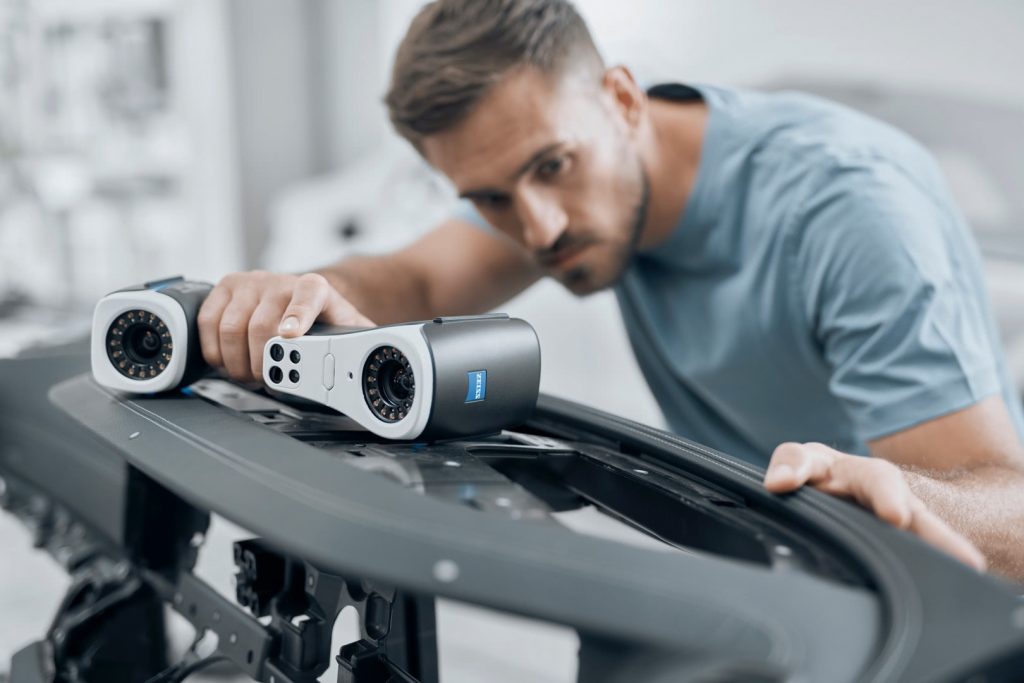
- Easy 3D inspection of wear and tear
- Suitable for indoor and outdoor use
- Trend analysis for multiple evaluations

Quality Control
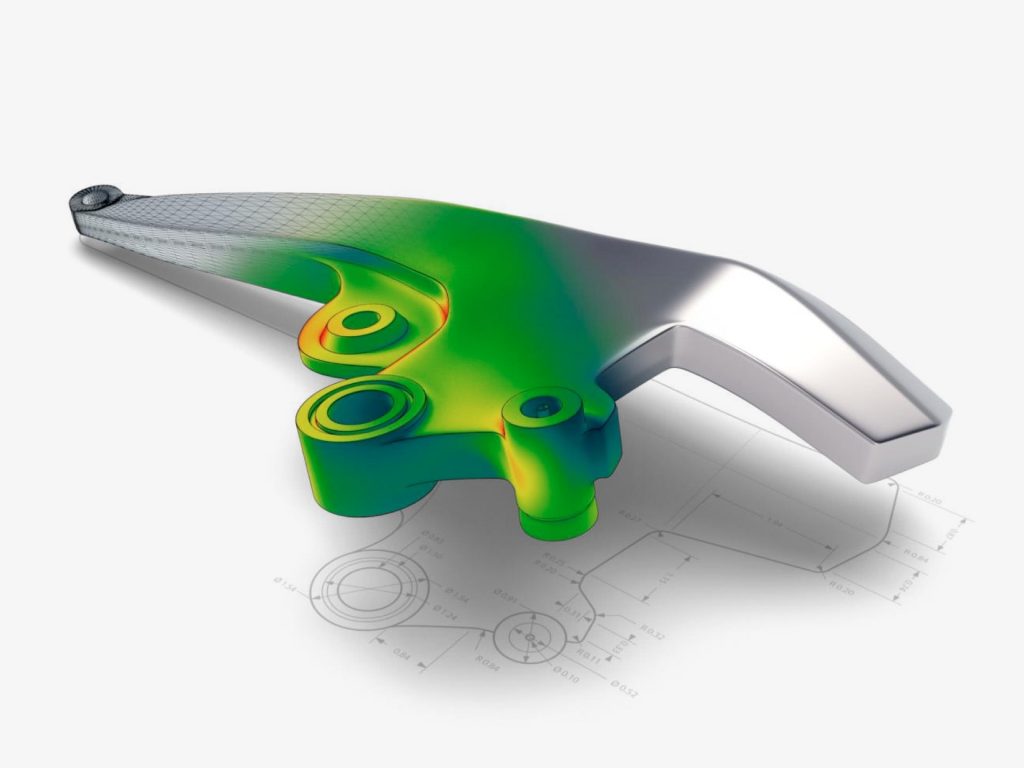
- Nominal-actual comparison
- Functional dimensioning
- Shop floor inspection


GOM Inspect
Making quality visible
Features

Anything, anywhere
- Compact, lightweight and portable scanner design
- Travel-friendly to support you wherever needed
- Suitable for confined spaces and hard-to-reach areas

Adapts to your needs
- Multiple laser sources for fine details and large areas
- Captures data from almost any surface and material
- For dark and reflective objects and deep pockets
Easy to use and ready to go
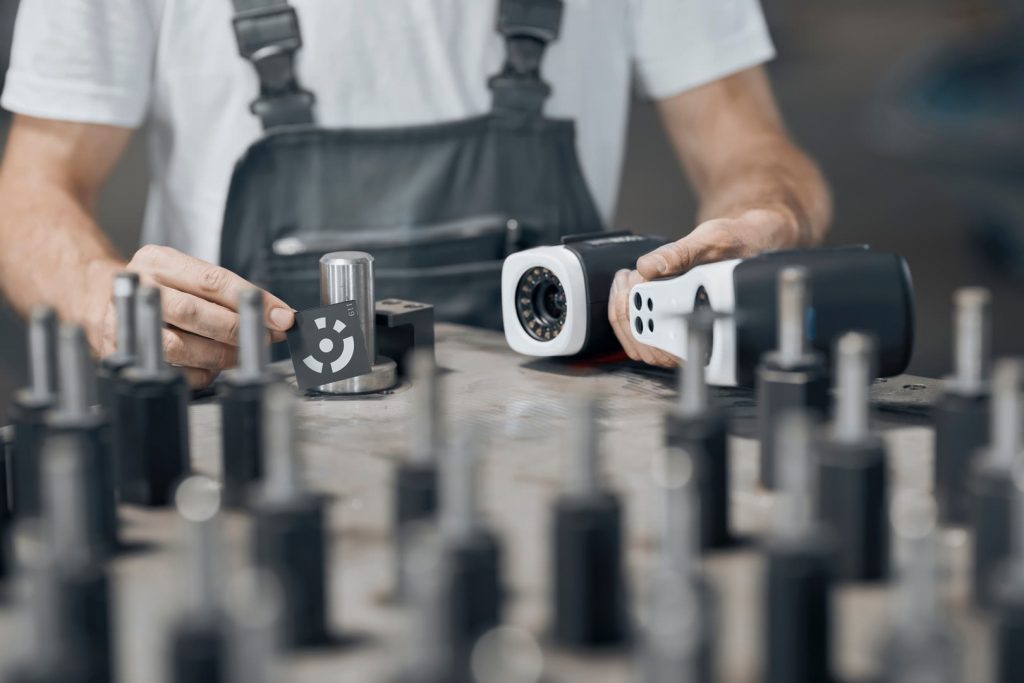
- Stand-alone device
- Ready to start in no time
- Easy, intuitive scanning process

Likes a big challenge
- Ideal for very large or heavy object scanning
- Enhanced precision for even larger objects
- Built-in photogrammetry
- Highly reliable results
Three scanning modes at the push of a button
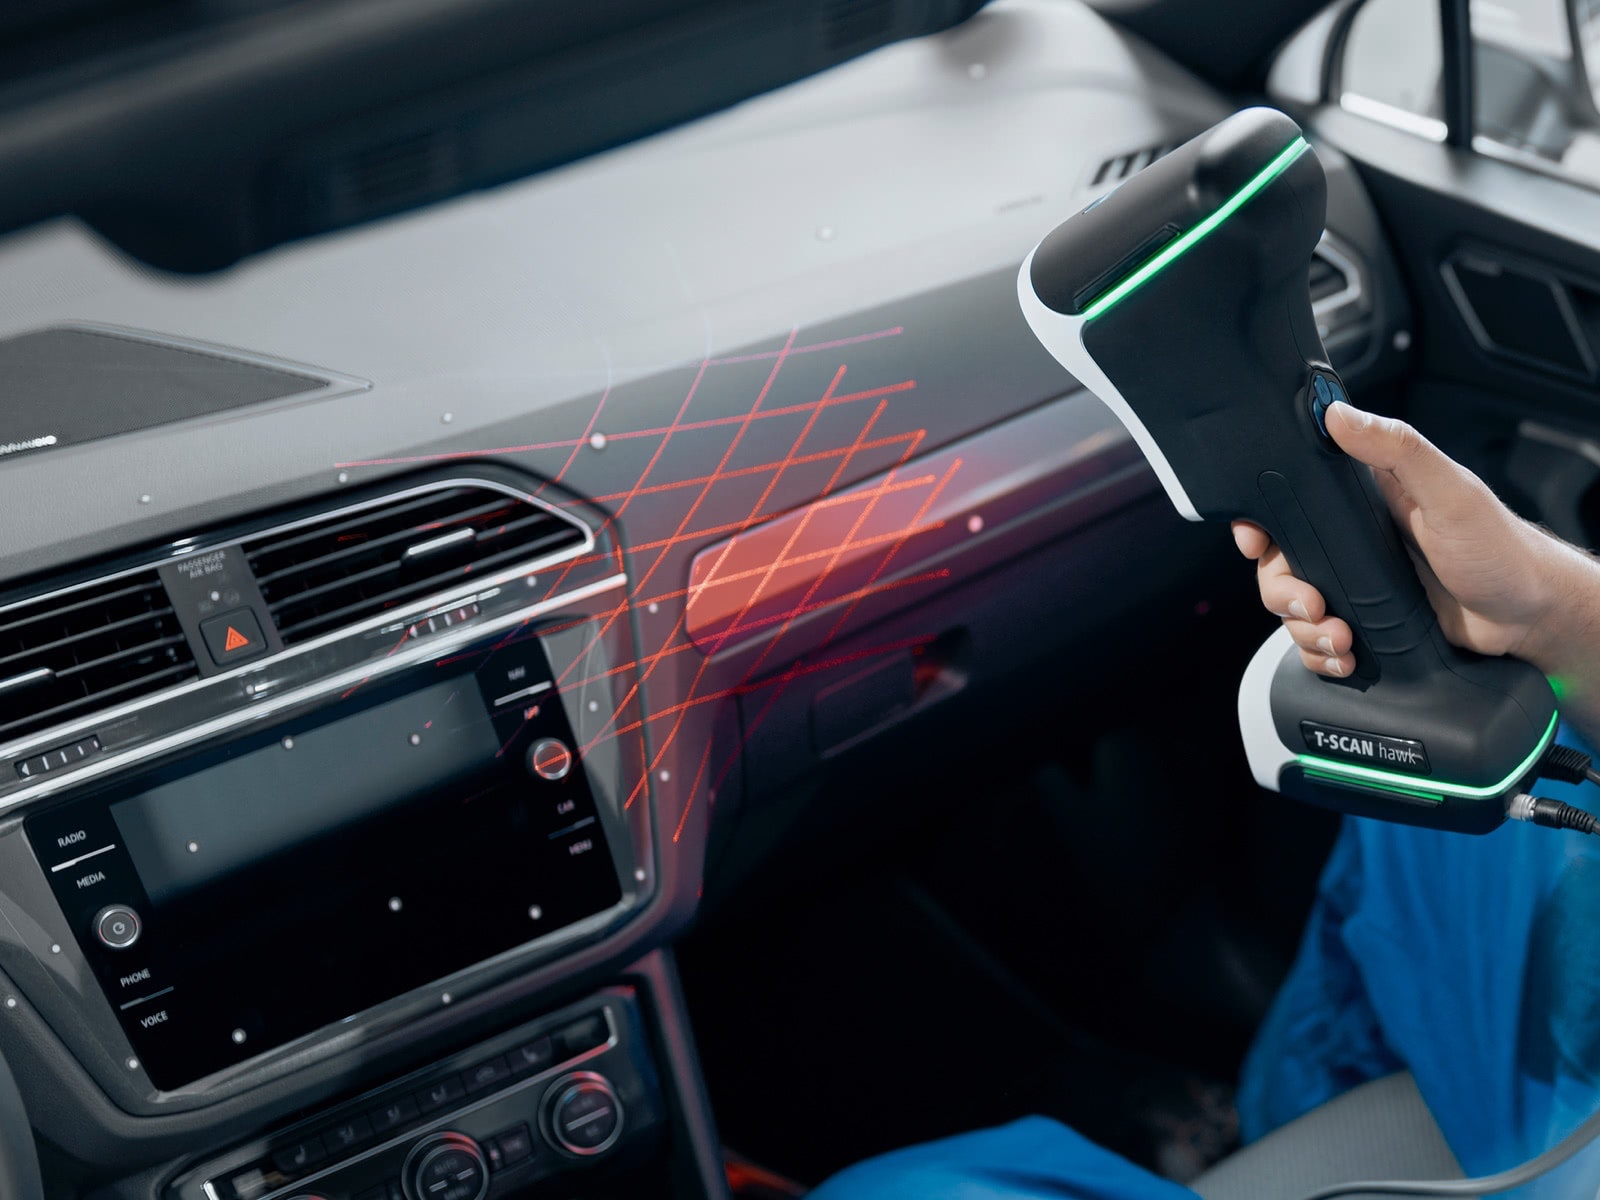
Red crosses: for large areas
For scanning large sections or for fast 3D reconstruction

Blue lines: for fine details

Single red line: for confined areas
For deep pockets or hard-to-reach areas
Technical Data
Do you want to find out more?
Discover more
i
Please select the topic you seek more information aboutHow to 3D scan huge objects with photogrammetry
Meet Benjamin and follow his step-by-step guide to 3D scanning a ship propeller. He combines two solutions: First, he uses GOM’s external photogrammetry camera TRITOP. Subsequently, he adds specific data using the portable T-SCAN hawk.
How to use a 3D laser scanner in confined spaces
Learn how Toon uses a portable T-SCAN hawk 3D laser scanner to scan the cockpit of an oldtimer airplane for further customization. And find out why a large field of view in combination with a short stand-off distance makes Toon’s scanner perfect for confined spaces.
How to use 3D scanning for dent detection
Discover how the use of a portable T-SCAN hawk 3D scanner can revolutionize the detection and sizing of dents in aerospace and automotive restauration. Find out how to prep large objects before scanning – and watch the magic happen on screen in GOM Inspect Suite.
How to compare two scans
How do you evaluate the aerodynamic characteristics of two IndyCars to improve them? Learn how to compare two 3D vehicle scans against each other with GOM Inspect: Simply set one vehicle as the nominal data, then create an alignment to see the deviations.
How to scan a complete vehicle
Wondering how to 3D scan a car, including its underside? Ian knows how it’s done, so let him show you the steps: from placing the reference points for scanning and the coded markers and scale bars for photogrammetry to capturing the vehicle from many different angles.
T-SCAN hawk: Scan deep pockets with GOM Inspect
Learn why the portable laser scanner T-SCAN hawk is perfectly designed to scan deep pockets, and let Toon show you how to use the deep pocket mode in GOM Inspect. A single laser line allows you to scan even deeper inside a pocket and capture a lot more data.
Chapters
00:24 Technical background of laser scanning
01:08 How to activate deep pocket mode
01:44 Optimize 3D view for deep pocket scanning
T-SCAN hawk: Get some useful tips & tricks
Get some of Toon’s most useful insights: 1. Learn about different exposure times for different surfaces. 2. Discover the ideal scanner orientation for the three scanning modes of the portable T-SCAN hawk. 3. Watch Toon give playing bricks a whole new application area.
Chapters
00:32 Tip 1: Exposure time
01:10 Tip 2: Scanner orientation
02:33 Tip 3: Smart reference point positioning
T-SCAN hawk: Your first use of GOM Inspect
Learn how to use GOM Inspect for the first time. Starting from the T-SCAN hawk workspace and its main toolbar, Toon guides you through the entire scanning workflow – from calibration to pushing the scan button and polygonizing the scan data into a final mesh.
Chapters
00:30 Open GOM Inspect software
00:54 Calibrating the portable T-SCAN hawk
02:10 Instant scanning
02:34 Increased accuracy scanning
03:19 Cut out background
03:54 Part scanning
04:50 Polygonize scan data to final mesh
T-SCAN hawk: Scanning in GOM Inspect, Part 1
Learn a common scanning strategy in GOM Inspect. This easy scanning workflow is about scanning surface data, deep pockets and fine details. Watch the process from capturing reference points to polygonize the scan data and see all three scanning modes in action.
Chapters
00:43 Capture reference points
01:16 Cut out background
01:50 Scan the part
02:44 Standard scanning mode
03:10 Single laser line mode
04:01 Scanning details
05:33 Polygonize scan data to final mesh
T-SCAN hawk: Scanning in GOM Inspect, Part 2
This easy 3D scanning workflow is about scanning an object from top and bottom, using a manual rotation table. Toon guides you from capturing reference points on the side of the part and cutting out backgrounds to a complete digital copy of your object, front and back.
Chapters
00:40 Use of rotation table
01:02 Capture reference points of top and bottom
02:00 Cut out background 1
02:27 Scanning top side
03:16 Cut out background 2
03:54 Scanning bottom side
04:35 Polygonize scan data to final mesh
T-SCAN hawk: Scanning in GOM Inspect, Part 3
This easy workflow is about scanning a detailed part in a high resolution. Watch Toon placing reference points around the object and using the blue laser mode for fine details. After polygonizing the data, the digital copy is ready for reverse engineering or inspection.
Chapters
00:28 Small detailed object
00:49 Reference points
01:14 Capture reference points
01:39 Cut out background
02:11 Scanning with blue lasers
03:30 Polygonize scan data to final mesh
T-SCAN hawk: Unboxing your new 3D laser scanner
Meet Toon and the portable T-SCAN hawk solution with its small, travel-friendly case. Everything you need fits in: the 3D scanner, cables, reference points, coded reference points and scalebars for photogrammetry, license dongles and a calibration panel.
Chapters
00:28 The case
00:42 T-SCAN hawk scanner
01:56 Sensor cables
01:04 Reference points
01:17 Coded reference points
01:26 License dongles
01:48 Calibration panel and scale bars
02:09 GOM Acceptance Test
T-SCAN hawk: The setup
Set up your new T-SCAN hawk. Start with the laptop, plug in the power cable, connect the 3D laser scanner with the laptop and launch the software GOM Inspect Suite. You’re ready to go.
Chapters
00:27 Laptop
00:38 T-SCAN hawk case
00:45 T-SCAN hawk
00:54 License dongles
01:08 Sensor cables
01:37 Open GOM Inspect Suite software
How to scan large objects using a portable 3D scanner
See how to use the hand-held 3D scanner T-SCAN hawk to scan big objects for inspection. Find out how coded reference points and scalebars can help you create a stable structure before scanning. And discover the advantage of having a large field of view while scanning.
How to use 3D scanning to build up rally cars
In this video, Toon shows you how the scanners ATOS Q and T-SCAN hawk assist the process of turning a road-going car into a rally car. After stripping down the car, generating 3D data allows you to get a full digital copy for reverse engineering.


