Maker Portraits

Archeology meets 3D Scan-Technology

Newest Sessions

Maker Portraits

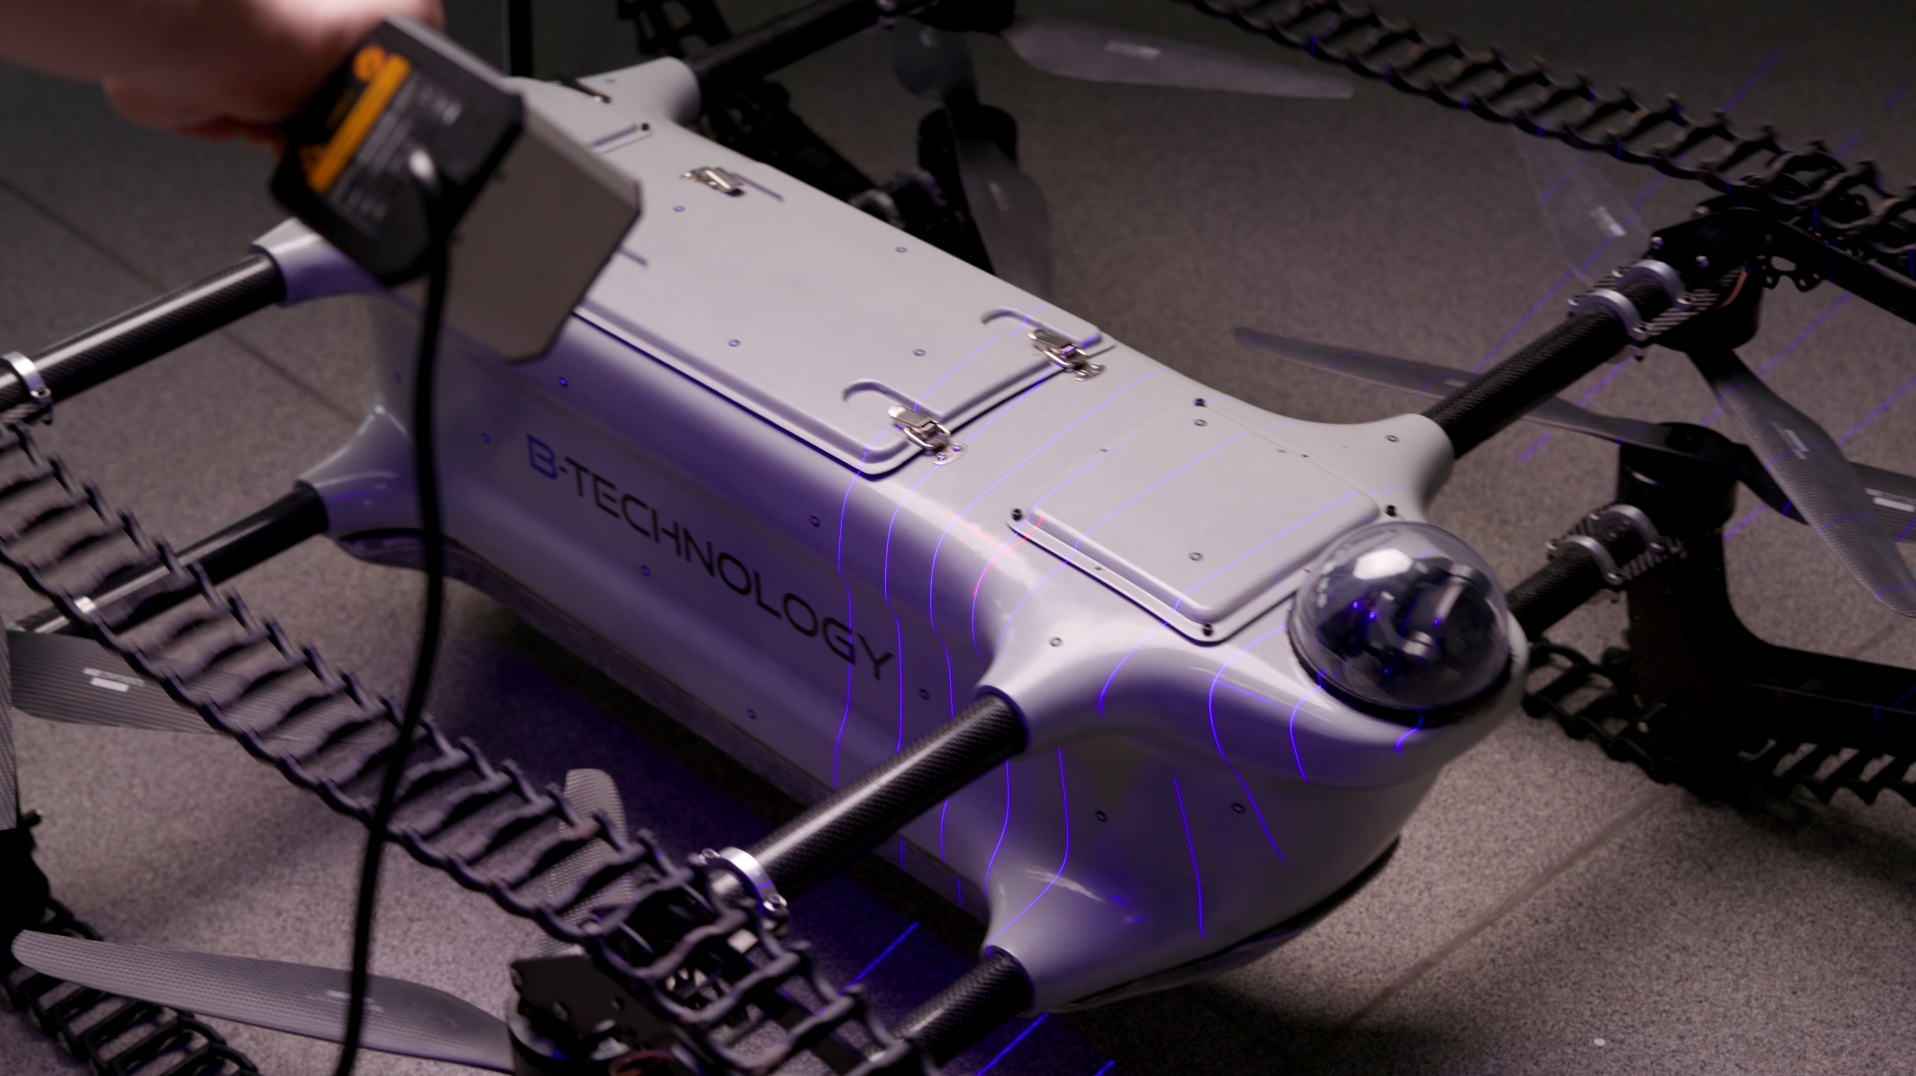
B-TECHNOLOGY: Controlling quality of drones

How to

METROTOM 1: How to inspect the inside of medical plastic parts

How to

How to scan small parts using compact 3D scanners

How to

How to 3D scan multiple parts with ATOS Q

Maker Portraits

Sabelt: High performance seat belts for a safer future

Getting Started – Next Steps

METROTOM 1: Easy volume visualization

Getting Started – Next Steps

METROTOM 1: Easy internal defect inspection

One-Minute Insight

How to use ZEISS INSPECT as a presentation viewer

How to

How to reproduce unavailable spare parts in MRO

How to

How to 3D scanning for wear control in MRO

Getting Started – Next Steps

T-SCAN hawk 2: The new Satellite mode

How to

How to use a 3D scanner in confined spaces

Maker Portraits

Museum of Research Schöningen: Archeology meets 3D Scan-Technology

One-Minute Insight

Cutting objects into pieces with Delete by Plane

Maker Portraits

Precupa: Looking to a more sustainable future

Getting Started – Next Steps

ZEISS REVERSE ENGINEERING: Tips and tricks

How to

How to use 3D scanning to build up rally cars

Previous
Next

Maker Portraits

Maker Portraits

B-TECHNOLOGY: Controlling quality of drones

Maker Portraits

Büchner: CT technology for plastic manufacturing

Maker Portraits

CADskills: Improving patient specific implants

Maker Portraits

Sabelt: High performance seat belts for a safer future

Maker Portraits

HSB: Maintenance of historic steam locomotives

Maker Portraits

Ossiform: Quality control of 3D printed bone implants

Maker Portraits

Huck Cycles: Quality control of electric motorcycles

Maker Portraits

Stork: MRO with portable 3D scanner

Maker Portraits

Museum of Research Schöningen: Archeology meets 3D Scan-Technology

Maker Portraits

Precupa: Looking to a more sustainable future

Maker Portraits

Fraunhofer IWU: Unique solutions for unique tasks

Maker Portraits

Atka: The plastics specialists

Maker Portraits

RLL Racing: Technology wins races

Maker Portraits

Formlabs: 3D printing the future

Maker Portraits

Cowboy: E-bikes for urban riders

Maker Portraits

Stahlotec: Retrofit for steel colossi

Maker Portraits

fischer group: Innovative tube processing

Maker Portraits

From strip to rebuild: Rally car prep by BMA Autosport

Maker Portraits

HA Group: The future of foundry (ATOS & Scan Hawk)

Maker Portraits

R.A.R. Antwerp: Good is never good enough

Maker Portraits

Energetic: The magic of turbine machinery

Maker Portraits

Fagus: Lasts for the international footwear industry

Maker Portraits

MMG: Meet the world’s largest ship propellers

Maker Portraits

SST Flugtechnik: Aircraft design made in Germany

Previous
Next

One-Minute Insights

One-Minute Insight

One 3D scan is all you need for precision

One-Minute Insight

ZEISS INSPECT: Less mouse miles with a customized toolbar

One-Minute Insight

How to use ZEISS INSPECT as a presentation viewer

One-Minute Insight

Cutting objects into pieces with Delete by Plane

One-Minute Insight

Visualize 3D deviation using isolines

One-Minute Insight

Use the Clipping Cube function to get a perfect view

One-Minute Insight

How to save time with Quick GD&T

One-Minute Insight

Data import from 3rd party scanners

One-Minute Insight

3D scan like a pro without a rotation table

One-Minute Insight

Reduce mouse miles with the Smart Creation button

Previous
Next
How To

How to scan large objects with the new satellite mode

zeiss-t-scan-hawk-2-3d-laser-scanner-photogrammetry

GOM Scan 1

Getting Started – Basics

GOM Scan 1: Unboxing

Getting Started – Basics

GOM Scan 1: The setup

Getting Started – Basics

GOM Scan 1: Calibration

Getting Started – Basics

GOM Scan 1: Select the right sensor for your application

Getting Started – Basics

GOM Scan 1: Your first use of ZEISS INSPECT

Previous
Next
Getting Started – Next Steps

GOM Scan 1: Introduction to part inspection

Getting Started – Next Steps

GOM Scan 1: Scanning Multiple Parts

Getting Started – Next Steps

GOM Scan 1 for reverse engineering and 3D printing

Getting Started – Next Steps

GOM Scan 1: Scan a part with high levels of detail

Getting Started – Next Steps

GOM Scan 1: Measure both sides of an object

Getting Started – Next Steps

GOM Scan 1: Measure with a rotation table

Getting Started – Next Steps

GOM Scan 1: Measure with a measuring plate

Previous
Next
How to

How to 3D scan different materials

How to

How to 3D scan with the right distance to object

How to

How to find your perfect exposure time with ZEISS INSPECT

How to

How to scan and reprint broken parts

How to

How to inspect your 3D print with metrology

Previous
Next

T-SCAN hawk 2

Getting Started – Basics

T-SCAN hawk 2: Unboxing your new 3D laser scanner

Getting Started – Basics

T-SCAN hawk 2: The setup

Getting Started – Basics

T-SCAN hawk 2: Your first use of ZEISS INSPECT

Previous
Next
Getting Started – Next Steps

T-SCAN hawk 2: Scanning in ZEISS INSPECT

Getting Started – Next Steps

T-SCAN hawk 2: Scanning with reference points

Getting Started – Next Steps

T-SCAN hawk 2: Scanning without reference points

Getting Started – Next Steps

T-SCAN hawk 2: The new Satellite mode

Getting Started – Next Steps

T-SCAN hawk 2: Scanning fine details

Getting Started – Next Steps

T-SCAN hawk 2: Scanning deep pockets

Getting Started – Next Steps

T-SCAN hawk 2: All features of the remote control buttons

Getting Started – Next Steps

T-SCAN hawk 2: Accessories

Getting Started – Next Steps

T-SCAN hawk 2: Get some useful tips & tricks

Previous
Next
How to

How to scan large parts using ZEISS T-SCAN hawk 2

How to

How to 3D scanning for fast and efficient incoming inspection in MRO

How to

How to perform fast inspection in electric motorcycle assembly

How to

How to set up a digital warehouse with 3D scanning

How to

How to reproduce unavailable spare parts in MRO

How to

How to 3D scanning for wear control in MRO

How to

How to weld check on electric motorcycle frames

How to

How does satellite mode work and why do you need it

How to

How to use a 3D scanner for dent detection

How to

How to measure in production

How to

How to scan large objects using a portable 3D scanner

How to

How to use a 3D scanner in confined spaces

Previous
Next

ATOS Q

Getting Started – Basics

ATOS Q: Start a project in ZEISS INSPECT

Getting Started – Basics

ATOS Q: Unboxing your new 3D scanner

Getting Started – Basics

ATOS Q: How to set up the system

Getting Started – Basics

ATOS Q: Change to a small measuring volume

Previous
Next
Getting Started – Next Steps

ATOS Q: How to measure big parts

Getting Started – Next Steps

ATOS Q: How to measure top and bottom of a part

Getting Started – Next Steps

ATOS Q: Measure with the automatic rotation table

Getting Started – Next Steps

ATOS Q: Add single points with a touch probe

Getting Started – Next Steps

ATOS Q: Tips & tricks to scan even faster

Getting Started – Next Steps

ATOS Q: Fast inspection with ZEISS INSPECT

Previous
Next
How to

How to save time with ZEISS INSPECT

How to

How to scan small parts using compact 3D scanners

How to

How to 3D scan multiple parts with ATOS Q

How to

How to eliminate plastic warpage in Quality Control

How to

How to perform a digital assembly in ZEISS INSPECT

How to

How to 3D scan objects without reference points

How to

How to 3D scan faster with an automated rotation table

How to

How to get even more out of your ATOS Q

How to

How to use 3D scanning to build up rally cars

Previous
Next

METROTOM 1

Getting Started – Basics

METROTOM 1: The Setup

Getting Started – Basics

METROTOM 1: Easy part fixture

Getting Started – Basics

METROTOM 1: Introduction to ZEISS INSPECT

Getting Started – Basics

METROTOM 1: Quick & easy calibration

Previous
Next
Getting Started – Next Steps

METROTOM 1: Scanning single parts

Getting Started – Next Steps

METROTOM 1: Scanning multiple parts

Getting Started – Next Steps

METROTOM 1: Easy volume visualization

Getting Started – Next Steps

METROTOM 1: Easy internal defect inspection

Getting Started – Next Steps

METROTOM 1: Automated parameter selection

Getting Started – Next Steps

METROTOM 1: Introduction to scan resolution

Getting Started – Next Steps

METROTOM 1: Part inspection with CAD data

Previous
Next
How to

METROTOM 1: How to inspect the inside of medical plastic parts

How to

METROTOM 1: How to inspect the inside of electronic connector housings

Previous
Next

Get the 3D software,
start the project.

Software

ZEISS REVERSE ENGINEERING

Getting Started – Basics

ZEISS REVERSE ENGINEERING: Software user interface

Getting Started – Basics

ZEISS REVERSE ENGINEERING: Most common functions

Previous
Next
Getting Started – Next Steps

ZEISS REVERSE ENGINEERING: Importing data

Getting Started – Next Steps

ZEISS REVERSE ENGINEERING: Edit and align meshes

Getting Started – Next Steps

ZEISS REVERSE ENGINEERING: Tips and tricks

Previous
Next
How to

New Sketching function in ZEISS REVERSE ENGINEERING

How to

ZEISS REVERSE ENGINEERING: How to create a CAD file out of manually modelled parts

How to

ZEISS REVERSE ENGINEERING: How to transform your 3D scans into CAD models

Previous
Next

ZEISS INSPECT

Getting Started – Basics

ZEISS INSPECT: Optical 3D User Interface

Getting Started – Basics

ZEISS INSPECT: Data import

Getting Started – Basics

ZEISS INSPECT: Performing single inspection

Getting Started – Basics

ZEISS INSPECT: Performing GD&T inspections

Getting Started – Basics

ZEISS INSPECT: Reporting

Previous
Next
How to

How to perform CAD surfacing in ZEISS INSPECT

How to

How to deliver first class report presentations

Previous
Next

Do you want to find out more about our 3D solutions?

Get in touch with your local #HandsOnMetrology partner.